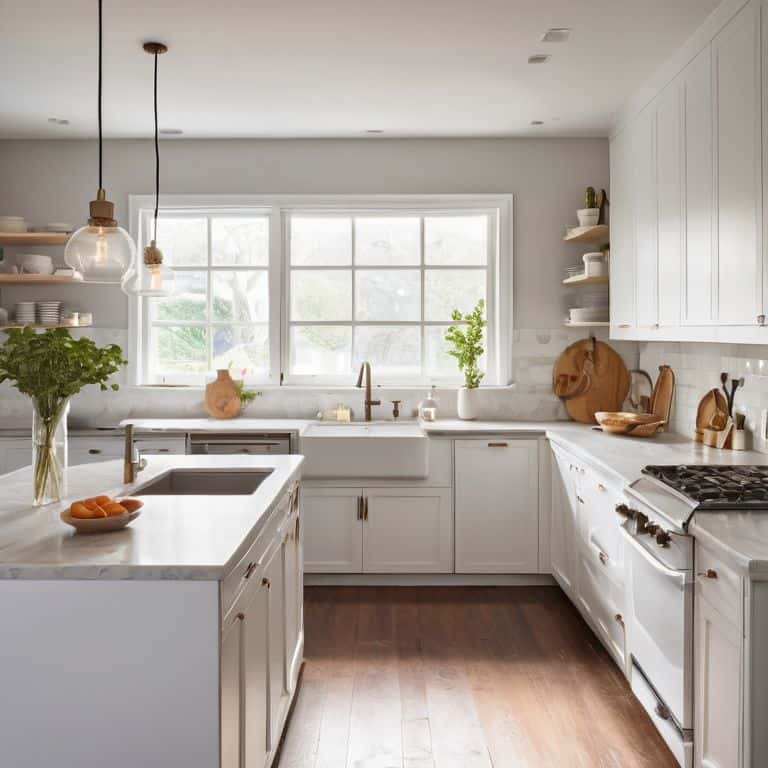
I still remember the day I realized my tiny kitchen wasn’t a limitation, but an opportunity to get creative. I was rummaging through my cluttered pantry, searching for a can of black beans, when I stumbled upon a game-changing idea: learning how to build a canned food organizer. It was then that I decided to take matters into my own hands and find a solution to my kitchen storage woes. As someone who’s passionate about DIY projects, I knew that with a little bit of planning and some basic tools, I could create a functional and beautiful space that would make cooking and meal prep a breeze.
In this article, I’ll share my step-by-step guide on how to build a canned food organizer that’s perfect for small kitchens like mine. You’ll learn how to create a custom storage solution that’s both space-efficient and easy to build, without breaking the bank or requiring any specialized skills. By the end of this tutorial, you’ll have a clear understanding of how to design and build your own canned food organizer, and be empowered to tackle other DIY projects in your kitchen. So, let’s get started and turn your kitchen into a functional oasis that inspires you to cook and create with ease!
Table of Contents
Guide Overview: What You'll Need
Total Time: 2 hours 30 minutes
Estimated Cost: $50 – $100
Difficulty Level: Intermediate
Tools Required
- Circular Saw (for cutting lumber)
- Drill (with screwdriver and drill bits)
- Tape Measure (for measuring and marking lumber)
- Level (for ensuring shelves are level)
- Hammer (for tapping screws into place)
- Utility Knife (with extra blades)
Supplies & Materials
- 2-in x 4-in lumber (for frame and shelves)
- 3/4-in plywood (for shelf boards)
- Wood Screws (1 1/4 inches long)
- Wood Glue (for added stability)
- Sandpaper (for smoothing out wood surfaces)
- Paint or Stain (optional, for finishing)
Step-by-Step Instructions
- 1. First, let’s start by gathering all the necessary materials for our canned food organizer, including a piece of plywood or MDF for the back panel, some wooden dowels for the shelves, a drill press, and a few screws. I like to use a mix of new and upcycled materials to give my projects a unique touch.
- 2. Next, measure the space where you want to install your canned food organizer and decide on the size of your project. Consider the height, width, and depth of the area, as well as how many cans you want to store. I always say, measure twice, cut once, to avoid any mistakes.
- 3. Now, cut the plywood or MDF to the desired size for the back panel of your organizer. Use a circular saw or a jigsaw to make the cut, depending on the tools you have available. If you’re not comfortable using power tools, you can also ask a friend for help or use a manual saw.
- 4. After cutting the back panel, it’s time to create the shelves for your canned food organizer. Cut the wooden dowels to the desired length and space them evenly apart. I like to use a template to ensure the shelves are evenly spaced and the cans fit perfectly.
- 5. Once you have all the shelves cut, it’s time to assemble the organizer. Use screws to attach the shelves to the back panel, making sure they are level and secure. Don’t overtighten the screws, as this can damage the material.
- 6. To add some extra support to the shelves, you can also attach some small brackets to the back panel. This will help keep the shelves in place and prevent them from sagging under the weight of the cans.
- 7. Finally, install your canned food organizer in the desired location and fill it with your favorite canned goods. You can also add some decorative touches, such as a coat of paint or some stickers, to give your project a personal touch.
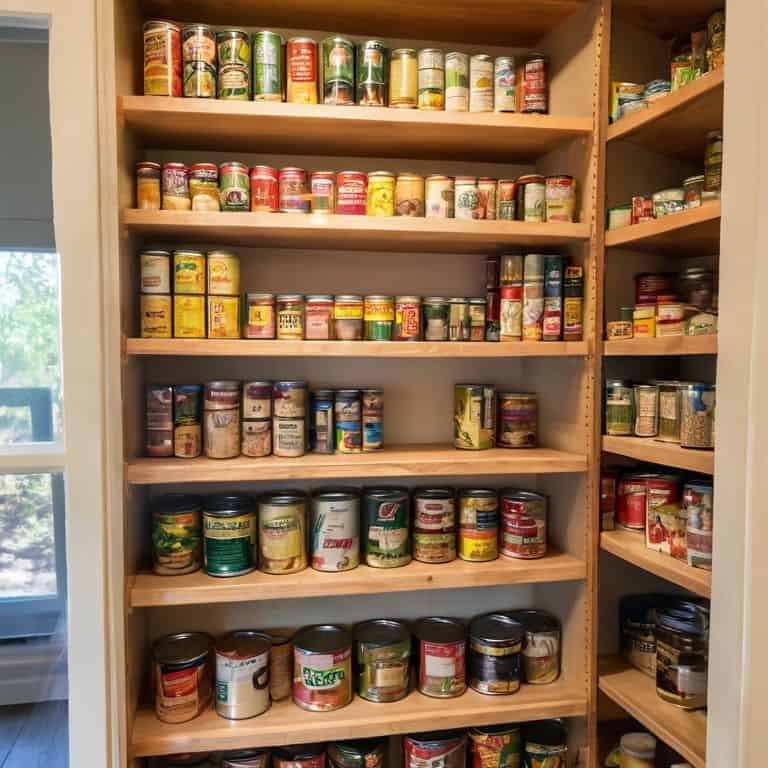
Build a Canned Food Organizer
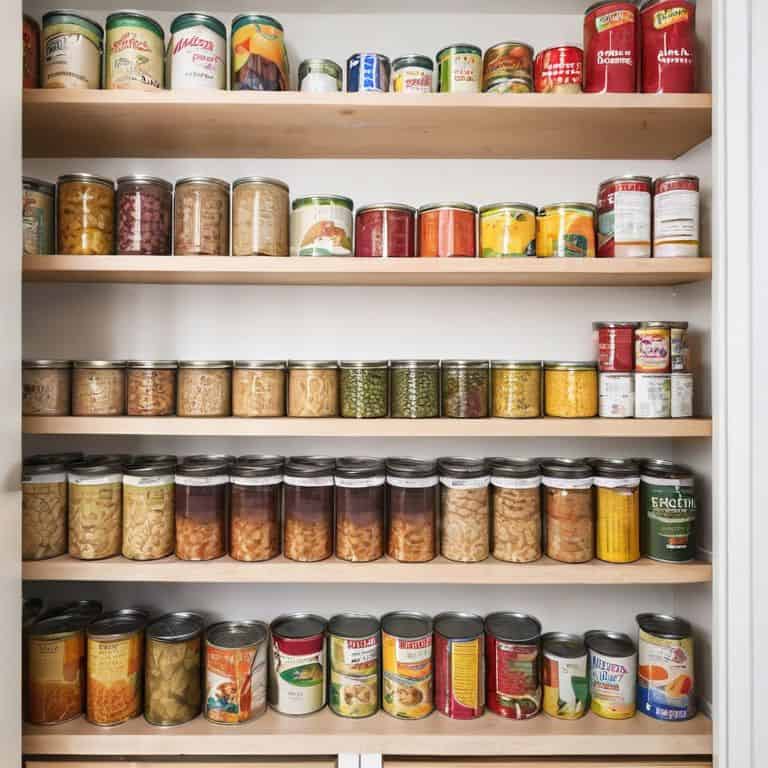
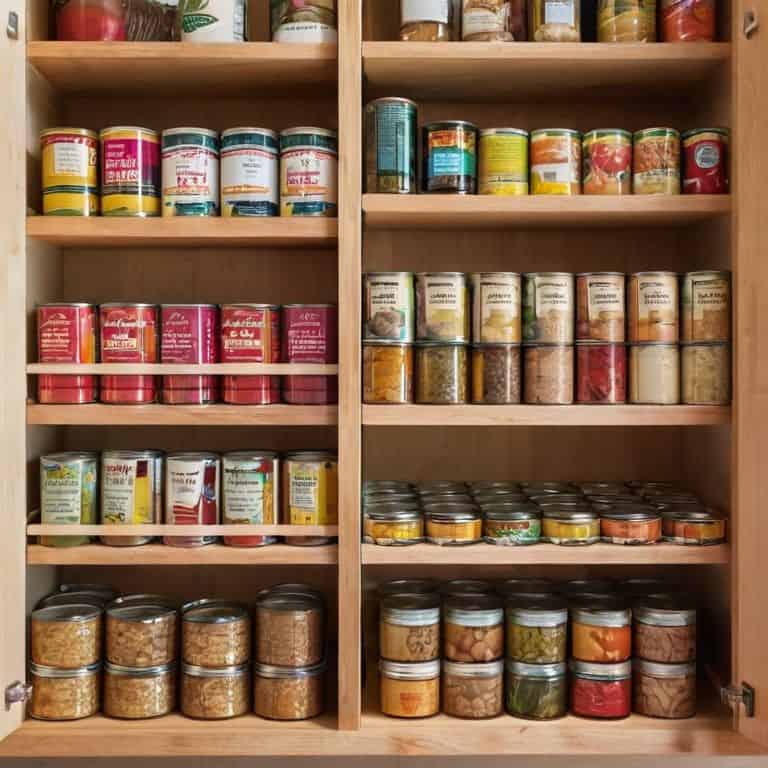
As I worked on my own custom pantry shelving ideas, I realized that a canned food organizer is more than just a storage solution – it’s a game-changer for tiny kitchens. To make the most of your space, consider implementing maximizing pantry space with organizers that cater to your specific needs. For instance, you can use adjustable shelf dividers to separate your canned goods and keep them organized.
When it comes to storing canned food, it’s essential to think about canned goods expiration date organization. You can use labels or a chalkboard to keep track of the expiration dates, ensuring that you use the oldest items first. This simple trick will help you avoid expired food and keep your pantry fresh. Additionally, consider building a rotating can rack to make the most of your shelf space and keep your canned goods easily accessible.
To take your canned food organizer to the next level, think about incorporating diy canned food storage solutions that fit your personal style. You can use wooden crates, baskets, or even repurposed containers to add a touch of warmth and character to your pantry. By combining functional storage with creative design, you can create a space that is both beautiful and ruthlessly functional.
Maximizing Space With Custom Shelves
Now that we’ve got our canned food organizer in place, let’s talk about maximizing the rest of our kitchen space with custom shelves. I’m a big believer in making the most of every nook and cranny, especially in tiny kitchens like mine. By adding custom shelves, we can create a home for all our kitchen essentials, from spices and oils to cookbooks and appliances.
I love using reclaimed wood or IKEA hacks to create unique shelves that fit my kitchen’s quirky layout. Not only do they add a personal touch, but they also keep my countertops clutter-free. With a little creativity, we can turn even the tiniest kitchens into functional and beautiful spaces that reflect our personalities.
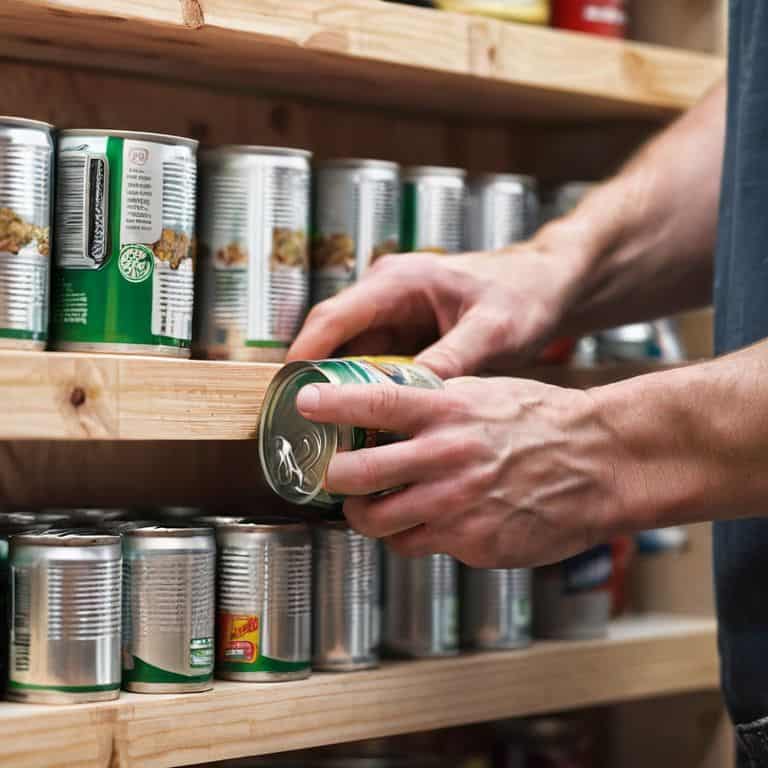
Rotating Racks for Easy Access
To take our canned food organizer to the next level, let’s add some rotating racks. These are a game-changer for tiny kitchens, as they allow for easy access to all your canned goods without having to dig through a cluttered shelf. I used a simple Lazy Susan mechanism to create a spinning rack that can hold multiple cans, making the most of our limited space.
By installing these rotating racks, we can quickly grab what we need without having to rearrange the entire organizer. It’s all about creating a functional and beautiful space that makes cooking a breeze. With this addition, our canned food organizer is not only a storage solution but also a thoughtful design element that enhances our tiny kitchen’s usability.
5 Genius Hacks to Supercharge Your Canned Food Organizer
- Choose the Right Materials: Select durable, easy-to-clean materials like wood or metal to ensure your organizer withstands the test of time
- Measure Twice, Build Once: Take precise measurements of your kitchen space to guarantee a snug, customized fit for your canned food organizer
- Think Vertically: Maximize your kitchen’s vertical space by stacking shelves or using wall-mounted racks to keep your canned goods organized and within reach
- Label and Categorize: Use labels and categories to separate different types of canned foods, making it easier to find what you need when you need it
- Add a Door or Curtain: Conceal your canned food organizer behind a door or curtain to maintain a sleek, clutter-free kitchen aesthetic and keep dust at bay
3 Key Takeaways for a Clutter-Free Kitchen
By building a canned food organizer, you can maximize your kitchen’s vertical space and keep your countertops clutter-free, making the most of your tiny kitchen’s potential
Custom shelves and rotating racks can be tailored to fit your specific storage needs, ensuring that your canned goods are not only organized but also easily accessible when you need them
With a little creativity and some basic DIY skills, you can create a beautiful and functional canned food organizer that reflects your personal style and enhances the overall aesthetic of your kitchen
The Power of DIY
A canned food organizer isn’t just a storage solution, it’s a declaration of independence from clutter and chaos – with every DIY project, I’m not just building something, I’m building a life that’s more intentional, more beautiful, and more mine.
Maya Torres
Embracing the Power of DIY in Small Kitchens
As we’ve seen throughout this guide, building a canned food organizer is all about maximizing space and creating a system that works for you. From custom shelves to rotating racks, each element plays a crucial role in keeping your tiny kitchen tidy and functional. By following these steps, you’ve not only gained a practical storage solution but also a sense of accomplishment that comes with creating something with your own hands. Remember, the key to successful DIY projects in small spaces is to focus on ruthlessly functional and beautiful designs that serve a purpose beyond just aesthetics.
So, as you stand back to admire your handiwork, remember that this project is more than just a canned food organizer – it’s a testament to your ability to think creatively and solve problems in your own unique way. Don’t be afraid to experiment and try new things; after all, it’s often the smallest, most empowering changes that can make the biggest difference in how we experience our living spaces. Happy building, and I look forward to seeing what you create next!
Frequently Asked Questions
What type of materials are best to use for building a canned food organizer that can hold heavy cans?
For a sturdy canned food organizer, I recommend using durable materials like solid wood, MDF, or plywood. You can also upcycle old pallets or crates for a rustic touch. Just make sure to add reinforced brackets or screws to support the weight of those heavy cans!
How can I determine the optimal size for my canned food organizer based on the space available in my tiny kitchen?
To determine the optimal size for your canned food organizer, measure the space where you plan to put it and consider the items you want to store. Think about the types of cans you buy most often and how many you want to store. I like to use graph paper to sketch out my design and ensure it fits perfectly in my tiny kitchen.
Are there any special considerations I should keep in mind when installing a canned food organizer in a rental property to avoid damaging the walls or shelves?
When installing a canned food organizer in a rental, I always say: think adhesive strips, not nails. Use removable 3M strips or command hooks to hang your shelves, and opt for freestanding units to avoid damaging walls or shelves. This way, you can take your organizer with you when you move, and your landlord will thank you.