I still remember the day I realized my tiny kitchen wasn’t a limitation, but an opportunity to get creative with storage. I was struggling to find space for my utensils and gadgets, and that’s when I stumbled upon a guide to using a pegboard for kitchen storage. It was like a lightbulb moment – I could finally maximize my wall space and keep my countertops clutter-free. I was amazed at how such a simple solution could make a huge difference in the functionality of my kitchen.
In this article, I’ll share my personal experience and practical tips on how to make the most of a pegboard in your kitchen. You’ll learn how to choose the right pegboard, design a layout that works for you, and install it without damaging your walls. My goal is to empower you with the knowledge to create a beautiful and functional kitchen, no matter how small it may be. By the end of this guide, you’ll be equipped with the skills to transform your kitchen into a space that’s both stylish and efficient, all thanks to the humble pegboard.
Table of Contents
Guide Overview: What You'll Need
Total Time: 1 hour 30 minutes
Estimated Cost: $20 – $40
Difficulty Level: Easy
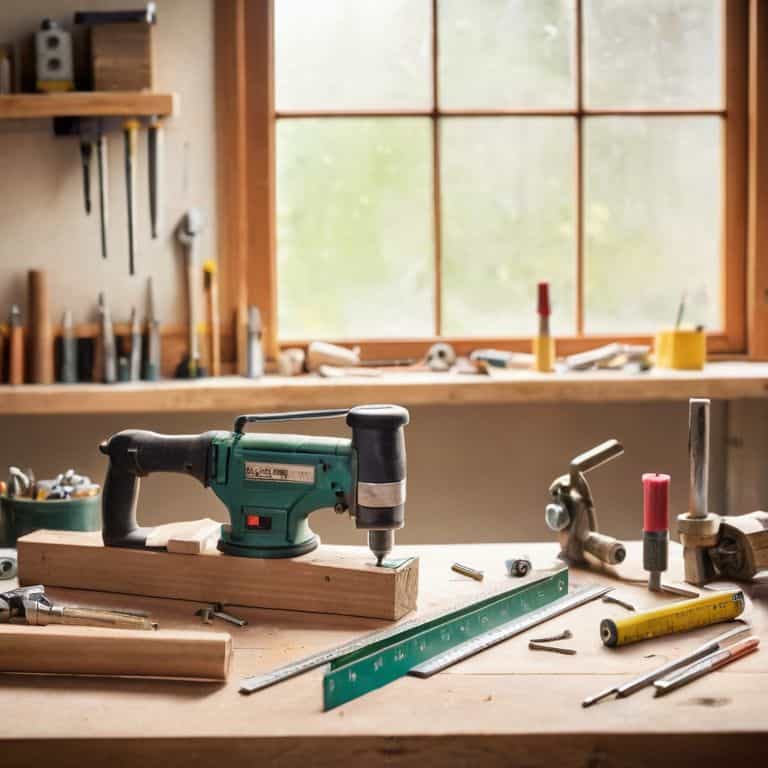
Tools Required
- Drill (with screwdriver and drill bits)
- Level (for ensuring proper installation)
- Measuring Tape (for accurate measurements)
- Pencil (for marking wall and pegboard)
- Stud Finder (for locating wall studs)
Supplies & Materials
- Pegboard (available in various sizes, e.g., 2 feet x 4 feet)
- Pegboard Hooks (assorted types, e.g., single-prong, double-prong, and tool holders)
- Wall Anchors (e.g., plastic or metal, for securing pegboard to wall)
- Screws (e.g., 1 inch or 1.5 inches, for attaching pegboard to wall)
- Wood Screws (for assembling any additional shelves or frames, if needed)
Step-by-Step Instructions
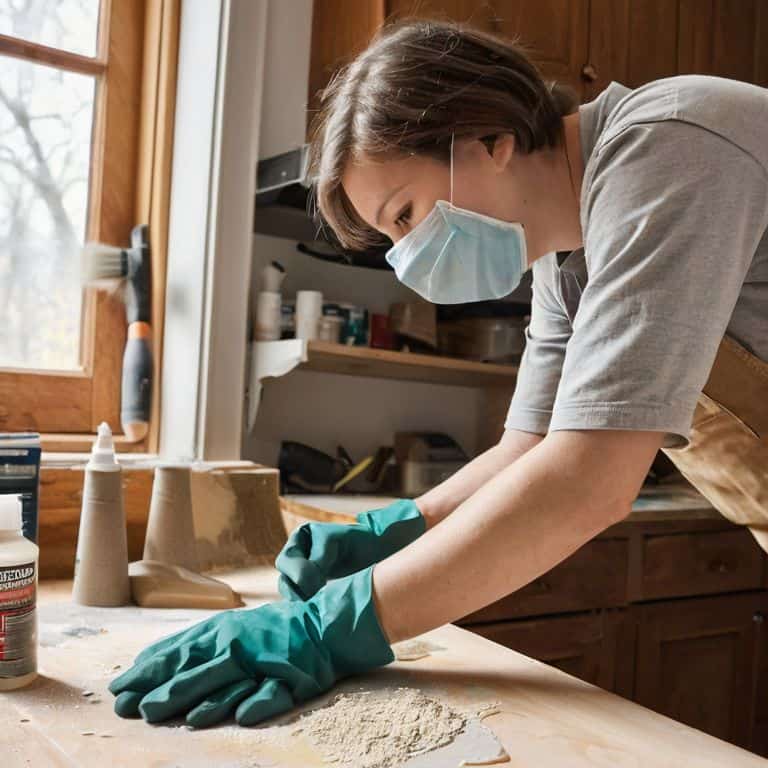
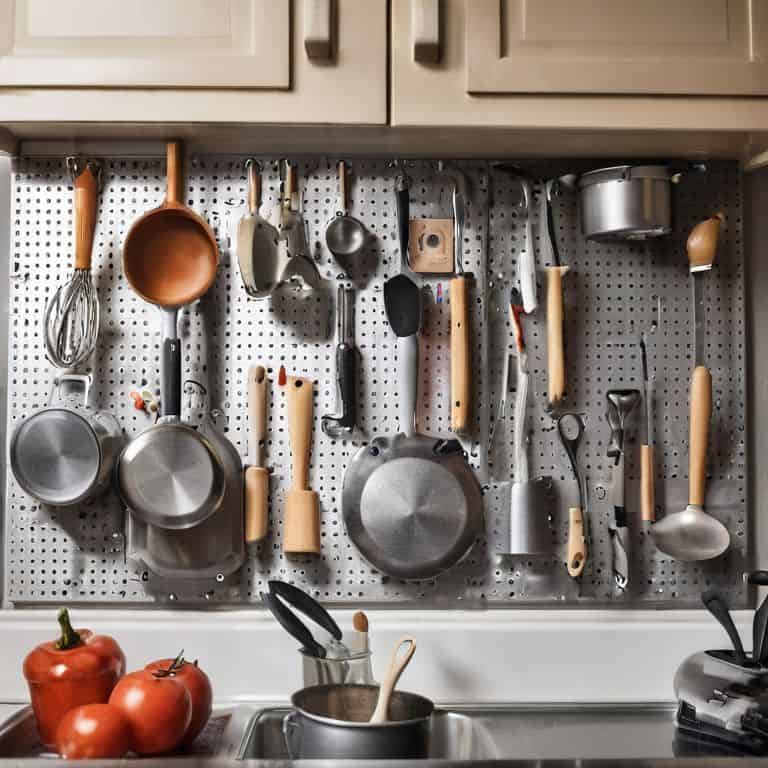
- 1. First, let’s talk about preparing your pegboard. This is the fun part – choosing the perfect spot for your new storage system. Since I live in a small apartment, I had to get creative with my kitchen layout. I decided to install my pegboard on a blank wall near my cooking station, where I can easily access my frequently used utensils and tools. Make sure to measure your wall and choose a spot that’s convenient for you.
- 2. Next, gather your materials – you’ll need a pegboard, a drill, wall anchors, and some pegboard hooks. I like to think of my drill as my best friend in the kitchen, it’s so versatile and helps me with all my DIY projects. If you don’t have a drill, don’t worry, you can always borrow one from a friend or invest in a handy cordless drill.
- 3. Now it’s time to measure and mark the wall where you’ll be installing your pegboard. Use a level to ensure your marks are straight, and a pencil to mark the spot where you’ll drill the holes for your wall anchors. I like to double-check my measurements to avoid any mistakes.
- 4. Drill pilot holes into the wall at the marks you made, then screw in your wall anchors. This is where things can get a bit tricky, so be patient and take your time. Make sure your anchors are securely in place before hanging your pegboard.
- 5. Hang your pegboard on the wall anchors, and start arranging your hooks and utensils. This is the most fun part – customizing your storage to fit your needs. I like to group similar items together, like all my baking utensils or cooking spices.
- 6. To make the most of your pegboard, consider adding some extra storage. You can use baskets or small containers to store items like spices, oils, or cleaning supplies. I like to use small mason jars to store my spices, they’re cute and functional.
- 7. Finally, step back and admire your handiwork. Your new pegboard storage system is not only functional, but it’s also a great way to add some personality to your kitchen. You can customize it to fit your style, and make adjustments as needed. I like to switch up my pegboard arrangement every few months to keep things fresh and exciting.
Pegboard Power
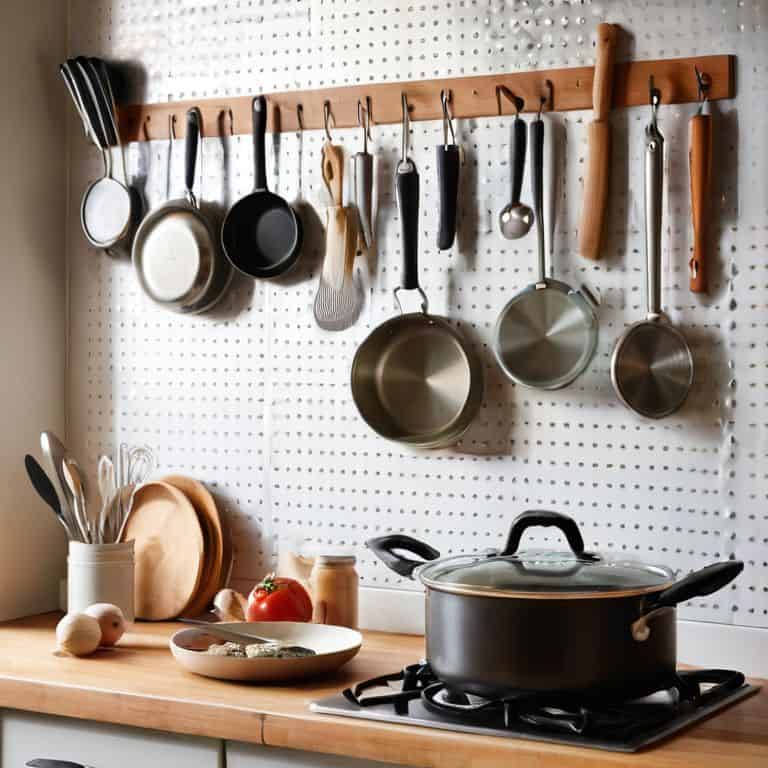
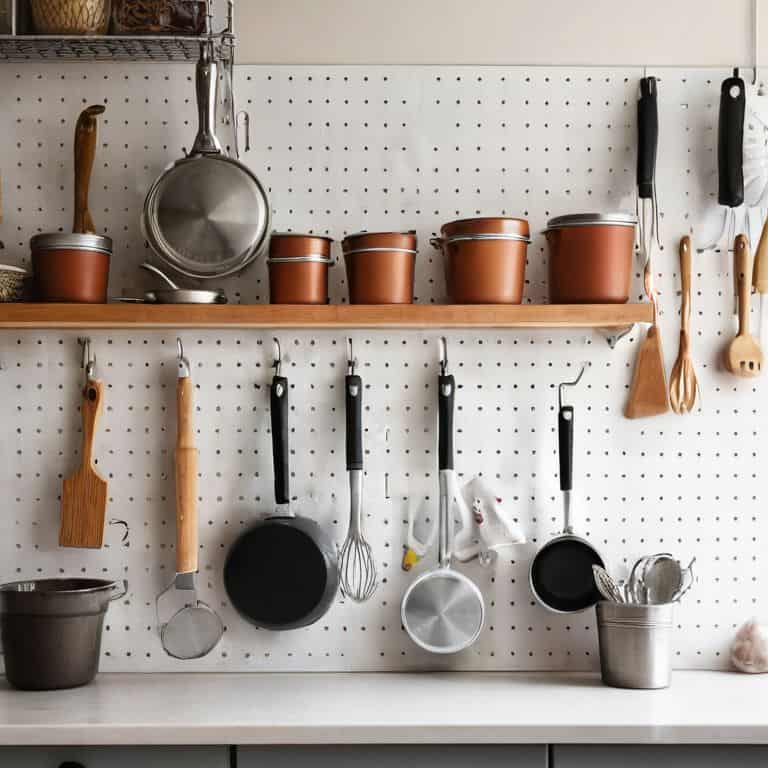
As I’ve experimented with my pegboard, I’ve discovered the power of customizable kitchen storage solutions. It’s amazing how a simple switch from one pegboard hook type to another can completely transform the functionality of my kitchen wall. I’ve found that using a mix of short and long hooks allows me to hang everything from utensils to pots and pans, keeping them within easy reach.
One of the most significant advantages of pegboards is their ability to maximize kitchen space. By mounting my pegboard on a often-wasted wall, I’ve freed up valuable counter and cabinet space. This has allowed me to focus on other kitchen tool organization systems, like a cute little cart for my spices and oils. It’s incredible how much more efficient my kitchen feels now that everything has its own designated spot.
When it comes to diy pegboard installation tips, I’ve learned that it’s all about planning ahead. Take the time to think about the types of items you want to store, and choose your hooks and accessories accordingly. Don’t be afraid to get creative and add your own personal touches – after all, the beauty of a pegboard lies in its kitchen wall organization ideas that can be tailored to your unique needs and style.
Kitchen Wall Organization Hacks
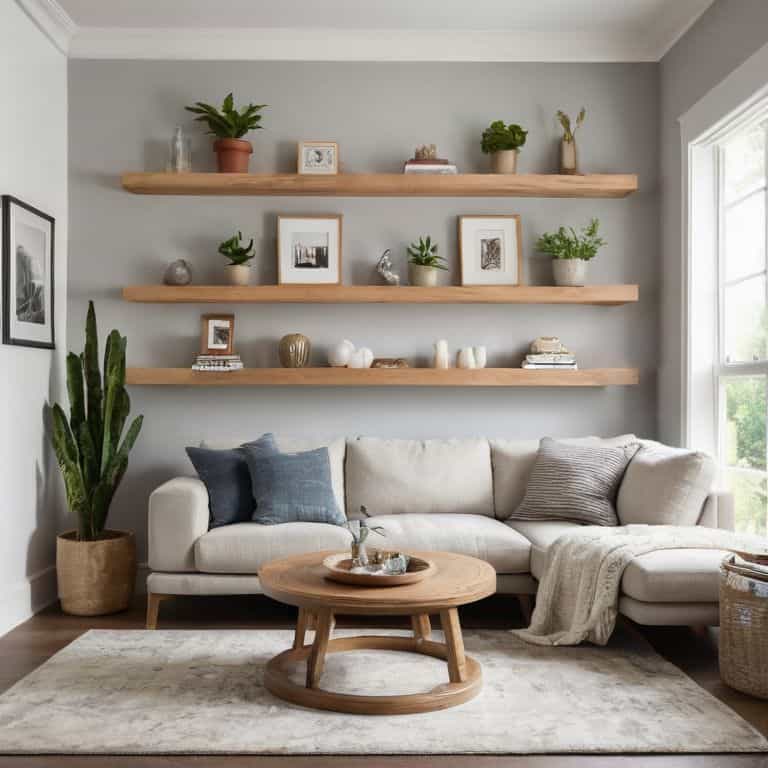
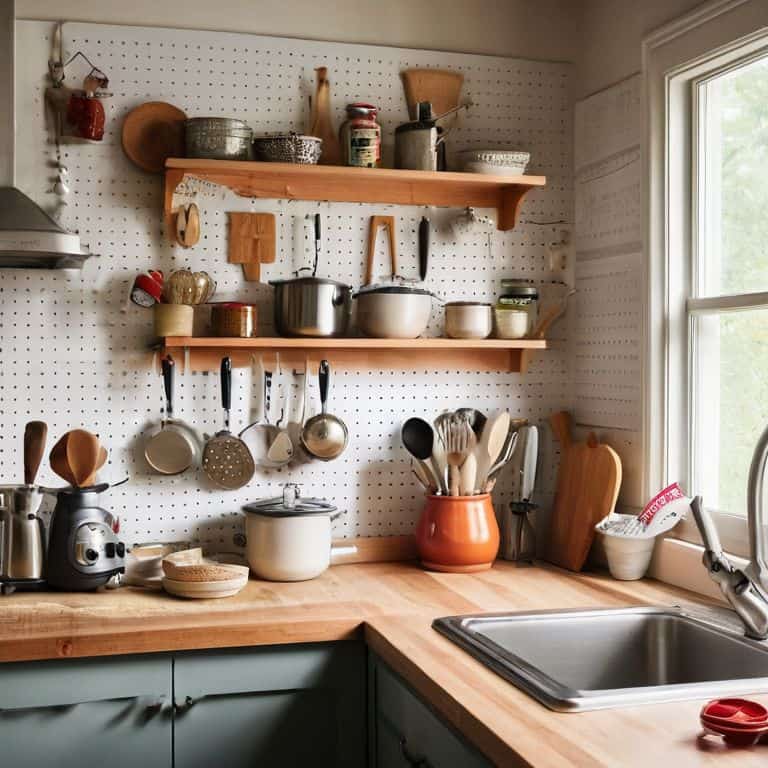
Now that we’ve tapped into the power of pegboards, let’s take our kitchen wall organization to the next level. I love using hooks, baskets, and shelves to maximize my kitchen’s vertical space. By combining these elements, I can hang my pots and pans, store my spices, and even display my favorite cookbooks. It’s all about creating a functional and beautiful space that reflects my personality.
I’ve found that adding a few well-placed shelves and hooks can make a huge difference in keeping my kitchen clutter-free. Plus, it’s a great way to add some visual interest to an otherwise blank wall. Whether you’re a fan of modern and sleek or rustic and charming, there are countless ways to customize your kitchen wall organization to fit your style.
Maximizing Space With Customizable Pegs
I love that pegboards allow me to customize my storage to fit my specific needs. With interchangeable pegs, I can easily switch up my kitchen’s layout as my cooking habits change. For instance, if I’m going through a baking phase, I can add more pegs to hang my mixing bowls and utensils. And when I’m back to sautéing up a storm, I can swap those out for pegs that hold my favorite pans and spices. It’s amazing how such a simple system can make a huge difference in keeping my tiny kitchen clutter-free and functional. By choosing the right pegs for my pegboard, I can maximize my wall space and keep everything I need within easy reach.
5 Pegboard Hacks to Supercharge Your Tiny Kitchen
- Pegboard panels don’t have to be huge – even a small one above your counter or near a doorway can make a big difference in keeping your kitchen essentials within reach
- Choose hooks and bins that fit your style and needs – I love mixing and matching different shapes and sizes to add some visual interest to my pegboard
- Don’t be afraid to get creative with what you hang on your pegboard – I’ve seen people use them for everything from pots and pans to kitchen utensils and even plants
- Consider adding a small shelf or ledge to your pegboard for extra storage – it’s perfect for holding jars, cans, or other small items that you want to keep organized
- Remember, your pegboard is not just for storage – it’s also a great opportunity to add some personality to your kitchen, so have fun with it and make it your own!
3 Key Takeaways to Transform Your Tiny Kitchen
I can turn my kitchen wall into a functional storage hub using a pegboard, without needing a major renovation or a huge budget
Customizable pegs on my pegboard let me maximize my kitchen’s vertical space and keep my countertops clutter-free, no matter how small my kitchen is
With a pegboard, I can easily switch up my kitchen’s layout and organization system as my needs change, making it the ultimate solution for small-space living
Pegboard Wisdom
A pegboard isn’t just a tool for kitchen storage, it’s a blank canvas for your creativity and a declaration of independence from clutter – with every hook and peg, you’re reclaiming your space and reinventing your kitchen’s potential!
Maya Torres
Bringing It All Together: A Pegboard Kitchen to Love
I hope this guide has shown you that using a pegboard for kitchen storage is a game-changer for small spaces. From the initial setup to maximizing space with customizable pegs, we’ve covered the essential steps to transform your kitchen wall into a functional and organized hub. The key to success lies in understanding your kitchen’s unique needs and adapting the pegboard system accordingly. By doing so, you’ll not only gain more storage but also create a visually appealing area that reflects your personal style. Whether you’re a culinary enthusiast or a busy professional, a well-designed pegboard can make a significant difference in your daily routine.
As you embark on your own pegboard project, remember that it’s not just about optimizing storage; it’s about infusing your kitchen with personality and making the most of the space you have. Don’t be afraid to experiment and add your own creative twists to the design. With a pegboard, you can turn a cramped kitchen into a cozy and inviting area that sparks joy and inspires creativity. So, go ahead, get creative, and make your kitchen a reflection of your unique spirit – one pegboard at a time!
Frequently Asked Questions
What are some creative ways to use pegboard hooks for hanging kitchen utensils and tools?
I love using pegboard hooks to hang my kitchen utensils and tools – it’s so freeing to have them off the countertops! Try using hooks to hang pots, pans, and even your coffee mugs. You can also use them to organize your kitchen gadgets, like stand mixers and blenders, keeping them easy to access and out of the way.
How can I customize my pegboard to fit my specific kitchen storage needs and style?
I love tweaking my pegboard to fit my kitchen’s unique vibe! To customize yours, try mixing and matching different peg sizes, adding hooks for hanging utensils, or even incorporating a magnetic strip for spices. You can also paint or stain the board to match your kitchen’s color scheme – get creative and make it yours!
Are there any tips for keeping my pegboard organized and clutter-free over time?
I’m all about maintaining that organized glow, and it’s easier than you think! To keep your pegboard clutter-free, set a weekly reminder to tidy up and reassess your tool layout. I also like to designate a ‘launching pad’ for my most-used items, so they’re always easy to grab and put back.