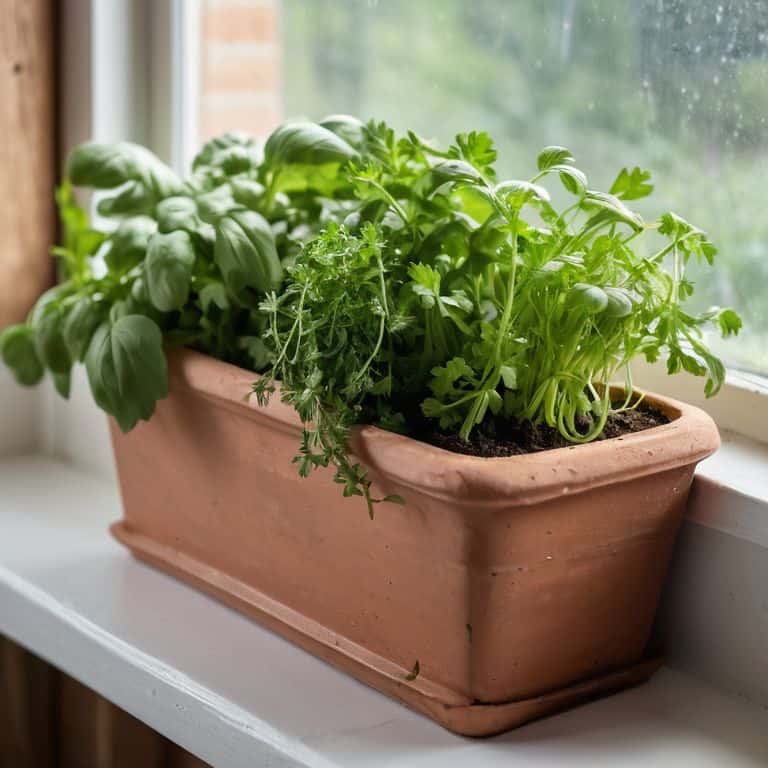
I still remember the day I realized that my tiny kitchen wasn’t the problem – it was the cluttered spice jars that were driving me crazy. I was on a mission to find a creative way to label my spice jars, and I was determined to make it happen without breaking the bank. As I dug through my scrap wood collection, I stumbled upon an old wooden crate that sparked an idea. I thought to myself, “Why not use this to create a unique labeling system?” And just like that, my DIY project was born.
In this article, I’ll share my step-by-step guide on how to create a beautiful and functional labeling system for your spice jars. You’ll learn how to upcycle old materials, use a drill to create custom labels, and add a personal touch to your kitchen decor. My goal is to empower you to take control of your small space and make it your own, without feeling overwhelmed by the lack of storage or the clutter. By the end of this tutorial, you’ll have a clear understanding of how to implement a creative way to label your spice jars, and you’ll be inspired to tackle more DIY projects in your tiny kitchen.
Table of Contents
Guide Overview: What You'll Need
Total Time: 1 hour 15 minutes
Estimated Cost: $10 – $20
Difficulty Level: Easy
Tools Required
- Scissors (sharp)
- Paintbrush (small)
- Pencil
Supplies & Materials
- Sticker Paper (white or transparent)
- Acrylic Paint (various colors)
- Small Paint Tray
- Twine or Ribbon (for decoration)
- Clear Coat or Varnish (optional)
Step-by-Step Instructions
- 1. First, gather all your materials, including your spice jars, a permanent marker, and some decorative stickers or washi tape. I like to use a variety of colors to match my kitchen’s theme, and it’s also a great way to add some personality to your space.
- 2. Next, clean and dry your spice jars thoroughly to ensure the labels will stick properly. This step is crucial, as any dirt or moisture can cause the labels to peel off or become difficult to read. I use a mixture of soap and warm water, and then let them air dry to prevent any water spots.
- 3. Now, it’s time to get creative with your labeling. I like to use a combination of handwritten labels and decorative stickers to add some visual interest. You can use a permanent marker to write the name of each spice, and then add some stickers or washi tape to decorate the jar and make it more visually appealing.
- 4. For a more polished look, you can use a label maker to create uniform labels. I have a small label maker that I use for my pantry items, and it’s been a game-changer for keeping everything organized. Simply type out the name of each spice, print the label, and stick it to the jar.
- 5. To add an extra touch of personality to your spice jars, you can decorate the lids with paint, stickers, or even decoupage. I like to use a combination of paint and stickers to create a unique design that matches my kitchen’s theme. This step is optional, but it’s a great way to make your spice jars stand out and add some extra visual interest to your kitchen.
- 6. Once you’ve decorated your spice jars, it’s time to fill them up with your favorite spices. I like to use a small funnel to make the process easier and less messy. Simply pour the spice into the jar, and then seal the lid tightly to keep everything fresh.
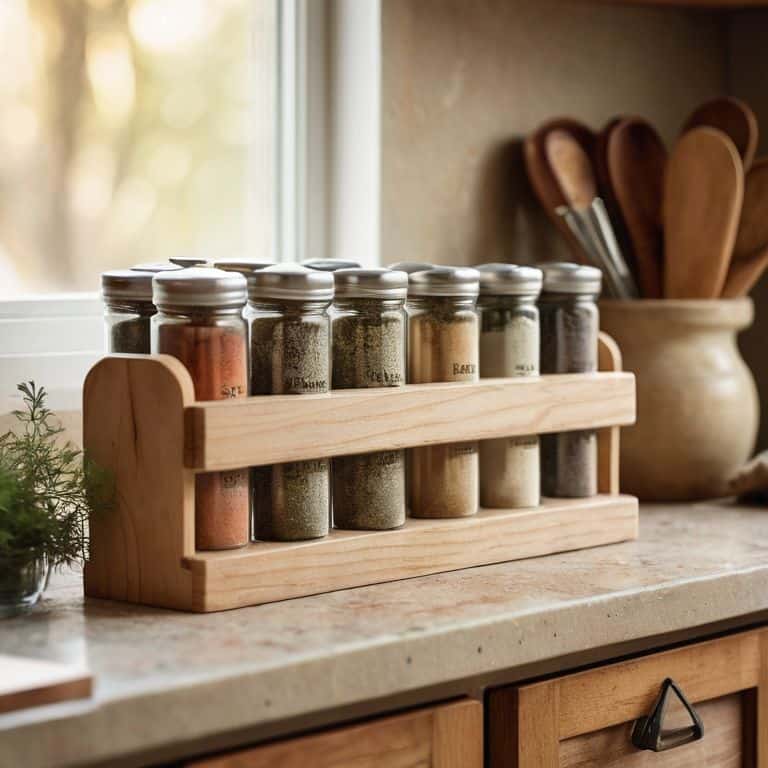
- 7. Finally, display your newly labeled and decorated spice jars in a prominent place in your kitchen, such as on a spice rack or in a decorative basket. I like to keep mine on a small shelf near my stove, where they’re easy to access and add a pop of color to the room. This is a great way to show off your handiwork and enjoy the fruits of your labor.
Spice Labeling Made Easy

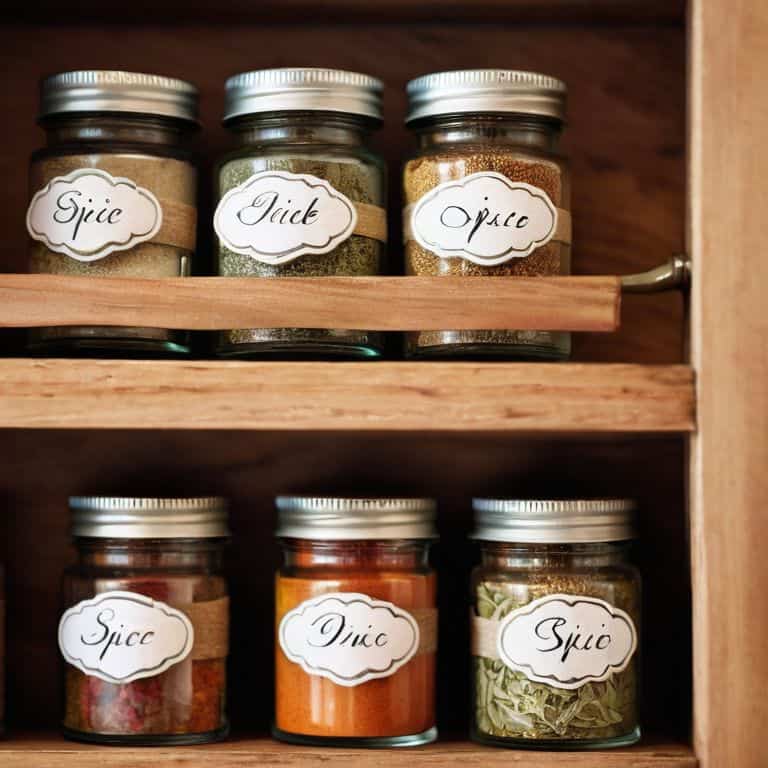
When it comes to customizable spice jar labels, the possibilities are endless. I’ve found that using a combination of decorative label makers and my own hand-painted designs can add a touch of personality to my kitchen. For a more rustic look, I’ve even experimented with chalkboard spice jars, which can be easily labeled and relabeled as my spice collection evolves.
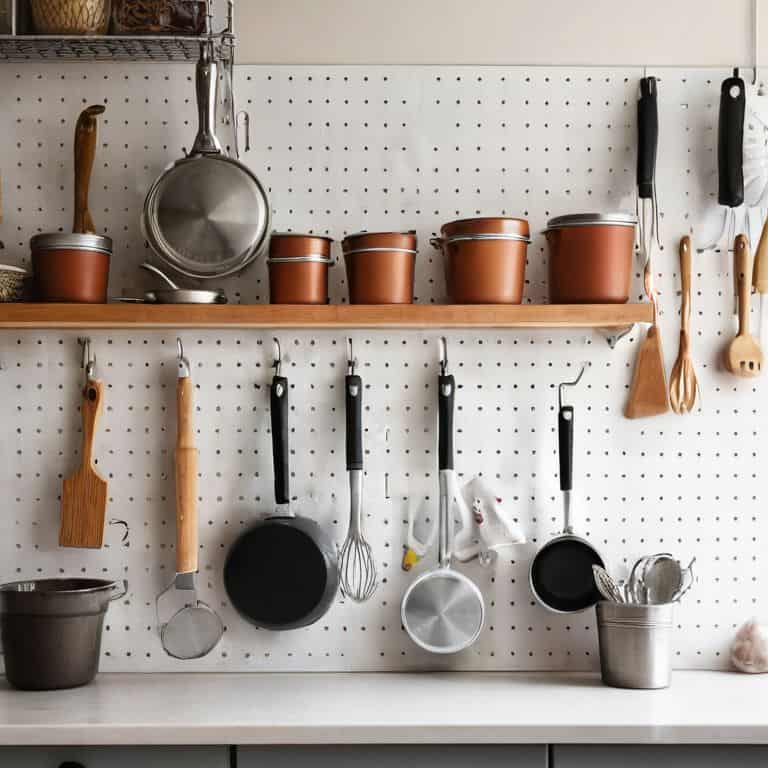
To take your spice organization to the next level, consider implementing some spice organization ideas that go beyond just labeling. This can include using a tiered spice rack or a magnetic strip on the side of your cabinet to maximize storage. By thinking outside the box, you can create a functional and beautiful kitchen storage solution that works for you.
One of my favorite things about this project is that it’s highly adaptable to different styles and themes. Whether you’re going for a modern and sleek look or a more vintage vibe, you can find decorative label makers and materials to match. With a little creativity, you can turn your spice jars into a beautiful and functional part of your kitchen, and I’m excited to see how you’ll make this project your own.
Chalkboard Spice Jars Diy
I’m obsessed with chalkboard paint, and it’s a total lifesaver for labeling spice jars in my tiny kitchen. To give your jars a chic, erasable label, simply brush on a coat of chalkboard paint, let it dry, and add your spice names with a piece of white chalk. It’s easy to switch up the labels whenever you need to, and it adds a cute, rustic touch to my kitchen shelves.
I like to get creative with my chalkboard labels by adding little doodles or icons to match the spice inside – it’s a fun way to make my kitchen feel more personal. Plus, the chalkboard paint is super easy to find at most craft stores, making this DIY project a breeze to tackle, even for a beginner like I was when I first started out.
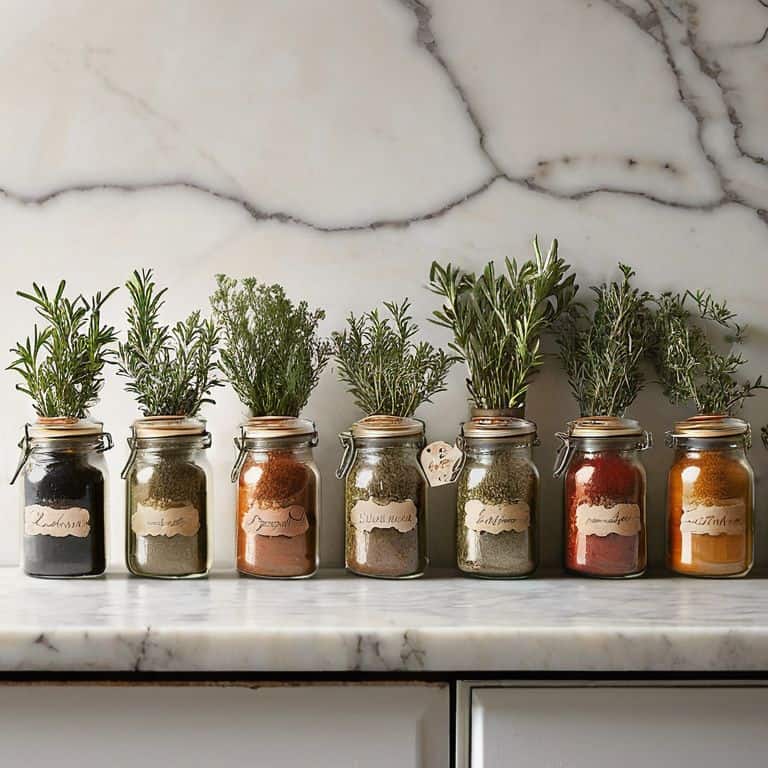
Customizable Spice Jar Labels
Now that we’ve made labeling a breeze, let’s talk about making it personalized. I love that these labels can be customized to fit my kitchen’s vibe. You can use different colors, fonts, and even add cute little icons to match your style. I’ve seen some amazing examples online, from minimalist chic to playful and whimsical. The best part? You can easily switch them up whenever you feel like giving your kitchen a refresh.
I’ve experimented with a few different designs, and my favorite so far is a simple black and white theme with tiny illustrations of each spice. It adds a touch of personality to my spice rack and makes cooking even more enjoyable. Feel free to get creative and make your labels truly one-of-a-kind – after all, it’s all about having fun and making your space reflect your personality!
Spicing Up Your Organization: 5 Key Tips for Creative Spice Jar Labeling
- Choose a labeling method that fits your style, whether it’s a colorful sticker, a chalkboard paint makeover, or a elegant calligraphy marker
- Keep it simple and consistent by using a uniform labeling system across all your spice jars for a visually pleasing look
- Get creative with the information you include on your labels, such as the spice name, its origin, or even a favorite recipe that uses it
- Consider the durability of your labels, opting for waterproof or smudge-proof options to ensure they withstand the humid kitchen environment
- Make it a fun DIY project by involving family members or friends, and experiment with different fonts, colors, and designs to give your spice jars a personalized touch
Bringing It All Together: 3 Key Takeaways
I’ve learned that with a little creativity, even the smallest of kitchens can have a beautifully organized spice station that’s both functional and easy on the eyes
Customizable and DIY labeling solutions, such as chalkboard spice jars, can add a touch of personality to your kitchen while keeping your spices in order
By implementing these simple and budget-friendly DIY projects, you can transform your tiny kitchen into a space that is not only efficient but also reflects your personal style and flair
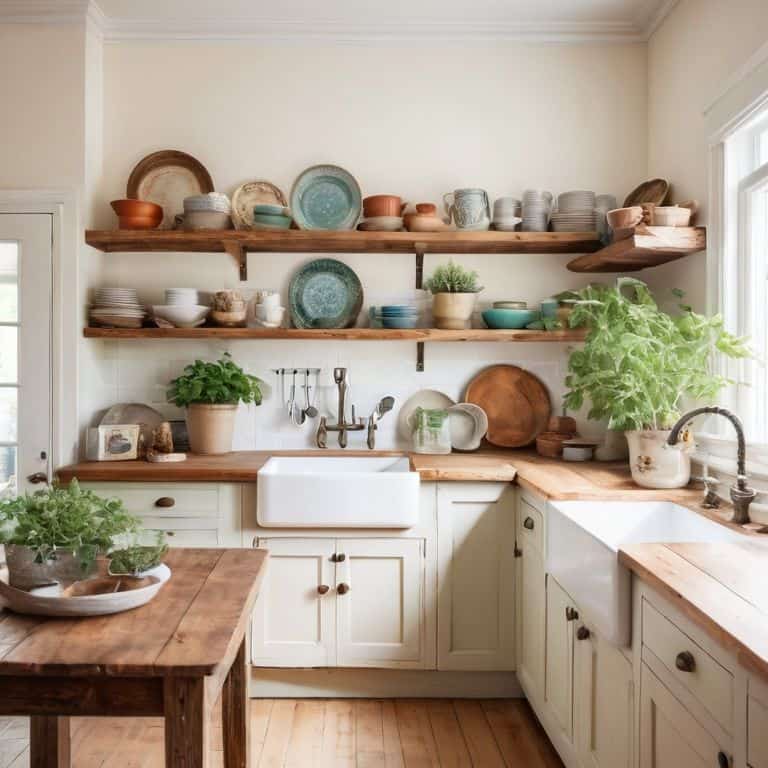
Spicing Up Your Space
For me, labeling my spice jars isn’t just about organization – it’s about transforming a tiny kitchen into a vibrant, functional haven, one beautifully crafted label at a time.
Maya Torres
Spicing Up Your Space: A Lasting Impression
As we’ve explored the world of creative spice jar labeling, I hope you’ve discovered that with a little imagination and some basic materials, you can transform your kitchen into a more organized and visually appealing space. From customizable labels to chalkboard spice jars, we’ve covered a range of DIY projects that cater to different tastes and needs. The key takeaway is that labeling your spice jars is not just about functionality; it’s also an opportunity to add a personal touch to your kitchen decor. By choosing a method that reflects your style, you can create a cohesive look that makes your kitchen feel more like home.
As you embark on your own spice jar labeling journey, remember that empowerment through DIY is not just about the end result; it’s about the process of creating something with your own hands. It’s about embracing the idea that even the smallest spaces can be beautifully functional. So, don’t be afraid to experiment, try new things, and make mistakes – they’re all part of the journey to a more personalized and efficient kitchen. Happy crafting, and I look forward to sharing more DIY adventures with you!
Frequently Asked Questions
Will this labeling method work on glass jars with a curved surface?
Absolutely, this labeling method works on curved glass jars! I’ve used it on my own set of vintage apothecary jars, and the labels conform nicely to the curve. Just make sure to apply the label slowly and smooth out any air bubbles as you go, and you’re all set!
Can I use a regular marker instead of a chalk marker for the chalkboard spice jars?
While you can use a regular marker, it won’t wipe off as easily as chalk marker, which defeats the purpose of chalkboard labels. Trust me, I’ve tried! If you don’t have a chalk marker, you can also use actual chalk, but be aware it might smudge. For the best results, I recommend investing in a good-quality chalk marker.
How do I prevent the labels from fading or smudging over time, especially when cleaning the jars?
To keep my labels looking fresh, I use a clear coat of varnish or Mod Podge to seal them. It’s a simple trick that makes them smudge-proof and easy to wipe clean. Just apply a thin layer, let it dry, and you’re good to go – your labels will stay vibrant and intact, even after multiple washes!