I still remember the day I realized my tiny kitchen wasn’t a limitation, but an opportunity to get creative. I was struggling to find space for my spices, and that’s when I started searching for tutorials on how to build a spice rack. What I found was a mix of overly complicated designs and flimsy, store-bought solutions that just didn’t cut it. But I was determined to find a better way, and that’s exactly what I want to share with you today. I’ve learned that with a little bit of imagination and some basic DIY skills, you can create a spice rack that’s both functional and beautiful.
In this article, I’ll walk you through my favorite DIY project for building a spice rack that’s perfect for small kitchens like mine. I’ll share my step-by-step process, from planning to execution, and provide you with practical tips and tricks to make the most out of your space. You’ll learn how to create a custom spice rack that fits your needs and style, without breaking the bank or requiring any advanced carpentry skills. My goal is to empower you to take control of your kitchen and make it a reflection of your personality, one DIY project at a time. So, let’s get started and build a spice rack that will make your cooking experience more enjoyable and efficient!
Table of Contents
Guide Overview: What You'll Need
Total Time: 2 hours 30 minutes
Estimated Cost: $20 – $40
Difficulty Level: Easy
Tools Required
- Table Saw for cutting lumber to size
- Drill Press for precise drilling
- Hand Drill for screwing pieces together
- Sander for smoothing out wood surfaces
- Tape Measure for measuring and marking lumber
- Square for ensuring accurate corners
- Clamp for holding pieces in place during assembly
Supplies & Materials
- 2-in x 4-in lumber for the frame of the spice rack
- 3/4-in plywood for the back and shelves of the spice rack
- Wood Screws 1 inch and 2 inches long
- Wood Glue for reinforcing joints
- Sandpaper for smoothing out wood surfaces
- Paint or Stain optional, for finishing the spice rack
- Decorative Trim optional, for adding a finished look
Step-by-Step Instructions
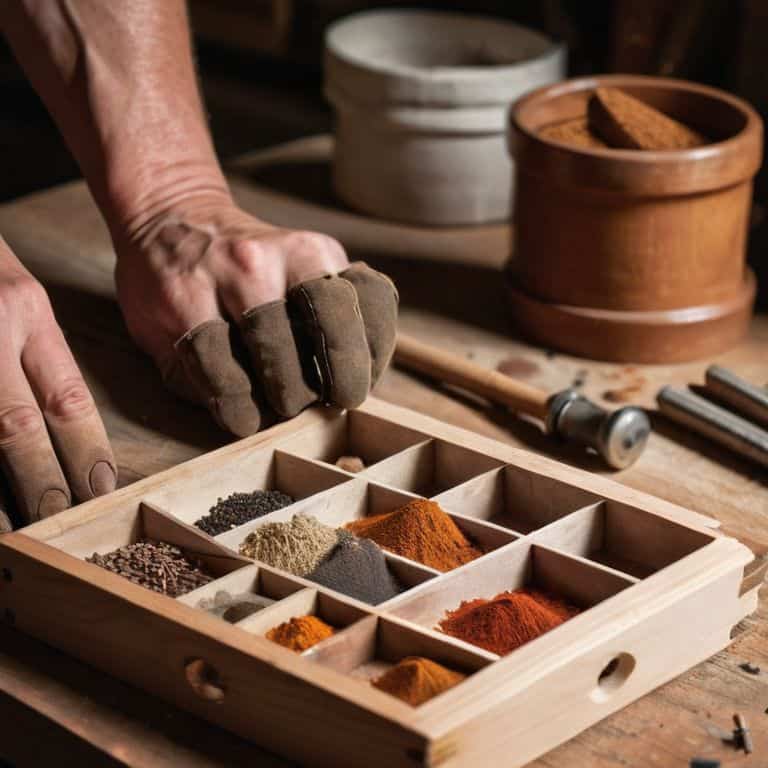
- 1. First, let’s start by gathering our materials, which include a few simple tools like a drill, a hammer, and a saw. We’ll also need some wooden planks, screws, and a hinge for our spice rack door. I like to repurpose old furniture or use scraps from my scrap wood collection to make my projects more eco-friendly and budget-friendly.
- 2. Next, we need to measure and cut our wooden planks to the desired size for our spice rack. I recommend using a laser level to ensure our cuts are straight and precise. For my tiny kitchen, I’m using planks that are about 6 inches wide and 12 inches long, but you can adjust the size based on your available space and the number of spices you want to store.
- 3. Now, let’s assemble the frame of our spice rack using the cut wooden planks and some screws. It’s essential to pre-drill the screw holes to avoid splitting the wood, especially if you’re using a softer type of wood. I like to use a drill with a built-in level to make this process easier and more accurate.
- 4. With the frame assembled, it’s time to add the shelves and the back panel to our spice rack. I’m using three shelves, each about 2 inches apart, to maximize the storage space. Remember to measure twice and cut once to ensure your shelves fit perfectly inside the frame.
- 5. To make our spice rack more functional, let’s add a door with a hinge. This will help keep our spices organized and protected from dust and moisture. I recommend using a magnetic catch to keep the door closed when not in use. This is a simple but very effective solution to keep everything tidy.
- 6. Now that our spice rack is taking shape, let’s add some decorative trim to give it a more polished look. You can use a variety of materials for this, such as wooden trim, paint, or even stickers. I’m using a simple white paint to match my kitchen’s color scheme and make the spice rack blend in seamlessly.
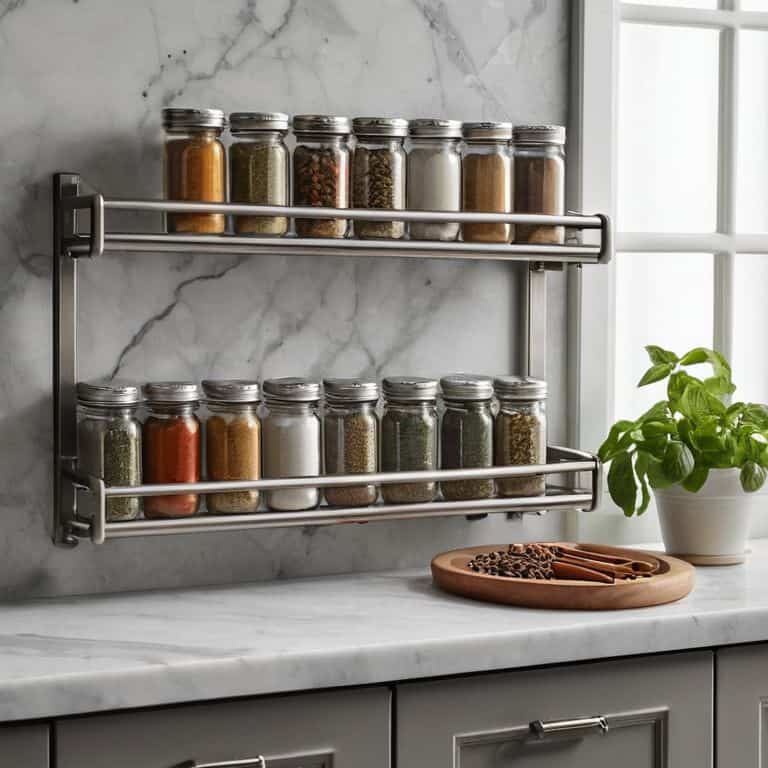
- 7. Finally, let’s install our spice rack in the kitchen. I’m mounting mine on the wall near my stove to keep my spices within easy reach. Make sure to use wall anchors to secure the rack firmly to the wall, especially if you’re renting your apartment and want to avoid damaging the walls. This will ensure your spice rack stays in place and doesn’t fall, even when fully loaded with spices.
Spice Rack Diy Mastery
As I continued to work on my custom spice rack plans, I realized that the key to a successful DIY project is not just about following instructions, but also about understanding the nuances of spice organization ideas. It’s essential to consider the layout of your kitchen, the type of spices you use most frequently, and the overall aesthetic you want to achieve. By taking these factors into account, you can create a spice rack that is both functional and beautiful.
One of the most significant advantages of building a spice rack cabinet is that it allows you to maximize your storage space. By designing a custom cabinet, you can tailor it to your specific needs, taking into account the size and shape of your spices, as well as any other kitchen essentials you want to store. This approach enables you to create a spice storage solution that is tailored to your unique kitchen setup.
When it comes to easy spice rack DIY projects, it’s all about simplicity and creativity. Don’t be afraid to think outside the box and experiment with different materials and designs. For example, you can repurpose an old wooden crate or use reclaimed wood to create a unique and rustic spice rack. By embracing your creativity, you can create a one-of-a-kind spice rack design for small kitchens that reflects your personal style and adds a touch of warmth to your cooking space.
Custom Spice Rack Plans for Tiny Kitchens
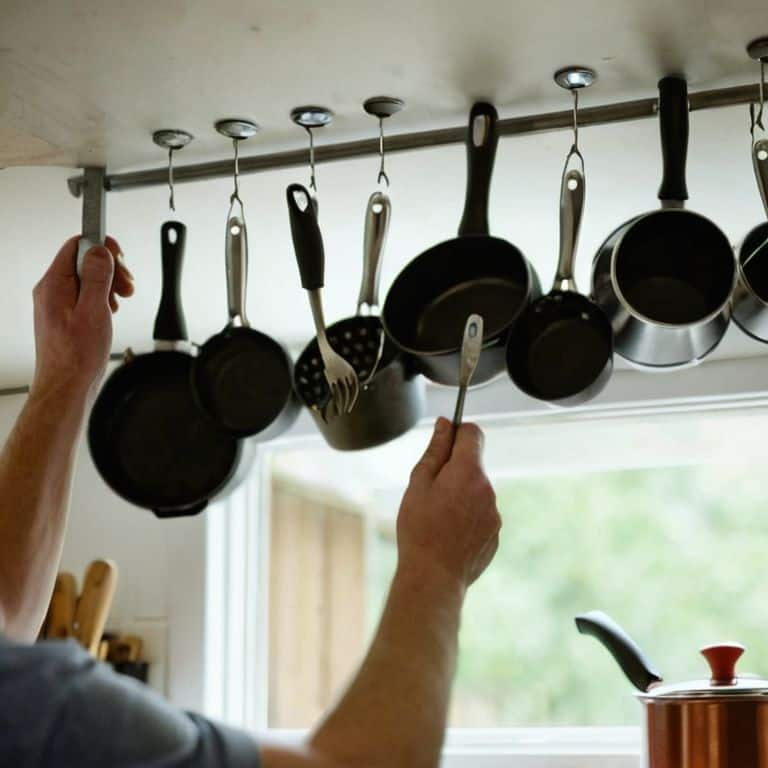
For tiny kitchens like mine, it’s all about maximizing vertical space. I love creating custom spice rack plans that fit snugly between appliances or on a narrow wall. Consider the “slide-out” design, where the rack is mounted on a sliding track, allowing easy access to spices without taking up precious counter space. Alternatively, you can opt for a “fold-down” model, perfect for tucking away against a wall when not in use. Both designs are perfect for making the most of your tiny kitchen’s unique layout.
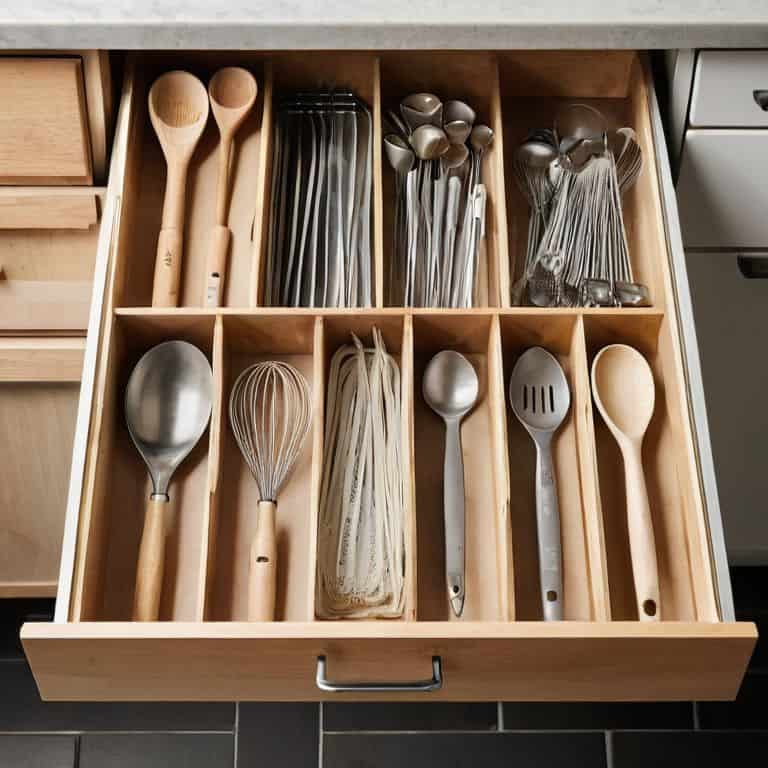
When designing your custom spice rack, think about the types of spices you use most often and how you can group them for easy access. You can also incorporate additional features like a built-in knife block or a small tray for oils and vinegars. The key is to create a functional and beautiful space that reflects your personal cooking style.
Easy Spice Storage Solutions to Try Now
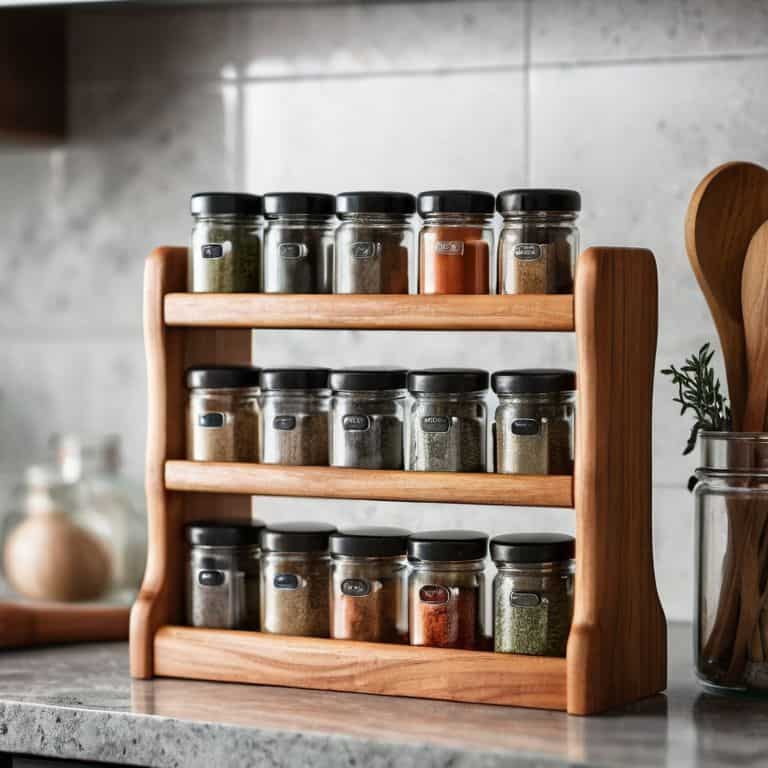
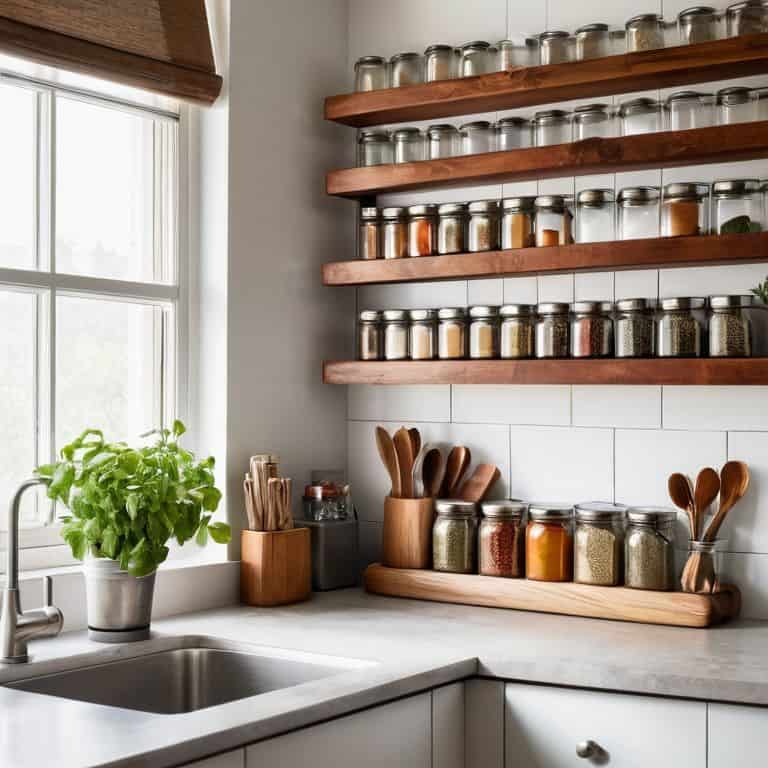
Now that we’ve explored custom plans for tiny kitchens, let’s dive into some easy solutions to get you started. I’m a huge fan of repurposing everyday items, like mason jars or small wooden crates, to create adorable spice storage. Simply attach the jars or crates to a wooden board or a magnetic strip, and you’ll have a charming spice rack in no time.
For an even quicker fix, try using adhesive magnetic strips on the side of your kitchen cabinet or fridge to store your spices. This is a great renter-friendly option that won’t damage your walls or cabinets. With these simple solutions, you can keep your spices organized and within reach, making cooking a breeze in your tiny kitchen.
5 Essential Tips for Building Your Dream Spice Rack
- Start with a solid plan: Before you begin building, consider the size of your kitchen, the types of spices you use most, and the style you’re aiming for – it’ll make the process so much smoother!
- Choose the right materials: I’m a huge fan of upcycling old wooden crates or pallets for a unique, eco-friendly look that adds character to your kitchen
- Measure twice, drill once: Trust me, I’ve learned this one the hard way – take your time to ensure everything is perfectly aligned and you’ll avoid any frustrating mistakes
- Add a personal touch: Think about what makes your kitchen special and incorporate that into your spice rack design – maybe it’s a pop of color, a fun pattern, or a sentimental decoration
- Keep it functional: Remember, the goal of a spice rack is to make your cooking life easier, so don’t be afraid to get creative with storage solutions and make the most of your space!
3 Key Takeaways to Spice Up Your Kitchen
By building a custom spice rack, you can transform your tiny kitchen into a more organized and functional space that reflects your personal style
With a few simple materials and some creativity, you can create a beautiful and ruthlessly functional spice storage solution that keeps your countertops clutter-free
Whether you’re a renter or a homeowner, DIY spice rack projects offer a budget-friendly and empowering way to take control of your kitchen design and make the most of your small space
Spicing Up Your Space
A DIY spice rack isn’t just about storing spices, it’s about reclaiming your kitchen counter and unlocking a world of culinary possibilities – one tiny, beautiful space at a time.
Maya Torres
Empowering Your Kitchen Space
As we conclude this DIY journey, let’s recap the key takeaways: we’ve learned how to build a functional spice rack, explored custom plans for tiny kitchens, and discovered easy storage solutions. By applying these principles, you’ll be well on your way to creating a more organized and efficient cooking space. Remember, the goal is to make the most of your small kitchen, and with a little creativity and some basic tools, you can achieve a beautifully functional area that sparks joy and inspires culinary adventures.
So, don’t be afraid to get creative, experiment with new ideas, and push the boundaries of what’s possible in your tiny kitchen. With every DIY project, you’re not only solving a practical problem, but also empowering yourself to take control of your space and make it truly yours. Keep building, creating, and most importantly, have fun – your kitchen, and your sense of pride, will thank you!
Frequently Asked Questions
What type of materials are best for building a spice rack that will withstand heavy use?
For a spice rack that can withstand heavy use, I recommend using solid wood or reclaimed wood for the shelves and a sturdy metal or wooden frame. You can also add a waterproof coating to protect it from spills and splatters. I personally love using pine or cedar wood for their durability and rustic charm.
How can I customize the size and design of my spice rack to fit a specific corner or wall in my tiny kitchen?
To customize your spice rack, measure your corner or wall space, and adjust the design accordingly. Consider the size and number of spice bottles you need to store. You can also play with different materials, like reclaimed wood or metal, to fit your kitchen’s style. Get creative and think outside the box – or in this case, the corner!
What are some creative ways to attach the spice rack to the wall without damaging the paint or drywall?
For damage-free hanging, I swear by 3M command strips or adhesive hooks – they’re removable and won’t harm your paint or drywall. You can also use magnetic spice strips if you have metal studs, or opt for a freestanding spice rack that doesn’t need wall attachment at all!