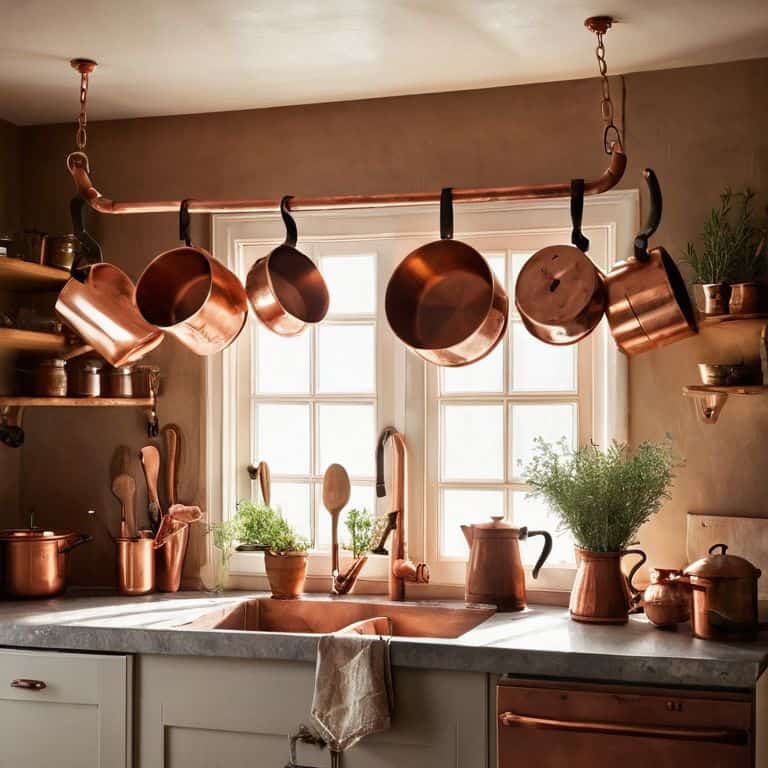
I still remember the day I realized that a tiny kitchen isn’t a limitation, but an opportunity to get creative. I was struggling to find space for my pots and pans, and that’s when I stumbled upon a guide to making a copper pipe pot rack. It sounded like a daunting task, but I was determined to give it a try. As I began to work on my project, I discovered that with a few simple tools and some copper pipe magic, I could create a beautiful and functional pot rack that would make my kitchen feel more spacious.
In this article, I’ll share my honest and no-nonsense approach to making a copper pipe pot rack. I’ll walk you through the process, step by step, and provide you with practical tips and tricks to ensure that your project turns out perfectly. Whether you’re a seasoned DIY enthusiast or a beginner, this guide is designed to be accessible and fun. So, if you’re ready to add some personality to your tiny kitchen and make the most of your space, let’s get started on this exciting project together!
Table of Contents
- Guide Overview: What You'll Need
- Step-by-Step Instructions
- A Guide to Making a Copper Pipe Pot Rack
- Hammering Out the Details: 5 Essential Tips for Your Copper Pipe Pot Rack
- Key Takeaways for a Copper Pipe Pot Rack
- Hammering Home the Point
- Bringing It All Together: Your Copper Pipe Pot Rack
- Frequently Asked Questions
Guide Overview: What You'll Need
Total Time: 3 hours 15 minutes
Estimated Cost: $50 – $100
Difficulty Level: Intermediate
Tools Required
- Pipe cutter (for cutting copper pipes to size)
- Drill press (for precise drilling)
- Handheld drill (for making screw holes)
- Wrench (for tightening fittings)
- Measuring tape (for measuring and marking pipes)
- Level (for ensuring the rack is level)
- Pencil and marker (for marking pipes and walls)
Supplies & Materials
- Copper pipes (1/2 inch or 1 inch diameter, various lengths)
- Copper pipe fittings (elbows, tees, and end caps)
- Wood screws (for mounting the rack to the wall)
- Wall anchors (for securing screws in drywall or plaster)
- Copper pipe hangers (for supporting the weight of pots and pans)
- Decorative caps (optional, for finishing the ends of the pipes)
Step-by-Step Instructions
- 1. First, let’s gather our materials: we’ll need copper pipes, pipe fittings, a drill, a hacksaw, and some sandpaper. I like to think of this step as the fun part – it’s like shopping for a new project, and I get to explore all the possibilities. Make sure you have all the necessary tools and materials before you start, as it will make the process much smoother.
- 2. Next, we need to measure our kitchen to determine the perfect size for our pot rack. Take into consideration the height of your ceiling, the width of your kitchen, and the size of your pots and pans. I’ve found that a good rule of thumb is to leave about 12-18 inches between the top of the pot rack and the ceiling. This will give you plenty of room to hang your cookware without feeling cramped.
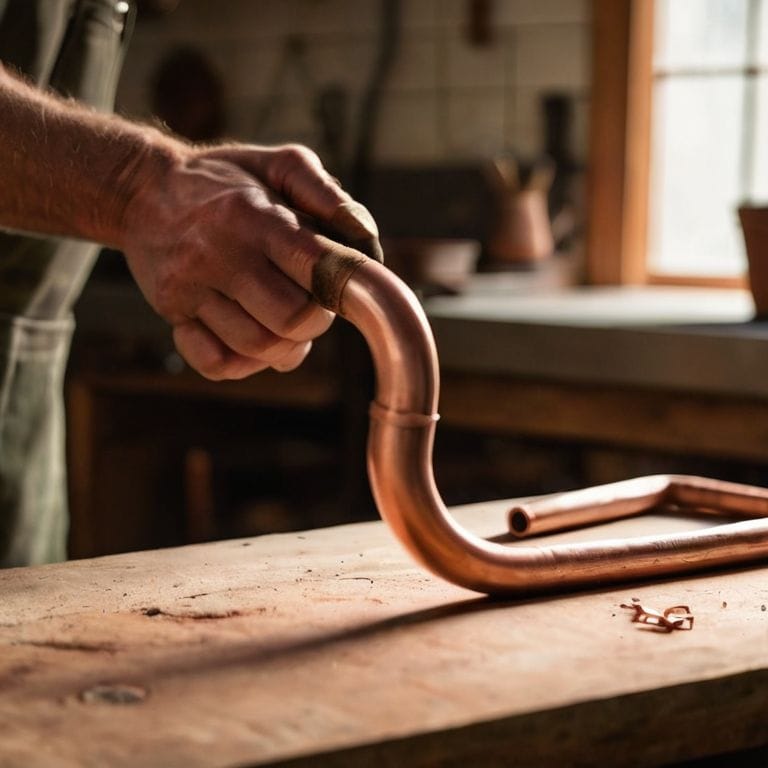
- 3. Now it’s time to cut the copper pipes to the desired length. Use a hacksaw to cut the pipes, and then sand the cut ends to smooth them out. Be careful not to cut yourself on the sharp edges – I like to wear gloves to protect my hands. It’s also a good idea to use a pipe cutter if you have one, as it will give you a cleaner cut.
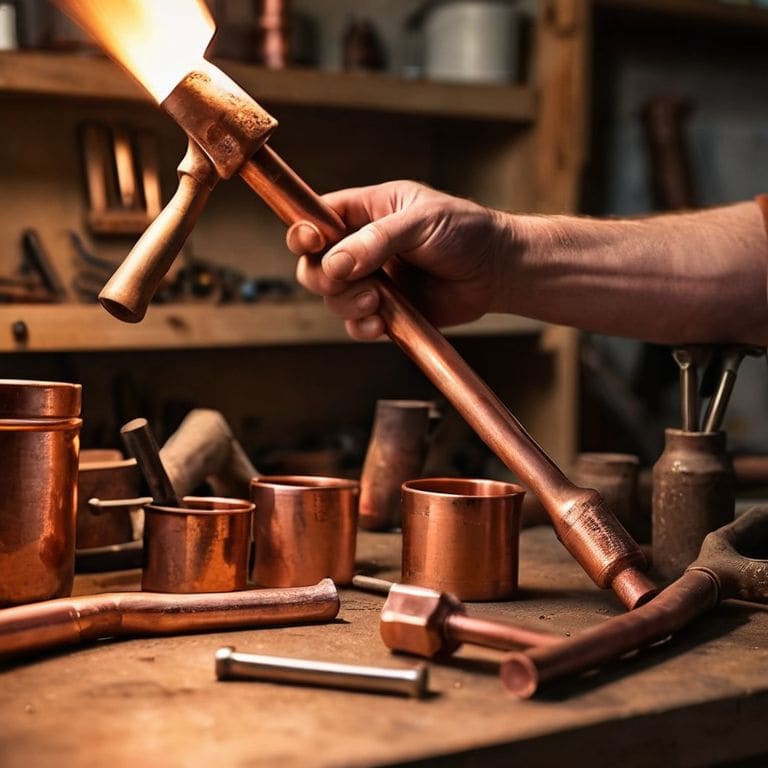
- 4. In this step, we’ll assemble the frame of our pot rack using the pipe fittings. This is where things can get a little tricky, but don’t worry, it’s easier than it looks. Simply attach the fittings to the ends of the pipes and tighten them securely. Make sure the frame is sturdy and can hold the weight of your pots and pans.
- 5. Next, we’ll attach the hooks to the frame. You can use screw-in hooks or adhesive hooks, depending on the type of material your kitchen walls are made of. I like to use a combination of both for added security. Space the hooks out evenly, leaving enough room for each pot and pan to hang comfortably.
- 6. Now it’s time to hang our pot rack. Use a level to ensure the rack is straight, and then mark the spot where you’ll drill the holes for the screws. Drill the holes and screw the rack into place, making sure it’s secure and level. I like to double-check my work to make sure everything is perfect.
- 7. Finally, let’s add the finishing touches to our pot rack. You can add a coat of clear varnish to protect the copper pipes from tarnishing, or leave them as is for a more rustic look. I like to add a few decorative touches, such as a sprig of fresh rosemary or a small potted plant, to give my kitchen a personalized touch. Stand back and admire your handiwork – you’ve just created a beautiful and functional copper pipe pot rack!
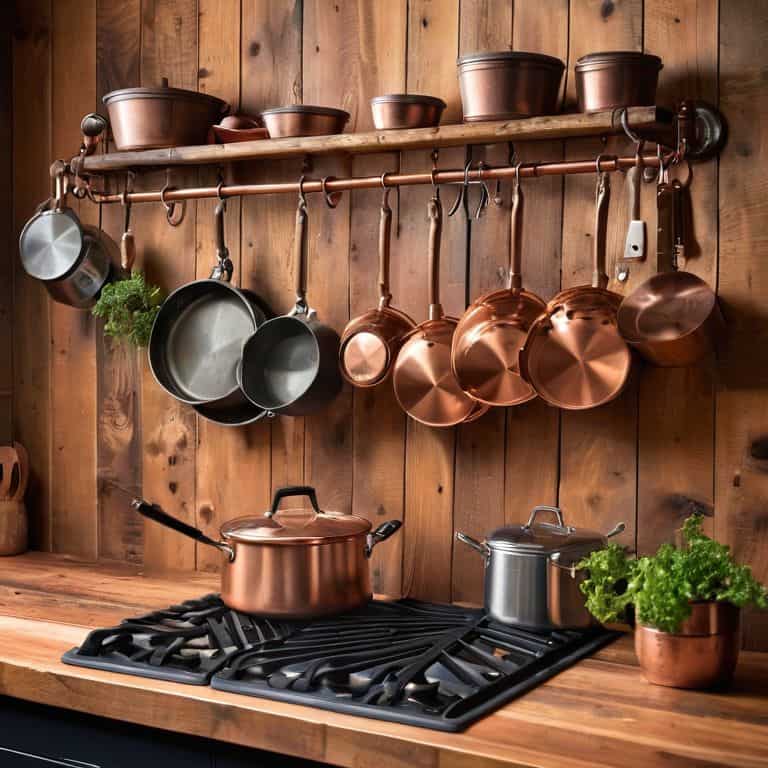
A Guide to Making a Copper Pipe Pot Rack
As I always say, a drill is the most empowering tool you can own, and it’s especially true when tackling copper pipe projects for kitchen like this one. When working with copper pipes, it’s essential to consider the overall aesthetic you want to achieve. For an industrial kitchen decor look, you can pair the copper pipes with reclaimed wood or metal accents. This combination will add a touch of sophistication to your kitchen while maintaining a functional and practical atmosphere.
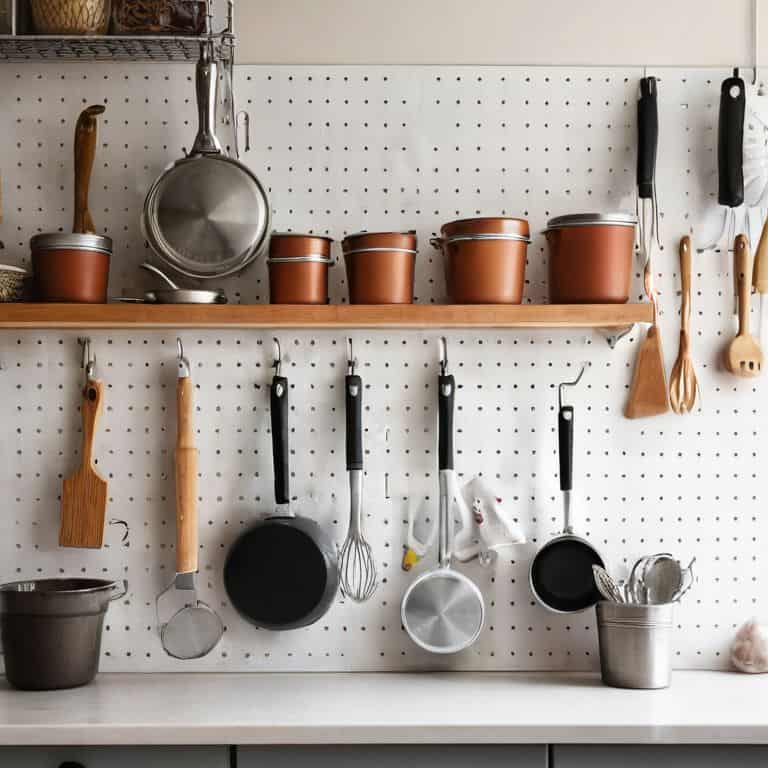
To take your copper pipe pot rack to the next level, think about incorporating easy diy kitchen storage solutions. You can add small wooden or metal baskets to store spices, oils, or other kitchen essentials. This will not only keep your kitchen organized but also add a decorative element to your pot rack. When designing your copper pipe shelving units, remember to measure your kitchen space carefully to ensure a perfect fit.
By following these tips and experimenting with different materials, you can create a unique and functional copper and wood kitchen decor piece that reflects your personal style. Don’t be afraid to get creative and try out new diy pot rack plans – after all, that’s what making a tiny kitchen beautiful is all about. With a little patience and imagination, you can turn your kitchen into a stunning space that’s both functional and visually appealing.
Copper Pipe Projects for Kitchen Charm
Now that we’ve hammered out our copper pipe pot rack, let’s explore more ways to bring kitchen charm with copper pipe projects. From shelving units to kitchen island extensions, the possibilities are endless. I love repurposing copper pipes to add a touch of industrial chic to my tiny kitchen. With a few simple tools and some creativity, you can create unique pieces that reflect your personal style.
Consider adding copper pipe lighting or a copper pipe kitchen cart to enhance your kitchen’s functionality and aesthetic. These projects are not only beautiful but also ruthlessly functional, making the most of your small space. Get inspired and start experimenting with copper pipes to uncover the hidden potential in your kitchen!
Easy Diy Pot Rack Plans With Copper Twist
Now that we’ve got our copper pipe pot rack underway, let’s talk about what makes this project truly special – the ease of customization. With just a few simple twists and turns, you can create a one-of-a-kind pot rack that reflects your personal style. I love experimenting with different copper pipe configurations to add a touch of industrial chic to my tiny kitchen. Whether you’re a fan of sleek and modern or rustic and vintage, the beauty of this project lies in its versatility. By incorporating copper pipes into your pot rack design, you’ll not only add a pop of warmth and character but also create a functional piece that’ll make cooking and meal prep a breeze.
Hammering Out the Details: 5 Essential Tips for Your Copper Pipe Pot Rack
- Measure Twice, Drill Once: Double-check your kitchen’s dimensions to ensure your pot rack fits perfectly, and don’t be afraid to get creative with the layout
- Choose the Right Copper: Select a copper pipe that’s durable, yet elegant, and consider the patina it will develop over time – it’s all part of the charm!
- Add a Personal Touch: Incorporate decorative elements, like wooden accents or metal finishes, to give your pot rack a unique personality that reflects your kitchen style
- Safety First: Always use a level and a drill with caution, and make sure your pot rack is securely attached to the wall to avoid any accidents or damage
- Get Inspired, Not Intimidated: Don’t be discouraged if your first attempt doesn’t turn out perfectly – upcycling and DIY are all about experimentation, and every ‘mistake’ is an opportunity to learn and improve
Key Takeaways for a Copper Pipe Pot Rack
By repurposing copper pipes, you can create a unique and functional pot rack that adds a touch of industrial chic to your tiny kitchen
With basic DIY tools and a bit of creativity, you can transform your kitchen into a more organized and efficient space, proving that small spaces don’t have to mean small personalities
Upcycling materials like copper pipes not only reduces waste but also allows for budget-friendly and renter-friendly solutions, making it possible for anyone to give their kitchen a personalized makeover without breaking the bank
Hammering Home the Point
A copper pipe pot rack is more than just a storage solution – it’s a declaration of independence from boring, cookie-cutter kitchen designs, and a celebration of the beauty that can be found in the most unexpected places, like a flea market or a hardware store!
Maya Torres
Bringing It All Together: Your Copper Pipe Pot Rack
As we wrap up this guide to making a copper pipe pot rack, let’s recap the key takeaways: we’ve covered the essential materials, from copper pipes to wooden boards, and walked through a step-by-step process to create a functional and elegant pot rack. The beauty of DIY lies in its ability to transform ordinary items into extraordinary solutions, and this project is no exception. By repurposing copper pipes, you’re not only adding a touch of sophistication to your kitchen but also creating a space-saving storage solution for your pots and pans.
Now that you’ve hammered out your very own copper pipe pot rack, remember that the power of DIY lies within you. Don’t be afraid to experiment, to try new things, and to push the boundaries of what’s possible in your tiny kitchen. With every project, you’re not only creating something beautiful and functional, but you’re also empowering yourself to take control of your space and make it truly yours. So go ahead, get creative, and show off your handmade copper pipe pot rack – you never know what other DIY adventures await you!
Frequently Asked Questions
What are the essential tools I need to have in my toolbox to make a copper pipe pot rack?
To get started on your copper pipe pot rack, you’ll need a few essentials in your toolbox: a drill, pipe cutter, and some sandpaper. Don’t forget a level and a measuring tape to keep things straight and accurate. And, of course, my favorite – a trusty hammer to tap things into place!
How do I ensure the copper pipes are securely attached to the wall without damaging the drywall?
To secure those copper pipes without damaging the drywall, I swear by using wall anchors specifically designed for drywall. They distribute the weight evenly and come out easily when you’re ready for a change. Just drill a small pilot hole, screw in the anchor, and hang your pot rack – it’s a total game-changer for renters like me!
Can I customize the design of my copper pipe pot rack to fit my kitchen's unique style and layout?
Absolutely, customize away! I love that you’re thinking of making your copper pipe pot rack truly yours. Swap out the standard copper pipes for brass or gold-toned ones, or add some decorative wood accents to match your kitchen’s vibe. Get creative and have fun with it – that’s what DIY is all about!