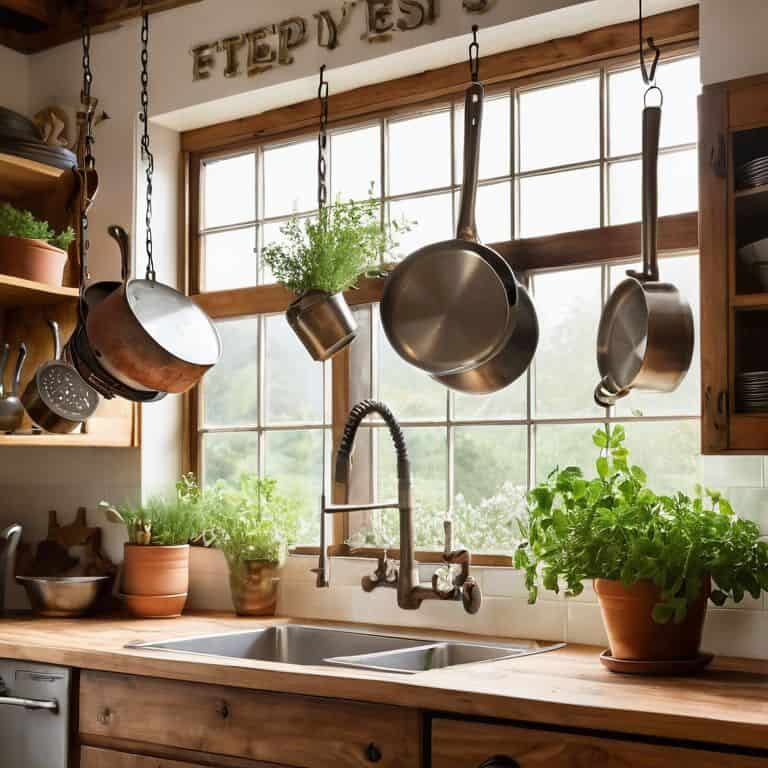
I still remember the day I decided to take on my tiny kitchen’s clutter problem by learning how to build a pot rack. It was a game-changer – no more rummaging through cabinets or sacrificing precious counter space. The common myth that building a pot rack is a daunting task, requiring a lot of space and expertise, is simply not true. With a few simple tools and some creative thinking, you can create a functional and beautiful pot rack that will make your cooking experience so much more enjoyable.
In this article, I’ll walk you through the process of building a pot rack that’s both functional and visually appealing. I’ll share my personal tips and tricks for choosing the right materials, designing the perfect layout, and assembling the rack with ease. You’ll learn how to create a custom pot rack that fits your unique kitchen style and needs, without breaking the bank or requiring a lot of technical expertise. By the end of this guide, you’ll be equipped with the knowledge and confidence to tackle this project and start enjoying a more organized, clutter-free kitchen.
Table of Contents
Guide Overview: What You'll Need
Total Time: 2 hours 30 minutes
Estimated Cost: $50 – $100
Difficulty Level: Intermediate
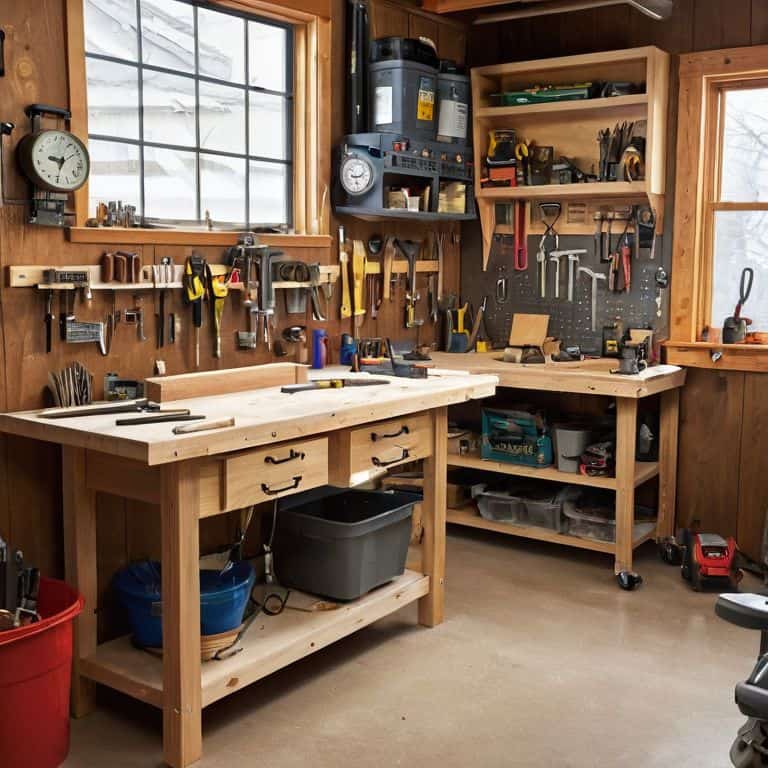
Tools Required
- Drill Press (for precise drilling)
- Hand Saw (or circular saw for cutting lumber)
- Sander (for smoothing out wood surfaces)
- Tape Measure (for accurate measurements)
- Level (for ensuring the rack is straight)
- Wrench (for tightening bolts)
- Pencil and Marker (for marking wood and walls)
Supplies & Materials
- 2-in x 4-in lumber (for the frame)
- 3/4-in plywood (for the shelves)
- Metal Hooks (for hanging pots)
- Screws (2 inches long for assembling the frame)
- Nails (1.5 inches long for attaching shelves)
- Wall Anchors (for securing the rack to the wall)
- Wood Glue (for reinforcing joints)
- Sandpaper (for finishing the wood surface)
- Wood Finish (optional, for protecting the wood)
Step-by-Step Instructions
- 1. First, let’s start by gathering all the necessary materials for our pot rack project. We’ll need some sturdy wood for the frame, a few screws, a drill, and some hooks to hang our pots and pans. I like to think of this step as the foundation of our project, where we get to get creative with the materials we have on hand.
- 2. Next, we need to measure our kitchen wall to determine the perfect spot for our pot rack. This is where the magic happens, and we get to visualize our final product. Take note of any electrical outlets, windows, or other obstacles that might affect the placement of our rack. I usually use a level and a pencil to mark the spot where I want to hang my rack.
- 3. Now it’s time to cut our wood into the required pieces for the frame. I like to use a miter saw for this step, as it gives me a clean and precise cut. If you don’t have a miter saw, don’t worry! A good old-fashioned handsaw will do the trick. Just remember to wear protective gloves and safety glasses to avoid any accidents.
- 4. With our wood pieces cut, we can start assembling the frame of our pot rack. This is where we get to bring it all together and see our project take shape. Use screws to attach the pieces, and make sure they’re tightened securely. I like to double-check my work at this stage to ensure everything is level and sturdy.
- 5. Once our frame is built, we can attach the hooks that will hold our pots and pans. I like to space them out evenly, leaving about 2-3 inches between each hook. This is where we get to think about the functional design of our pot rack and how we want it to work for us. Do we want to hang our most frequently used pots and pans on the bottom hooks, or reserve those for our less-used items?
- 6. Now it’s time to hang our pot rack on the wall. This is the final stretch, and we get to see our project come to life. Use a level to ensure the rack is straight, and then screw it into the wall using anchor screws or nails. Make sure they’re securely fastened to hold the weight of our pots and pans.
- 7. Finally, let’s add some personal touches to our pot rack. We can add a coat of paint or stain to match our kitchen decor, or attach some decorative trim to give it a more polished look. This is where we get to make it our own and add some personality to our project. I like to think of this step as the icing on the cake, where we get to enjoy the fruits of our labor and admire our handiwork.
How to Build a Pot Rack
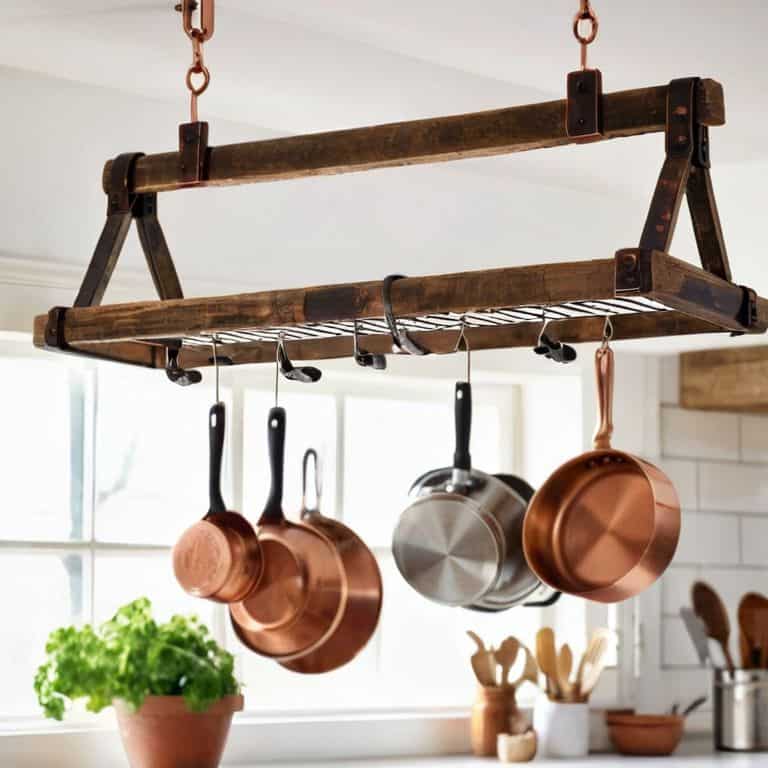
When it comes to custom pot rack designs, the possibilities are endless, and I love experimenting with different materials and styles to match my tiny kitchen’s aesthetic. For my own pot rack, I used reclaimed wood and industrial-style hardware to give it a unique, rustic touch. One thing to keep in mind when choosing your materials is the cost – pot rack materials and costs can vary greatly, so it’s essential to set a budget and stick to it.
To ensure a sturdy and secure installation, I recommend investing in high-quality wall mounted pot rack hardware. This will not only provide a sleek and polished finish but also guarantee that your pot rack can hold a substantial amount of weight. When it comes to hanging pot rack installation tips, my top advice is to measure twice and drill once – it’s better to take your time and get it right than to risk damaging your walls or struggling with a wobbly pot rack.
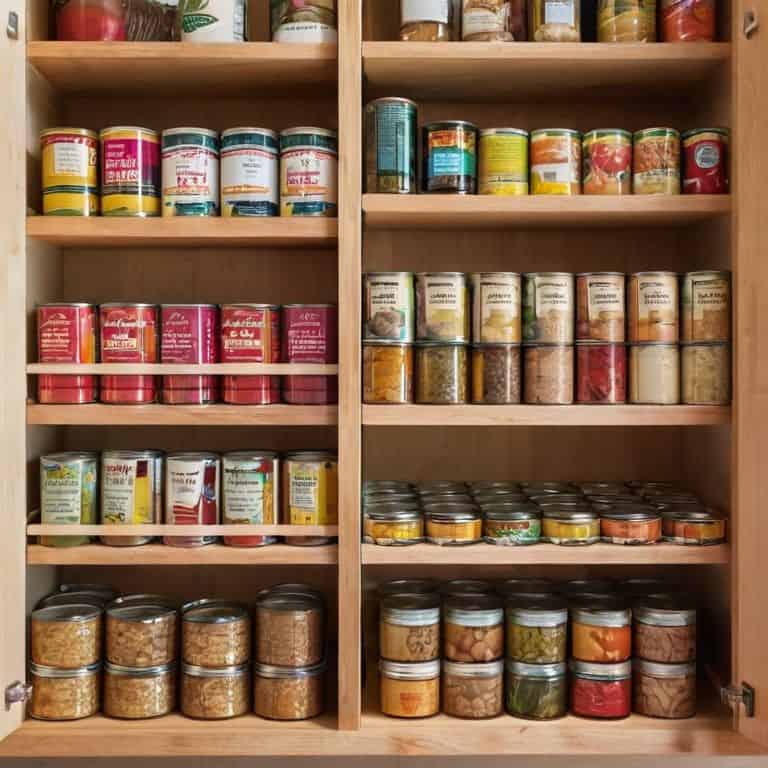
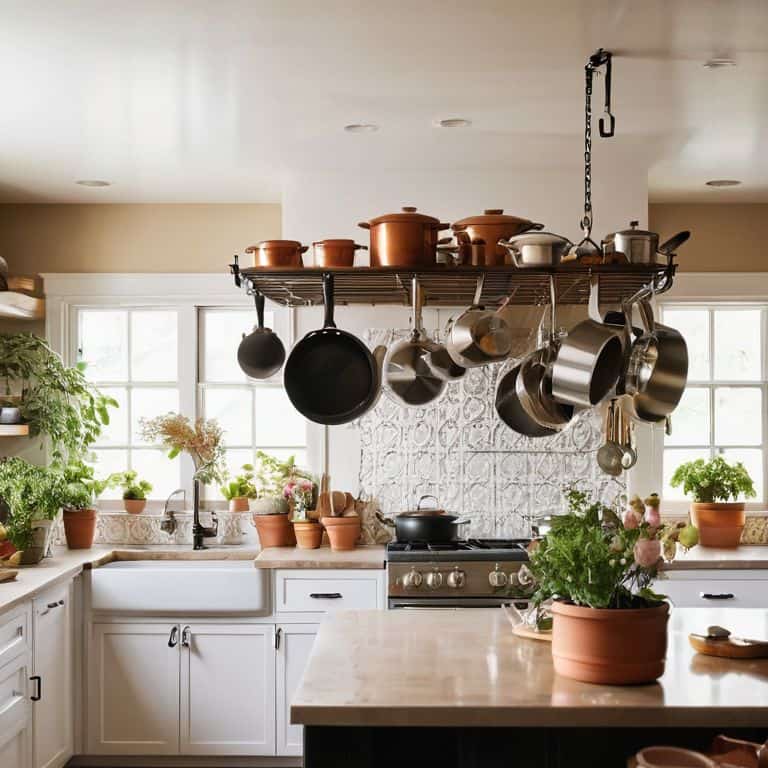
For those with extremely limited space, consider exploring small kitchen pot storage solutions that combine functionality with clever design. My favorite trick is to use the often-wasted space above my kitchen cabinets to hang my pots and pans, keeping them out of the way but still easily accessible. By getting creative with your diy pot rack plans and measurements, you can maximize your kitchen’s potential and create a beautiful, functional space that works for you.
Custom Pot Rack Designs on a Budget
Now that we’ve covered the basics, let’s talk about getting creative with our pot rack design. I love experimenting with different materials and styles to give my kitchen a personal touch. For a budget-friendly option, consider repurposing an old wooden ladder or a metal grid from a flea market find. You can also add some greenery, like a small potted plant or a hanging herb garden, to bring in a natural element.
To take it to the next level, think about the overall aesthetic you want to achieve in your kitchen. Do you prefer a rustic, industrial look or a more minimalist vibe? Choose materials and designs that fit your style, and don’t be afraid to mix and match different elements to create a unique look that’s all your own.
Hanging Pot Rack Installation Tips
When it comes to hanging your new pot rack, it’s all about finding the perfect spot. I like to install mine above a kitchen island or peninsula, where it’s easy to access and adds some visual interest. Make sure to choose a spot with sturdy walls or a solid ceiling that can hold the weight of your pots and pans. I also recommend using a level to ensure your rack is straight and even – it makes a big difference in the overall look and feel of your kitchen.
To hang your pot rack, simply mark the spot where you want to install it, drill some pilot holes, and screw in the hooks or brackets. I like to use a drill with a built-in level, it makes the process so much easier. Double-check that everything is secure before loading up your pots and pans, and you’re good to go!
5 Pot Rack Hacks to Maximize Your Kitchen Storage
- Choose the right materials: Select durable, easy-to-clean materials like metal, wood, or a combination of both to ensure your pot rack withstands the test of time
- Measure twice, drill once: Double-check your ceiling height and pot sizes to ensure your rack is perfectly proportioned and functional
- Add a personal touch: Incorporate decorative elements like copper pipes, reclaimed wood, or colorful hooks to give your pot rack a unique, personalized vibe
- Consider the weight: Calculate the total weight of your pots and pans to determine the best type of hanging hardware and avoid any potential safety hazards
- Think beyond pots: Use your pot rack to store other kitchen essentials like colanders, utensils, or oven mitts to keep your kitchen clutter-free and organized
Key Takeaways for a Clutter-Free Kitchen
By building a custom pot rack, you can free up valuable cabinet space and keep your kitchen organized, even in the tiniest of areas
With a little creativity, you can create a beautiful and functional pot rack on a budget, using materials like reclaimed wood or repurposed metal
Whether you’re a seasoned DIY pro or a beginner, hanging a pot rack is a simple and rewarding project that can make a big impact on your kitchen’s overall feel and functionality
Building a Pot Rack with Purpose
A pot rack isn’t just a storage solution, it’s a declaration of independence from clutter and a celebration of the beauty in functional design – and the best part is, you can build one yourself!
Maya Torres
Wrapping Up Your DIY Pot Rack Project
As we’ve explored in this guide, building a pot rack is a fantastic way to maximize storage space in your tiny kitchen. From the initial planning stages to the final installation, we’ve covered it all – including custom pot rack designs that fit your unique style and budget. By following these steps and tips, you’ve not only gained a functional storage solution but also a beautiful addition to your kitchen. Remember, the key to a successful DIY project is to have fun and be creative with the materials and designs you choose.
Now that you’ve completed your pot rack, take a step back and admire your handiwork – you’ve just empowered your kitchen with a functional and stylish storage solution. As you continue to explore the world of DIY and small-space living, keep in mind that every project, no matter how small, is an opportunity to make your space truly yours. Don’t be afraid to experiment, try new things, and push the boundaries of what’s possible in your tiny kitchen – the results might just surprise you!
Frequently Asked Questions
What kind of materials are best for building a pot rack, and where can I find them?
For my pot rack project, I love using reclaimed wood or metal pipes – they’re budget-friendly and add a cool industrial touch. You can find these materials at your local hardware store, flea market, or even in your own scrap wood collection (like mine!).
How do I determine the ideal size and layout for my pot rack to maximize storage in my tiny kitchen?
To determine the ideal size and layout for your pot rack, measure your kitchen’s available wall space and consider the number and size of pots you want to hang. Think about the ‘work zone’ – where you’ll be cooking and moving around – and place your pot rack in a way that keeps it out of the way but still within easy reach.
Are there any special considerations or safety precautions I should take when installing a pot rack, especially if I'm a renter?
As a renter myself, I always consider the landlord’s rules. When installing a pot rack, use removable adhesive strips or 3M command hooks to avoid damaging the ceiling or walls. Also, ensure the rack is securely fastened to support the weight of your pots and pans.