I still remember the day I realized that living in a small apartment didn’t mean I had to sacrifice my love for cooking. I was determined to turn my tiny kitchen into a culinary powerhouse, and that’s when I started searching for a guide to small kitchen diy. But what I found was a lot of generic advice that didn’t quite fit my unique space. That’s when I decided to take matters into my own hands and start creating my own DIY solutions. With a drill as my trusty sidekick, I set out to prove that even the smallest kitchens can be beautiful and functional.
In this article, I’ll share my honest, no-hype advice on how to transform your tiny kitchen into a space that’s both practical and stylish. You’ll learn how to maximize your storage, create a functional workflow, and even add some personal touches to make your kitchen truly yours. From upcycling flea market finds to creating custom storage solutions, I’ll walk you through each step of the process with clear instructions and photos. My goal is to empower you to take control of your small kitchen and turn it into a space that you love, without breaking the bank or sacrificing your sanity. So, let’s get started on this DIY journey together and make your tiny kitchen a culinary haven!
Table of Contents
Guide Overview: What You'll Need
Total Time: 4 hours 30 minutes
Estimated Cost: $100 – $200
Difficulty Level: Intermediate
Tools Required
- Drill (with screwdriver and drill bits)
- Tape Measure
- Level
- Pencil
- Utility Knife (with extra blades)
- Sandpaper (various grits)
- Paintbrush (various sizes)
Supplies & Materials
- Paint (chosen color)
- 2-in x 4-in lumber (for shelves)
- 3/4-inch plywood (for shelving unit)
- Wall Anchors
- Screws (1 inch and 2 inches)
- Decorative Trim (optional)
- Adhesive (for trim and shelves)
Step-by-Step Instructions
- 1. First, let’s start with a clear plan of what we want to achieve in our small kitchen DIY project. This means taking stock of the space we have available, thinking about our cooking habits, and deciding what features are must-haves for us. For me, maximizing storage is always a top priority, so I make a list of all the items I need to store, from utensils to appliances.
- 2. Next, we need to assess our tools and gather any necessary materials. As someone who believes a drill is the most empowering tool a person can own, I always start by checking if I have all the drill bits and accessories I need for the task at hand. Depending on the project, we might also need sandpaper, a saw, or a variety of screws and nails.
- 3. Now it’s time to get creative with our DIY project. Let’s say we want to build a custom shelving unit to make the most of our kitchen’s vertical space. We start by measuring the area where the shelves will go, taking care to note any obstacles like pipes or electrical outlets. Then, we use these measurements to cut our materials to size, whether that’s wood for the shelves themselves or metal for the brackets that will hold them up.
- 4. With our materials cut and ready, it’s time to assemble our shelving unit. This is where that trusty drill comes in, along with any other tools we might need like a screwdriver or a wrench. We start by attaching the brackets to the wall, making sure they’re level and secure, before adding the shelves themselves. It’s a good idea to have a friend help with this step, especially if our shelves are large or heavy.
- 5. Once our shelving unit is built and installed, we can focus on adding the finishing touches. This might involve sanding down any rough edges, applying a coat of paint or varnish, or adding decorative trim to give our shelves a more polished look. I love this part of the process because it’s where our DIY project starts to feel truly custom and personalized.
- 6. Now that we have our shelving unit in place, let’s think about how we can use it to optimize our kitchen’s workflow. This might involve grouping similar items together, like all our baking supplies on one shelf, or using baskets and bins to corral small items like spices or utensils. The key is to create a system that makes sense for how we cook and makes the most of our available space.
- 7. Finally, let’s not forget to maintain our DIY creation over time. This means regularly cleaning our shelves to keep them dust-free, checking that all the brackets and screws are still secure and tightened, and making any necessary adjustments as our cooking habits or storage needs change. By taking good care of our DIY projects, we can enjoy them for years to come and continue to find new ways to make our small kitchen feel more spacious and efficient.
A Guide to Small Kitchen Diy
As I’ve learned from my own experiences with small kitchen DIY projects, space saving kitchen designs are all about creativity and resourcefulness. One of my favorite hacks is to repurpose old furniture or items to create unique storage solutions. For instance, I turned an old dresser into a kitchen island with built-in storage, which not only added counter space but also kept my kitchen utensils and gadgets organized.
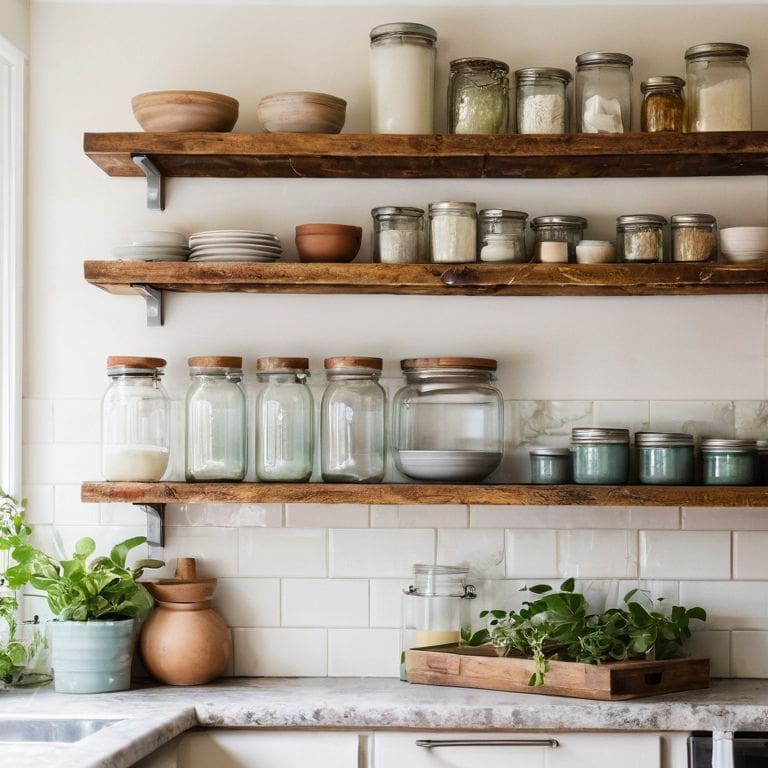
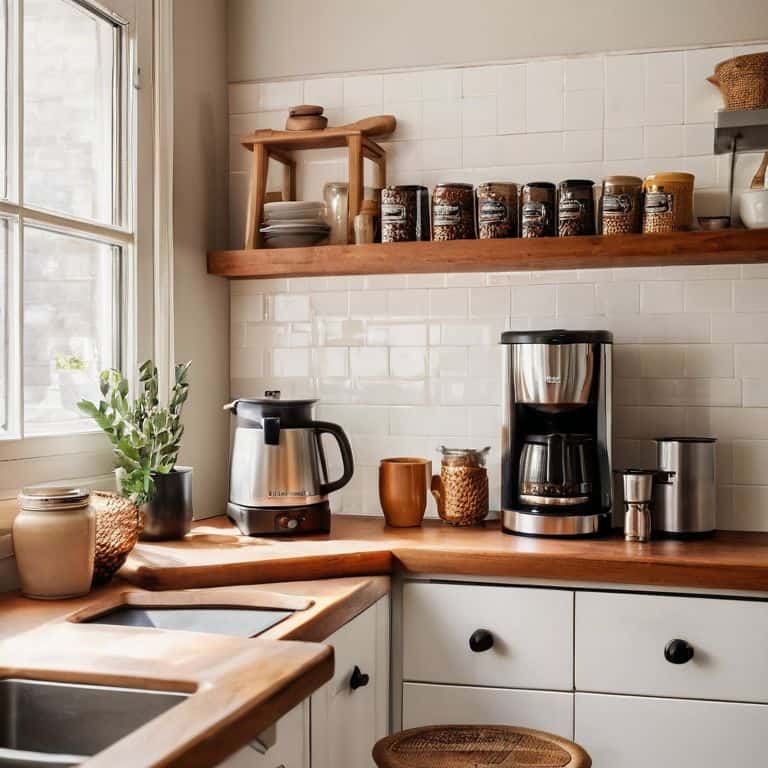
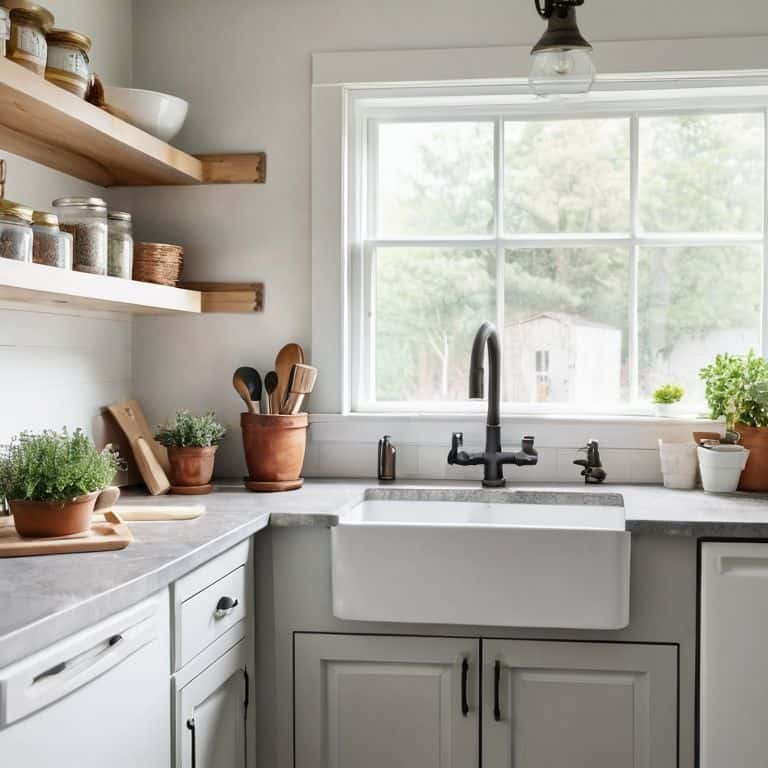
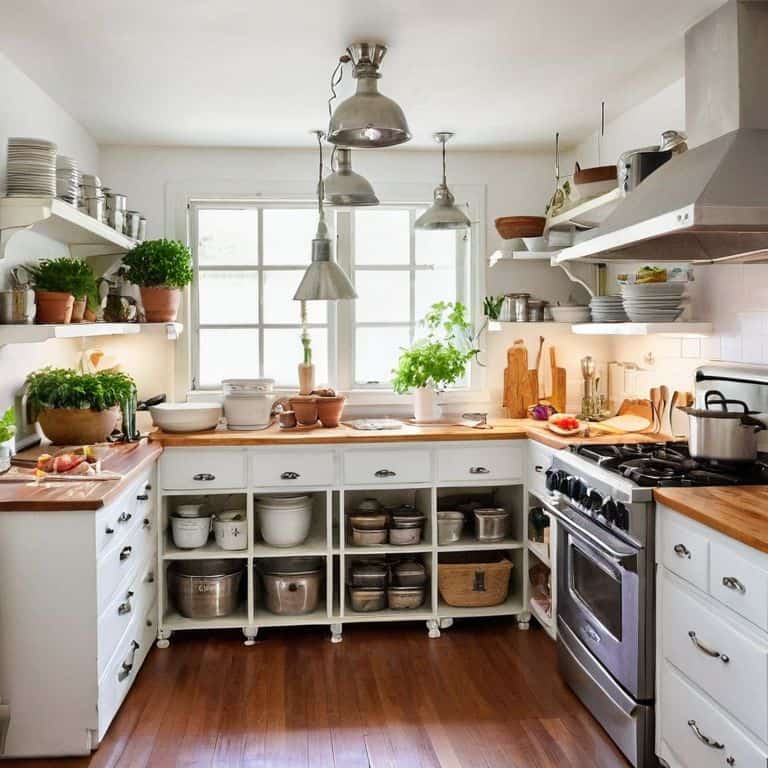
When it comes to small kitchen storage solutions, it’s all about maximizing every inch of your kitchen. I’ve found that using wall-mounted shelves, hooks, and baskets can help keep your kitchen clutter-free and make the most of your kitchen corner space. Another tip is to opt for multi-functional appliances and tools, which can help reduce clutter and make your kitchen feel more spacious.
For those on a budget, affordable kitchen remodel tips are a must. I’ve discovered that DIY projects like painting your kitchen cabinets, updating your lighting fixtures, or adding a kitchen backsplash can make a huge impact without breaking the bank. By incorporating these tips and tricks into your small kitchen DIY project, you can create a beautiful and functional space that reflects your personal style and meets your needs.
Diy Delights Affordable Kitchen Remodel Tips
I just love discovering new ways to breathe life into my tiny kitchen without breaking the bank. One of my favorite DIY delights is upcycling old jars and containers to create adorable storage solutions. For instance, I transformed a vintage mason jar into a charming utensil holder using some twine and a hot glue gun. It’s amazing how such small, affordable tweaks can add a touch of personality to your kitchen. Plus, it’s a great way to reduce waste and get creative with items you might otherwise throw away. These little projects not only save you money but also make your space truly unique and functional.
Tiny Kitchen Hacks Space Saving Designs
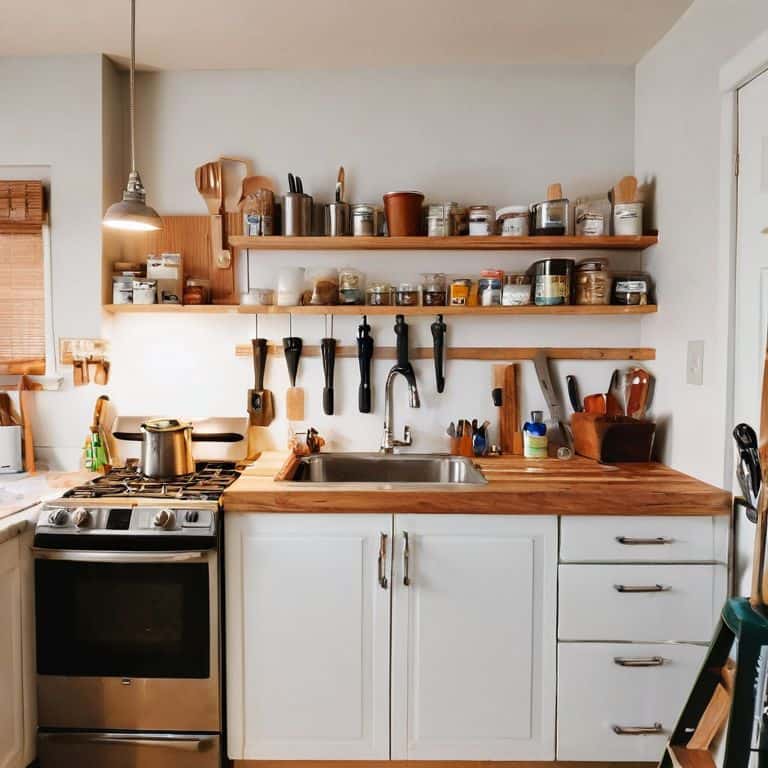
One of my favorite tiny kitchen hacks is using vertical space to maximize storage. I’ve installed pegboards on the backs of doors and even on a large section of one wall, where I hang everything from pots and pans to utensils and spices. It’s amazing how much clutter you can clear from your countertops by making use of the often-wasted space above them. Plus, it adds a fun, industrial touch to the room.
I’ve also become obsessed with multi-functional furniture pieces, like a kitchen cart with built-in storage and a fold-down table. These space-saving designs are perfect for tiny kitchens, as they provide the functionality of multiple pieces without taking up too much floor space. By getting creative with your layout and investing in a few clever pieces, you can turn even the smallest kitchen into a culinary powerhouse.
5 Essential Tips for a Successful Small Kitchen DIY
- Measure and Map Your Space: Before starting any DIY project, take precise measurements of your kitchen and map out the layout to identify areas for optimization
- Choose Multi-Functional Pieces: Select furniture and decor items that serve more than one purpose, such as a kitchen cart with storage and a built-in cutting board
- Opt for Vertical Storage: Make the most of your kitchen’s vertical space by installing shelves, hooks, or a pegboard to keep frequently used items within easy reach
- Select Space-Saving Appliances: Consider compact or mini versions of appliances, such as a toaster oven or a microwave, to free up counter space and reduce clutter
- Add Lighting to Create Illusions: Strategically use lighting to create the illusion of a larger space, such as installing under-cabinet lighting or using light-colored countertops and backsplashes to reflect light
Key Takeaways for a Smarter Kitchen
Embracing the challenge of a tiny kitchen means focusing on functional beauty, where every DIY project serves both an aesthetic and a practical purpose
By repurposing and upcycling materials, you can create unique kitchen solutions that are not only budget-friendly but also reflect your personal style and creativity
Whether it’s maximizing vertical space, creating hidden storage, or implementing space-saving designs, the right DIY hacks can transform your mini kitchen into a culinary powerhouse without breaking the bank or requiring a full-scale renovation
Empowering Small Spaces
A tiny kitchen isn’t a limitation, it’s an invitation to innovate and turn every inch into an opportunity for beauty and function.
Maya Torres
Embracing the Power of Small Kitchen DIY

As we conclude this journey through the world of small kitchen DIY, it’s essential to remember that empowering your space is all about creativity and resourcefulness. We’ve explored various space-saving designs and affordable kitchen remodel tips that can help transform your tiny kitchen into a culinary haven. From clever storage solutions to budget-friendly decorative ideas, the key to success lies in embracing the challenges of small-space living and turning them into opportunities for innovation. By applying these DIY delights, you’ll not only maximize your kitchen’s potential but also make it a reflection of your personal style.
As you embark on your own small kitchen DIY adventures, remember that the power is in your hands. Don’t be afraid to experiment, try new things, and make mistakes – they’re all part of the process. With a little patience, imagination, and elbow grease, you can turn even the tiniest of kitchens into a beautiful and functional space that sparks joy and inspires creativity. So, go ahead, grab your drill, and start building the kitchen of your dreams – one DIY project at a time!
Frequently Asked Questions
What are some creative ways to maximize storage in a small kitchen without breaking the bank?
I swear by repurposing flea market finds and using vertical space! Try hanging a pegboard for pots and pans, or upcycling an old ladder into a kitchen shelf. You can also use adhesive hooks and magnetic strips to maximize your walls and keep your countertops clutter-free. Get creative and think outside the box (or kitchen)!
How can I effectively utilize the often-wasted space above my kitchen cabinets?
I love tackling that dead space above kitchen cabinets. Try installing a floating shelf or a storage rack to stash infrequently used items like special occasion dishes or cookbooks. You can also add some greenery up there with a few potted plants – it’s a great way to bring in some life and make the most of that often-wasted space.
What are some beginner-friendly DIY projects for improving the functionality and aesthetics of a tiny kitchen?
I’m all about empowering small-space dwellers, so I’ve got some awesome beginner-friendly DIY projects for you! Try upcycling old jars into cute storage containers or creating a pegboard for your utensils. You can also add some greenery with a tiny herb garden or give your kitchen a pop of color with a fun backsplash made from tiles or decals.