I still remember the day I realized that a tiny kitchen didn’t have to mean a tiny workflow. I was struggling to chop, dice, and sauté my way through a simple recipe, with ingredients and utensils scattered all over the counter. That’s when I stumbled upon a guide to using a rolling cart for extra counter space, and it was a total game-changer. By adding a rolling cart to my kitchen, I was able to create a functional workflow that rivaled even the largest of kitchens.
In this article, I’ll share my personal experience and expertise on how to make the most of a guide to using a rolling cart for extra counter space. You’ll learn how to optimize your kitchen layout, choose the right cart for your needs, and maximize your counter space. I’ll provide you with practical, step-by-step advice on how to integrate a rolling cart into your kitchen workflow, so you can cook with ease and efficiency, even in the smallest of spaces. By the end of this guide, you’ll be equipped with the knowledge to transform your tiny kitchen into a highly functional cooking station.
Table of Contents
Guide Overview: What You'll Need
Total Time: 1 hour 15 minutes
Estimated Cost: $50 – $100
Difficulty Level: Easy
Tools Required
- Measuring Tape for measuring your space
- Level to ensure the cart is even
- Screwdriver for assembling the cart if required
- Wrench for tightening loose parts
Supplies & Materials
- Rolling Cart with desired dimensions, e.g., 30 inches wide x 20 inches deep
- Wood or Plastic Boards for extra shelf space, cut to size (e.g., 1/2 inch thick, 30 inches x 20 inches)
- Adhesive Hooks for hanging items like utensils or cleaning supplies
- Baskets or Containers for storing small items, e.g., spices, oils, or cleaning products
Step-by-Step Instructions
- 1. First, assess your kitchen’s workflow to determine the best location for your rolling cart. Consider the areas where you spend most of your time cooking and preparing meals, and think about how you can use the cart to streamline your process. Take note of the distance between your stove, sink, and refrigerator, and look for a spot where the cart can be easily accessed without disrupting the flow of your kitchen.
- 2. Next, measure the space where you plan to place the rolling cart, taking into account the dimensions of the cart itself and any obstacles that may be in the way, such as doorways or appliances. Make sure to leave enough room to comfortably move around the cart and to open any drawers or doors that may be nearby. I like to use a tape measure to get an accurate reading and make any necessary adjustments.
- 3. Now it’s time to choose the right cart for your needs. Consider the type of activities you’ll be using the cart for, such as food preparation, cooking, or storage. Think about the types of materials you’ll be working with, such as heavy pots and pans, delicate glassware, or perishable ingredients. Look for a cart with a sturdy construction, smooth-rolling wheels, and a durable finish that can withstand the demands of your kitchen.
- 4. Once you’ve selected your cart, it’s time to optimize its layout. Start by grouping similar items together, such as utensils, spices, or cooking oils. Use vertical space to your advantage by installing hooks, baskets, or shelves to maximize storage capacity. Consider adding a cutting board or other work surface to the top of the cart to create a functional food preparation area.
- 5. To get the most out of your rolling cart, it’s essential to establish a maintenance routine. Set aside time each week to wipe down the cart and clean any utensils or equipment that may be stored on it. Check the wheels and casters to ensure they’re still moving smoothly, and make any necessary adjustments to keep the cart gliding effortlessly across the floor. I like to use a microfiber cloth to clean my cart and keep it looking its best.
- 6. As you start using your rolling cart, pay attention to how it’s impacting your workflow. Take note of any areas where the cart is causing congestion or disrupting the flow of your kitchen. Make adjustments as needed to fine-tune the cart’s placement and ensure it’s working in harmony with your cooking routine. Remember, the goal is to create a seamless workflow that makes cooking easier and more enjoyable.
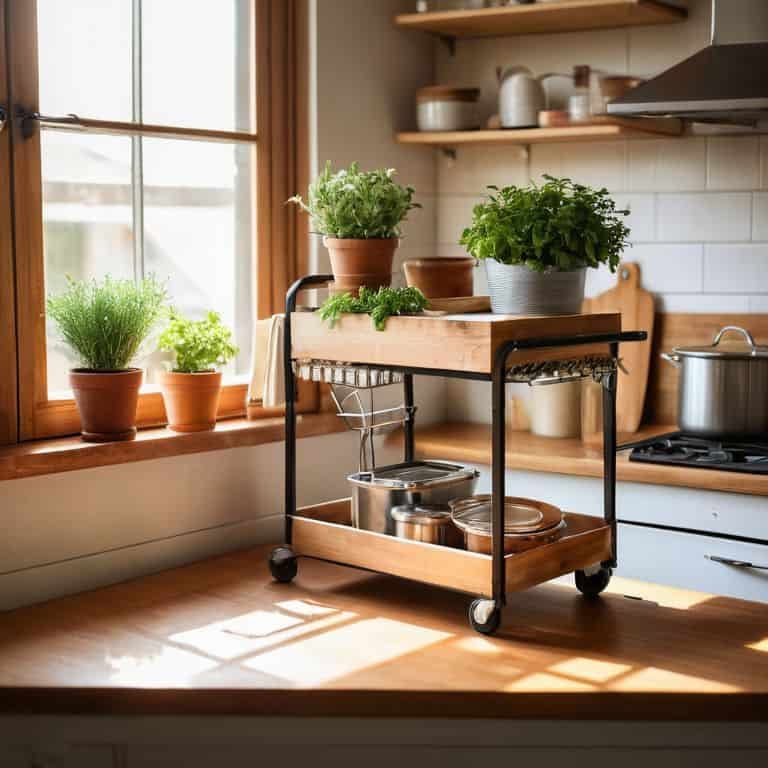
- 7. Finally, don’t be afraid to get creative with your rolling cart. Consider adding custom features such as a built-in knife block, spice rack, or utensil holder. You can also use the cart to display your personality by adding decorative items, such as potted plants, cookbooks, or artwork. The key is to make the cart an integral part of your kitchen, rather than just a utilitarian tool. By doing so, you’ll be able to unlock the full potential of your rolling cart and take your cooking to the next level.
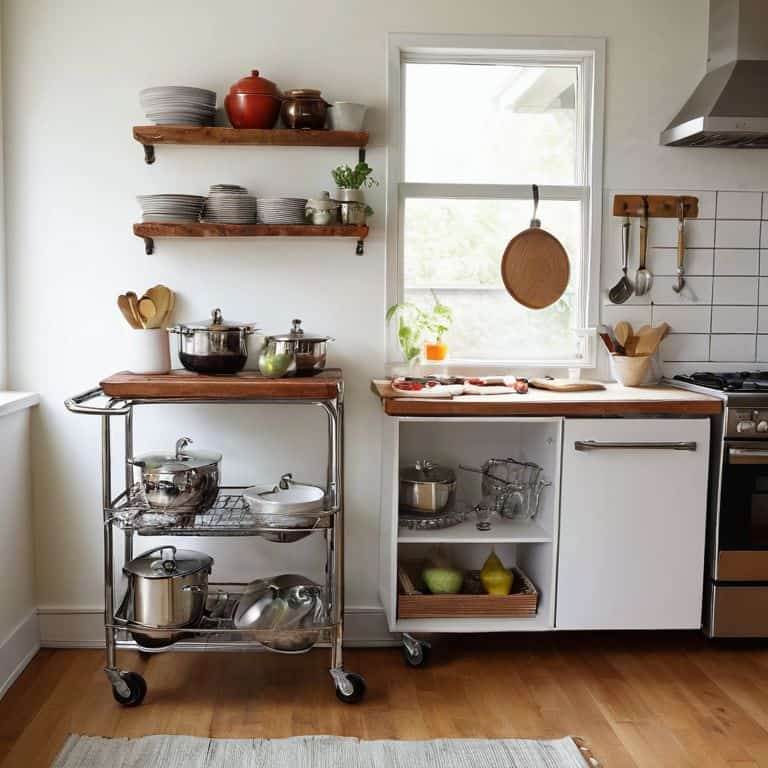
A Guide to Rolling Cart Counter Space
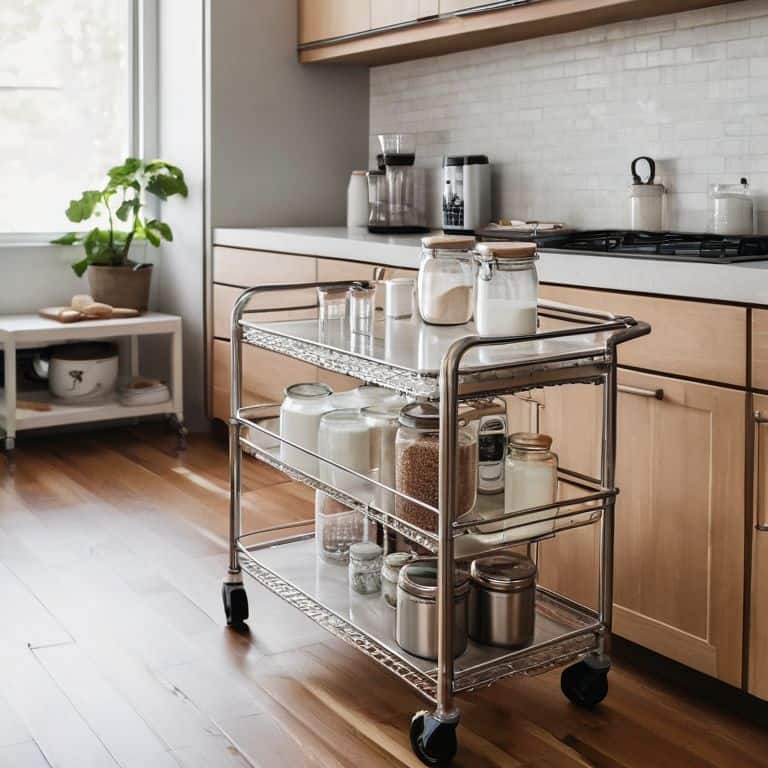
When it comes to maximizing kitchen storage with carts, I’ve found that a well-organized rolling cart can make all the difference. By designating a specific spot for each item, you can ensure that your kitchen remains clutter-free and efficient. For instance, you can use the top shelf of your cart for frequently used ingredients, while the bottom shelf can be reserved for less frequently used items.
To take your rolling cart to the next level, consider implementing some portable kitchen island ideas. This can be as simple as adding a small cutting board or a spice rack to the side of your cart. By doing so, you can create a space saving kitchen design that not only provides extra counter space but also keeps your most-used items within easy reach.
In terms of maintenance, I recommend establishing a regular cleaning schedule for your rolling cart. This can be as simple as wiping down the surfaces with a damp cloth after each use. By doing so, you can prevent the buildup of dirt and grime, ensuring that your cart remains a small kitchen layout optimization powerhouse for years to come.
Maximizing Storage With Portable Carts
To maximize storage with portable carts, I recommend assigning a specific purpose to each shelf or compartment. This will help maintain organization and ensure that everything has its designated place. For instance, you can reserve the top shelf for frequently used items like spices or oils, while the lower shelves can store less frequently used appliances or cookbooks.
By doing so, you’ll be able to quickly locate what you need, reducing time spent searching and increasing overall kitchen efficiency. Additionally, consider adding baskets or bins to store small items like utensils or cleaning supplies, keeping them out of the way but still easily accessible. This thoughtful approach to storage will help you make the most of your rolling cart’s space and keep your tiny kitchen running smoothly.
Optimizing Small Kitchen Layouts With Rolling Islands
To take your rolling cart counter space to the next level, consider the overall layout of your tiny kitchen. I’ve found that placing a rolling island in a corner or against a wall can create a highly efficient workflow. By doing so, you’re not only adding counter space but also creating a functional zone for food preparation. This strategic placement allows you to move freely around the kitchen while keeping essential items within easy reach.
I like to think of my rolling island as a “launching pad” for cooking – it’s where I chop veggies, marinate meats, and assemble dishes. By optimizing the layout around this central hub, I’ve reduced unnecessary movement and minimized clutter. Give it a try and see how it streamlines your cooking process!
5 Essential Tips to Supercharge Your Rolling Cart
- Choose a cart that fits your kitchen’s workflow: consider the height, width, and material to ensure it seamlessly integrates with your existing counters and appliances
- Assign a home for your cart: designate a specific spot for your rolling cart to reside when not in use, keeping your kitchen floor clear and minimizing clutter
- Optimize your cart’s storage: use baskets, bins, or drawers to maximize the cart’s storage capacity, and label each container to maintain a clutter-free environment
- Select the right casters: pick casters that are durable, smooth-rolling, and suitable for your kitchen’s floor type to ensure effortless movement and prevent damage
- Integrate your cart into your kitchen’s ‘work triangle’: position your rolling cart to complement your kitchen’s primary workstations, such as the sink, stove, or refrigerator, to streamline your cooking workflow
Key Takeaways for a More Efficient Tiny Kitchen
I’ve found that incorporating a rolling cart into your tiny kitchen workflow can add a significant amount of counter space, perfect for food preparation and cooking
By maximizing storage with portable carts and optimizing small kitchen layouts with rolling islands, you can create a more efficient and streamlined cooking environment
Remember, every movement in the kitchen should have a purpose – use your rolling cart to create a ‘work triangle’ that minimizes walking distance and maximizes productivity, making cooking in your tiny kitchen a breeze
Unlocking Efficiency
A rolling cart is not just a piece of furniture, it’s a workflow multiplier – by adding it to your tiny kitchen, you’re not just gaining counter space, you’re gaining the freedom to cook, create, and experiment without the constraints of a small footprint.
Leo Vance
Unlocking Your Tiny Kitchen's Full Potential
In this guide, we’ve explored the power of rolling carts in adding extra counter space to your tiny kitchen. From providing step-by-step instructions on how to maximize their use, to discussing the benefits of portable carts and rolling islands, we’ve covered the essential aspects of integrating these versatile tools into your kitchen workflow. By applying the principles of workflow optimization and efficient design, you can transform your small kitchen into a highly functional space that makes cooking and food preparation a breeze. Remember, the key to a successful tiny kitchen is not the size, but how you utilize the space you have.
As you start implementing these strategies and incorporating a rolling cart into your kitchen, keep in mind that it’s all about creating a harmonious workflow. Don’t be afraid to experiment and find the perfect balance of form and function that works for you. With a little creativity and a lot of functional optimization, you can turn your tiny kitchen into a culinary haven that sparks joy and inspires creativity. So, go ahead, get creative, and make the most of your tiny kitchen – it’s time to unlock its full potential and start cooking up a storm!
Frequently Asked Questions
What are the best materials to look for when choosing a rolling cart for my tiny kitchen?
When selecting a rolling cart, I look for durable materials like stainless steel, solid wood, or high-quality plastics. These can withstand heavy use and are easy to clean. Avoid flimsy frames or cheap finishes that might compromise the cart’s stability or longevity.
How can I customize my rolling cart to fit my specific cooking and storage needs?
To customize your rolling cart, I recommend assessing your cooking habits and storage needs. Identify the items you use most frequently and consider adding bins, hooks, or a pegboard to keep them within easy reach. You can also add a cutting board, knife block, or spice rack to create a functional workflow station.
What are some common mistakes to avoid when placing a rolling cart in a small kitchen layout?
When placing a rolling cart, avoid blocking pathways or creating bottlenecks – it’s all about maintaining a smooth workflow. Also, steer clear of corners where it might get stuck or be hard to maneuver. Trust me, you want to keep your kitchen traffic flowing freely!