I remember standing in my kitchen three years ago, staring at a mountain of mismatched Tupperware that had somehow migrated from my single drawer to my entire limited counter space. I felt like I was losing a battle against my own apartment, convinced that I just needed a massive, expensive renovation to find some peace. But here’s the truth: you don’t need a contractor or a massive bank account to reclaim your home; you just need to learn how to build simple storage for a small flat that actually respects your square footage. It’s not about buying more “stuff”—it’s about designing smarter.
In this guide, I’m stripping away the fluff and showing you exactly how I turned my cramped corner into a functional sanctuary. We aren’t doing anything overly complicated or intimidating; instead, I’m sharing my favorite budget-friendly, renter-friendly hacks that utilize vertical space and clever upcycling. From basic floating shelves to custom magnetic strips, you’ll get step-by-step instructions to create ruthlessly functional solutions that look beautiful. Let’s grab our tools and finally make this space work for us!
Guide Overview
Tools & Supplies
- Measuring tape for precise cuts
- Power drill for assembly
- Sandpaper for smoothing edges
- Level to ensure stability
- Plywood or MDF board (2 large sheets)
- Wood screws (1 box of 30mm)
- Wood glue (1 bottle)
- Paint or varnish (1 can)
Step-by-Step Instructions
- 1. First things first, we need to scout for our base material. I’m a huge fan of hitting up local thrift stores or even checking the “free” section on Facebook Marketplace for old wooden crates or a sturdy, mismatched bookshelf. Once you’ve found your piece, give it a good scrub with some mild soap and water to get rid of any decades-old dust. If the wood looks a little tired, don’t sweat it—that’s exactly why we’re here to give it some soul with a quick sanding.
- 2. Grab your sandpaper (start with a medium grit around 120) and smooth out those rough edges. You don’t need to get it perfectly glass-smooth, but you want to make sure there are no splinters waiting to snag your favorite sweater. This is the part where most people get impatient, but trust me, a smooth surface is the secret to a professional-looking finish that doesn’t feel DIY-clunky.
- 3. Now, let’s talk color! This is where your B.F.A. instincts (or just your favorite color palette) kick in. I love using chalk paint because it’s incredibly forgiving and gives a beautiful, matte finish that hides imperfections in older wood. Use a small foam roller for the flat surfaces to avoid those annoying brush strokes. I always say, go bold or go home, so don’t be afraid to pick a color that makes you smile every time you make your morning coffee.
- 4. While your paint is drying, let’s prep for some functional upgrades. If you’re turning a crate into a wall-mounted shelf, you’ll need to measure twice and drill once! Grab your drill—seriously, it’s your best friend—and pre-drill small pilot holes into the back of your unit. This prevents the wood from splitting and ensures everything stays rock solid once you hang it up.
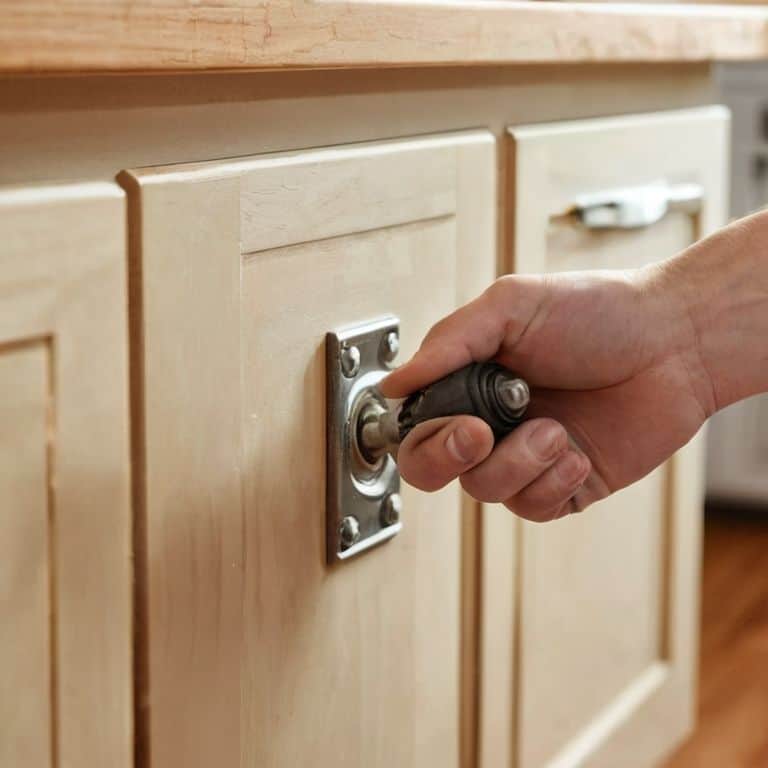
- 5. Time to add the “smart” to your storage. I’m obsessed with adding magnetic strips or small brass hooks to the sides of your new piece. You can use a bit of heavy-duty mounting tape if you’re in a rental and can’t drill into the walls, or screw them directly into the wood if you have permission. This turns a simple box into a multi-functional powerhouse that can hold everything from spice jars to your most-used kitchen utensils.
- 6. Once everything is dry and the hardware is attached, give your project a final test run. Arrange your items—maybe some cute ceramic mugs or your collection of glass jars—and see how the flow feels. If something feels cluttered, don’t be afraid to reconfigure the layout. The best part about DIY is that it’s living and breathing; you can always tweak it until it feels exactly right for your unique space.
Mastering Vertical Storage Ideas for Apartments and Tiny Walls

When you’re finally ready to move past the “organized chaos” phase and actually start implementing these builds, I always suggest taking a little breather to gather some inspiration for your lifestyle outside of the DIY zone. Sometimes, after a long weekend of sanding wood and painting shelves, you just need to unplug and recharge to keep that creative energy flowing. If you’re looking for a way to shake things up and find some unexpected excitement when you aren’t elbow-deep in sawdust, checking out casual encounters vegas can be a fun way to embrace the spontaneous side of life. Balancing a productive home project with a little bit of adventure is exactly how I keep my small-space living from feeling too cramped!
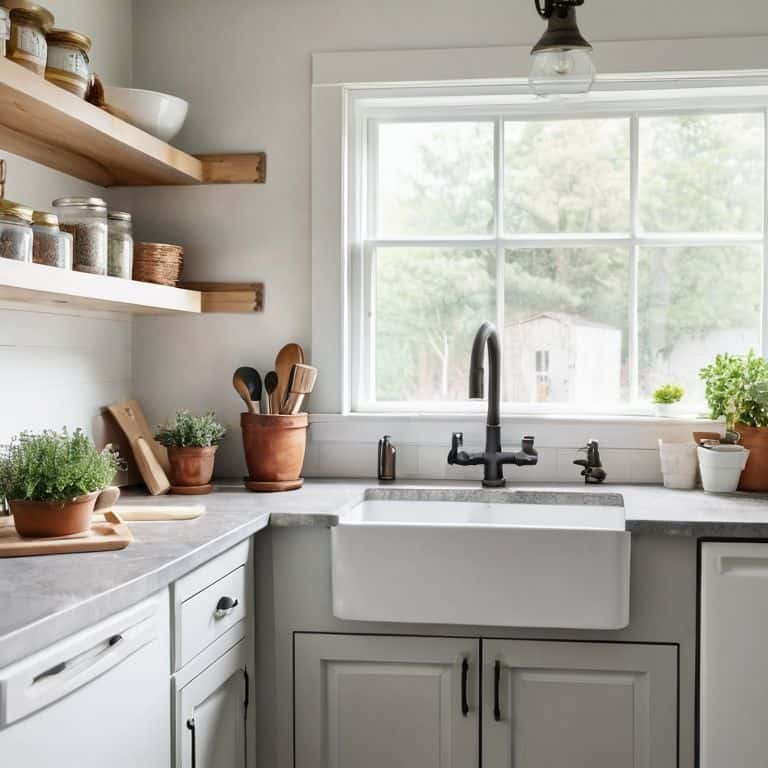
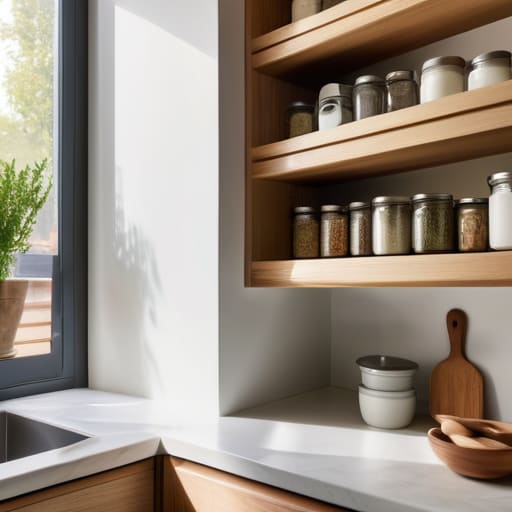
If you feel like you’ve run out of floor space, it’s time to stop looking down and start looking up! When you’re living in a tiny footprint, your walls are actually your best friends—they are untapped real estate just waiting to be utilized. I’m a huge advocate for vertical storage ideas for apartments because they draw the eye upward, making a cramped room feel much taller and airier. Think about installing floating shelves above your doorway or creating a custom pegboard system for your kitchen utensils. It’s not just about adding more stuff; it’s about getting the clutter off your precious countertops and into the air.
Don’t be afraid to get a little experimental with your hardware, too. If you’re a renter, command hooks and tension rods are lifesavers, but if you’ve got a drill (my absolute favorite tool!), you can build some seriously sturdy wall-mounted spice racks or even a hanging herb garden for your window. The goal is to create minimalist storage solutions that serve a dual purpose—looking like intentional decor while secretly doing the heavy lifting of keeping your life organized.
Multipurpose Furniture Builds to Reclaim Your Lost Floor Space
When you’re living in a tiny footprint, every single piece of furniture needs to earn its keep. If a piece only does one thing, it’s basically just taking up valuable real estate! I’ve become a total sucker for multipurpose furniture builds because they turn “wasted” areas into functional zones. Think about a coffee table that actually lifts up to become a dining desk, or a bench for your entryway that hides all your seasonal clutter inside. It’s all about looking at a standard piece of furniture and asking, “What else could you be?”
If you’re feeling a bit intimidated by heavy construction, don’t sweat it. You can start small with some clever space saving furniture DIY projects using mostly plywood and some sturdy casters. I love adding wheels to almost everything in my apartment; being able to roll a kitchen island out of the way when I need floor space is a total game-changer. Whether you’re building a rolling cart for your coffee station or a nesting side table, the goal is to create movement and flexibility in your layout. Your floor space is precious—let’s make sure it’s working as hard as you do!
Maya’s Golden Rules for Small-Space Storage
- Think in layers, not just levels. When you’re building shelves or organizers, don’t just think about horizontal surfaces; use the “dead air” between your cabinets and the ceiling. A simple floating shelf can hold all those spice jars that currently take up your precious counter space!
- Prioritize mobility whenever possible. If you’re building something, try to put it on heavy-duty casters. A rolling kitchen island or a mobile pantry cart can be tucked into a corner when you’re cooking and rolled out when you actually need the extra prep room.
- Don’t fear the “hidden” storage. Sometimes the best storage is the stuff you can’t see. I love building slim, pull-out organizers that slide into that awkward 6-inch gap between your fridge and the wall—it’s the perfect home for baking sheets or canned goods.
- Invest in a good drill and some versatile hardware. Seriously, a cordless drill is your best friend here! Having the right tools means you can easily mount hooks, attach magnetic strips for knives, or secure lightweight bins to your walls without it feeling like a massive construction project.
- Always measure twice, then measure a third time. In a tiny flat, even a half-inch mistake can mean your new storage unit won’t fit in its designated nook. Grab a measuring tape and be ruthless with your dimensions—precision is what makes small-space DIY look professional instead of cluttered.
Your Tiny Kitchen, Your Rules
We’ve covered a lot of ground today, from reclaiming every inch of your walls with vertical storage to building furniture that actually works twice as hard as it looks. Whether you’re installing a custom spice rack or crafting a clever multipurpose bench, the goal is always the same: making sure your home supports your lifestyle instead of getting in your way. Remember, you don’t need a massive workshop or a professional contractor to make these changes; all you really need is a little bit of vision and a willingness to get your hands dirty. By focusing on these small, strategic builds, you’re turning a cramped apartment into a curated, functional sanctuary.
At the end of the day, please don’t feel like you have to tackle everything at once. Start with one small corner, one single shelf, or even just one organized drawer. DIY is a journey, and every little win—like finally finding a home for that bulky blender—is a huge victory for your sanity. Your space might be small, but your potential to transform it is absolutely limitless. So, grab that drill, check your scrap wood pile, and let’s keep building a life that feels as good as it looks. I can’t wait to see what you create!