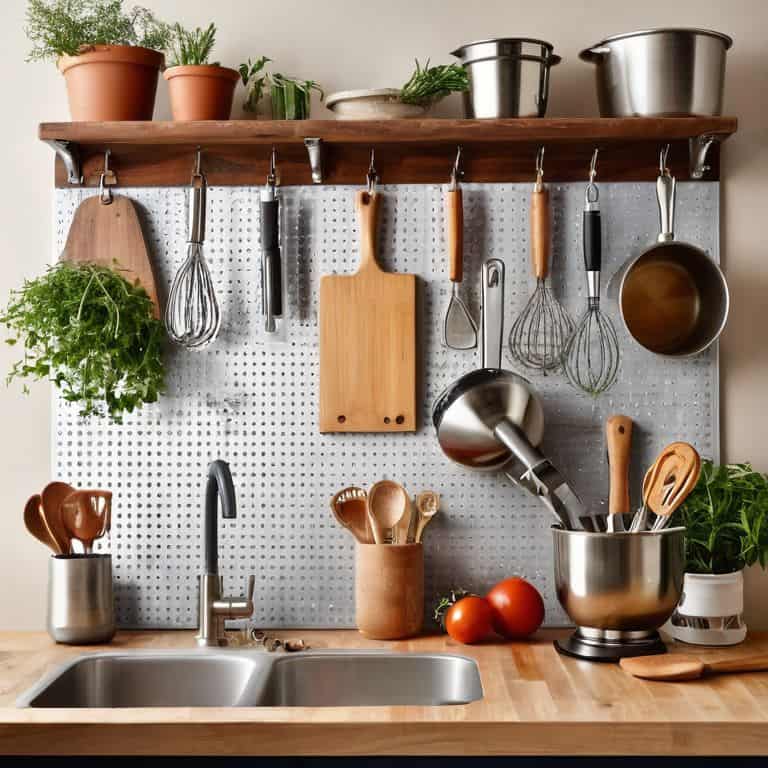
I still remember the day I realized that my tiny kitchen’s pantry was a workflow nightmare. I was trying to cook a simple meal, but I found myself digging through a cluttered mess of bags and boxes just to find the ingredients I needed. That’s when I discovered the power of a guide to decanting pantry staples. It was a game-changer for my kitchen, and I’m excited to share my experience with you. By decanting my staples, I was able to free up space, reduce waste, and streamline my cooking process.
In this article, I’ll give you the lowdown on how to create a more efficient pantry using a guide to decanting pantry staples. You’ll learn how to choose the right containers, label them effectively, and implement a system that works for you. I’ll share my own tips and tricks for making the most of your pantry space, and provide you with a step-by-step guide to get you started. By the end of this article, you’ll be equipped with the knowledge and skills to transform your pantry into a well-oiled machine, making cooking and meal prep a breeze.
Table of Contents
Guide Overview: What You'll Need
Total Time: 30 minutes to 1 hour
Estimated Cost: $10 – $20
Difficulty Level: Easy
Tools Required
- Measuring Cups (dry and liquid)
- Funnel (for easy pouring)
- Spoon or Scoop (for portioning out staples)
- Labels and Marker (for labeling containers)
Supplies & Materials
- Airtight Containers (various sizes)
- Glass Jars with Lids (for storing dry goods)
- Twine or Ribbon (for decorating jars)
- Pantry Staples (e.g., flour, sugar, pasta, etc.)
Step-by-Step Instructions
- 1. First, gather your supplies, including a set of airtight containers, a label maker, and a scoop or spoon for transferring the staples. I like to use containers that are specifically designed for the type of staple I’m decanting, such as tall, thin containers for pasta or short, wide containers for flour.
- 2. Next, sort and categorize your pantry staples into groups, such as baking supplies, grains, and snacks. This will help you determine which staples to decant first and how to organize them in your containers. I find it helpful to make a list or create a diagram to visualize my pantry layout and identify areas for improvement.
- 3. Now, clean and dry the containers thoroughly before filling them with your staples. This is an important step to prevent any moisture or debris from contaminating your food. I like to use a soft brush to remove any dust or residue from the containers, and then dry them with a clean towel.
- 4. Begin filling the containers with your staples, using the scoop or spoon to transfer the food. Be sure to leave some space at the top of each container for easy scooping and to prevent spills. I like to fill my containers to about 80% capacity to allow for easy access and to prevent the staples from getting compacted.
- 5. Once the containers are filled, label them clearly using your label maker. Include the name of the staple, the date it was decanted, and any relevant storage instructions. I like to use a consistent labeling system to make it easy to identify what’s in each container at a glance.
- 6. Next, organize the containers in your pantry or storage area, grouping similar staples together and placing the most frequently used items front and center. I like to use a tiered shelving system to maximize my storage space and keep my containers easy to access.
- 7. Finally, maintain your system by regularly checking the containers for freshness and tidiness, and replenishing the staples as needed. I like to set a reminder on my calendar to check my pantry every few months and make any necessary adjustments to my decanting system. By following these steps and staying consistent, you can create a streamlined and efficient pantry that makes cooking and meal prep a breeze.
A Guide to Decanting Pantry Staples
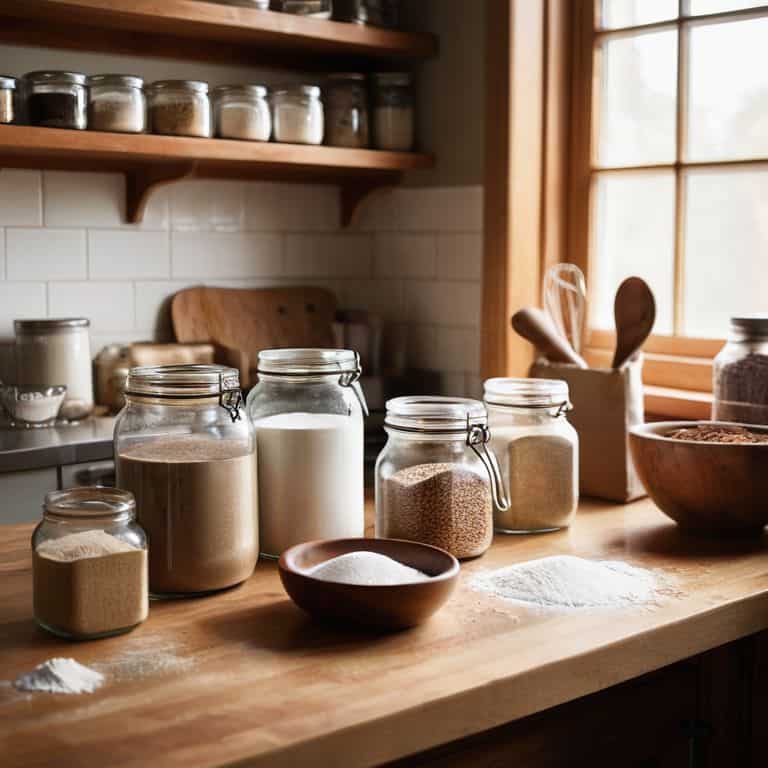
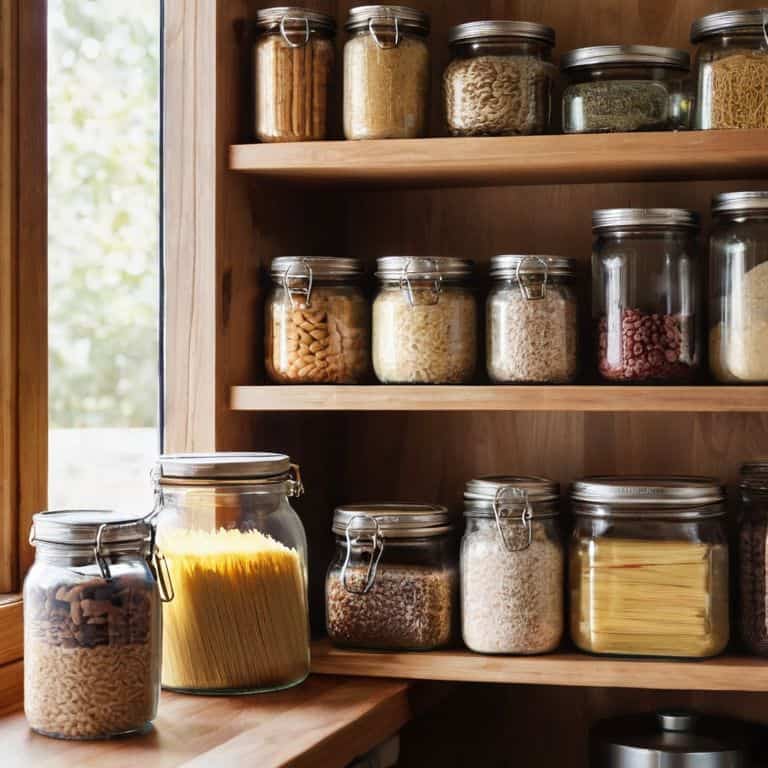
As I delved deeper into the world of tiny kitchen optimization, I discovered that optimal pantry storage conditions are crucial for maintaining freshness and reducing waste. One of the most significant benefits of decanting dry goods is that it allows for better airflow and moisture control, which in turn helps to preserve the quality of your ingredients. By using glass containers, you can easily monitor the contents and ensure that your pantry staples remain fresh for a longer period.
To take your decanting game to the next level, consider labeling and inventory tips that will help you keep track of what you have in stock. This simple yet effective strategy will enable you to maximize pantry shelf space and reduce food waste by ensuring that older items are consumed before they expire. By implementing a “first-in, first-out” system, you can minimize the risk of stale or expired ingredients and keep your pantry running smoothly.
In my own tiny kitchen, I’ve found that reducing food waste through organization is a key aspect of maintaining a efficient workflow. By decanting my pantry staples and implementing a robust labeling system, I’ve been able to reduce food waste and make the most of my limited storage space. With a little creativity and planning, you can achieve the same results and enjoy a more streamlined cooking experience.
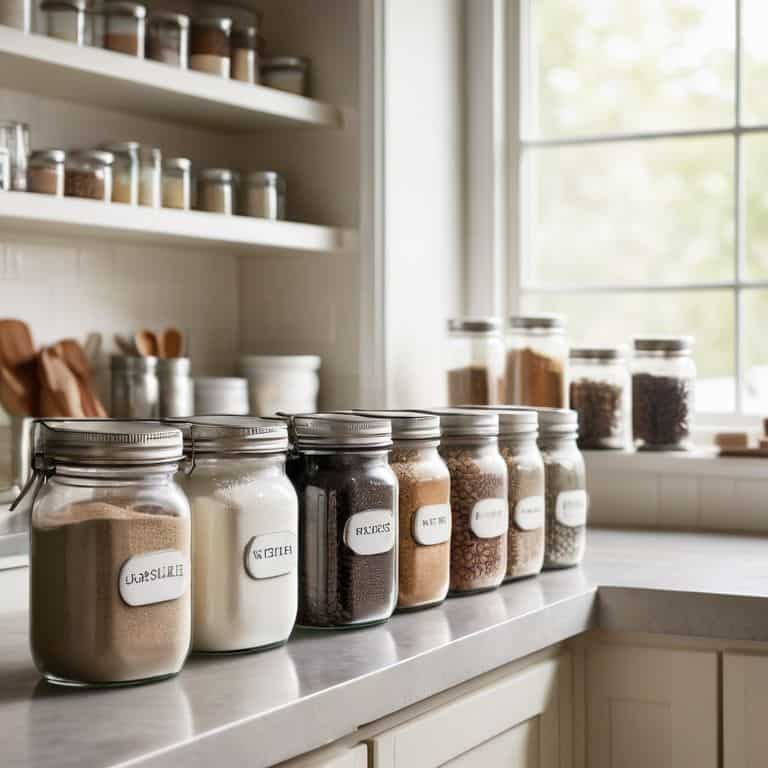
Decanting Hacks for Freshness
To keep your decanted staples fresh, I swear by a few clever hacks. First, make sure to label each container with its contents and the date it was decanted. This simple step ensures you use the oldest items first and avoid stale or expired ingredients. I also recommend storing containers in a cool, dark place to preserve freshness.
For extra-sensitive items like flour or coffee, consider using airtight containers with one-way valves to prevent moisture and air from sneaking in. These small investments will pay off in the long run, keeping your pantry staples fresh for months to come. By combining these hacks with your decanting routine, you’ll be able to enjoy your favorite ingredients at their best.
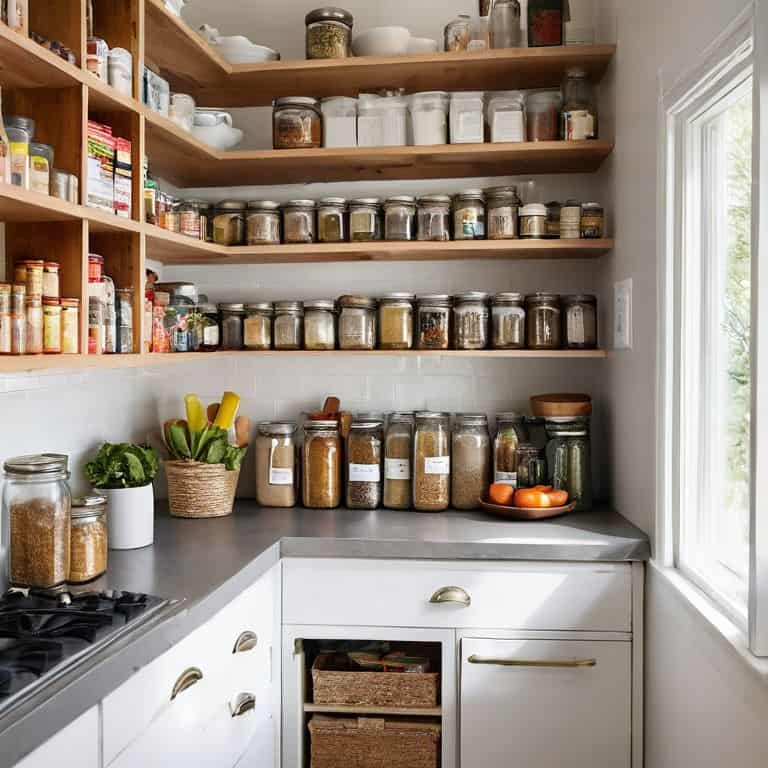
Maximizing Shelf Space With Glass Containers
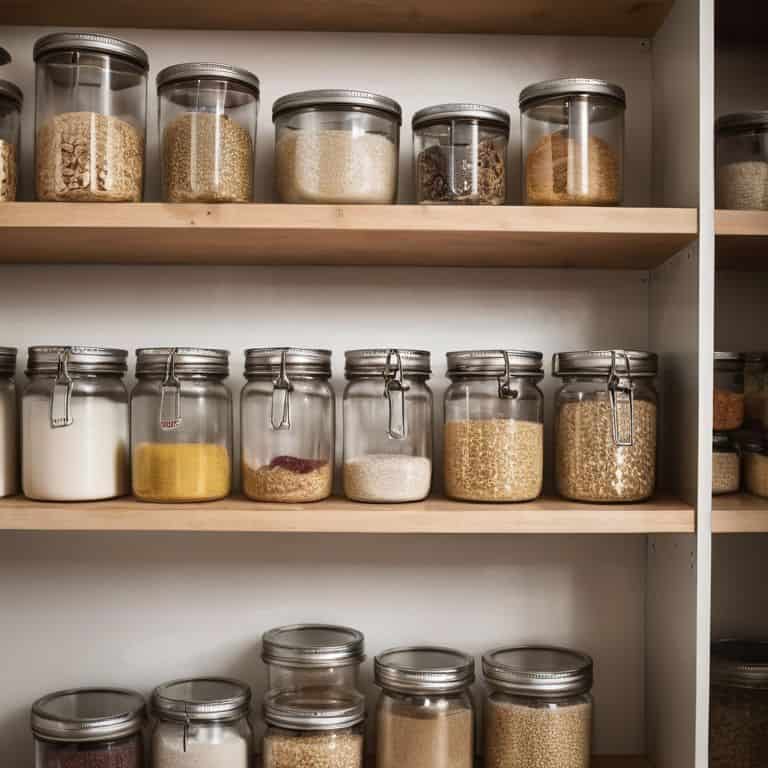
To truly maximize shelf space, I swear by glass containers. They’re not only airtight, which keeps my staples fresh, but they’re also transparent, making it easy to see what’s inside without having to label every single one. I’ve optimized my shelf layout to fit as many containers as possible, using a mix of tall and short ones to create a tiered system. This way, I can store everything from flour and sugar to coffee and tea, all within easy reach.
By using glass containers, I’ve managed to condense my pantry staples into a fraction of the space they used to occupy. It’s all about creating a workflow that works for you, and for me, that means having everything I need right at my fingertips. With my glass container system, I can quickly grab what I need and get cooking, without having to dig through a cluttered pantry.
Decanting Like a Pro: 5 Key Tips to Supercharge Your Pantry
- Choose the Right Containers: Select glass containers that are airtight, easy to clean, and fit your pantry’s unique layout to maximize storage efficiency
- Labeling is Key: Use a label maker to clearly mark each container with its contents and date, saving you time and reducing waste
- Optimize Your Shelf Space: Arrange containers by size, frequency of use, and category to create a visually pleasing and functional pantry
- Store Heavy Items Below: Keep your pantry organized and safe by storing heavier items, like flour or sugar, on lower shelves to prevent them from falling
- Maintain the System: Schedule regular ‘pantry audits’ to ensure everything is still organized, and adjust your decanting system as needed to keep your kitchen workflow running smoothly
Key Takeaways for a More Efficient Pantry
By decanting pantry staples into airtight containers, you can significantly reduce clutter and improve workflow in your tiny kitchen
Implementing a ‘first-in, first-out’ system with your glass containers ensures that older items are consumed before they expire, maintaining freshness and minimizing waste
Maximizing shelf space with strategically sized glass containers allows for a more organized and accessible pantry, making meal prep and cooking more efficient and enjoyable
Streamlining Your Pantry
A well-decanted pantry is not just a matter of aesthetics; it’s a workflow powerhouse that sets you up for culinary success, one neatly labeled jar at a time.
Leo Vance
Streamlining Your Pantry for Efficiency
In this guide to decanting pantry staples, we’ve covered the essential steps to transform your kitchen storage. From understanding the benefits of decanting to implementing a system that works for you, we’ve explored how to maximize shelf space and maintain freshness. By applying these principles, you’ll not only free up more room in your pantry but also create a more efficient workflow. Remember, it’s all about creating a logical flow that makes cooking and meal prep easier. Whether you’re a beginner or an experienced home cook, decanting your pantry staples is a simple yet powerful way to upgrade your kitchen’s functionality.
As you start your decanting journey, keep in mind that it’s not just about organizing your pantry; it’s about creating a mindful cooking experience. By taking control of your kitchen space, you’ll be able to focus on the things that matter most – like experimenting with new recipes or spending quality time with loved ones. So, don’t be afraid to get creative and make your pantry your own. With a little patience and dedication to efficiency, you’ll be well on your way to a more streamlined, stress-free cooking environment. Happy decanting, and let’s get cooking!
Frequently Asked Questions
What are the best types of containers to use for decanting pantry staples?
For decanting pantry staples, I swear by glass containers – they’re airtight, non-reactive, and easy to clean. Look for ones with wide mouths for effortless scooping and labeling. My go-to’s are 1-liter glass jars with tight-fitting lids, perfect for storing everything from flour to coffee beans.
How do I label and organize my decanted staples for easy access?
For easy access, I use a label maker to identify each container, and organize them by category – baking, spices, and grains. I also implement a ‘first in, first out’ system, so older staples get used before newer ones. This workflow hack ensures I always know what I have and when it’s time to restock.
Can I decant all types of pantry staples, or are there some that are better left in their original packaging?
Not all pantry staples are created equal – some, like flour and sugar, decant beautifully, while others, like oils and spices, are often better left in their original packaging to preserve freshness and prevent contamination. I’ll show you which staples to decant and which to leave alone for maximum efficiency and minimal waste.