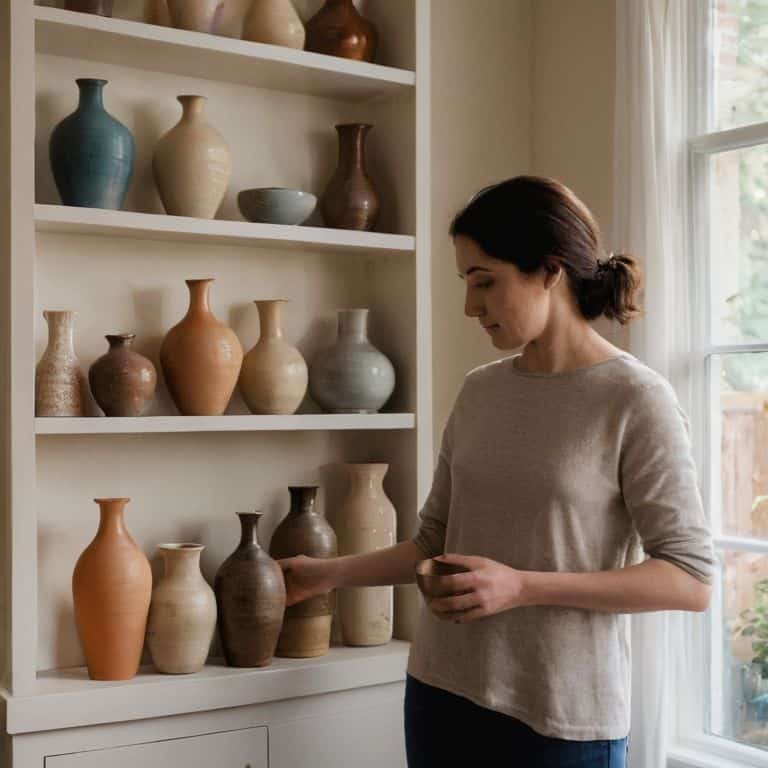
I still remember the chaos of my sailboat kitchen, where every inch counted and disorganization was not an option. As I learned to navigate the challenges of tiny spaces, I discovered that knowing how to organize kitchen cabinets was key to a peaceful cooking experience. It’s a myth that small kitchens are doomed to be cluttered and chaotic – with the right strategies, even the tiniest spaces can be transformed into functional and beautiful areas.
In this article, I’ll share my practical advice on how to organize kitchen cabinets, gained from years of experience living in small spaces. You’ll learn how to maximize your storage, streamline your cooking process, and create a kitchen that truly feels like a joy to use. From simple tweaks like using hooks and magnets to more significant overhauls, I’ll guide you through the process with step-by-step tips and real-life examples. By the end of this guide, you’ll be equipped with the knowledge to turn your cluttered kitchen into a serene and efficient space that you’ll love spending time in.
Table of Contents
- Guide Overview: What You'll Need
- Step-by-Step Instructions
- How to Organize Kitchen Cabinets
- 5 Clever Hacks to Revolutionize Your Kitchen Cabinet Storage
- Sailing to a More Organized You: 3 Key Takeaways
- Simplifying the Heart of the Home
- Bringing Order to Your Kitchen: A Lasting Impact
- Frequently Asked Questions
Guide Overview: What You'll Need
Total Time: 2 hours 30 minutes
Estimated Cost: $50 – $100
Difficulty Level: Intermediate
Tools Required
- Measuring Tape (for accurate shelf measurement)
- Level (to ensure even installation)
- Screwdriver (for adjusting shelves)
- Pencil (for marking cabinet interiors)
- Label Maker (optional, for labeling contents)
Supplies & Materials
- Adjustable Shelves (if not already installed)
- Shelf Liners (for easy cleaning, 6 inches wide rolls)
- Stackable Containers (for storing food or kitchen items)
- Adhesive Hooks (for hanging items like utensils or oven mitts)
- Dividers (for separating items within shelves, 2 inches tall)
Step-by-Step Instructions
- 1. First, let’s start by purging the clutter from your kitchen cabinets. Take everything out and sort items into three categories: keep, donate/sell, and discard. Be honest with yourself about each item – when was the last time you used it? Do you still have a purpose for it? This step is crucial in creating a functional and peaceful space.
- 2. Next, give your cabinets a good clean. Dust and dirt can accumulate quickly, making it difficult to see what you have and where it’s stored. Use a gentle cleaner and a soft cloth to wipe down the shelves and walls of your cabinets. This will also help you get a better sense of the space you’re working with.
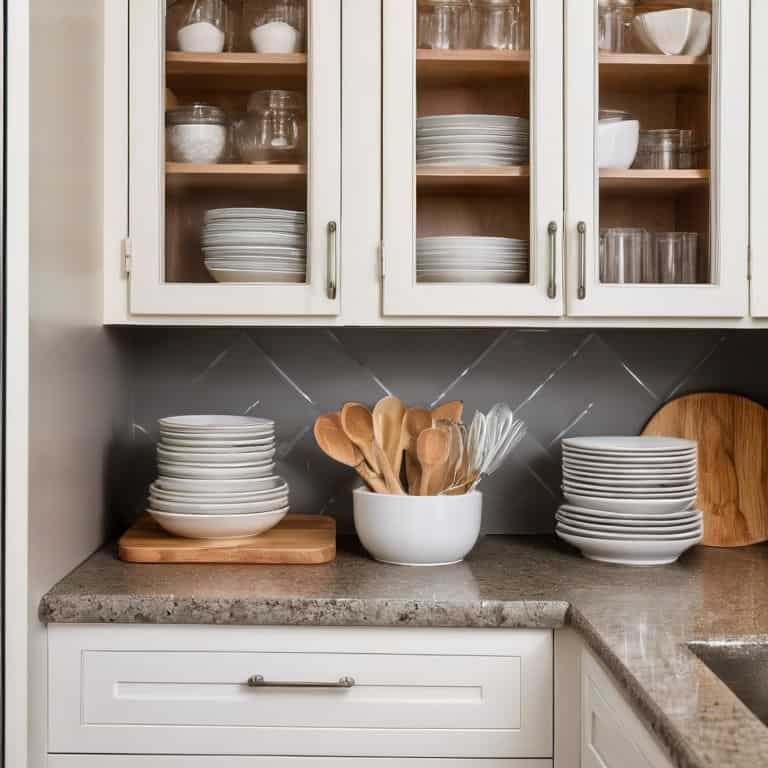
- 3. Now it’s time to categorize and group similar items together. Think about the types of things you use most often in your kitchen and how you can store them in a way that makes sense. For example, you might group all your baking supplies together, or store all your dinner plates in one convenient location. This will make it easier to find what you need when you need it.
- 4. Once you have your categories, it’s time to assign a home for each group of items. Consider the workflow of your kitchen and where you tend to use each item most often. Store your most frequently used items in easy-to-reach locations, and reserve higher or lower shelves for less frequently used items. This will help create a sense of efficiency in your kitchen.
- 5. To maximize your storage space, consider using vertical solutions like stackable shelves or hooks on the back of cabinet doors. These can be great for storing infrequently used items, like special occasion dishes or cooking gadgets. You can also use magnets to store small metal items like spices or oils, keeping them out of the way but still easily accessible.
- 6. Now it’s time to think about the visual appeal of your cabinets. Consider using baskets, bins, or other containers to store items like snacks, coffee, or cleaning supplies. Not only will this help keep your cabinets organized, but it will also add a touch of warmth and personality to your kitchen. Just be sure to label each container so you can easily find what you need.
- 7. Finally, implement your one-in, one-out rule to maintain your newly organized kitchen cabinets. This means that for every new item you bring into your kitchen, you must remove or donate an old one to make space for it. This will help prevent clutter from building up again and keep your kitchen feeling calm and functional. By following these steps and committing to this rule, you’ll be well on your way to creating a kitchen that feels truly peaceful and organized.
How to Organize Kitchen Cabinets
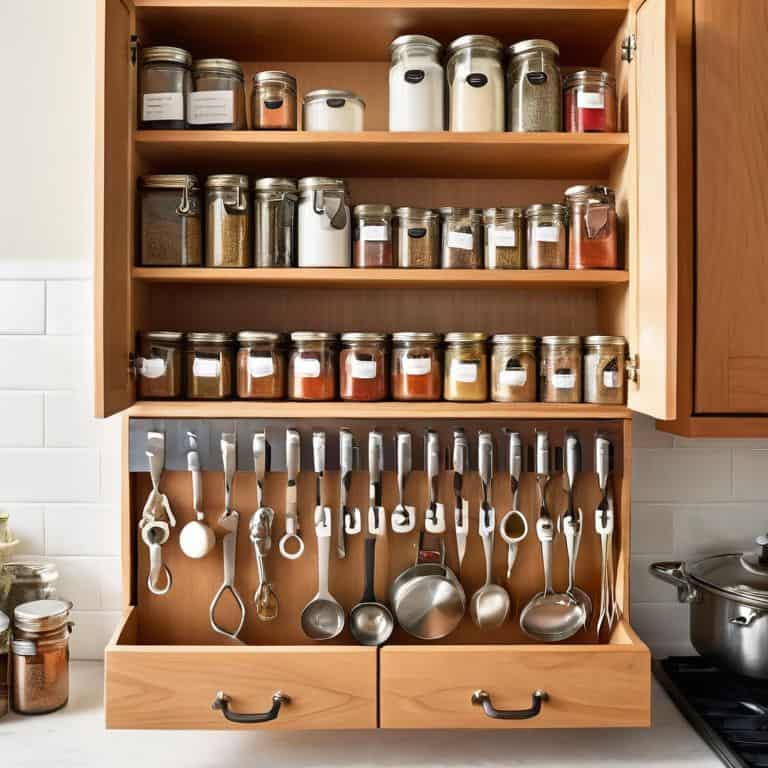
As I always say, maximizing vertical space in kitchens is key to a clutter-free environment. When it comes to kitchen cabinet storage solutions, I like to think outside the box – or in this case, the cabinet. One of my favorite hacks is to use custom kitchen cabinet designs that incorporate hooks and magnets to keep frequently used items within easy reach. This not only saves space but also reduces clutter and makes cooking a breeze.
When optimizing kitchen layout for efficiency, it’s essential to consider the workflow of your kitchen. Think about the sequence of tasks you perform when cooking a meal and kitchen utensil organization ideas that can help streamline this process. For instance, storing your most-used utensils in a designated container near the cooking station can save you time and effort in the long run. I also recommend utilizing kitchen cabinet door organizers to hang items like spice racks, oven mitts, or cleaning supplies, keeping them out of the way but still easily accessible.
By implementing these strategies, you’ll be well on your way to creating a kitchen that’s both functional and beautiful. Remember, it’s all about finding creative ways to use the space you have, rather than trying to add more. With a little bit of planning and some clever storage solutions, you can turn even the smallest kitchen into a culinary haven.
Maximizing Vertical Space With Custom Designs
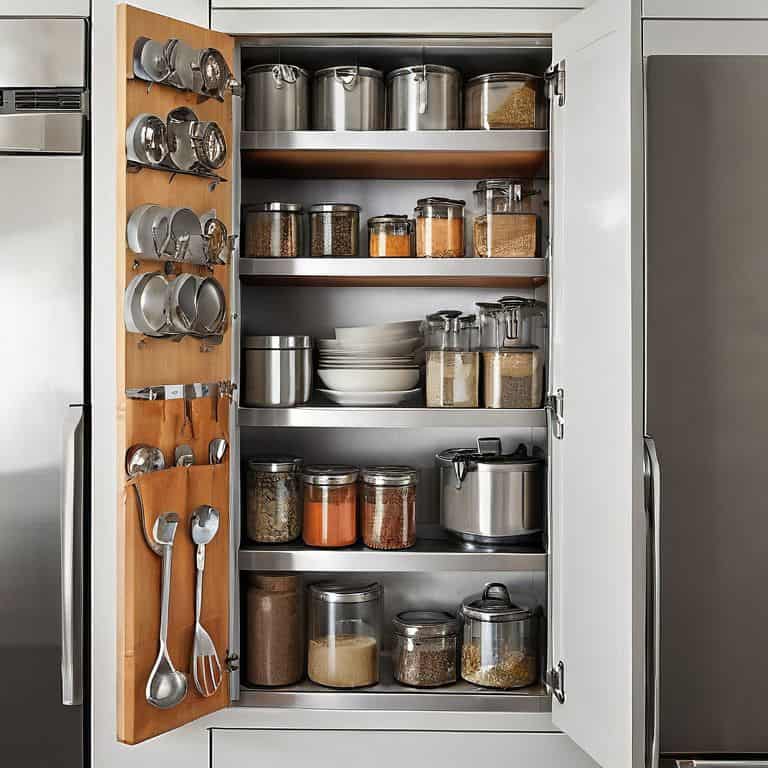
To truly maximize your kitchen cabinet space, consider custom designs that make the most of your vertical real estate. I’m a big fan of installing hooks, magnets, and adhesive strips to keep frequently used items within easy reach. On my sailboat, I used to hang my cooking utensils from the ceiling to save counter space – it was a game-changer. You can apply the same principle to your kitchen cabinets by adding a pegboard or a magnetic spice strip to the door or side wall.
By thinking vertically, you can double or even triple your storage capacity without sacrificing floor space. For example, you can use stackable shelves or baskets to store dry goods, or invest in a wall-mounted pot rack to free up cabinet space. These custom designs will not only keep your kitchen cabinets organized but also add a touch of personality to your cooking space.
Optimizing Layout for Efficient Utensil Storage
To optimize your layout for efficient utensil storage, consider the items you use most frequently. I like to think of it as a “prime real estate” approach – reserve the easiest-to-reach areas for your go-to utensils. For me, that means placing my favorite spatula and tongs in a handy spot near the stove. By grouping similar items together, you’ll create a seamless cooking experience.
I’m a big fan of using hooks and magnets to maximize vertical space, even in utensil storage. A simple hook or magnetic strip on the side of a cabinet or fridge can keep your most-used utensils within easy reach, freeing up valuable drawer space for less frequently used items. This clever hack has been a game-changer in my own kitchen, and I’m excited to share it with you.
5 Clever Hacks to Revolutionize Your Kitchen Cabinet Storage
- Use the Back of the Door: Install a pegboard or a hook rack on the back of your kitchen cabinet door to hang frequently used items like pots, pans, and utensils, keeping them out of the way but still easily accessible
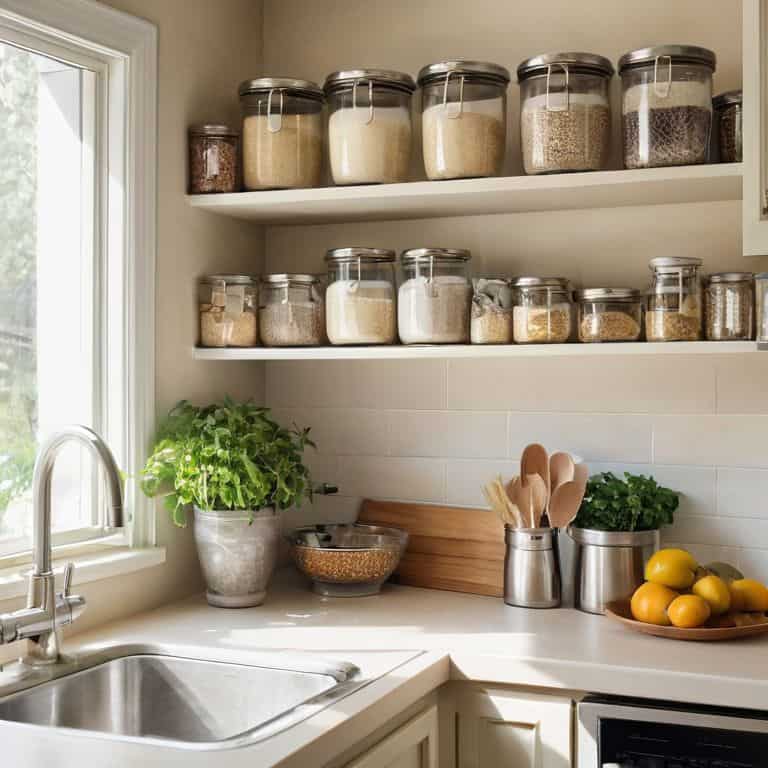
- Double Up with Stackable Shelves: Invest in stackable shelves or baskets to maximize your cabinet’s vertical space, perfect for storing dry goods, canned foods, or cooking supplies
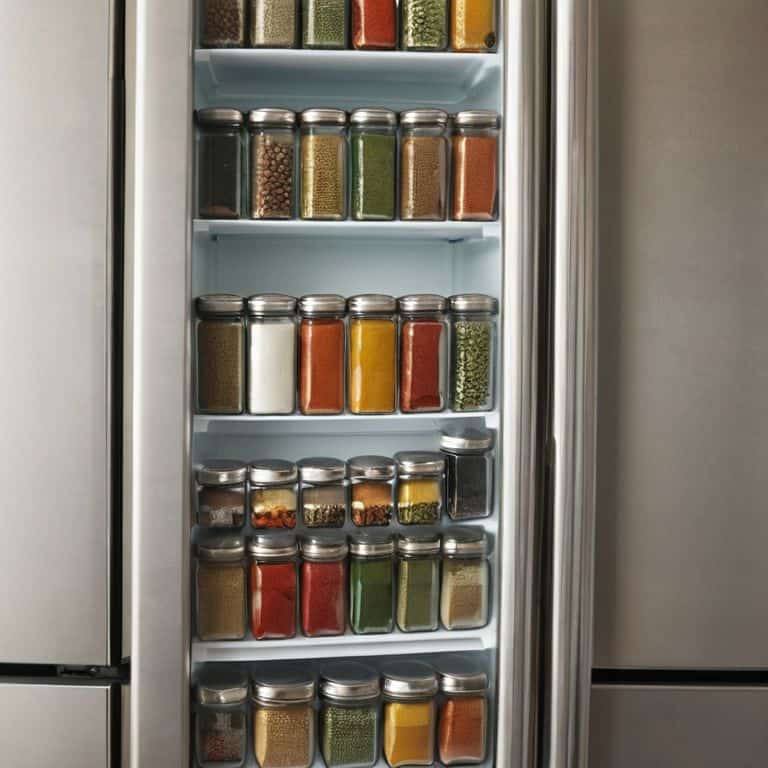
- Bring in the Magnets: Add a magnetic strip to the side of your cabinet or fridge to store small metal items like spices, oils, or cleaning supplies, reducing clutter and making them easy to find
- Assign a Home for Each Item: Implement a ‘one-in, one-out’ rule and designate a specific spot for each kitchen item, ensuring everything has its place and making it easier to put things back after use
- Utilize the ‘Dead’ Space: Make the most of the often-wasted space at the top of your cabinets by storing infrequently used items like special occasion dishes, cookbooks, or small appliances in labeled, stackable containers
Sailing to a More Organized You: 3 Key Takeaways
By applying the principles of vertical space maximization, you can double your storage capacity without sacrificing an inch of floor space – a trick I learned from my sailboat days
Implementing a ‘zone-based’ layout for your utensils and kitchen tools can streamline your cooking process and reduce clutter, making meal prep a breeze
Remember, the ‘one-in, one-out’ rule is your best friend when it comes to maintaining your newly organized kitchen cabinets – for every new item you bring in, be sure to remove or donate an old one to keep your space peaceful and functional
Simplifying the Heart of the Home
The key to a peaceful kitchen isn’t a bigger space, but a smarter one – where every cabinet, every shelf, and every hook is a testament to the beauty of intentional living.
Miles Corbin
Bringing Order to Your Kitchen: A Lasting Impact
As we’ve navigated the process of organizing your kitchen cabinets, we’ve covered some essential steps, from maximizing vertical space with custom designs to optimizing the layout for efficient utensil storage. These strategies, born out of my experiences living on a sailboat where every inch counted, are designed to be practical and adaptable. By applying the ‘one-in, one-out’ rule and leveraging the power of hooks and magnets, you’ve taken significant steps towards transforming your kitchen into a haven of efficiency.
Now, as you stand back to admire your newly organized kitchen cabinets, remember that this journey is not just about rearranging storage; it’s about creating a space that nurtures your well-being. Every carefully planned drawer and shelf is a testament to your commitment to a more streamlined, peaceful life. So, take a deep breath, feel the sense of accomplishment, and know that the true value of your efforts lies not just in the organization, but in the serenity it brings to your daily routine.
Frequently Asked Questions
How can I determine the best layout for my kitchen cabinets to maximize storage and efficiency?
To determine the best layout, start by purging and categorizing your kitchen items. Then, measure your cabinets and consider the workflow of your kitchen. Think about the ‘golden zone’ – the area between your waist and shoulders – and place frequently used items there. I like to use a simple grid system to visualize the space and play around with different configurations before committing to a design.
What are some creative ways to use the back of a cabinet door for additional storage?
I love leveraging the back of a cabinet door for extra storage. Consider adding hooks for hanging utensils, a magnetic spice strip, or even a small shelf for oils and spices. You can also use adhesive-backed hooks or a pegboard for a customizable solution. It’s amazing how much you can fit in a tiny space with a little creativity!
How often should I purge and reorganize my kitchen cabinets to maintain a clutter-free and functional space?
I follow a simple ‘one-in, one-out’ rule to keep clutter at bay. Every 3-6 months, I do a quick cabinet audit to remove unused items and reassess my storage needs. This habit helps maintain a balanced and functional space, ensuring my kitchen stays organized and peaceful.