I still remember the day I realized my tiny kitchen’s biggest enemy: cluttered countertops. I was trying to cook dinner, but every available surface was covered in utensils, appliances, and who-knows-what. That’s when I decided to take matters into my own hands and learn how to make a fabric utensil holder. It wasn’t just about finding a place to store my kitchen essentials; it was about creating a sense of calm in a space that’s often chaotic. As someone who’s passionate about DIY projects and upcycling, I was determined to find a solution that was both beautiful and functional.
In this article, I’ll share my simple, step-by-step guide on how to make a fabric utensil holder that will keep your kitchen tidy and organized, even in the tiniest of spaces. You’ll learn how to choose the right fabric, measure and cut your material, and assemble your holder with ease. I’ll also provide you with some helpful tips and tricks for customizing your project to fit your unique kitchen style. By the end of this tutorial, you’ll have a practical and stylish solution to your utensil storage woes, and you’ll be one step closer to creating a kitchen that’s both functional and beautiful.
Table of Contents
Guide Overview: What You'll Need
Total Time: 1 hour 15 minutes
Estimated Cost: $10 – $20
Difficulty Level: Easy
Tools Required
- Scissors (sharp and dedicated to cutting fabric)
- Sewing Machine (optional but recommended)
- Measuring Tape (for accurate measurements)
- Iron (for pressing fabric)
- Sewing Needles (for hand-stitching if necessary)
Supplies & Materials
- Cotton Fabric (1/2 yard or 18 inches x 54 inches)
- Thread (to match the fabric color)
- Interfacing or Stabilizer (optional for added structure)
- Ribbons or Velcro (for closure or hanging)
- Stuffing Material (optional for padded utensil holder)
Step-by-Step Instructions
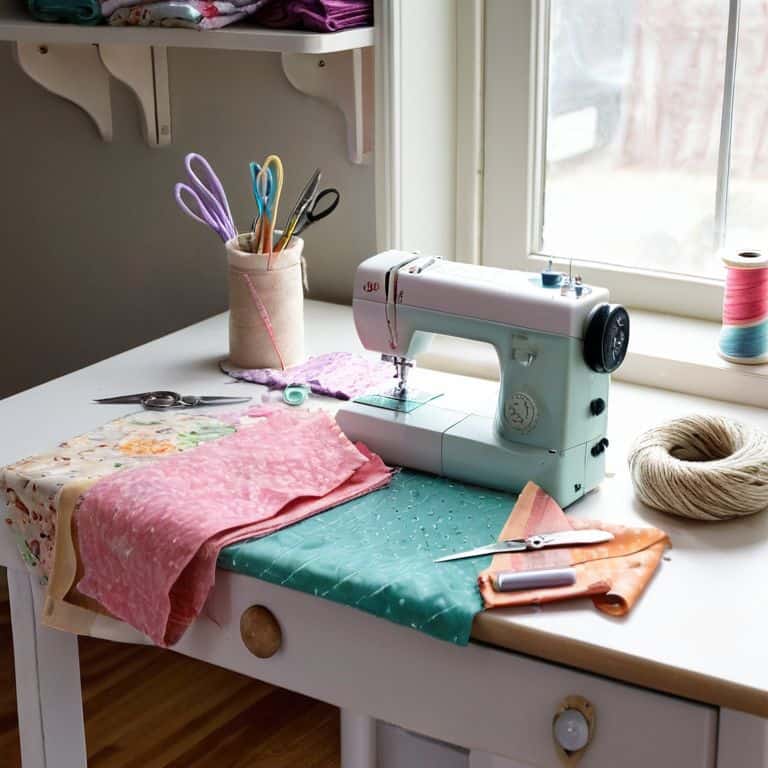
- 1. First, let’s start by gathering our materials – we’ll need some durable fabric, a sewing machine, thread, scissors, and a measuring tape. I like to use a fun, patterned fabric to add some personality to my utensil holder, but you can choose any fabric that matches your kitchen’s style.
- 2. Next, we need to measure our space to determine the perfect size for our utensil holder. Since I’m all about maximizing storage, I like to measure the width of my countertop and the height of my utensil jar to ensure my holder fits snugly in the corner. Take note of these measurements, as we’ll use them to cut our fabric.
- 3. Now, let’s cut out our fabric – we’ll need two pieces: one for the outer layer and one for the lining. I like to use a rotary cutter to get precise cuts, but scissors will do the trick too. Cut two rectangles, using your measurements from step 2 as a guide. Make sure to add a 1/2 inch seam allowance around each edge.
- 4. With our fabric cut, it’s time to sew our utensil holder together. Place the two fabric rectangles right sides together (meaning the wrong sides are facing out) and sew along the edges, leaving a small opening to turn the holder right side out. I like to use a straight stitch for this part, as it’s simple and effective.
- 5. Turn your utensil holder right side out and press the seams with an iron to get a crisp fold. This is where the magic happens – our holder starts to take shape. Make sure to press the seams carefully, as this will help our holder lie flat and prevent bulkiness.
- 6. Now, let’s add some pocket details to our utensil holder. Cut smaller rectangles of fabric and sew them onto the front of the holder, spacing them out evenly. These pockets will hold our utensils, so make sure they’re evenly spaced and the right size for your needs.
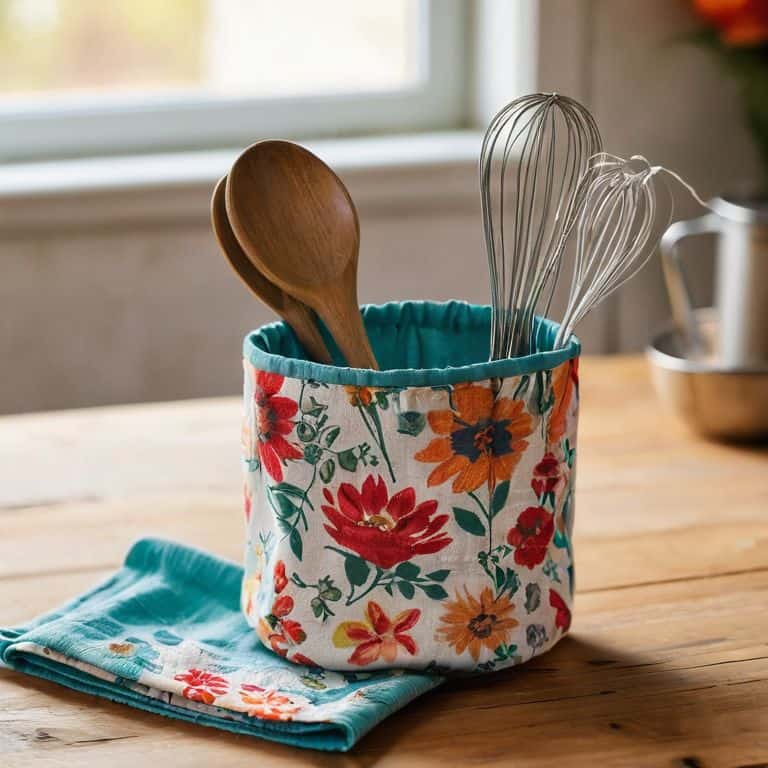
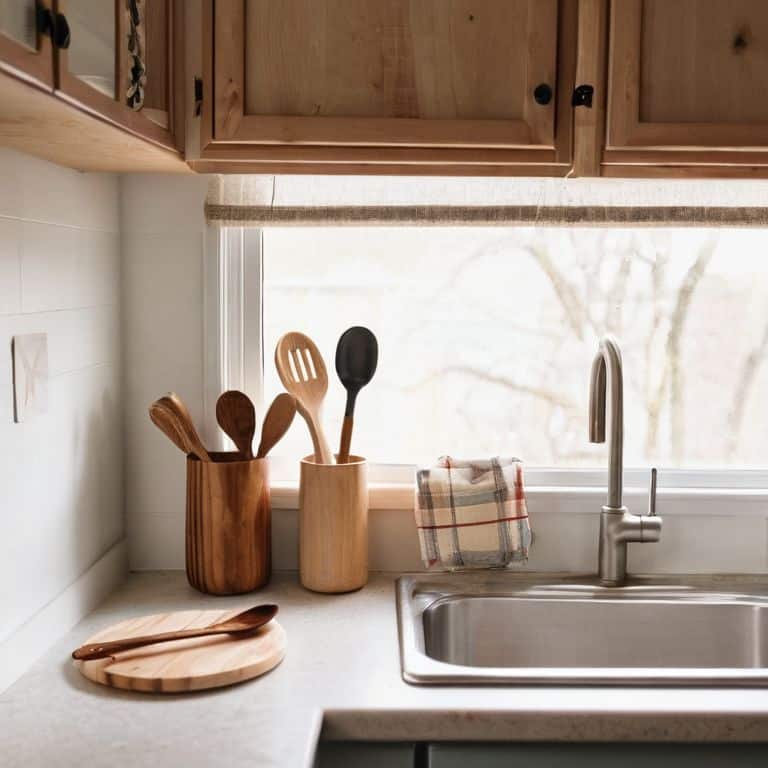
- 7. Finally, let’s add some finishing touches to our utensil holder. Topstitch around the edges to give it a polished look, and add any decorative elements you like – I’m a fan of simple embroidery to add a personal touch. Fill your holder with your favorite utensils and enjoy your newly organized kitchen countertop.
Sewing Smart Storage
As I worked on my fabric utensil holder, I realized that sewing smart storage solutions can make all the difference in a small kitchen. By choosing the right fabric and design, you can create a functional and customizable kitchen organizer that fits your unique needs. For beginners, this project is a great introduction to easy sewing projects for beginners, and it’s a wonderful way to get started with DIY home decor.
One of the things I love about this project is that it allows for upcycled fabric storage solutions. You can use old clothes, fabric scraps, or repurposed materials to create your utensil holder, making it a sustainable and eco-friendly option. This approach also enables you to add a personal touch to your kitchen, making it truly one-of-a-kind. By incorporating customizable kitchen organizer ideas, you can ensure that your fabric utensil holder meets your specific storage needs.
When it comes to sewing patterns, I recommend keeping it simple, especially if you’re new to sewing. Simple sewing patterns for home decor can be just as effective as complex ones, and they’re often easier to follow. This project is also a great opportunity to explore handmade gift ideas for kitchen enthusiasts, as a custom-made fabric utensil holder can make a thoughtful and practical present. By applying these principles, you can create a beautiful and functional storage solution that enhances your kitchen’s functionality and style.
Easy Sewing for Utensil Holders
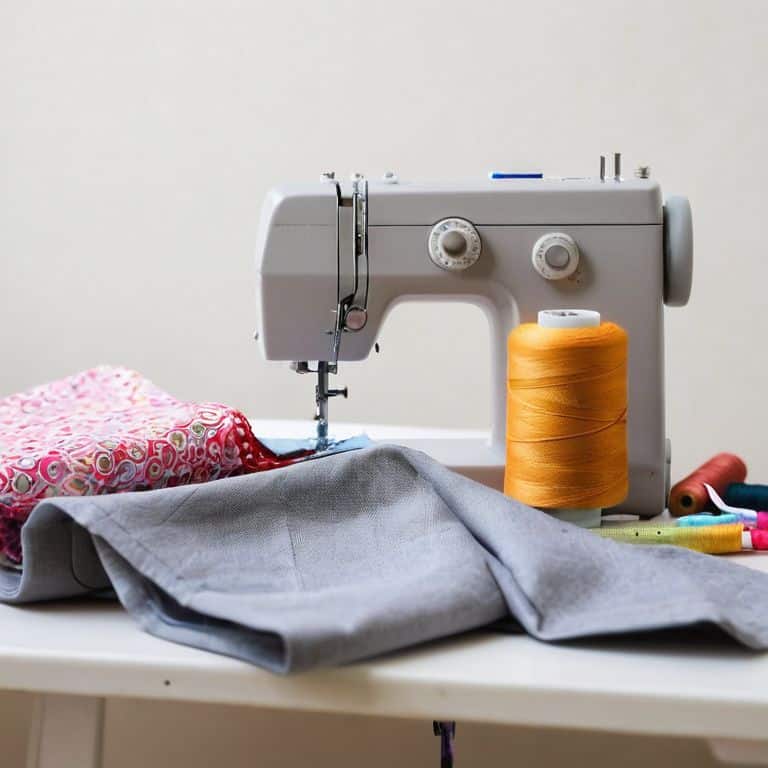
When it comes to sewing your utensil holder, don’t worry if you’re a beginner – it’s easier than you think. I like to use simple straight stitches and a sturdy cotton fabric that can withstand daily use. To make it even more straightforward, consider using a sewing machine with a built-in guide or a walking foot for smooth fabric feeding. If you’re sewing by hand, take your time and focus on small, consistent stitches.
For a polished finish, make sure to backstitch at the start and end of your seam, and press your fabric with a hot iron to create a crisp fold. These little details will make your utensil holder look professionally made, even if it’s your first sewing project. Plus, the sense of accomplishment you’ll get from creating something with your own hands is unbeatable!
Upcycled Fabric for Kitchen Organizers
When it comes to sewing smart storage, I love repurposing old fabrics to give my kitchen organizers a unique touch. Upcycled fabric can add a pop of personality to your utensil holder, and it’s also an eco-friendly way to reduce waste. I’ve used vintage tea towels, denim scraps, and even old cotton shirts to create one-of-a-kind holders. The key is to choose fabrics that are durable and easy to clean, so your organizer remains functional and stylish.
By using upcycled fabric, you can also experiment with different textures and patterns, adding depth and visual interest to your kitchen. Plus, it’s a great way to breathe new life into old materials, making your DIY project even more special and meaningful.
Sew Smart: 5 Essential Tips for a Functional Fabric Utensil Holder
- Choose the Right Fabric: Select a durable, easy-to-clean fabric that can withstand daily use, such as canvas or cotton twill
- Measure Twice, Cut Once: Accurately measure your utensils and the space where the holder will go to ensure a perfect fit
- Reinforce for Durability: Add interfacing or stabilizer to your fabric for extra support and to prevent stretching or sagging
- Keep it Simple, yet Secure: Opt for a simple design, but make sure your utensils are securely held in place with elastic, ties, or pockets
- Get Creative with Upcycled Materials: Consider repurposing old clothes, bags, or fabric scraps to add a personal touch and reduce waste
3 Key Takeaways for a Clutter-Free Kitchen
By creating a simple fabric utensil holder, you can keep your kitchen countertops tidy and organized, even in the smallest of spaces
Upcycling old fabrics and materials can add a personal touch to your kitchen organizers, while also reducing waste and saving you money
With a few basic sewing skills and some creativity, you can create smart storage solutions that are both beautiful and functional, making the most of your tiny kitchen
Sewing Wisdom
The beauty of a fabric utensil holder lies not just in its ability to organize our kitchens, but in the creative freedom it gives us to turn scraps into solutions and chaos into calm.
Maya Torres
Wrapping Up Your Utensil Holder Project
As we’ve explored in this DIY guide, creating a fabric utensil holder is a simple yet effective way to maximize your kitchen’s storage potential. From the initial steps of gathering materials to the final touches of sewing and placing your holder, the process is designed to be fun, easy, and highly customizable. Remember, the key to a successful project like this is to focus on functional beauty, ensuring that your utensil holder not only looks great in your kitchen but also serves its purpose with ease. By choosing the right fabric and carefully planning the size and design of your holder, you can create a truly unique and useful item for your home.
Now that you’ve completed your fabric utensil holder, take a step back and admire your handiwork – you’ve not only gained a practical tool for organizing your kitchen utensils, but you’ve also exercised your creativity and taken control of your space. This project is just the beginning; with the skills and confidence you’ve gained, consider what other DIY adventures await you. Whether it’s upcycling old furniture, creating a container garden, or simply finding new ways to use everyday items, the possibilities are endless, and the sense of accomplishment is always within reach.
Frequently Asked Questions
What type of fabric is best suited for a utensil holder, and can I use old clothes or fabric scraps?
For a utensil holder, I recommend durable fabrics like canvas, denim, or cotton twill. And yes, you can definitely upcycle old clothes or fabric scraps – I love using vintage tea towels or flour sack cloths for a unique touch. Just make sure to choose fabrics that are sturdy enough to hold your utensils and easy to clean.
How do I determine the right size for my fabric utensil holder to fit my specific kitchen needs?
To determine the right size, measure your utensil drawer or the space where you plan to hang your holder. Consider the types and quantities of utensils you need to store. I like to lay out my utensils on a flat surface and measure the area they occupy – it’s a simple way to get a sense of the minimum size your holder should be.
Can I add any additional features to my fabric utensil holder, such as pockets or dividers, to increase its functionality?
Absolutely, get creative with pockets and dividers to maximize storage. You can add a small pocket for spatulas or a divider to separate utensils from gadgets, keeping your kitchen counter clutter-free and organized. I love using leftover fabric scraps to create these extras – it’s a great way to upcycle and add a personal touch to your utensil holder.