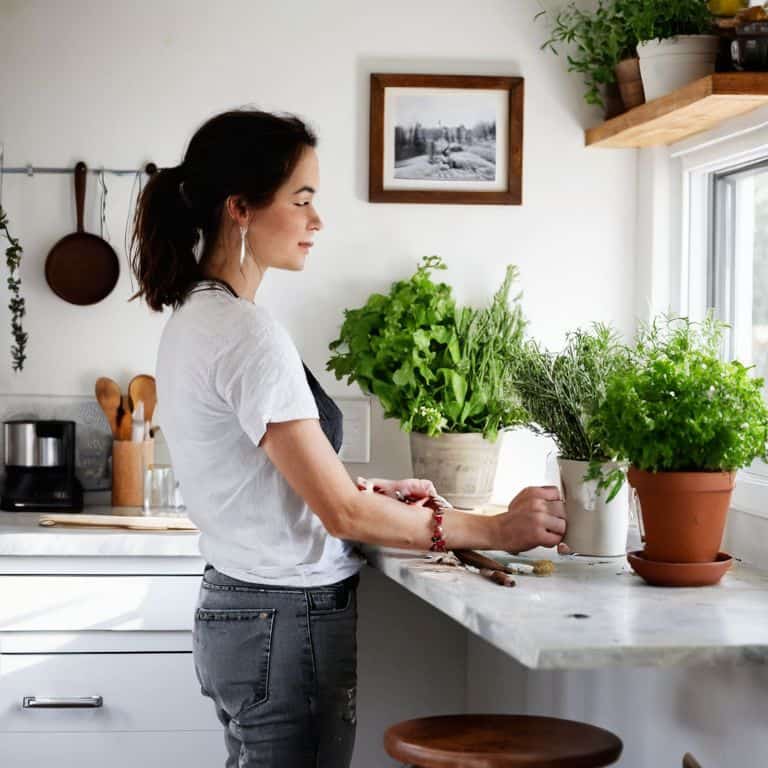
I still remember the day I realized that my tiny kitchen wasn’t a limitation, but a canvas waiting for some personality. I was determined to learn how to make diy wall art for my kitchen that would reflect my style and make the space feel more like home. As I began exploring different ideas, I discovered that many people believed creating DIY wall art required a lot of space, money, or expertise – but I was about to prove them wrong. With a little creativity and some thrift store finds, I was able to transform my kitchen into a cozy and inviting space that I loved spending time in.
In this article, I’ll share my favorite tips and tricks for creating unique and functional wall art that will make your tiny kitchen shine. You’ll learn how to turn everyday items into beautiful pieces of art, and how to make the most of your kitchen’s limited wall space. From repurposing old furniture to creating your own geometric patterns, I’ll show you that making DIY wall art for your kitchen is easier than you think, and can be done on a budget. By the end of this guide, you’ll be equipped with the knowledge and inspiration to turn your kitchen into a reflection of your personality, and make it a space that you’ll love coming home to every day.
Table of Contents
Guide Overview: What You'll Need
Total Time: 1 hour 45 minutes
Estimated Cost: $20 – $40
Difficulty Level: Easy
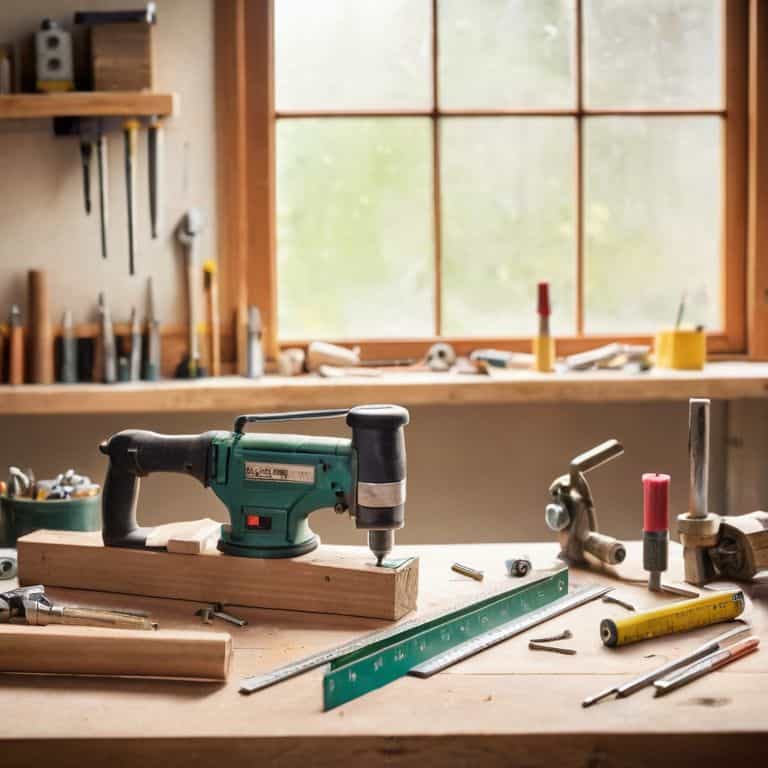
Tools Required
- Scissors (sharp)
- Hot Glue Gun (with extra glue sticks)
- Level (for hanging)
- Hammer (for tapping nails)
- Pencil (for marking walls)
Supplies & Materials
- Canvas or Wooden Board 12 inches x 12 inches
- Printed Photos or Art various sizes
- Frame or Border Material e.g., 1 inch x 2 inch lumber
- Nails or Hanging Kit for securing art to wall
- Decorative Items e.g., ribbons, buttons, or stickers
Step-by-Step Instructions
- 1. First, let’s gather our materials, which include a few basic supplies like a canvas or wooden board, paint, brushes, a pencil, and any other decorative items we want to incorporate into our art, like stickers, stamps, or even fabric scraps. We can find these at our local craft store or, if we’re feeling thrifty, scour the house for items we can repurpose.
- 2. Next, we need to brainstorm our design, thinking about the style and theme we want for our kitchen. This could be anything from a fun, colorful pattern to a more subdued, minimalist look. We can find inspiration online, in magazines, or even just by looking around our kitchen and seeing what colors and textures we already have going on.
- 3. Now it’s time to sketch out our idea on paper, getting a sense of the layout and composition of our art. Don’t worry too much about making it perfect – this is just a rough draft to guide us as we start creating. We can use a pencil to lightly draw our design onto the canvas or board, making sure to leave some space for adjustments as we go.
- 4. With our design in place, we can start adding color and texture, using paint, markers, or whatever other materials we’ve chosen. This is the fun part, where we get to see our idea come to life. Remember, it’s okay to make mistakes – they can often lead to new and interesting effects.
- 5. As we work on our art, let’s think about adding some depth and dimension, whether that’s through layering different materials, incorporating three-dimensional objects, or using techniques like stenciling or stamping. This will help our art stand out and give it a more polished, professional look.
- 6. Once we’re happy with our design, it’s time to seal and protect our art, using a varnish or sealant to keep it safe from dust, moisture, and other kitchen hazards. This will also help bring out the colors and textures we’ve used, making our art look its best.
- 7. Finally, we get to hang our art and enjoy the finished product, stepping back to admire our handiwork and see how it transforms our kitchen. We can use a level to make sure it’s straight, and then stand back to appreciate the unique, personalized touch we’ve added to our space.
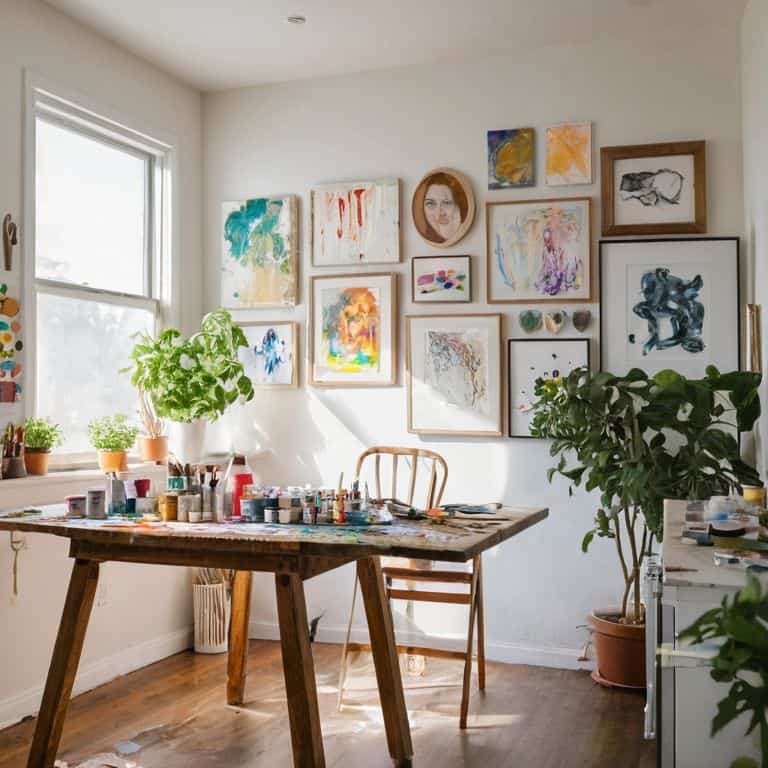
Diy Kitchen Wall Art
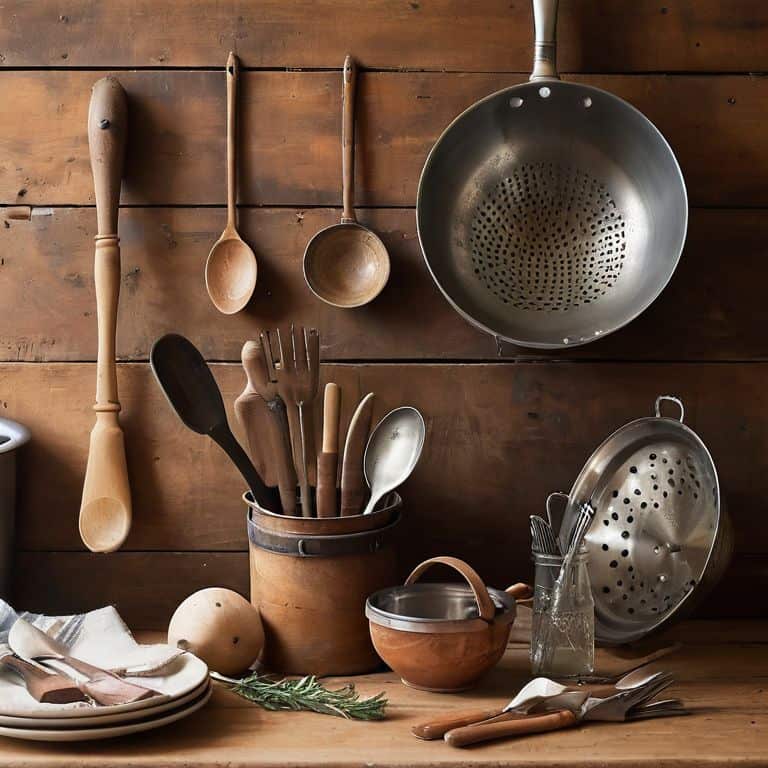
When it comes to kitchen wall decor ideas on a budget, I always say, think outside the box. Or in this case, think outside the frame. Using recycled materials can add a unique touch to your DIY wall art. For instance, you can transform old kitchen utensils into a quirky wall hanging. Not only is it eco-friendly, but it’s also a great way to give new life to items you might have otherwise thrown away.
One of my favorite projects is easy canvas painting for beginners. It’s amazing how a simple canvas can become a stunning piece of art with just a few brushstrokes. You can use printable wall art for kitchen templates to get started, or let your imagination run wild and create your own design. The best part? It’s a budget-friendly way to add some personality to your kitchen walls.
To take your DIY wall art to the next level, consider experimenting with different textures and materials. For example, you can combine paint with natural elements like wood or stone to create a one-of-a-kind piece. Alternatively, you can use wall art ideas using kitchen utensils to add a touch of whimsy to your kitchen. Whatever you choose, remember to have fun and be creative – it’s all about making your small kitchen shine!
Kitchen Canvas Painting on Budget
Painting on a budget is my favorite way to add some personality to my kitchen walls. I’m all about scouring thrift stores and garage sales for old canvases or frames that can be repurposed into unique pieces of art. With a fresh coat of paint and some creative vision, you can turn a bland, blank space into a vibrant reflection of your style. I love using stencils or stickers to add fun designs and patterns – it’s amazing how a simple geometric shape or a motivational quote can elevate the entire mood of your kitchen. Plus, it’s a great way to experiment with different colors and themes without breaking the bank.
Recycled Utensil Wall Art Hacks
I love giving old items a new life, and that includes utensils. For this project, gather old wooden spoons, metal colanders, or any other kitchen utensils you no longer use. You can also scour local thrift stores or flea markets for unique pieces. Simply arrange your finds into a pattern or shape that resonates with you, then attach them to a wooden board or directly to your kitchen wall using a strong adhesive or nails. The result is a quirky, functional piece of art that adds personality to your kitchen.
You can also add a pop of color by painting the utensils before arranging them, or leave them as is for a more rustic look. This project is all about experimentation and having fun, so don’t be afraid to try out different combinations and designs until you find one that reflects your style.
5 Creative Sparks to Ignite Your DIY Kitchen Wall Art
- Start with a theme: Before you begin, think about the style and vibe you want to achieve in your kitchen – is it rustic, modern, or playful? This will help guide your materials and design choices
- Repurpose kitchen items: Think beyond traditional art supplies and consider using items like vintage utensils, ceramic plates, or even kitchen towels to add texture and interest to your wall art
- Play with proportions: Don’t be afraid to mix large and small elements to create visual interest – a statement piece can be just as effective as a collection of smaller items
- Get inspired by nature: Bring the outdoors in by incorporating natural elements like leaves, branches, or flowers into your design – this can add a beautiful organic touch to your kitchen
- Lighting is everything: Consider how lighting can affect the mood and ambiance of your kitchen – string lights, fairy lights, or even a cleverly placed lamp can make your DIY wall art truly shine
Key Takeaways for a Beautiful DIY Kitchen
Transform your kitchen into a reflection of your personality with unique, handmade wall art pieces that add a touch of warmth and style to your space
Get creative with recycled materials like old utensils, pallets, or fabric to create one-of-a-kind wall art that’s not only budget-friendly but also eco-conscious
With a little imagination and some basic DIY skills, you can turn a blank kitchen wall into a stunning canvas that showcases your taste and makes your tiny kitchen feel more spacious and inviting
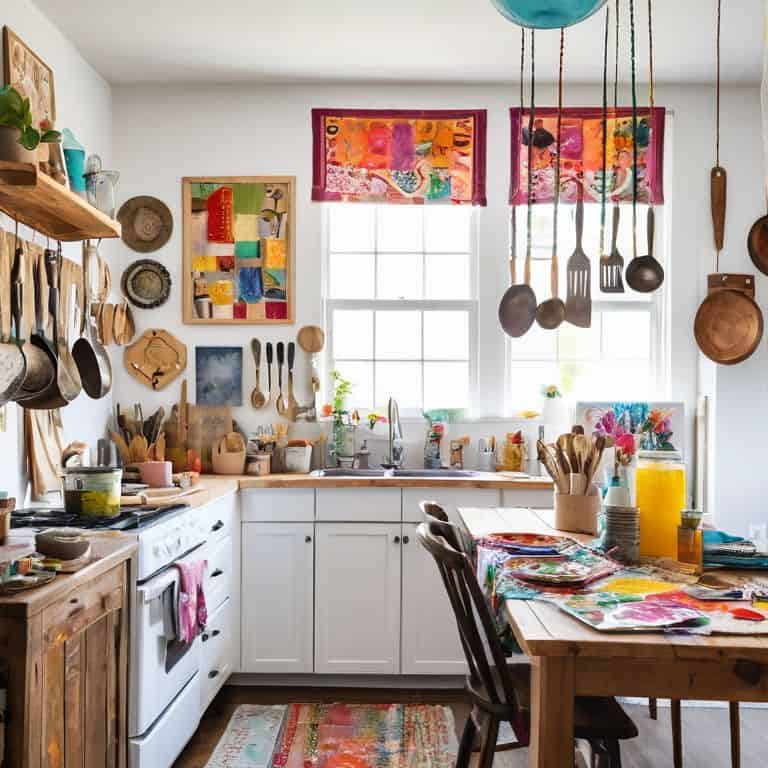
Transforming Your Kitchen with DIY Wall Art
The beauty of DIY wall art lies not just in its aesthetic appeal, but in its ability to reflect our personalities and tell our stories – and the best part? It’s a canvas that’s entirely yours to create, no matter how small your kitchen may be.
Maya Torres
Bringing Your Kitchen to Life with DIY Wall Art
As we’ve explored throughout this guide, creating unique and personalized DIY wall art for your kitchen can be a fun and rewarding experience. From painting on a budget to repurposing recycled utensils, we’ve covered a range of creative and practical solutions to enhance the aesthetic appeal of your kitchen. By applying these step-by-step instructions and tips, you can transform your kitchen into a space that reflects your personality and style. Whether you’re a seasoned DIY enthusiast or a beginner, the process of making your own wall art can be a great way to express your creativity and add a touch of warmth to your kitchen.
Remember, the key to making your kitchen truly special is to think outside the box and have fun with the process. Don’t be afraid to experiment and try new things – it’s all part of the DIY journey. As you hang your finished piece of art on the wall, take a step back and admire your handiwork. You’ve not only created something beautiful, but you’ve also made your kitchen a more welcoming and inviting space. So go ahead, get creative, and make your kitchen a reflection of your unique style and personality.
Frequently Asked Questions
What are some budget-friendly materials I can use to create unique DIY wall art for my kitchen?
For unique DIY wall art, I love repurposing old maps, music sheets, or book pages. You can also use vintage utensils, like colanders or wooden spoons, to create a quirky kitchen-themed piece. And don’t forget about nature – press some leaves or flowers to add a pop of color and texture to your kitchen canvas!
How do I ensure my DIY wall art is durable and easy to clean in a kitchen environment?
To keep your DIY wall art kitchen-friendly, seal it with a waterproof varnish or use a protective glass frame. For pieces made from recycled materials, add a clear coat of polyurethane to make cleaning a breeze. This way, your masterpiece can withstand the kitchen hustle and bustle.
Can I use recycled or upcycled items to create DIY wall art for my kitchen, and if so, what are some creative ideas?
Absolutely, I love upcycling old items to create unique wall art. Think vintage utensils, mason jars, or even repurposed wood scraps. Get creative and turn them into functional pieces, like a spoon wind chime or a jar spice rack. It’s a great way to add personality to your kitchen while reducing waste.