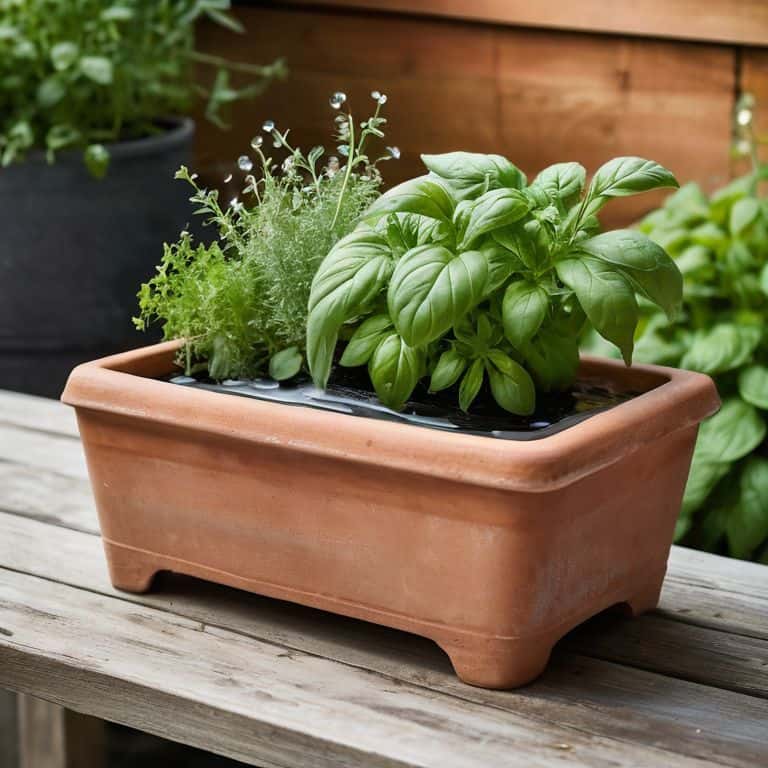
I’ll never forget the day I killed my first herb plant – it was a sad, wilted basil that had seen better days. I had forgotten to water it, and let’s face it, forgetting to water your herbs is a rookie mistake. That’s why I’m obsessed with finding solutions to this problem, and one of my favorite hacks is learning how to make self-watering planters for your herbs. It’s a game-changer for tiny kitchen gardens like mine, where every plant counts. I’ve tried my fair share of store-bought solutions, but there’s something satisfying about creating my own DIY planters that are both functional and beautiful.
In this article, I’ll share my simple, no-nonsense approach to making self-watering planters that will keep your herbs happy and thriving. You won’t need any special tools or a green thumb to get started – just a willingness to get creative and make the most of your small space. I’ll walk you through the steps, from choosing the right materials to assembling your planter, and provide you with plenty of tips and tricks along the way. By the end of this guide, you’ll be equipped with the knowledge to create your own self-watering planters and enjoy a bountiful harvest of fresh herbs, even in the tiniest of kitchens.
Table of Contents
Guide Overview: What You'll Need
Total Time: 2 hours 30 minutes
Estimated Cost: $20 – $40
Difficulty Level: Intermediate
Tools Required
- Drill (with drill bits)
- Jigsaw (for cutting curves)
- Sander (optional)
- Hot Glue Gun (for bonding parts)
- Trowel (for applying waterproof sealant)
- Measuring Tape (for accurate measurements)
- Level (to ensure planter is even)
- Safety Glasses (for protecting eyes from debris)
Supplies & Materials
- 2-in x 6-in lumber (for planter box frame)
- 1-in x 4-in lumber (for shelves and supports)
- PVC Pipe (for water reservoir)
- Waterproof Sealant (to prevent leaks)
- Potting Soil (for planting herbs)
- Herb Seeds or Seedlings (for planting)
- Plastic Bottle (1.5-liter, for creating water reservoir)
- Mesh Screen (to keep soil from entering water reservoir)
Step-by-Step Instructions
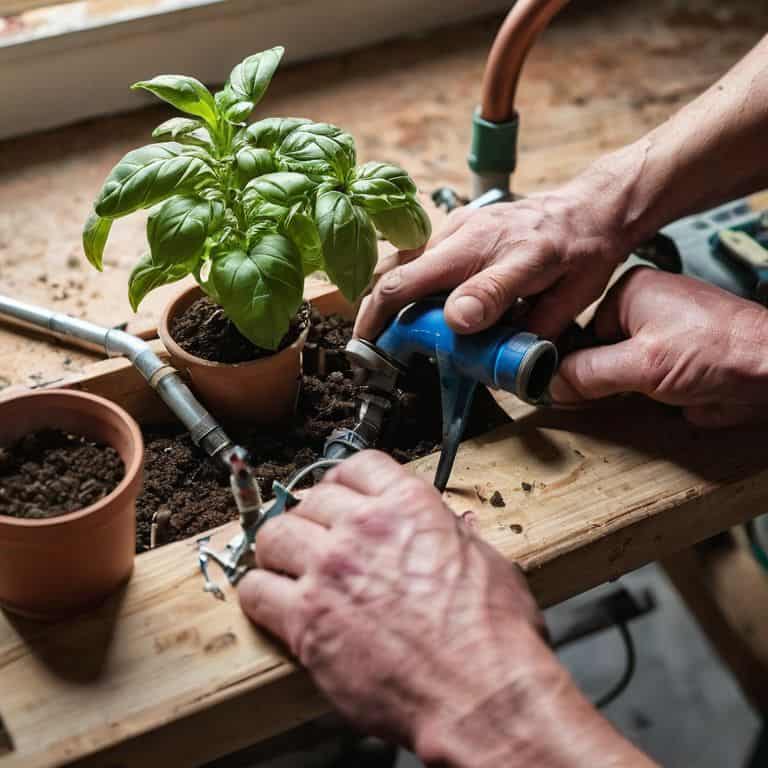
- 1. First, gather your materials, because let’s face it, having everything you need is half the battle when it comes to DIY projects. For this self-watering planter, you’ll need a plastic bottle (I like to use old soda bottles), a pair of scissors or a craft knife, a drill with a small drill bit, some water-absorbing material like cotton rope or cloth, and of course, your herb of choice.
- 2. Next, cut the bottle in half to create the main body of your planter. This is the part where most people get nervous, but trust me, it’s easier than it looks. Simply cut around the middle of the bottle, making sure the edges are somewhat even. Don’t worry too much about perfection – it’s all part of the charm.
- 3. Now, it’s time to create the water reservoir. Take the bottom half of the bottle and drill a few small holes in the bottom. This is where the magic happens, and your planter will start to water itself. Make sure the holes are not too big, or the water will drain out too quickly.
- 4. Cut a piece of your water-absorbing material to fit inside the bottle cap. This will act as the wick that draws water up to your herbs. You can use a cotton rope, cloth, or even an old t-shirt – just make sure it’s something that can absorb water well.
- 5. Assemble your planter by placing the wick into the bottle cap, then filling the bottom half of the bottle with water. The top half of the bottle will serve as the planter for your herbs. Simply add some potting soil and your herb of choice, and you’re almost done.
- 6. To make it even more ruthlessly functional, consider adding a small tray or plate under the planter to catch any excess water that might drain out. This way, you won’t have to worry about water spills or messes in your tiny kitchen.
- 7. Finally, place your new self-watering planter in a sunny spot, and enjoy the fruits of your labor. With a little creativity and some basic materials, you’ve managed to create a beautiful and functional planter that will keep your herbs happy and healthy, even when you forget to water them (because, let’s face it, it happens to the best of us).
Hack Your Herb Garden

As I’ve experimented with my self-watering planters, I’ve discovered a few vertical gardening ideas that have taken my herb game to the next level. One of my favorites is using recycled materials, like old pallets or crates, to create a tiered planter system. This not only adds a decorative element to my kitchen, but it also maximizes my limited space. By stacking my planters, I can fit more herbs in a smaller area, making it perfect for small space gardening solutions.
When it comes to maintaining my herb garden, I’ve found that a watering globe for plants can be a lifesaver. These tiny globes release water as the soil dries out, ensuring my herbs stay hydrated even when I’m away. I’ve also experimented with different herb garden irrigation systems, from simple drip irrigation to more complex setups. While these systems can be intimidating, they’re actually quite easy to implement and can make a huge difference in the health and productivity of your herbs.
To take your herb garden to the next level, consider incorporating indoor planter box designs that incorporate self-watering elements. By using a combination of recycled plastic bottle planters and clever irrigation systems, you can create a thriving herb garden that’s both beautiful and functional. Remember, the key to success is to keep it simple and have fun with the process – don’t be afraid to experiment and try new things!
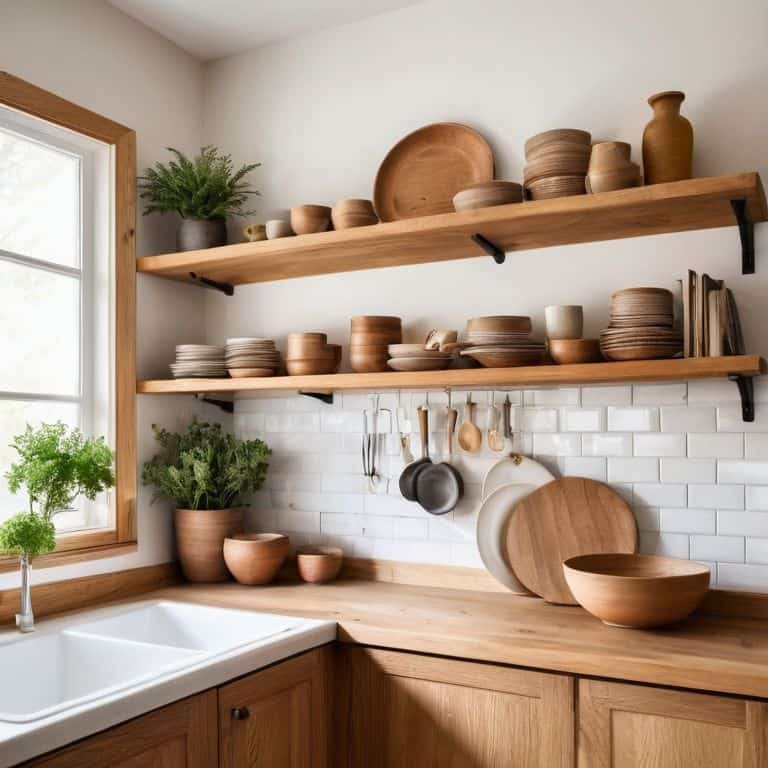
Revolutionize With Vertical Gardening Ideas
Now that we’ve squeezed more green into our tiny kitchens, let’s take it to the next level with vertical gardening ideas. I’m obsessed with maximizing my balcony space, and vertical planters are a game-changer. Not only do they add a decorative touch, but they also make the most of your wall space. I’ve experimented with repurposing old wooden ladders and pallets to create my own vertical gardens – it’s amazing how much you can grow in a small footprint.
From tiered herb planters to living walls, the possibilities are endless. I love how vertical gardening adds a touch of whimsy to my outdoor space while keeping my herbs within easy reach. Whether you’re a seasoned gardener or a beginner, vertical gardening is a great way to revolutionize your herb garden and make the most of your tiny kitchen’s outdoor counterpart.
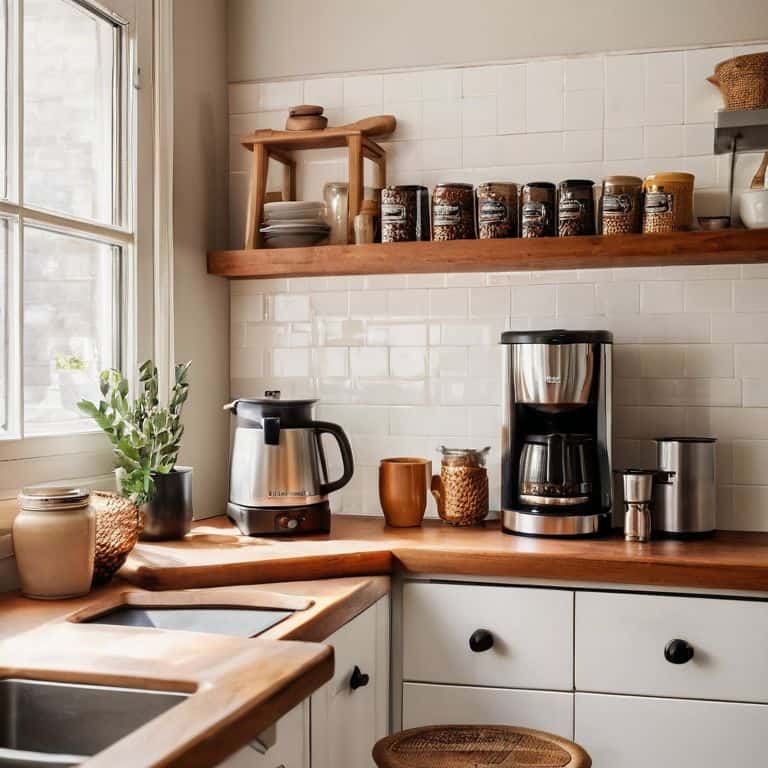
Squeeze More Green Into Your Tiny Kitchen
Now that we’ve got our self-watering planters up and running, let’s talk about maximizing that tiny kitchen space. I like to think of my herb garden as a vertical game – by using stackable planters or a trellis, I can squeeze in a few more plants without sacrificing precious counter space. Plus, it adds a cute decorative touch to my kitchen windowsill! To take it to the next level, consider grouping herbs by watering needs or sunlight requirements, making it easier to care for them and ensuring they all get the TLC they deserve.
5 Genius Hacks to Supercharge Your Self-Watering Herb Planters
- Choose the Right Materials: Select a planter that fits your style and has good drainage holes to prevent waterlogged soil
- Get Creative with Reservoirs: Use everything from plastic bottles to mason jars to create a water reservoir that fits your planter’s size and style
- Pick the Perfect Herbs: Not all herbs are created equal – opt for compact or dwarf varieties that thrive in small, self-watering planters
- Don’t Forget the Wicking Material: Use a porous material like cotton rope or felt to draw water from the reservoir to the soil, keeping your herbs happy and hydrated
- Monitor and Maintain: Keep an eye on your planters’ water levels and soil moisture, and give your herbs a little TLC to ensure they’re getting the right amount of water and nutrients
3 Key Takeaways for a Thriving Tiny Kitchen Herb Garden
By creating your own self-watering planters, you can keep your herbs healthy and thriving even in the smallest of kitchens, without breaking the bank or sacrificing style
Vertical gardening ideas can revolutionize your space, allowing you to grow more herbs in less space and adding a touch of greenery to your walls or windowsills
With a little creativity and some basic DIY skills, you can turn your tiny kitchen into a lush oasis, complete with a functional and beautiful herb garden that will inspire you to get cooking and experimenting with new recipes
Empowering Your Green Thumb
The beauty of a self-watering planter isn’t just about saving time, it’s about giving your herbs the freedom to thrive in even the smallest of spaces – and that’s a pretty powerful feeling!
Maya Torres
Empowering Your Green Thumb
As we wrap up this DIY journey, let’s recap the essentials: we’ve learned how to create our own self-watering planters, hacked our herb garden to squeeze more green into our tiny kitchens, and explored revolutionary vertical gardening ideas. These projects are more than just space-saving solutions – they’re a testament to the power of creativity and resourcefulness in small-space living. By embracing DIY, we’re not only customizing our homes but also developing a deeper connection with the natural world, one herb at a time.
So, as you put down your drill and step back to admire your handiwork, remember that the true beauty of DIY lies in its potential to transform. It’s not just about making self-watering planters or maximizing your kitchen’s potential – it’s about unleashing your inner maker and turning your living space into a reflection of your unique personality. Keep experimenting, keep creating, and most importantly, keep nurturing that green thumb – your tiny kitchen (and the planet) will thank you!
Frequently Asked Questions
What type of materials can I use to make a self-watering planter if I don't have access to a hardware store?
No hardware store, no problem. I’ve repurposed old plastic bottles, cardboard tubes, and even wooden crates to make self-watering planters. Get creative with items you’d normally throw away, like an old colander or a broken terracotta pot. Think outside the box and raid your recycling bin for inspiration!
How often should I refill the water reservoir in my self-watering herb planter to keep my plants healthy?
Refilling the water reservoir in your self-watering herb planter depends on the climate and your herbs’ thirstiness. As a rule of thumb, I check mine every 2-3 days in hot weather and once a week in cooler months. Just stick your finger in the soil – if it’s dry, it’s time for a refill!
Can I use self-watering planters for other types of plants besides herbs, such as succulents or leafy greens?
Absolutely, self-watering planters aren’t just for herbs! I’ve used them for succulents, leafy greens, and even tiny tomatoes. Just adjust the water reservoir size and soil mix to fit your plant’s needs. It’s all about experimenting and finding what works best for each plant – and that’s the fun part!