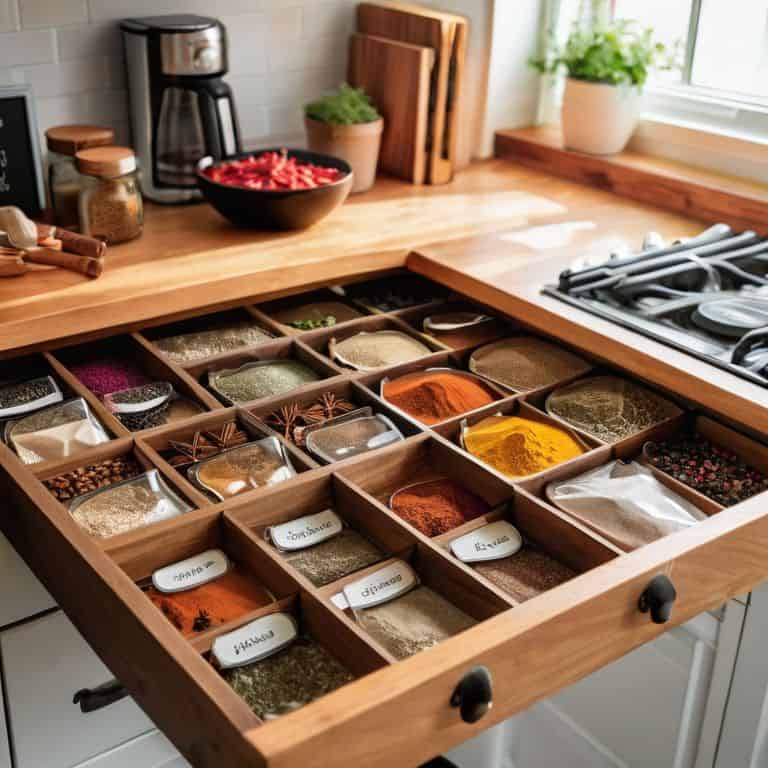
I still remember the day I realized my tiny kitchen’s spice drawer had become a war zone. Every time I needed to cook, I’d rummage through a messy pile of bottles and jars, wasting precious time and patience. That’s when I decided to take matters into my own hands and learn how to build a drawer spice organizer. It wasn’t just about tidying up; it was about reclaiming my kitchen’s functionality and making cooking a breeze again. As someone who’s passionate about DIY solutions, I was determined to find a practical and beautiful fix for this common problem.
In this article, I’ll share my honest, no-hype guide on how to build a drawer spice organizer that actually works. You won’t find any fancy, expensive materials or complicated instructions here. Instead, I’ll walk you through a simple, step-by-step process that’ll help you create a customized spice organizer that fits your unique needs and kitchen style. Whether you’re a fellow small-space dweller or just someone who loves a good DIY project, I promise you’ll find this tutorial empowering and fun. So, let’s get started and transform that chaotic spice drawer into a haven of organization and efficiency!
Table of Contents
Guide Overview: What You'll Need

Total Time: 2 hours 30 minutes
Estimated Cost: $20 – $40
Difficulty Level: Intermediate
Tools Required
- Table Saw (for cutting lumber)
- Drill Press (for precise drilling)
- Hand Drill (with screwdriver and drill bits)
- Sander (for smoothing out wood)
- Tape Measure (for accurate measurements)
- Square (for ensuring corners are square)
- Clamps (for holding pieces together)
- Utility Knife (with extra blades)
Supplies & Materials
- 1/2 inch Plywood (for the back and bottom of the organizer)
- 1×4 Lumber (for the frame and shelves)
- 1×2 Lumber (for the dividers and supports)
- Wood Glue
- 2 inches Wood Screws
- 1 inch Wood Screws
- Sandpaper (for finishing)
- Paint or Stain (optional, for finishing)
- Small Hinges (for the drawer front)
- Magnetic Catch (for securing the drawer front)
Step-by-Step Instructions
- 1. First, gather your materials – you’ll need a few basic tools like a drill, a saw, and a sanding block, as well as some wooden boards for the organizer’s frame and dividers. I like to use reclaimed wood from old furniture or flea market finds to give my projects a unique touch. Make sure to measure your drawer carefully and cut the boards to size, taking into account the space you need for your spices and any other items you want to store.
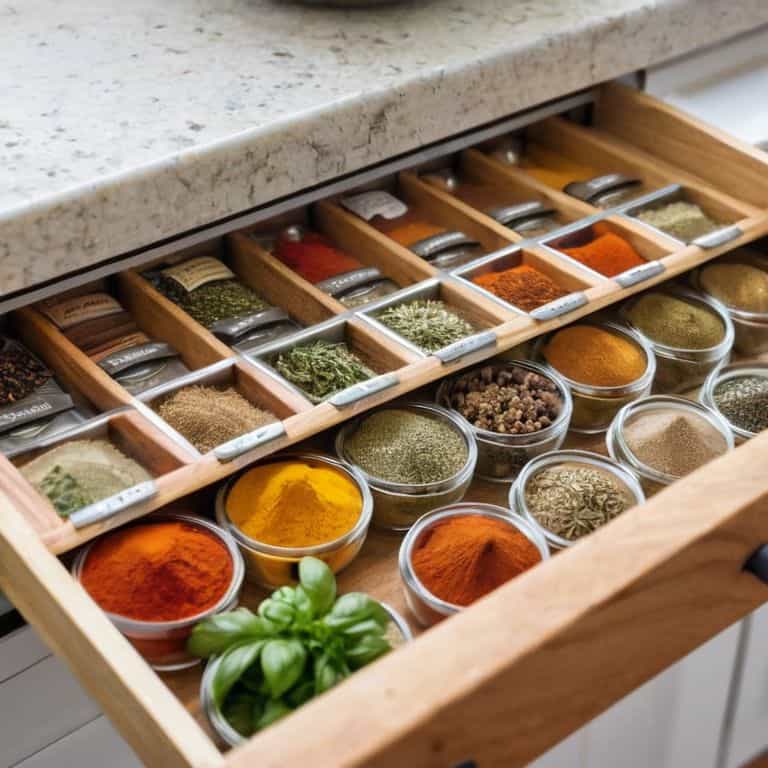
- 2. Next, plan the layout of your organizer – think about how you want to divide up the space and what kind of compartments you need. I like to use a combination of small and large compartments to accommodate different sizes of spice bottles and jars. You can sketch out a rough design on paper or use a tool like graph paper to help you visualize the layout.
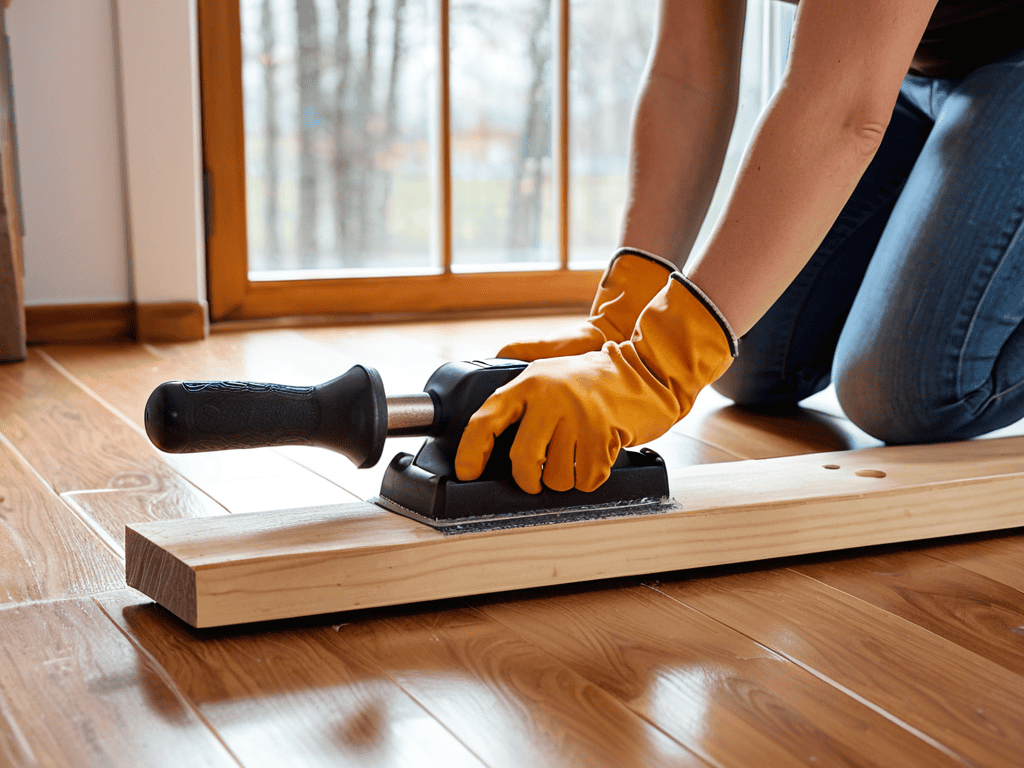
- 3. Now it’s time to cut the dividers – use your saw to cut the wooden boards into the required sizes, and then sand them down to smooth out any rough edges. I like to use a sanding block to get into the small spaces and make sure everything is nice and smooth. This will help prevent any splinters or scratches when you’re assembling the organizer.
- 4. With your dividers cut and sanded, it’s time to assemble the frame – use your drill to screw the sides and bottom of the organizer together, making sure everything is square and level. I like to use a level tool to double-check that everything is even and plumb. This will ensure that your organizer is sturdy and won’t collapse when you’re using it.
- 5. Once the frame is assembled, you can start adding the dividers – use your drill to screw them into place, starting from the bottom and working your way up. I like to use a mixture of small and large dividers to create a visually interesting layout. Make sure to leave a little space between each divider to allow for easy access and airflow.
- 6. Now it’s time to add the finishing touches – you can add a coat of paint or varnish to protect the wood and give it a nice finish. I like to use a natural oil-based finish to bring out the beauty of the wood grain. You can also add some decorative trim or molding to give your organizer a bit of personality.
- 7. Finally, install the organizer in your drawer – simply place it in the drawer and make any necessary adjustments to ensure it fits snugly. I like to add a few felt pads to the bottom of the organizer to prevent it from scratching the drawer liner. Fill it up with your spices and enjoy your newly organized kitchen space!
Spice Up Your Space
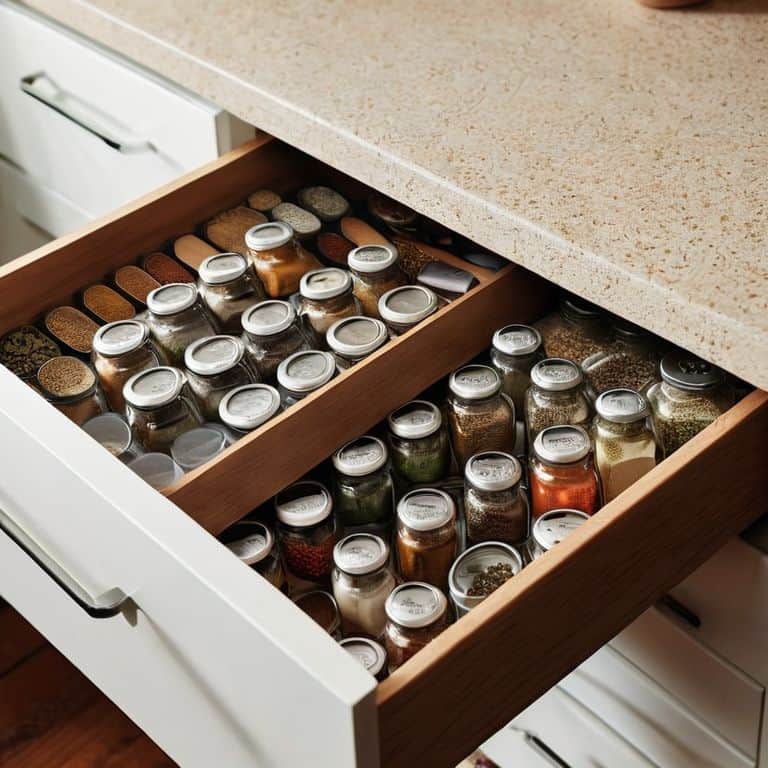
As I stepped back to admire my newly organized spice drawer, I realized that this project was about more than just tidying up – it was about creating a space that sparks joy. With my custom drawer inserts in place, I felt a sense of pride and accomplishment that came from knowing I’d created something beautiful and functional with my own two hands. This feeling is what drives me to continue exploring new DIY projects, like building a DIY spice rack, to enhance my small kitchen storage solutions.
One of the most significant advantages of this project is that it can be easily adapted to fit your unique needs and style. For instance, you can use spice jar storage containers in various sizes to accommodate your collection, or get creative with drawer organization ideas to maximize your space. By doing so, you’ll not only be adding a personal touch to your kitchen but also creating a more efficient workflow.
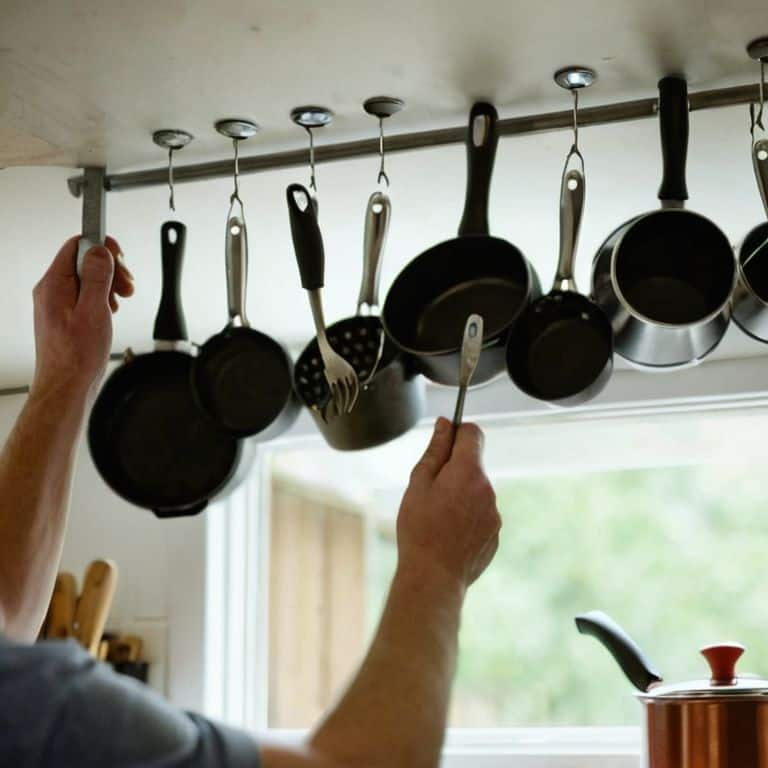
To take your kitchen cabinet makeover to the next level, consider incorporating other small kitchen storage solutions, such as a pegboard or a magnetic strip, to keep frequently used items within easy reach. By implementing these custom storage solutions, you’ll be able to maintain your newly organized space with minimal effort, allowing you to focus on the things that bring you joy – like cooking and sharing meals with loved ones.
Diy Spice Rack Plans for Small Kitchens
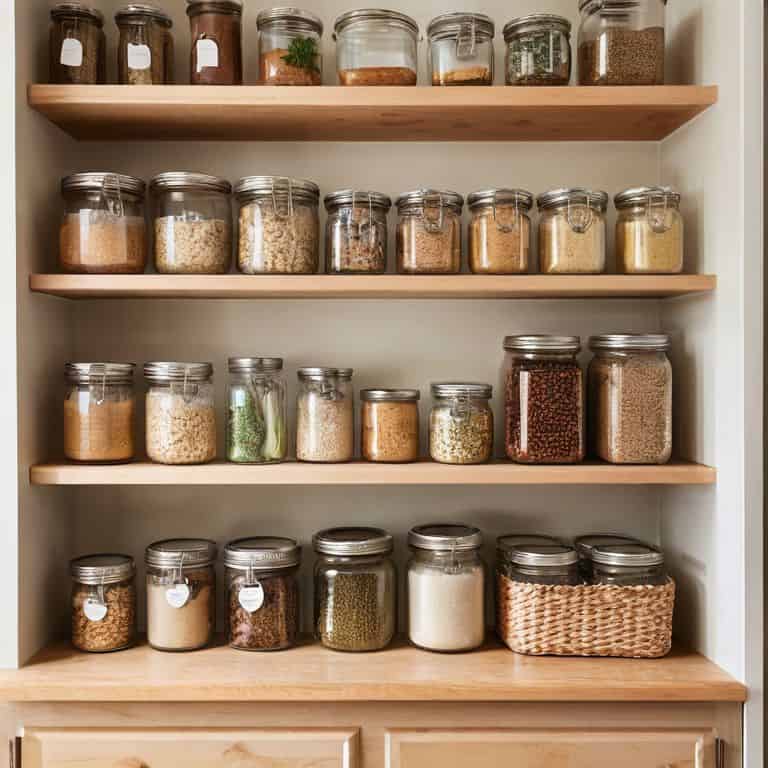
Now that we’ve tamed the spice drawer chaos, let’s think about the overall spice storage in our tiny kitchens. A DIY spice rack can be a game-changer, keeping your countertops clear and your spices within easy reach. I love repurposing flea market finds, like old wooden crates or ladders, to create unique spice racks that add a personal touch to my kitchen.
For a more modern look, you can use wooden dowels or copper pipes to create a wall-mounted spice rack. Whatever material you choose, remember to measure your space carefully and plan your design accordingly. With a little creativity, you can create a spice rack that’s both beautiful and functional, making the most of your small kitchen’s limited real estate.
How to Build a Drawer Spice Organizer
Now that we’ve got our spices in order, let’s talk about the fun part – building a home for them. To start, gather your materials: a wooden crate or small box, some wooden dividers, a drill, and a hammer. I love using reclaimed wood for projects like this, it adds a touch of warmth and character to our tiny kitchens. If you’re like me and have a scrap wood collection, now’s the perfect time to bust it out. Cut your dividers to size and get ready to assemble your spice organizer. Remember, this is all about making the most of our small spaces, so don’t be afraid to get creative and adjust the design to fit your needs.
5 Essential Tips for a Clutter-Free Drawer Spice Organizer
- Measure Your Drawer, Not Just the Space: Before you start building, make sure to measure the exact dimensions of your drawer, including any obstructions like the drawer slides or handles.
- Choose the Right Materials for the Job: Select materials that are durable, easy to clean, and fit your kitchen’s style – I personally love using reclaimed wood or bamboo for a warm, earthy feel.
- Design with Adjustability in Mind: Incorporate adjustable dividers or shelves to accommodate spices of different sizes and shapes, ensuring your organizer grows with your collection.
- Consider the ‘Golden Zone’ for Optimal Access: Place your most frequently used spices in the easiest-to-reach zone of your organizer, typically around chest-level, to save time and reduce strain.
- Add a Personal Touch with Custom Labels: Use paint, stickers, or a label maker to add the names of your spices to the organizer, making it easy to find what you need at a glance and adding a touch of personality to your kitchen.
3 Key Takeaways to Spice Up Your Small Kitchen
By building a custom drawer spice organizer, you can maximize your kitchen’s storage space and keep your spices within easy reach, making cooking and meal prep a breeze
With a little creativity and some basic DIY skills, you can create a beautiful and functional spice rack that reflects your personal style and complements your kitchen’s decor
Upcycling or repurposing materials, such as old wooden crates or mason jars, can add a unique touch to your DIY spice organizer and help reduce waste, making your kitchen renovation more sustainable and eco-friendly
The Spice of Life
A clutter-free spice drawer is not just a matter of storage, it’s a state of mind – and with a little creativity and some clever DIY, you can turn even the tiniest kitchen into a culinary haven!
Maya Torres
Wrapping Up Your DIY Drawer Spice Organizer
You’ve made it through the steps, and now you have a beautiful, functional drawer spice organizer that’s all your own. From planning to execution, we’ve covered how to measure your space, choose the right materials, and bring your vision to life. Don’t forget to celebrate your successes, no matter how small they may seem – every DIY project is a chance to learn and grow. As you put your new organizer to use, remember that it’s not just about the end result, but about the journey and the sense of accomplishment that comes with creating something with your own hands.
As you stand back to admire your handiwork, remember that empowerment through DIY is what it’s all about. You’ve taken a cluttered, chaotic space and turned it into a haven of efficiency and elegance. Don’t stop here – keep pushing the boundaries of what’s possible in your small kitchen, and never be afraid to get creative and try something new. With every project, you’ll become more confident in your abilities, and your space will reflect your unique personality and style. Happy building, and don’t forget to share your DIY adventures with me!
Frequently Asked Questions
What kind of materials are best for building a durable and easy-to-clean spice organizer?
For a durable and easy-to-clean spice organizer, I swear by using bamboo or reclaimed wood for the structure, and BPA-free plastic or glass for the spice containers. You can also add a waterproof liner to make cleaning a breeze. Plus, these materials are budget-friendly and perfect for small kitchen DIY projects!
How do I measure my drawer to ensure a custom fit for my DIY spice organizer?
To get a custom fit, measure your drawer’s width, length, and height. Use a tape measure to record these dimensions, and don’t forget to account for any obstructions like drawer slides or handles. I like to double-check my measurements by sketching a simple diagram – it helps me visualize the space and plan my organizer’s design.
Can I customize the design of my spice organizer to fit my kitchen's unique style and decor?
Absolutely, you can customize your spice organizer to fit your kitchen’s vibe! Think about the style you’re going for – modern, rustic, or minimalist – and choose materials and finishes that match. You can also add decorative trim or paint to give it a personal touch. Get creative and make it your own, that’s what DIY is all about!