I still remember the day I realized that having a tiny kitchen wasn’t a barrier to growing my own herbs. I was determined to find a way to bring some greenery into my small space, and that’s when I stumbled upon the idea of how to build a vertical herb garden for a small space. It was a game-changer. I no longer had to choose between having a kitchen counter or a garden – I could have both. The best part? It was incredibly easy to set up and didn’t break the bank.
In this article, I’ll share my personal experience and practical tips on how to build a vertical herb garden for a small space. You’ll learn how to create a beautiful and functional garden that will make the most of your limited space. From choosing the right materials to maintaining your herbs, I’ll cover it all. My goal is to empower you to take control of your kitchen and make it a reflection of your personal style, no matter how small it may be. By the end of this guide, you’ll be equipped with the knowledge and confidence to build your own vertical herb garden and start enjoying the benefits of fresh, homegrown herbs.
Table of Contents
Guide Overview: What You'll Need

Total Time: 2 hours 30 minutes
Estimated Cost: $50 – $100
Difficulty Level: Intermediate
Tools Required
- Drill (with screwdriver and drill bits)
- Measuring Tape
- Level
- Pencil
- Utility Knife (with extra blades)
- Hammer
Supplies & Materials
- 2-in x 4-in lumber for frame
- 3/4-in plywood for back panel
- Wood screws
- Nails
- Weather-resistant wood glue
- Herb planters or pockets 6 to 8 pockets, depending on size
- Soil and herbs of choice
Step-by-Step Instructions
- 1. First, let’s start by gathering our materials, which include a wooden pallet or a wooden board, some screws, a drill, a hammer, and a few small pots for our herbs. I like to think of this step as the foundation of our project, and it’s essential to get it right to ensure our vertical garden is sturdy and functional.
- 2. Next, we need to prepare our pallet or board by cleaning it thoroughly and removing any debris or old nails. This step is crucial in creating a smooth surface for our herb pots and preventing any damage to our wall or the pallet itself. I usually use a mixture of soap and water to clean the pallet, and then let it dry completely before moving on to the next step.
- 3. Now, it’s time to measure and mark the spots where we’ll be placing our herb pots. I recommend using a ruler and a pencil to mark the spots, making sure they’re evenly spaced and aligned. This step requires some patience and attention to detail, but it’s worth it to achieve a beautiful and symmetrical design.
- 4. With our marks in place, we can start drilling holes for the screws that will hold our pots in place. I love using my drill for this step, as it makes the process so much faster and easier. Make sure to drill the holes carefully and slowly, applying gentle pressure to avoid splitting the wood.
- 5. After drilling the holes, we can start assembling our vertical garden by screwing the pots into place. This is the most exciting part of the project, as we get to see our herb garden come to life. I recommend using a level to ensure the pots are straight and even, and then screwing them into place with a screwdriver.
- 6. Once our pots are in place, we can start adding the herbs and filling the pots with soil. I like to use a variety of herbs, such as basil, mint, and rosemary, to create a colorful and fragrant garden. Make sure to water the herbs well after planting, and then add a personal touch by decorating the pallet or board with some paint or stickers.
- 7. Finally, we can hang our vertical garden on the wall using some screws or nails. I recommend finding a spot that gets plenty of sunlight and is easy to access, so we can enjoy our fresh herbs all year round. With our vertical garden in place, we can sit back and admire our handiwork, feeling proud of our creative solution to the problem of limited space.
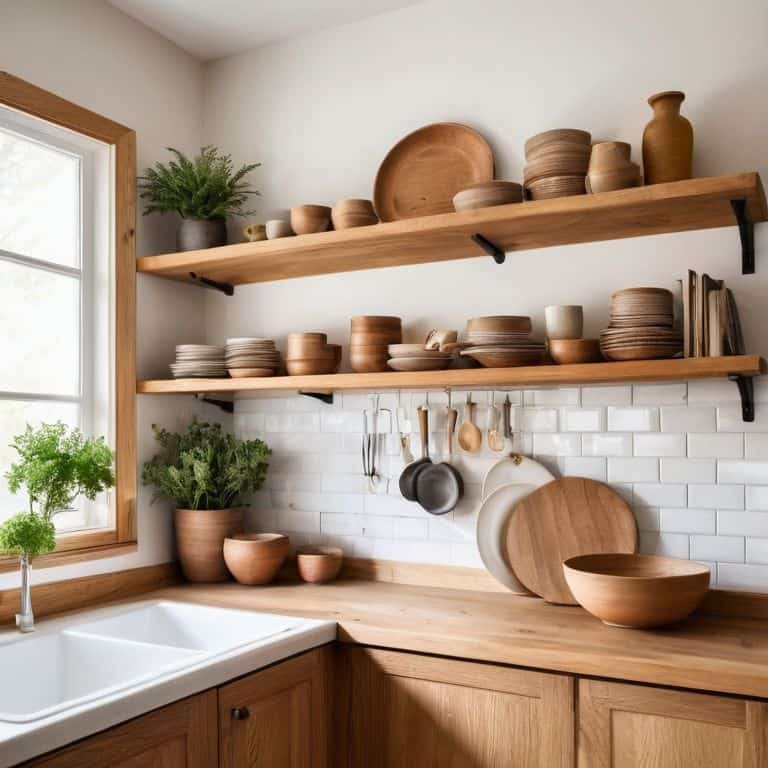
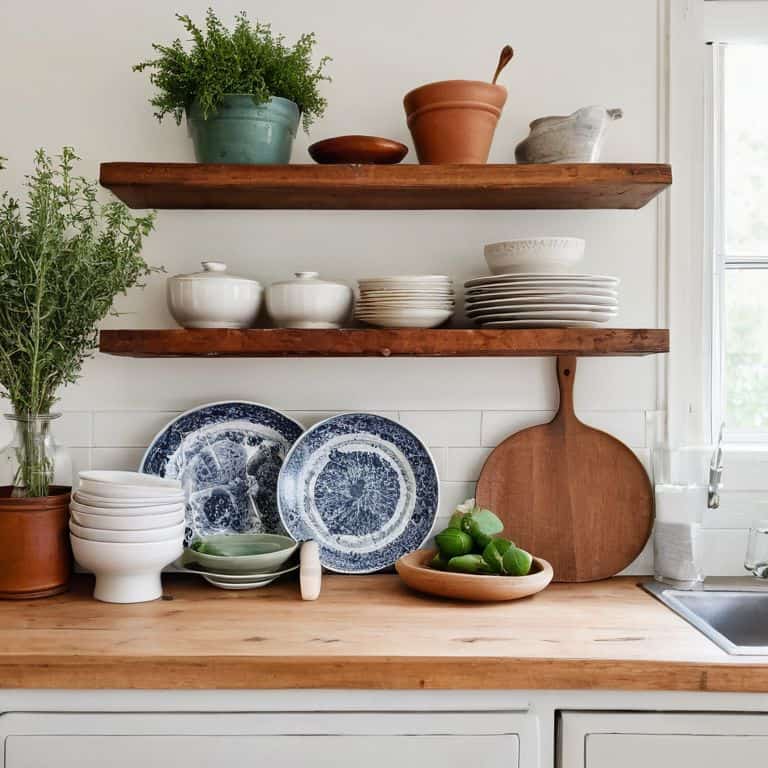
Tiny Kitchen Herb Garden

As I look around my own tiny kitchen, I’m reminded that every inch counts. That’s why I love incorporating space saving garden ideas into my decor. A vertical herb garden is a great way to bring in some greenery without taking up too much floor space. Plus, it’s a beautiful way to add some visual interest to a small room.
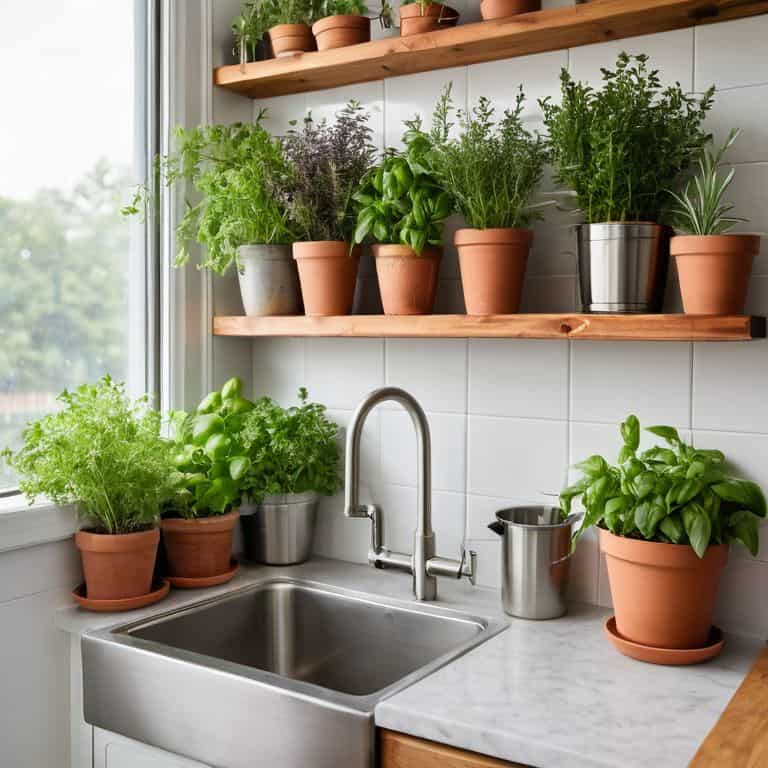
When it comes to designing your indoor herb garden, consider the amount of light your plants will receive. Most herbs need plenty of sunlight to thrive, so if you have a sunny windowsill, that’s the perfect spot for your vertical planter boxes. If not, don’t worry – there are plenty of low-light options available too. I’ve had great success with self-watering planters, which are perfect for busy people or those new to gardening.
To take your small kitchen garden to the next level, think about the types of herbs you want to grow. Do you love cooking with basil and mint, or are you more of a rosemary and thyme fan? Choose a variety of herbs that fit your cooking style, and don’t be afraid to get creative with your small kitchen garden design. With a little planning and imagination, you can create a beautiful and functional herb garden that will elevate your cooking and brighten up your tiny kitchen.
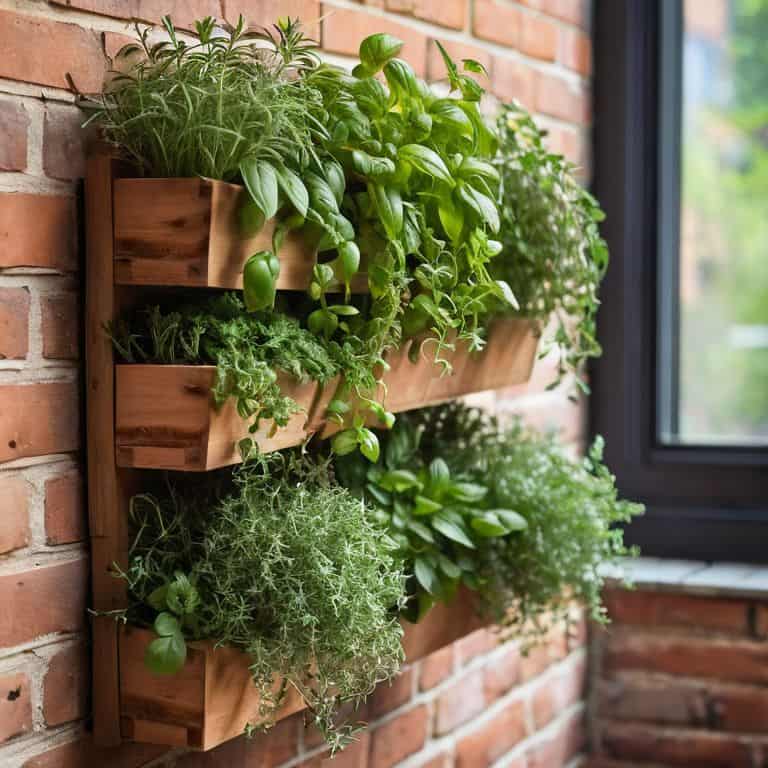
Diy Vertical Planter Boxes Simplified
To create a stunning vertical herb garden, I swear by DIY vertical planter boxes. They’re a game-changer for small kitchens like mine. I’ve simplified the process to make it easy for you to get started. Begin by gathering a few basic materials: wooden planks, a drill, and some screws. You can upcycle old pallets or wooden crates to give your planter a unique touch.
I love how these planter boxes can be customized to fit your kitchen’s style and space. Simply arrange the planks to form a box, drill some holes for drainage, and attach the boxes to a wooden board or directly to your wall. Fill them with your favorite herbs, and you’ll have a lush, space-saving garden in no time. Plus, it’s a great way to add some greenery to your kitchen without sacrificing precious counter space.
Space Saving Garden Ideas Inside
When it comes to my tiny kitchen, every inch counts. That’s why I love incorporating space-saving garden ideas inside. For my vertical herb garden, I opted for a trellis system that utilizes the often-wasted space between my kitchen counter and ceiling. This not only adds a touch of greenery to my kitchen but also keeps my herbs within easy reach. I’ve also experimented with hanging planters and magnetic spice tins to maximize my wall space.
These simple solutions have made a huge difference in my kitchen’s functionality and aesthetic. By bringing the outdoors in, I’ve created a cozy and inviting atmosphere that’s perfect for cooking and entertaining. Plus, having fresh herbs at my fingertips has taken my recipes to the next level. Whether you’re a seasoned gardener or a beginner, I encourage you to get creative with your indoor space and start growing your own herbs – your taste buds (and your kitchen) will thank you!
5 Genius Hacks to Maximize Your Vertical Herb Garden
- Choose herbs that thrive in small spaces, like basil, mint, and parsley, and group them by their watering needs to make maintenance a breeze
- Select a wall-mounted planter or trellis that fits your kitchen’s style, from rustic wood to modern metal, to add a decorative touch
- Make the most of your vertical space by using a tiered planter or a living wall system, perfect for kitchens with limited floor space
- Don’t forget to leave enough space between each plant for proper air circulation and growth, and consider adding a self-watering system for extra convenience
- Get creative with repurposed materials, like old pallets or mason jars, to create a unique and eco-friendly vertical herb garden that reflects your personal style
3 Key Takeaways for a Thriving Vertical Herb Garden
By building a vertical herb garden, you can maximize your small kitchen’s space while adding a touch of freshness and elegance to your cooking
Using DIY vertical planter boxes or repurposed materials, you can create a beautiful and functional herb garden that fits your style and budget
With a little creativity and some basic DIY skills, you can grow your favorite herbs year-round, even in the smallest of kitchens, and enjoy the satisfaction of harvesting your own homegrown flavors
Sowing Wisdom
A vertical herb garden isn’t just a space-saver, it’s a game-changer – it’s about turning a tiny kitchen into a thriving oasis, one sprout at a time, and proving that even the smallest spaces can yield the biggest flavors and fondest memories.
Maya Torres
Bringing Your Vertical Herb Garden to Life
As we wrap up this DIY journey, let’s recap the key takeaways: we’ve learned how to build a vertical herb garden that’s perfect for small spaces, explored space-saving garden ideas, and simplified the process of creating DIY vertical planter boxes. By following these steps, you’ll not only be adding a touch of greenery to your kitchen but also making the most of your limited space. Remember, the goal is to create a functional and beautiful area that inspires you to cook and experiment with fresh herbs.
Now that you have the tools and knowledge to create your own vertical herb garden, it’s time to get creative and make it a reflection of your personal style. Don’t be afraid to experiment with different herbs, plants, and materials to make your garden truly unique. As you nurture your new garden, remember that every small step towards a more beautiful and functional space is a step towards a more fulfilling life. Happy building and happy gardening!
Frequently Asked Questions
What type of materials are best for building a vertical herb garden in a small space?
For my vertical herb garden, I swear by repurposed wood, like old pallets or fencing, and durable plastics. You can also use terra cotta pots or mason jars for a more rustic look. Just remember, the key is to keep it lightweight and easy to install, so you can focus on growing those gorgeous herbs!
How much maintenance is required for a vertical herb garden to keep it thriving?
Honestly, maintaining a vertical herb garden is a breeze! Just water, fertilize, and prune your herbs regularly. I like to set a reminder to water mine every other day and fertilize once a week. Pruning is easy – just pinch off what you need for cooking and your plants will stay healthy and thriving.
Can I use a pre-made planter or do I need to build my own to create a successful vertical herb garden?
Absolutely, you can use a pre-made planter! I’ve upcycled old wooden crates and even used plastic trellises to create my vertical herb gardens. Just make sure it’s sturdy and has good drainage. If you’re feeling crafty, building your own can be a fun project, but pre-made planters can be a great time-saver and still yield amazing results.