I still remember the day I realized that the concept of a landing zone in a small kitchen was the key to unlocking a world of efficiency in my own tiny cooking space. I was struggling to find a place for everything, and everything was ending up in a cluttered mess. But then it hit me – what if I could create a dedicated area, a landing zone, where I could quickly and easily access the tools and ingredients I needed to cook? It was a game-changer, and I’ve been obsessed with optimizing my kitchen’s workflow ever since.
In this article, I’ll share my top tips and tricks for creating a highly functional landing zone in your small kitchen. You’ll learn how to identify the perfect spot, how to maximize your storage and counter space, and how to create a seamless workflow that makes cooking a breeze. I’ll cut through the clutter and give you the honest, no-hype advice you need to transform your kitchen into a hyper-efficient cooking machine. By the end of this guide, you’ll be equipped with the knowledge and skills to create a landing zone that will take your small kitchen to the next level.
Table of Contents
- Guide Overview: What You'll Need
- Step-by-Step Instructions
- Unlocking the Concept of a Landing Zone
- 5 Mission-Critical Tips to Turbocharge Your Landing Zone
- Key Takeaways for a Hyper-Efficient Landing Zone
- The Heart of Tiny Kitchen Efficiency
- Mission Accomplished: Unlocking Your Tiny Kitchen's Full Potential
- Frequently Asked Questions
Guide Overview: What You'll Need

Total Time: 1 hour 15 minutes
Estimated Cost: $50 – $100
Difficulty Level: Intermediate
Tools Required
- Tape Measure (for accurate measurements)
- Level (to ensure even surfaces)
- Pencil (for marking areas)
- Ruler (for drawing straight lines)
- Cleaning Supplies (for clearing the area)
Supplies & Materials
- 2-in x 4-in lumber (for creating a landing zone shelf)
- Decorative Baskets (for storage)
- Adhesive Hooks (for hanging items)
- Small Mat (for defining the landing zone area)
- Paint (optional, for color coordination)
Step-by-Step Instructions
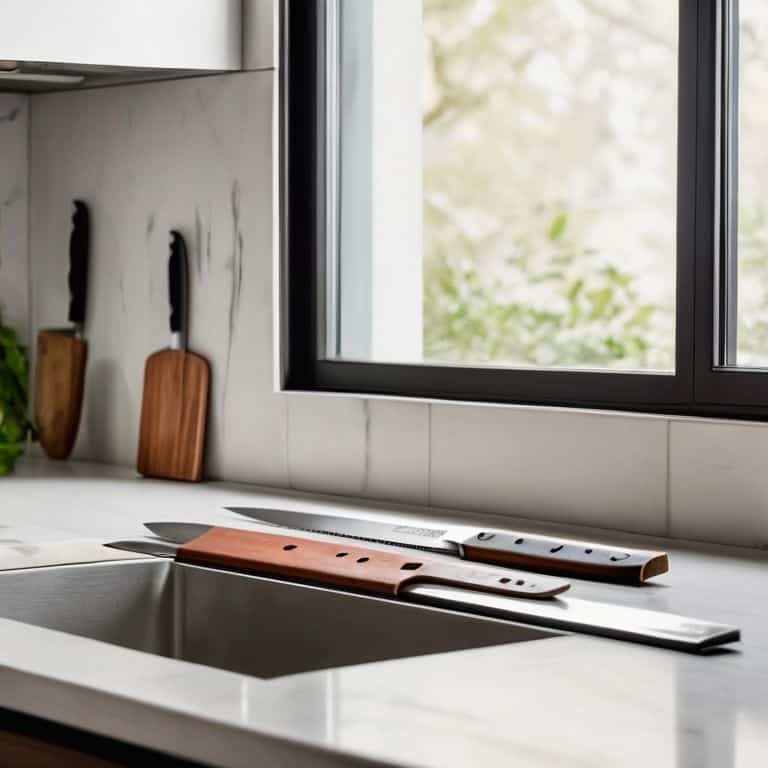
- 1. First, let’s define what a landing zone is in the context of a small kitchen: it’s a designated area where you can place ingredients, utensils, and other essentials within easy reach, allowing you to focus on cooking without unnecessary movement. To create an effective landing zone, start by identifying the most frequently used items in your kitchen, such as your favorite knife, cutting board, or spices.
- 2. Next, assess your kitchen layout and determine the best location for your landing zone. Consider the workflow of your kitchen, including the paths you take when moving from the sink to the stove or refrigerator. Ideally, your landing zone should be situated near the center of activity, making it easily accessible from all areas of the kitchen.
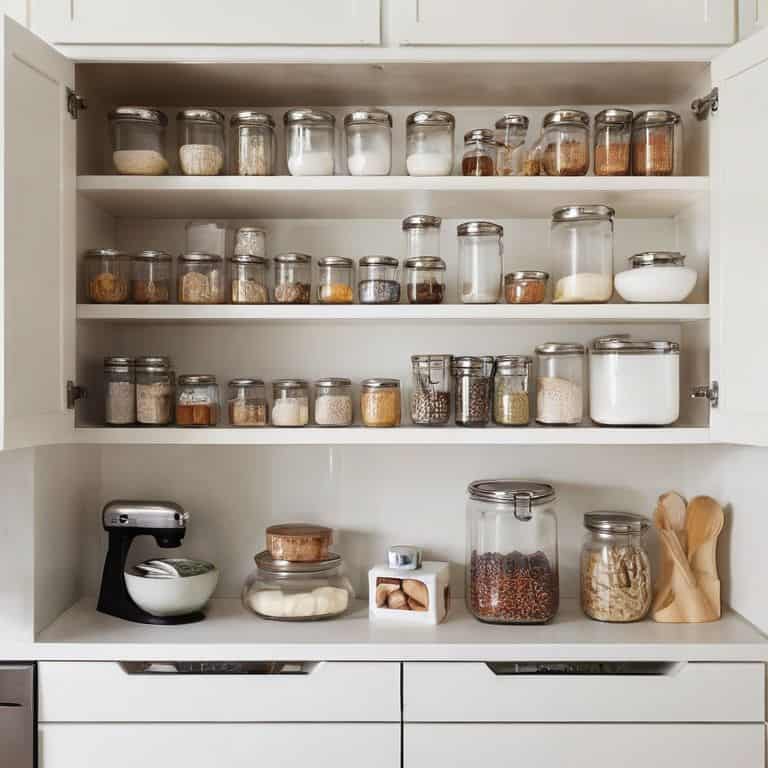
- 3. Now, it’s time to optimize your storage. Invest in a few well-designed storage containers or a cart that can hold your essential items, keeping them organized and within reach. Look for units with multiple tiers or compartments to maximize vertical space and minimize clutter. This will help maintain a clean and efficient workflow in your kitchen.
- 4. The fourth step is to implement a ‘home’ for each item. Assign a specific place for each utensil, spice, or ingredient, making it easier to find what you need when you need it. This approach may require some trial and error, but it’s essential for creating a seamless cooking experience. Use labels or dividers to categorize your storage and ensure everything has its designated spot.
- 5. Once you have your landing zone set up, it’s crucial to establish a maintenance routine. Set aside a few minutes each day to tidy up your kitchen, putting items back in their assigned places. This habit will help maintain the efficiency of your landing zone and prevent clutter from building up over time. Consider implementing a ‘clean as you go’ policy to make the process more manageable.
- 6. To further enhance your landing zone’s effectiveness, consider incorporating a ‘staging area’ for meal prep. This can be a small section of your countertop or a separate board where you can measure out ingredients, chop vegetables, or marinate meats. Having a dedicated space for these tasks will streamline your cooking process and reduce the risk of cross-contamination.
- 7. Finally, review and refine your landing zone regularly to ensure it continues to meet your evolving needs. As you become more comfortable with your kitchen’s workflow, you may identify areas for improvement or opportunities to optimize your storage further. Don’t be afraid to experiment with different layouts or storage solutions until you find the perfect balance for your tiny kitchen.
Unlocking the Concept of a Landing Zone
To truly unlock the potential of your tiny kitchen, it’s essential to understand the efficient kitchen layout design that underlies a well-functioning landing zone. This means considering the flow of traffic, the placement of frequently used items, and the overall workflow optimization of your space. By doing so, you can create a kitchen that is not only functional but also enjoyable to cook in.
When it comes to implementing a landing zone, small kitchen storage solutions play a crucial role. This is where my passion for 3D printing custom kitchen organizers comes in – I love designing and creating unique storage solutions that maximize space while maintaining a sleek, minimalist aesthetic. By investing in clever storage solutions, you can keep your countertops clear and your kitchen feeling more spacious, which is especially important in tiny kitchens where every inch counts.
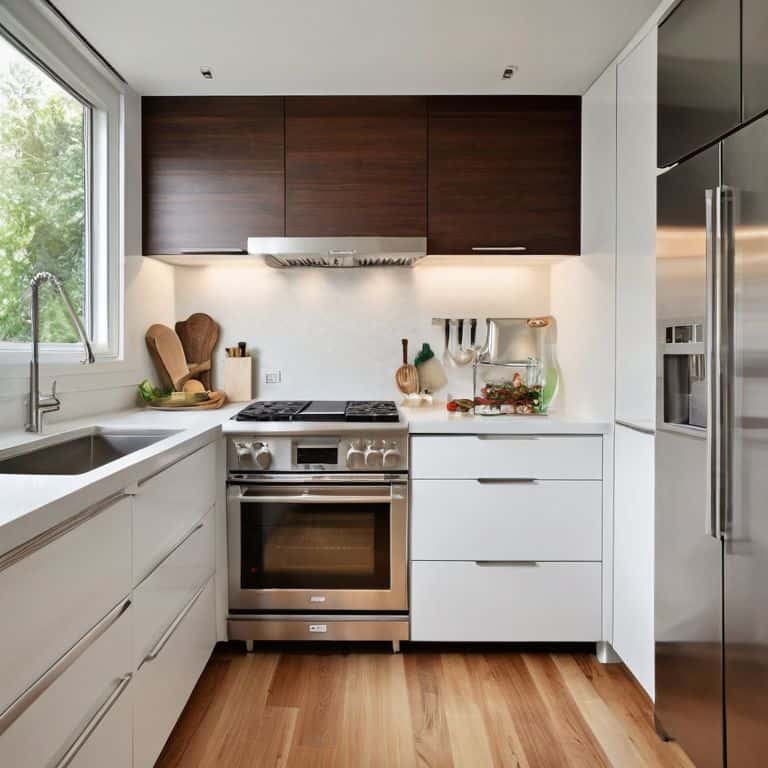
As you work on creating your landing zone, remember that the goal is to establish a kitchen triangle layout that facilitates smooth movement and zone cooking for beginners. This means positioning your stove, sink, and refrigerator in a way that minimizes walking distance and eliminates unnecessary back-and-forth motion. By applying these principles, you can transform your tiny kitchen into a highly efficient cooking space that makes meal prep a breeze.
Efficient Kitchen Layout Design Strategies
When designing an efficient kitchen layout, it’s crucial to consider the workflow triangle. This concept connects the sink, stove, and refrigerator, minimizing walking distances and optimizing movement. By strategically placing your landing zone near the intersection of these points, you’ll create a seamless transition between tasks. For instance, having a landing zone close to the refrigerator allows for easy unloading of groceries, while also keeping frequently used items within reach.
To further enhance your kitchen’s efficiency, consider implementing a “zone-based” layout. Divide your kitchen into dedicated areas, such as a cooking zone, prep zone, and cleaning zone. This approach helps maintain a clutter-free environment and streamlines tasks, making the most of your tiny kitchen’s limited space. By combining a well-placed landing zone with a zone-based layout, you’ll be well on your way to creating a hyper-efficient kitchen that makes cooking and meal prep a breeze.
Zone Cooking for Beginners Getting Started
To get started with zone cooking, begin by designating a specific area as your landing zone. This could be a section of your countertop, a kitchen cart, or even a portable island. Ensure it’s easily accessible and near your cooking station. As a systems engineer, I recommend mapping out your kitchen’s workflow to identify the optimal location. Consider the path you take when preparing meals – where do you tend to place ingredients, utensils, and dishes? By understanding your natural workflow, you can create a landing zone that streamlines your cooking process.
For beginners, it’s essential to keep your landing zone simple and uncluttered. Start with the essentials: a cutting board, a utensil holder, and a trash can. As you become more comfortable with zone cooking, you can refine your setup to include additional tools and features, such as a spice rack or a dish drying station. Remember, the goal is to create a efficient and functional space that adapts to your cooking style.
5 Mission-Critical Tips to Turbocharge Your Landing Zone
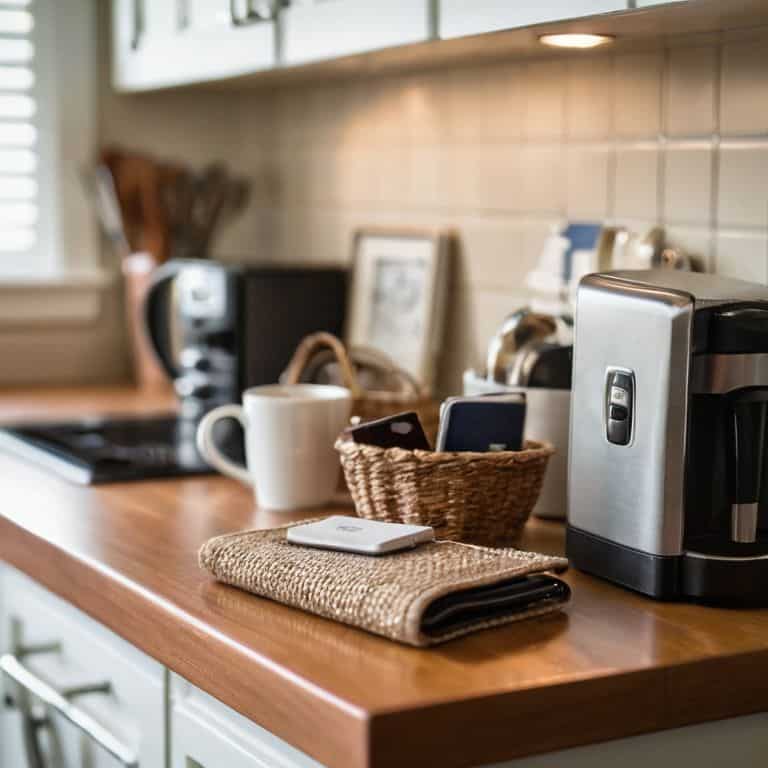
- Designate a ‘launching pad’ near the entrance of your kitchen to drop off groceries, bags, and other essentials, keeping them organized and out of the way
- Choose a landing zone location that’s within arm’s reach of your most frequently used kitchen tools and appliances to minimize walking distances and maximize efficiency
- Implement a ‘sort and purge’ system in your landing zone to categorize items into ‘keep’, ‘donate’, and ‘discard’ piles, maintaining a clutter-free environment
- Invest in a versatile, wall-mounted organizer or shelving unit for your landing zone to store items like spices, oils, and cleaning supplies, optimizing your kitchen’s vertical space
- Establish a ‘one-touch rule’ for handling items in your landing zone, where each item is dealt with immediately – either put away, thrown away, or set aside for later – to maintain a seamless workflow
Key Takeaways for a Hyper-Efficient Landing Zone
Designate a specific area near the entrance of your tiny kitchen as a ‘landing zone’ to streamline workflow and reduce clutter
Implement a ‘zone cooking’ strategy by grouping similar tasks and tools together, such as a dedicated spice station or coffee corner, to maximize efficiency
Optimize your landing zone with custom storage solutions, such as 3D printed organizers or magnetic spice strips, to keep essentials within easy reach and maintain a clutter-free environment
The Heart of Tiny Kitchen Efficiency
A well-designed landing zone is the secret ingredient to a tiny kitchen’s success, as it streamlines your workflow, minimizes clutter, and maximizes every inch of your space – it’s where functionality meets freedom.
Leo Vance
Mission Accomplished: Unlocking Your Tiny Kitchen's Full Potential
As we’ve explored the concept of a landing zone in a small kitchen, it’s clear that efficient design is key to unlocking your space’s full potential. By implementing the strategies outlined in this guide, you’ll be well on your way to creating a workflow powerhouse that makes cooking a breeze. From optimizing your kitchen layout to embracing zone cooking, every step has been designed to help you maximize your space and minimize stress. Whether you’re a culinary novice or a seasoned pro, the principles of a well-designed landing zone will supercharge your cooking experience.
So, as you put these principles into practice, remember that the true power of a tiny kitchen lies not in its size, but in its potential for optimization. Don’t be afraid to experiment, to try new things, and to continually refine your workflow. With a clear vision and a commitment to efficiency, you’ll be amazed at what you can achieve in even the smallest of spaces. Happy cooking, and let’s make those tiny kitchens shine!
Frequently Asked Questions
How do I determine the ideal location for a landing zone in my small kitchen?
To determine the ideal location for your landing zone, consider the ‘work triangle’ formed by your sink, stove, and refrigerator. Place your landing zone near the hub of this triangle, typically between the sink and stove, to minimize walking distances and maximize workflow efficiency.
What are some essential items that should be included in a landing zone to maximize its efficiency?
To maximize efficiency, my landing zone essentials include a tray or dish for keys and mail, a small trash can, and a hooks system for frequently used items like bags and utensils. I also add a compact shelf for cookbooks, spices, or oils, keeping them within easy reach to streamline my workflow.
Can a landing zone be effective in a kitchen with a non-traditional or irregular layout?
Absolutely, a landing zone can thrive in a non-traditional kitchen. I’ve worked with irregular layouts and found that a well-designed landing zone can actually accentuate the unique features of the space. By applying workflow optimization principles, you can create a functional and efficient hub that adapts to your kitchen’s quirks, making cooking and prep a breeze.