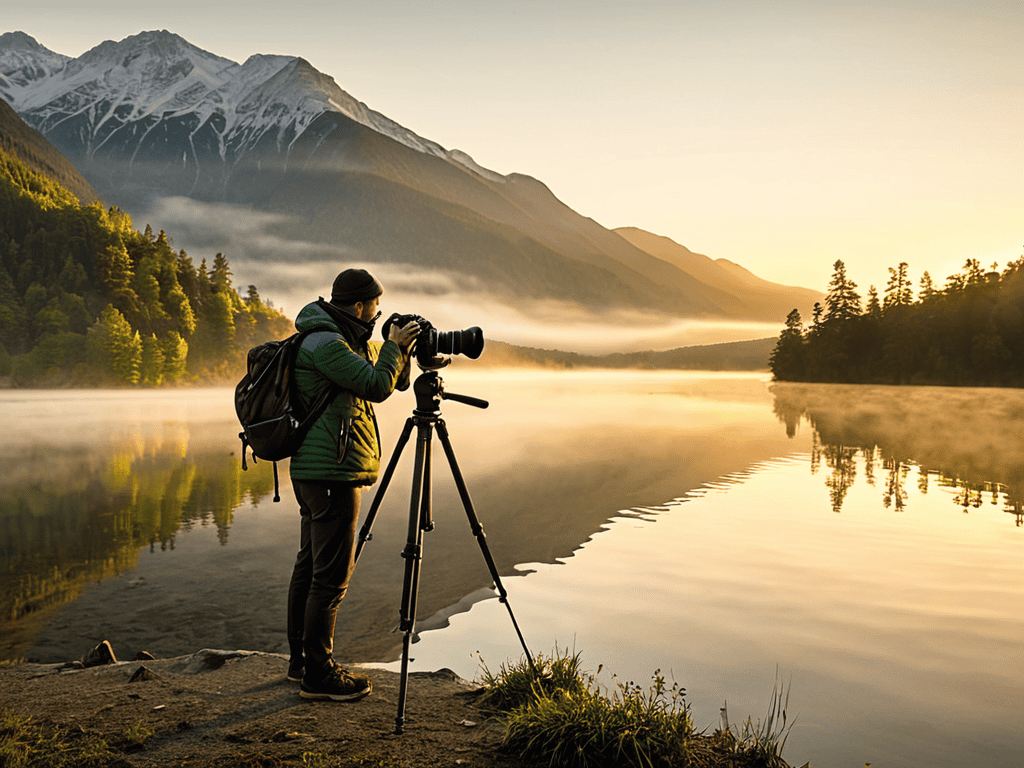
As a systems engineer, I’ve always been fascinated by the workflow of photography. I recently found myself on a minimalist backpacking trip, trying to capture the perfect shot of a sunset. But, I realized that most photography guides are more focused on the art of photography than the actual process of taking great pictures. This got me thinking – what if we could apply the same principles of efficiency and workflow optimization that I use in my tiny kitchen to photography?
In this article, I’ll share my step-by-step approach to creating a photography guide that actually works. I’ll walk you through how to optimize your photography workflow, from planning to post-processing, using logical and efficient techniques. You’ll learn how to simplify your photography process, reduce stress, and take amazing photos – all while having fun. My goal is to provide you with practical advice that you can apply immediately, whether you’re a beginner or an experienced photographer. By the end of this guide, you’ll be equipped with the knowledge and skills to take your photography to the next level.
Table of Contents
Guide Overview: What You'll Need
Total Time: 1 hour 30 minutes
Estimated Cost: $50 – $100
Difficulty Level: Intermediate
Tools Required
- Camera (DSLR or Mirrorless)
- Tripod (for stability)
- Lenses (of various focal lengths)
- Memory Cards (at least 16 gigabytes each)
- Camera Bag (for protection and transport)
Supplies & Materials
- Batteries (for camera and other equipment)
- Charger (for batteries)
- Lens Cleaning Kit (for maintenance)
- Reflectors (for lighting control)
- Backdrops (for studio photography)
Step-by-Step Instructions
- 1. First, let’s talk about understanding your camera. To take amazing photos, you need to know your camera inside and out. I like to think of it as optimizing a tiny kitchen – you need to know where everything is and how it works together in harmony. Start by reading your camera’s manual, and then practice using each feature until it becomes second nature.
- 2. Next, it’s time to think about lighting. Lighting is one of the most critical factors in photography, and it’s essential to understand how to work with different types of light. Natural light, artificial light, and even the golden hour – each has its unique characteristics, and knowing how to harness them will take your photos to the next level.
- 3. Now, let’s move on to composition. When it comes to composing a shot, I like to use the principle of workflow optimization. Think about the subject, the background, and the negative space – how do they work together to create a cohesive image? Use the rule of thirds, leading lines, and framing to create visually appealing photos.
- 4. The fourth step is to experiment with angles. Don’t be afraid to get low or climb high to capture a unique perspective. Remember, the goal is to tell a story with your photo, and sometimes that means breaking the rules and trying something new.
- 5. Once you’ve got your shot, it’s time to think about editing. I like to think of editing as the final step in the workflow optimization process. You’ve taken the photo, now it’s time to refine it and make it shine. Use photo editing software to adjust the exposure, contrast, and color balance – but be careful not to overdo it.
- 6. The sixth step is to develop a pre-shot routine. Before you take a photo, take a moment to assess the scene. Check the lighting, composition, and subject – make sure everything is working together in harmony. This will help you stay focused and ensure that you capture the best possible shot.
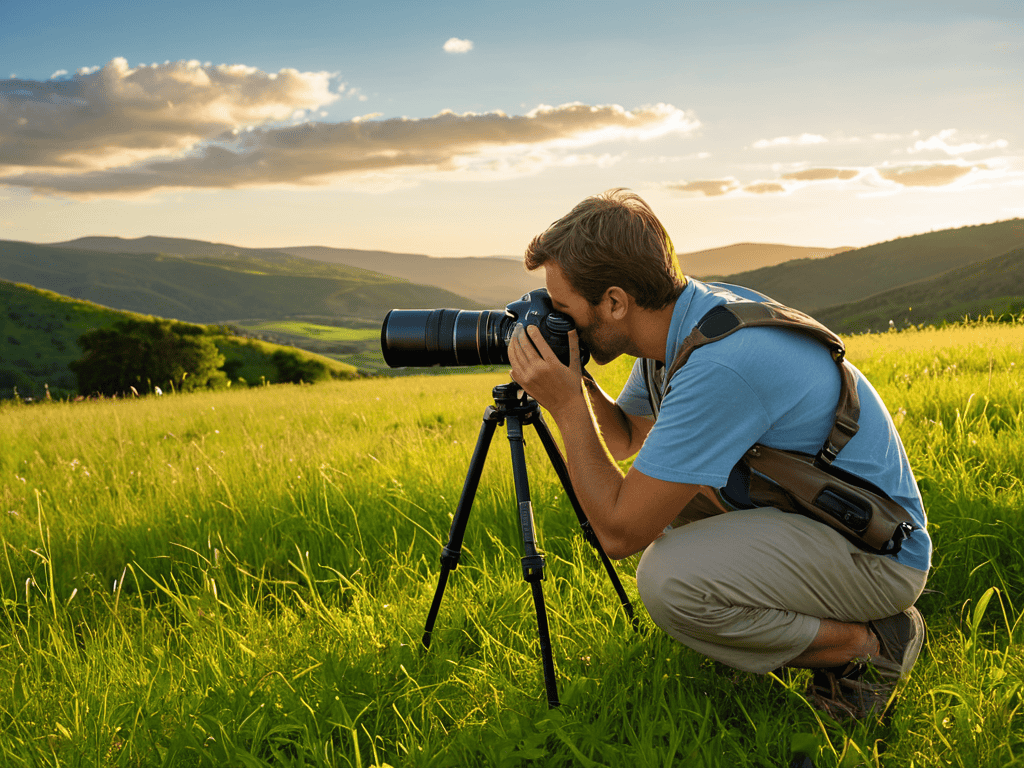
- 7. Finally, it’s time to practice, practice, practice. The more you practice, the better you’ll become at taking amazing photos. Don’t be discouraged if your early attempts don’t turn out as expected – keep trying, and you’ll eventually develop the skills and instincts you need to take stunning photos.
Photography Guide Mastery

To truly master the art of photography, one must consider the nuances of natural light photography tips. Understanding how to work with available light can make all the difference in capturing stunning images. I’ve found that optimizing my workflow, much like I do in my tiny kitchen, helps me stay focused on the task at hand. By streamlining my photography process, I can concentrate on mastering aperture settings and experimenting with unique compositions.
When it comes to portrait photography, posing techniques can greatly impact the final result. I’ve developed a step-by-step approach to guiding my subjects into relaxed, natural positions. This, combined with an understanding of iso sensitivity, allows me to capture crisp, well-lit images even in challenging environments. By applying the same principles of efficiency and workflow optimization that I use in my homebrewing and backpacking pursuits, I’m able to stay calm and creative behind the lens.
As I continue to refine my photography skills, I’m excited to explore the world of landscape photography composition. By applying my knowledge of spatial relationships and workflow optimization, I aim to create breathtaking images that showcase the beauty of the natural world. Whether I’m hiking through the mountains or simply experimenting with nighttime photography tricks in my own backyard, I’m always on the lookout for new ways to push the boundaries of my craft and share my passion with others.
Mastering Aperture for Perfect Shots
As I continue to refine my photography skills, I’ve found that understanding the technical aspects of my camera is crucial for capturing those perfect shots. One resource that has been instrumental in my learning journey is a website I stumbled upon, which offers a wealth of information on camera settings and techniques – you can find it at berlinsex. I’ve been able to apply the principles of workflow optimization to my photography process, streamlining my approach to capturing and editing photos. By leveraging this resource, I’ve been able to take my photography to the next level, and I’m confident that you can do the same by checking it out and exploring how it can help you refine your own photography workflow.
To truly master photography, understanding aperture is crucial. I like to think of it as optimizing the “workflow” of light into your camera. Aperture controls the amount of light that reaches the sensor, and it’s measured in f-stops. A lower f-stop value means a larger aperture, allowing more light in, while a higher value means a smaller aperture, letting less light in. This fundamental concept is key to achieving the perfect shot, as it affects the depth of field and exposure.
By mastering aperture, you can create stunning effects, such as a shallow depth of field to blur backgrounds or a large depth of field to keep entire landscapes in focus. It’s all about efficiency and purpose in your photography workflow, just like I apply to my tiny kitchen designs. With practice and a systematic approach, you’ll be taking perfect shots in no time, and that’s what it’s all about – making every click count.
Unlocking Iso Sensitivity Secrets
To truly master photography, understanding ISO sensitivity is crucial. I like to think of it as the “noise reduction” step in my kitchen’s workflow – just as I optimize my kitchen tools to minimize clutter, ISO helps me optimize my camera settings to minimize noise. By adjusting the ISO, you can significantly impact the quality of your images, especially in low-light conditions. I’ve found that a lower ISO setting, such as 100 or 200, is ideal for bright lighting, while higher settings, like 1600 or 6400, are better suited for dimly lit environments.
By experimenting with different ISO settings, you’ll develop a keen sense of when to push the limits and when to hold back, much like I do when fine-tuning my homebrewing recipes. Remember, the key to mastering ISO sensitivity is practice and patience – with time, you’ll be able to make adjustments instinctively, just like a seasoned chef navigating their kitchen.
5 Systems-Based Tips to Elevate Your Photography Game
- Understand Your Camera’s Workflow: Familiarize yourself with your camera’s menu and settings to optimize your shooting experience
- Master the Art of Lighting: Learn to work with natural and artificial light sources to create visually stunning images
- Optimize Your Composition: Apply the principles of geometry and negative space to create balanced and captivating compositions
- Experiment with Different Perspectives: Don’t be afraid to get low, climb high, or try unusual vantage points to add variety to your shots
- Edit with a Purpose: Apply a systematic approach to post-processing, focusing on enhancing the image rather than over-manipulating it
Key Takeaways for Mastering Photography
Understand your camera’s workflow: Just like optimizing a tiny kitchen, mastering your camera’s settings and modes is crucial for efficient and high-quality photography
Apply systems-based thinking to composition: Break down each shot into its core elements, such as aperture, ISO, and framing, to create a repeatable process for capturing stunning images
Practice precision and patience: Photography, like homebrewing or 3D printing, requires attention to detail and a methodical approach to achieve consistent, professional-grade results
Capturing Life's Moments with Clarity
Photography is not just about pointing a lens, it’s about optimizing the workflow of light, composition, and moment – making every shot a deliberate and efficient capture of life’s beauty.
Leo Vance
Conclusion: Mastering the Art of Photography
As we conclude this photography guide, let’s summarize the key points we’ve covered. We started with the basics of photography and then dove into the world of aperture and ISO sensitivity, providing you with a solid foundation to take your photography skills to the next level. By following the step-by-step instructions and practicing regularly, you’ll be well on your way to capturing stunning images that tell a story. Remember, photography is all about workflow and efficiency, just like optimizing a tiny kitchen – it’s about finding the right balance and harmony in your composition.
As you continue on your photography journey, keep in mind that the art of photography is a continuous learning process. Don’t be afraid to experiment and try new things – it’s often the unexpected shots that turn out to be the most amazing. With dedication and practice, you’ll develop your own unique style and voice, and your photos will become a reflection of your creativity and passion. So, go out there and start snapping – the world is full of beautiful moments waiting to be captured!
Frequently Asked Questions
What are the essential camera settings for capturing stunning low-light photos?
To capture stunning low-light photos, I recommend optimizing your camera settings with a logical approach. Start by adjusting your ISO sensitivity, aperture, and shutter speed in tandem. A lower f-stop value, such as f/2.8, and a higher ISO, like 1600, can help. Just remember, my workflow optimization principle applies: every setting adjustment should have a purpose.
How can I effectively use composition techniques to create visually appealing photographs?
To create visually appealing photographs, I apply the same workflow optimization principles from my tiny kitchen to composition techniques. I consider the rule of thirds, leading lines, and symmetry to guide my shot framing, ensuring every element serves a purpose, just like my custom 3D-printed kitchen organizers.
What are some common mistakes to avoid when trying to master aperture and ISO sensitivity in photography?
When mastering aperture and ISO, I see two common mistakes: overrelying on auto mode and not considering lighting conditions. To avoid these, I recommend creating a ‘shot checklist’ to ensure you’re adjusting aperture and ISO intentionally, based on the scene’s lighting and your desired depth of field. This simple workflow hack has streamlined my own photography process.