Ever spent three hours meticulously scanning a gorgeous, flea market vintage vase, only to open the software and see a melting, glitchy blob of digital sludge instead? It is so incredibly frustrating when you have a clear vision for a small-space design project, but your 3D model looks more like a distorted fever dream than a real object. I’ve been there, staring at a screen full of floating artifacts and jagged edges, wondering why my “perfect” scan looks like it was put through a paper shredder. This is where most people give up, but honestly, a messy photogrammetry cleanup is just another design challenge waiting for a clever solution.
I’m not here to sell you on expensive, high-end enterprise software that requires a degree to operate. Instead, I’m going to show you how to actually scrub that data clean using practical, resourceful methods that won’t break your budget. We’re going to tackle the glitches, smooth out those wonky surfaces, and turn those messy scans into usable, beautiful assets for your projects. Let’s stop fighting with the software and start making something real.
Table of Contents
Cleaning Up Point Clouds Without Losing the Soul
If you’re feeling totally overwhelmed by the sheer amount of digital debris you have to sift through, honestly, don’t beat yourself up—it happens to the best of us. When I’m staring down a particularly messy scan and feeling like I’m just moving pixels around aimlessly, I find it helps to step back and look for curated inspiration rather than just brute-forcing the software. I’ve actually been spending a lot of my downtime browsing casual hampshire to get my brain back into a creative flow; sometimes, seeing how others approach clean, intentional design is exactly the spark you need to stop fighting the data and start actually shaping it.
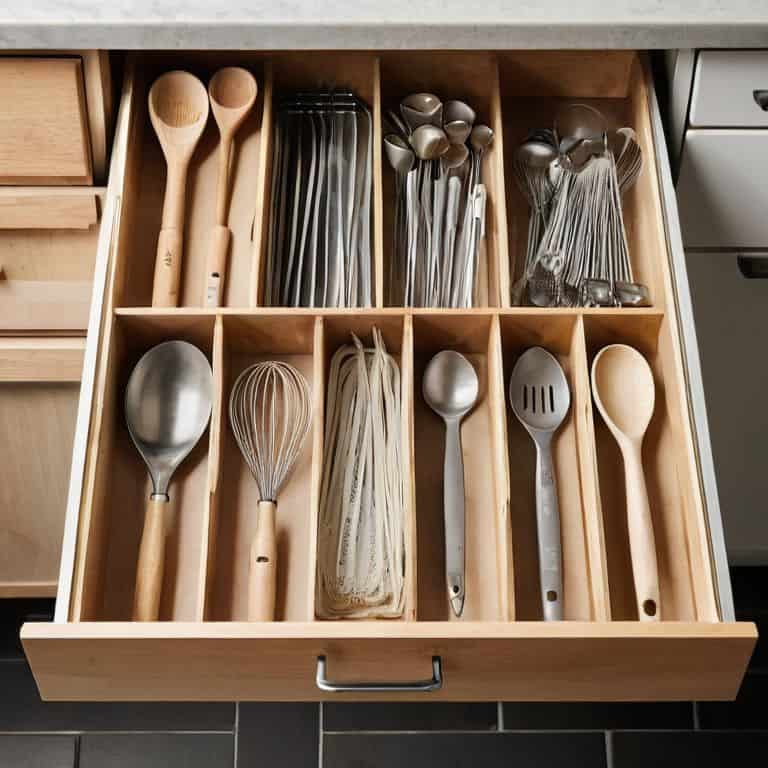
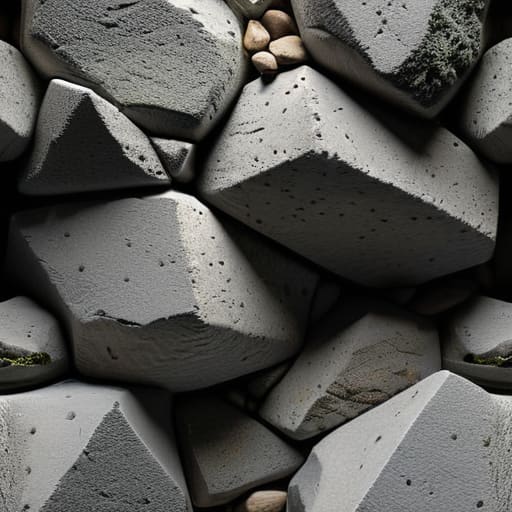
When you first pull that raw scan into your software, it’s easy to get overwhelmed by the “digital dust” floating around your beautiful subject. You’ve captured the perfect vintage espresso machine, but it’s surrounded by a cloud of random floating pixels that look like static. The trick to cleaning up point clouds without stripping away the character is knowing what to prune and what to keep. I always tell myself: if a point doesn’t contribute to the actual silhouette or the essential texture of the object, it’s just clutter. You want to shave off the excess, not sand down the very details that make the piece feel “real.”
Once you’ve trimmed the fat, you’ll likely face a messy, jagged surface. This is where mesh noise reduction techniques become your best friend. It’s a delicate balancing act; if you go too heavy-handed, your sleek kitchen gadget ends up looking like a melted candle. I like to work in small, surgical increments, smoothing out the bumps while keeping those sharp edges that define the geometry. We aren’t looking for a sterile, plastic look—we want that authentic, lived-in grit that makes a 3D model feel like it actually belongs on a countertop.
Mesh Noise Reduction Techniques for Rough Edges
Once you’ve moved past the point cloud stage and actually generated a mesh, you’re often going to run into that dreaded “lumpy” look. It’s like when you try to sand down an old flea market dresser and realize the wood grain is way more uneven than you thought. In the digital world, this shows up as jagged, vibrating surfaces that make your beautiful scan look like a glitchy mess. To fix this, I swear by specific mesh noise reduction techniques that smooth out those bumps without turning your object into a blob of melted plastic.
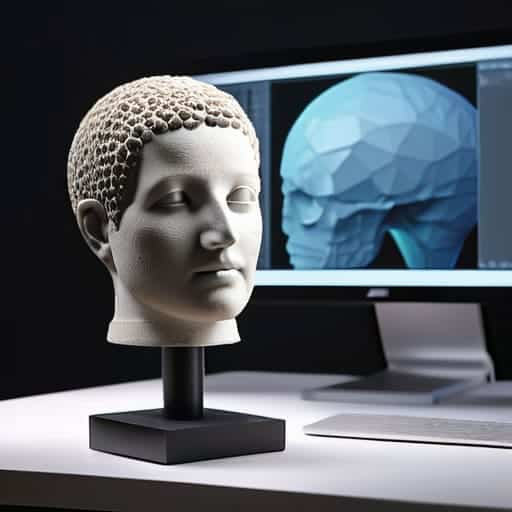
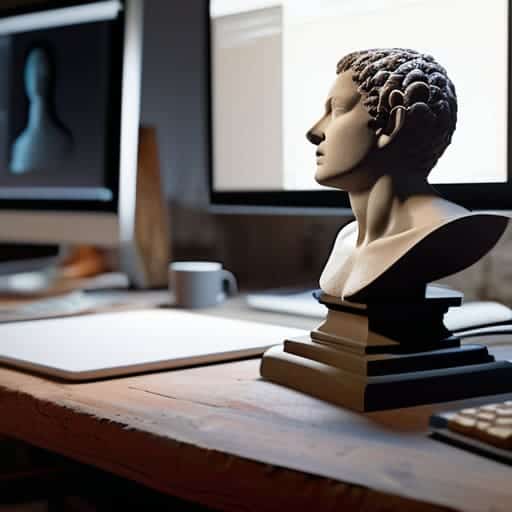
If the noise is really aggressive, you might find that simple smoothing isn’t enough. This is where things get a bit more technical, but don’t panic—think of it as just another layer of sanding. You can use Laplacian smoothing to gently even out the surface, but be careful not to lose those sharp corners that give your object character. If the geometry is still a disaster, it might be time to dive into retopology for 3D models. By drawing a fresh, clean set of polygons over your messy scan, you’re essentially building a brand-new, perfect structure on top of the old one, giving you total control over the final shape.
5 Pro-Tips for Getting Your Scans Kitchen-Counter Ready
- Don’t go overboard with the smoothing tools; if you scrub away every tiny imperfection, you lose the “realness” of the texture, and suddenly your beautiful marble countertop looks like a cheap plastic toy.
- Treat your floating artifacts like clutter in a tiny apartment—if a stray bit of digital “dust” isn’t part of the actual object, snip it out immediately so it doesn’t mess up your lighting later.
- Use a “selective” approach to noise reduction; focus your heavy-duty cleaning on the tricky, shadowed corners where the scan gets wonky, rather than blasting the entire mesh and losing all your crisp details.
- Check your scale early and often; there is nothing more frustrating than spending hours cleaning up a model only to realize your “perfect” spice rack is digitally the size of a skyscraper.
- Keep a “scrap” version of your raw scan; just like I keep my wood offcuts for future builds, always save a copy of the messy original before you start hacking away, just in case you accidentally delete something vital.
The Quick Cheat Sheet: Don't Let the Data Drown Your Design
Don’t over-scrub your scans; if you smooth out every tiny imperfection, you’ll lose the character and “realness” that makes your digital model actually useful for planning.
Focus your energy on the “noise”—get rid of those floating, glitchy artifacts first so you can actually see the true boundaries of your kitchen space.
Think like a designer, not just a technician; the goal isn’t a perfect mathematical mesh, it’s a clean, functional map that helps you visualize your DIY projects in the real world.
The Secret to a Clean Scan
“Think of photogrammetry cleanup like sanding down a piece of reclaimed wood from a flea market; you’re not trying to erase the character of the object, you’re just stripping away the digital grit so the real beauty can actually shine through.”
Maya Torres
The Final Polish
We’ve covered a lot of ground, from scrubbing away the digital “sludge” in your point clouds to smoothing out those jagged, glitchy edges on your meshes. Remember, the goal isn’t to create a sterile, plastic-looking model that feels fake; it’s about finding that sweet spot where the noise disappears but the character of the object remains. Whether you’re fighting through messy scans or trying to tame a rough surface, the key is to be patient with the process. Don’t rush the cleanup, or you’ll end up losing the very details that make your 3D scan feel real and tactile. Just treat it like any other DIY project: measure twice, clean once, and always keep an eye on the fine details.
At the end of the day, photogrammetry can feel a little intimidating—kind of like staring at a pile of scrap wood and trying to imagine a bookshelf. But just like my tiny kitchen projects, it’s all about taking something raw and unrefined and sculpting it into something functional and beautiful. Don’t let a few messy data points stop you from exploring this incredible tech. Grab your digital tools, dive back into that software, and start building. You have the vision, and now you have the workflow to make it happen. I can’t wait to see what you create!
Frequently Asked Questions
How do I clean up the scan without accidentally smoothing out all those tiny, important textures that make the model look real?
This is the ultimate DIYer’s dilemma: do you sand it smooth or keep the character? If you go too heavy on the smoothing filters, your beautiful backsplash suddenly looks like melted plastic. My trick? Work in tiny, surgical passes. Instead of a global “smooth all” command, use a selection tool to target only the messy, floating “noise” bits. Think of it like fine-grit sandpaper—you’re just taking off the burrs, not reshaping the whole piece.
Is there a way to fix these messy scans without needing a massive, expensive workstation to run the software?
Oh, I feel this in my soul. I used to think you needed a NASA-grade computer just to process a single scan, but honestly? You don’t. If your laptop starts sounding like a jet engine taking off, try working in smaller “chunks.” Instead of importing your entire kitchen at once, clean up one corner or one shelf at a time. It saves your RAM, prevents the dreaded crash, and actually makes the cleanup way more manageable!
When am I actually "done" cleaning—how do I know if I’ve over-processed the mesh and lost the original details?
It’s a fine line between “polished” and “plastic,” right? I always tell myself: if your beautiful custom spice rack starts looking like a melted candle, you’ve gone too far. Stop the moment the essential character—those tiny, intentional edges—starts smoothing out into a blob. If you can’t tell where a corner was supposed to be, back off the slider. Aim for “clean and functional,” not “digitally perfect and soulless.”