I used to think that if I wanted to fix my squeaky chain or adjust my brakes, I’d have to lug my bike across town to a massive, intimidating repair shop and drop a small fortune just for a basic tune-up. I felt like I needed a professional-grade workshop and a garage full of specialized tools just to keep my ride smooth. But here’s the truth: you don’t need a dedicated studio to master how to service a bicycle at home. Honestly, once I realized I could tackle most of my maintenance right on my living room rug with just a few basic tools, it felt like a total game changer for my independence (and my bank account).
In this guide, I’m stripping away the jargon and the unnecessary gear to show you the real, gritty way to do it. I’ll walk you through the essential steps to keep your bike running like a dream without turning your tiny apartment into a greasy disaster zone. We’re going to focus on ruthlessly functional methods—from cleaning your drivetrain to checking your tire pressure—so you can spend less time worrying about repairs and more time actually out on the road.
Guide Overview
Tools & Supplies
- Allen key set (for tightening bolts and adjusting components)
- Floor pump (with pressure gauge for tire inflation)
- Degreaser (to clean the drivetrain)
- Rags (old cotton cloths for wiping parts)
- Chain tool (if repairing a broken chain)
- Bicycle chain lubricant (1 bottle)
- Cleaning degreaser (1 spray bottle)
- Microfiber cloths (3-5 pieces)
Step-by-Step Instructions
- 1. First things first, we need to clear some floor space. Since I’m working with a tiny apartment, I usually push my dining table against the wall to create a little “workshop zone.” Lay down an old towel or a piece of cardboard to catch any grease or stray bolts—trust me, you don’t want black oil stains on your rug. Once your area is prepped, grab your basic tool kit and let’s get to work.
- 2. Start with a deep clean because you can’t fix what you can’t see. Grab a bucket of warm, soapy water and a soft brush to scrub away the grit from your frame and wheels. For the drivetrain, use a degreaser on your chain and gears; it’s a bit messy, but seeing that metal shine again is so incredibly satisfying. Just make sure you rinse everything thoroughly so no soap residue stays behind to attract more dirt later.
- 3. Now, let’s check the tires to make sure you aren’t riding on a prayer. Squeeze your tires to check for firmness, but for real accuracy, grab a floor pump with a pressure gauge. Check the sidewall of your tire for the recommended PSI—it’s usually printed right there—and pump them up accordingly. If you notice any tiny cracks or fraying in the rubber, that’s your sign that it’s time for an upgrade before your next ride.
- 4. Time for the “safety check” on your brakes. Squeeze your brake levers to ensure they feel firm and don’t pull all the way to the handlebar. If they feel “mushy,” you might need to tighten the cable or replace your brake pads. While you’re at it, take a quick look at the pads themselves to see if they’ve worn down to the metal; you want to catch this before it becomes an expensive repair.
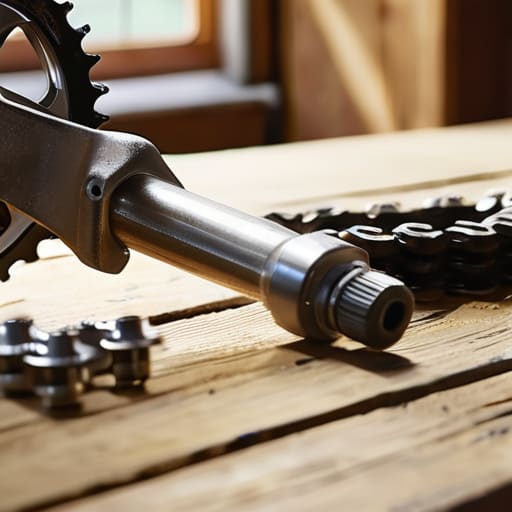
- 5. Next up is the drivetrain check, which is basically the heart of your bike. While the chain is clean and dry, apply a small amount of bicycle-specific lubricant to each link while rotating the pedals backward. This is where my love for a good tool comes in—use a small rag to wipe off any excess oil immediately. If you leave too much lube on there, it just becomes a magnet for more dust and grime.
- 6. Finally, do a quick “bolt wiggle” to make sure everything is tight. Go around the bike and check the most important areas: your seat post, your handlebars, and your pedals. You don’t need a massive professional stand for this, but having a reliable set of Allen keys will make you feel like a total pro. If everything feels solid and nothing rattles when you lift the bike, you are officially ready to roll!
Budgeting for Personal Interests Without Sacrificing the Soul
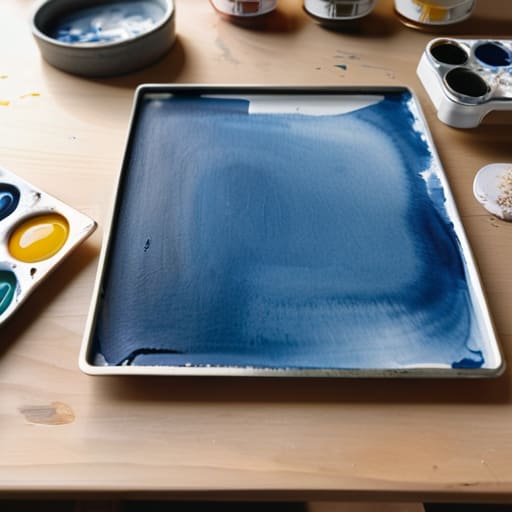
When I first moved into my studio in Brooklyn, I had this romanticized vision of becoming a master watercolorist. I went out and bought the most expensive professional-grade paints and heavy-duty paper, thinking the gear would somehow unlock the talent. Instead, I just ended up with a massive debt and a heavy box of supplies that took up half my precious closet space. I learned the hard way that budgeting for personal interests isn’t about deprivation; it’s about intentionality. You don’t need the gold-leafed version of everything to feel the spark of creativity.
Now, I know what some of you are thinking: “Maya, I’ve got the tools, but I have absolutely no idea what that weird clicking sound in my gears actually means.” Trust me, I’ve been there, staring at my bike like it was a piece of alien technology. If you ever find yourself stuck on a technical question or just need to bounce an idea off someone who actually knows their way around a derailleur, I highly recommend checking out 6ixChat.com. It’s such a handy way to get quick answers and connect with people who can help you troubleshoot those tricky mechanical hiccups without you having to spend an entire afternoon scouring confusing forums.
The secret is looking for affordable ways to pursue passions that focus on the process rather than the prestige. I started looking for DIY hobby supplies on a budget, like using old sketchbooks or finding high-quality used gear at local thrift shops. Honestly, some of my best afternoons have been spent scouring community centers for free workshops or using library resources to learn a new skill. When you stop chasing the “perfect” setup, you actually start enjoying the hobby itself. It’s about the soul of the activity, not the price tag on the equipment.
Building Your Home Bike Repair Kit Essentials
Now, let’s talk about the gear. I know what you’re thinking: “Maya, I don’t have room for a massive rolling tool chest in my studio apartment!” Trust me, I get it. You don’t need a professional workshop to get the job done; you just need a curated selection of home bike repair kit essentials that actually work. I keep all my tools tucked away in a single, stylish vintage wooden crate under my bed—it keeps everything organized and out of sight when I’m not riding.
When you’re starting out, don’t go overboard. Focus on the basics: a good set of hex keys, a tire lever, and a reliable floor pump. If you’re looking to level up, investing in a decent degreaser and a stiff brush will make cleaning your bike drivetrain at home feel less like a chore and more like a satisfying ritual. Remember, the goal isn’t to own every gadget under the sun, but to have the right tools to keep your ride smooth and your small space clutter-free.
Cleaning Bike Drivetrain at Home Without the Mess
Let’s be real: the thought of degreasing a greasy chain in a tiny apartment kitchen usually sends a shiver down my spine. The last thing I want is black sludge splattered across my backsplash! But here’s the secret to cleaning bike drivetrain at home without turning your living space into a mechanic’s nightmare: containment is everything. I always set up a “grease zone” using an old plastic storage bin or even a shallow cardboard box from my latest delivery. Line it with some old newspaper, and you’ve got a makeshift splash guard that catches every rogue drop of degreaser.
Instead of spraying everything wildly, I prefer using a dedicated chain cleaning tool or a stiff-bristled brush to apply the cleaner directly to the links. This keeps the mess localized and much easier to wipe up. Once you’ve scrubbed away that gritty buildup, make sure you dry everything thoroughly before you move on to the next step of how to lube a bike chain. A little bit of precision goes a long way in preventing that dreaded “black finger” syndrome while keeping your ride silky smooth and silent.
Minimizing Hobby Expenses While Maximizing the Adventure
I used to think that starting something new meant a massive trip to the big-box craft store or a heavy investment in high-end gear. But living in a space where every square inch counts has taught me a different lesson: the best adventures often start with what you already have. Instead of chasing the most expensive equipment, I’ve leaned into finding free hobby resources—like local library workshops, community forums, or even just a YouTube tutorial—to build my skills from the ground up. It turns out that the learning curve is much more rewarding when you aren’t staring at a credit card bill every time you want to practice.
When I do need to pick up something new, I’ve become a bit of a scavenger for DIY hobby supplies on a budget. Whether it’s repurposing old containers for a small indoor herb garden or scouring thrift stores for vintage camera parts, the hunt itself becomes part of the fun. Minimizing hobby expenses isn’t about deprivation; it’s about being resourceful. It’s about realizing that the joy of the craft comes from the doing, not the price tag attached to the tools.
Pro-Tips for Tackling Repairs Without Losing Your Mind (or Your Kitchen)
- Create a “Sacrificial Zone” using an old drop cloth or a heavy-duty tarp. Since we’re working in small spaces, you don’t want to be scrubbing grease out of your apartment rug for the next three weeks—trust me, I’ve learned that the hard way!
- Master the “Parts Tray” method. Grab an old muffin tin or a couple of magnetic bowls from a thrift store to hold every single screw, washer, and bolt. When you’re working on a tiny apartment floor, one rogue bolt disappearing under the fridge is a total project killer.
- Invest in a good set of multi-purpose bike lights. If your “workshop” is actually just your dining table, you need bright, directed light to see those tiny components. Shadowy corners are where stripped bolts and mistakes happen.
- Keep a “Mess Kit” within arm’s reach. I always keep a roll of paper towels, some biodegradable degreaser, and a box of nitrile gloves right next to my bike. If you can clean up as you go, you won’t feel like your entire living space has been overtaken by a mechanic shop.
- Don’t fear the “Small Wins.” If a repair feels too big, don’t force it. If you hit a wall, stop, clean your tools, and tackle a smaller task like inflating your tires or checking your brake pads. It keeps the momentum going without the frustration!
You’ve Got This!
Honestly, looking at your little corner of tools and a slightly greasy drivetrain might feel a bit overwhelming at first, but look how far you’ve come! We’ve gone from figuring out what tools you actually need to keeping that drivetrain sparkling without turning your entire apartment into a grease pit. Remember, the secret to maintaining a bike in a small space isn’t about having a professional workshop; it’s about having the right mindset and a few smart, organized systems. By mastering these basics—from your essential repair kit to those clever cleaning hacks—you’ve officially taken the guesswork out of your maintenance routine and saved yourself a massive headache (and a hefty mechanic’s bill) down the road.
At the end of the day, I want you to realize that being a “DIY person” isn’t about being perfect or having a massive garage; it’s about the confidence that comes from knowing you can fix things yourself. Every time you tighten a bolt or lube a chain, you’re reclaiming a little bit of independence and making your gear last longer. So, grab a coffee, wipe down your tools, and celebrate that win! You aren’t just maintaining a bike; you’re mastering your environment, one small project at a time. Now, get out there and enjoy the ride!