I still remember the day I decided to tackle the cluttered chaos of my tiny kitchen’s spice collection. I was determined to find the perfect solution, and that’s when I started wondering what is the best wood for a DIY spice rack. As I delved into the world of DIY projects, I realized that everyone seemed to have a different opinion on the matter. Some swore by expensive, exotic woods, while others claimed that any old wood would do. But I was on a mission to find a solution that was both beautiful and functional, without breaking the bank.
As someone who’s passionate about empowering DIY enthusiasts, I want to share my honest, no-hype advice on how to choose the perfect wood for your DIY spice rack. In this article, I’ll walk you through my personal journey of discovering the best woods for the job, and provide you with practical tips and tricks to help you make an informed decision. Whether you’re a seasoned DIY pro or a beginner, I promise that you’ll find valuable insights and inspiration to help you create a stunning and functional spice rack that fits your unique style and budget.
Table of Contents
Guide Overview: What You'll Need

Total Time: 2 hours 30 minutes
Estimated Cost: $20 – $40
Difficulty Level: Easy
Tools Required
- Table Saw (for cutting lumber to size)
- Drill Press (for precise drilling)
- Sandpaper (for smoothing out wood surfaces)
- Hammer (for tapping pieces into place)
- Tape Measure (for measuring and marking lumber)
- Square (for ensuring accurate corners)
- Clamps (for holding pieces together during assembly)
Supplies & Materials
- Cherry Wood (1/2 inch thick, for the back panel)
- Maple Wood (1/4 inch thick, for the shelves)
- Walnut Wood (1 inch thick, for the frame)
- Wood Glue (for bonding wood pieces together)
- 2 inches of Wood Screws (for assembling the frame)
- 1 1/4 inches of Wood Nails (for attaching shelves to the frame)
- Wood Finish (for protecting and enhancing the wood’s appearance)
- Decorative Trim (optional, for added design element)
Step-by-Step Instructions
- 1. First, let’s talk about the types of wood that are perfect for a DIY spice rack. I’ve found that using reclaimed pine or cedar is a great choice – it’s affordable, easy to work with, and adds a warm touch to my tiny kitchen. When selecting your wood, make sure to choose pieces that are straight and free of any major knots or damage.
- 2. Next, you’ll need to prepare your tools and materials. This includes a drill, a saw, a sanding block, and some wood glue. I like to use a cordless drill for most of my DIY projects, as it gives me more flexibility and freedom to move around. Make sure your drill is fully charged and that you have all the necessary bits and attachments.
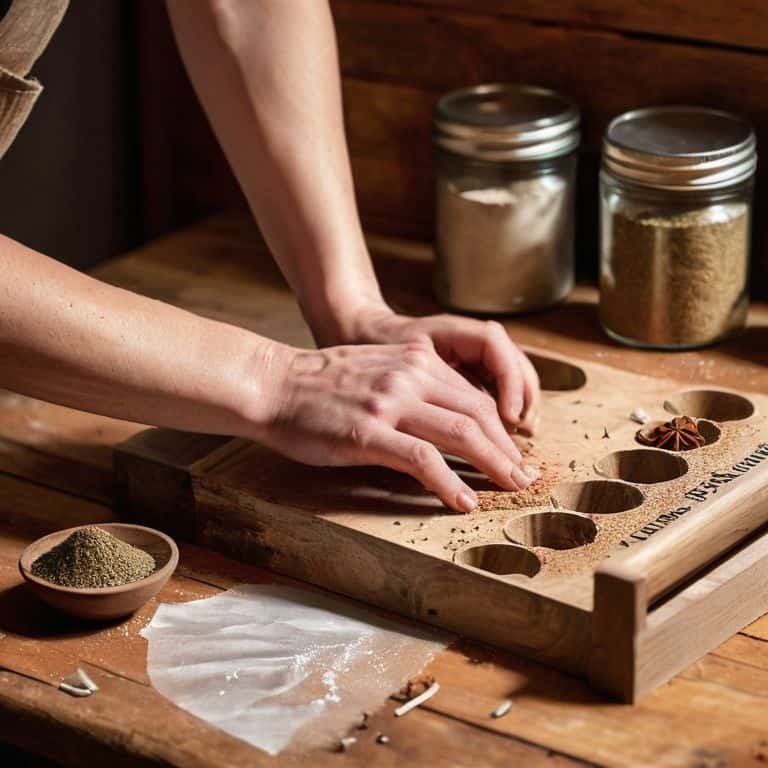
- 3. Now it’s time to cut your wood into the required pieces for your spice rack. Use a saw to cut the wood into the desired lengths, and then sand the cut edges to smooth them out. I like to use a combination of coarse and fine sandpaper to get a smooth finish. Remember to always wear protective gloves and safety glasses when working with power tools.
- 4. Once you have all your pieces cut and sanded, it’s time to assemble your spice rack. Use wood glue to attach the shelves and frame together, and then use your drill to screw everything in place. Make sure the rack is sturdy and can hold the weight of your spices and any other items you plan to store on it.
- 5. With your spice rack assembled, it’s time to add the finishing touches. You can stain or paint the wood to match your kitchen decor, or leave it natural for a more rustic look. I like to add a clear coat of varnish to protect the wood and make it easier to clean. Use a soft cloth to apply the finish and make sure to follow the manufacturer’s instructions.
- 6. Now it’s time to install your spice rack in your kitchen. You can attach it to the wall using screws or brackets, or place it on a countertop or shelf. Make sure it’s level and secure, and that it’s not too close to any heat sources or flammable materials. I like to use a combination of screws and adhesive strips to ensure the rack stays in place.
- 7. Finally, it’s time to add your spices and enjoy your new DIY spice rack. You can add any type of spice or seasoning you like, and use the rack to store other kitchen items like oils, vinegars, or cooking utensils. I like to add a few decorative touches, like a small potted plant or a kitchen-themed decoration, to make the rack more visually appealing.
Smarter Spice Rack Wood
When it comes to building a spice rack with reclaimed wood, I’ve found that the key to success lies in the preparation. Taking the time to properly clean and sand the wood can make all the difference in the final product. I like to use a mixture of DIY wooden spice rack plans and my own creativity to come up with unique designs that fit my small kitchen.
One of the most important considerations when choosing a wood type is the best wood finish for a kitchen spice rack. I’ve experimented with various finishes, and I’ve found that a simple oil-based finish is often the way to go. It’s easy to apply and provides a beautiful, warm glow to the wood. Plus, it’s incredibly durable and can withstand the wear and tear of daily use.
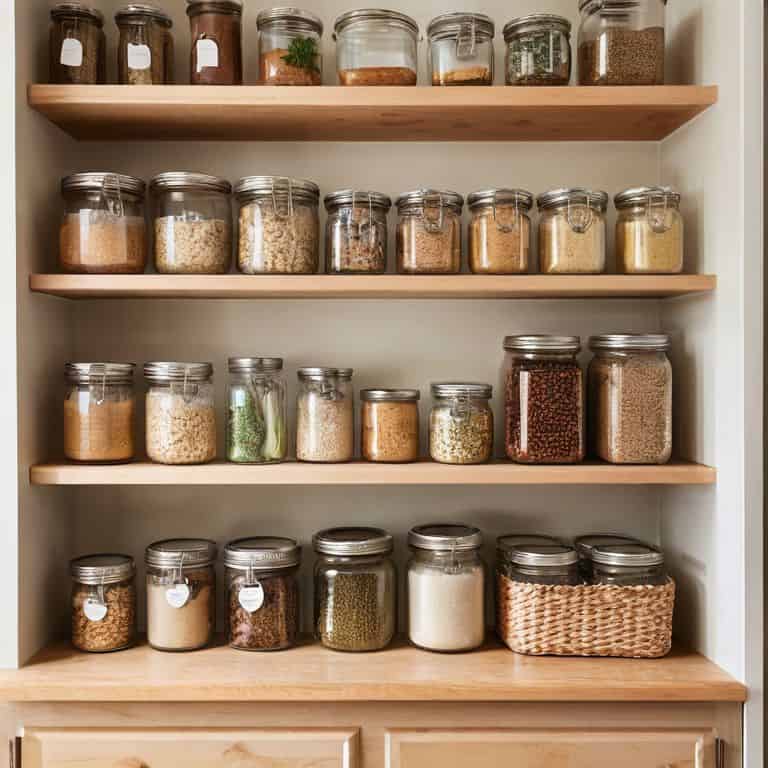
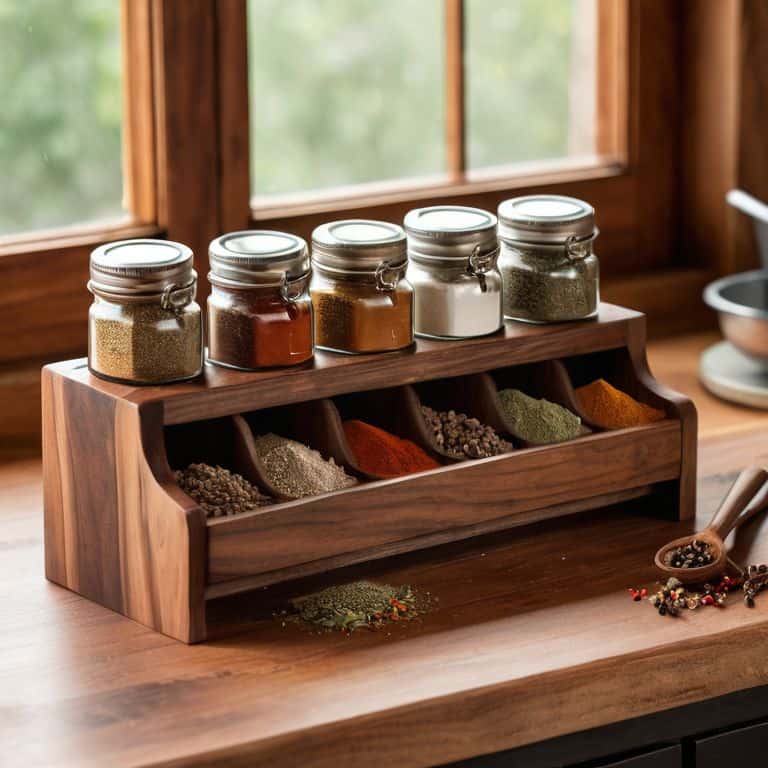
For those looking for spice rack design ideas for small kitchens, I recommend considering the overall aesthetic you want to achieve. Do you want a modern and sleek look, or a more rustic and vintage feel? Perhaps a wooden spice rack with drawers could be the perfect solution for your tiny kitchen. Whatever your style, with a little creativity and some easy DIY spice rack projects, you can create a beautiful and functional spice rack that enhances your cooking experience.
Best Wood Finish Secrets
To really make my reclaimed wood spice rack shine, I’ve experimented with different finishes. I’ve found that a light stain or a natural oil brings out the beauty of the wood’s imperfections. For a more rustic look, I’ve used a beeswax finish, which adds a warm glow and protects the wood from spills. The key is to enhance the wood’s natural character without overpowering it.
I’ve also tried mixing finishes to create a unique look – like combining a stain with a wax sealant. This not only adds depth but also ensures my spice rack can withstand the kitchen’s hustle and bustle.
Reclaimed Wood Rack Charm
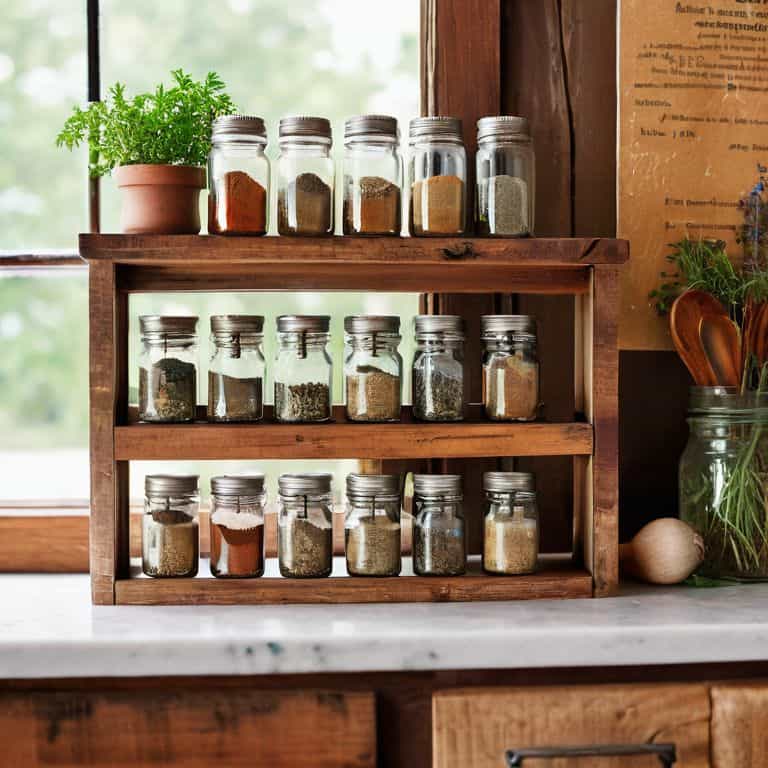
I just adore the character that reclaimed wood brings to a DIY spice rack. There’s something special about giving old wood a new life, and it adds a unique touch to my tiny kitchen. I’ve found that reclaimed pine or cedar works beautifully, with their warm, weathered tones adding a cozy feel to the space. The imperfections and textures of the wood also give the rack a charming, organic look that’s hard to replicate with new wood. Plus, it’s a great way to reduce waste and create something truly one-of-a-kind.
Spice Rack Wood Wisdom: 5 Key Tips to Get You Started
- Choose a wood that’s easy to work with, like reclaimed pine or cedar, to make your DIY spice rack journey a breeze
- Consider the moisture levels in your kitchen when selecting a wood type – you don’t want your spice rack to warp or rot over time
- Add a personal touch to your spice rack with a unique wood finish, like a soft gray or warm honey stain, to match your kitchen’s vibe
- Don’t be afraid to mix and match different wood types or textures to create a one-of-a-kind spice rack that reflects your personality
- Remember, the best wood for a DIY spice rack is one that’s not only beautiful but also durable and functional – think about how you’ll be using your spice rack daily
Key Takeaways for Your DIY Spice Rack
Choose the right wood for your DIY spice rack, considering factors like affordability, ease of use, and the unique charm it brings to your tiny kitchen – I personally love working with reclaimed pine or cedar!
Remember, the finish is just as important as the wood itself, so don’t be afraid to experiment with different stains, paints, or sealers to match your kitchen’s style and protect your spice rack from wear and tear
Most importantly, don’t let your small kitchen’s limitations hold you back – with a little creativity and the right materials, you can create a beautiful, functional spice rack that adds a touch of warmth and personality to your space
The Perfect Blend of Form and Function
For me, the best wood for a DIY spice rack is one that’s not only gorgeous, but also tells a story – like reclaimed pine or cedar, which add a touch of warmth and character to my tiny kitchen, making the space feel truly mine.
Maya Torres
Bringing It All Together: The Perfect DIY Spice Rack
As we’ve explored the world of DIY spice racks, it’s clear that the best wood for the job depends on your personal style and the vibe you’re going for in your kitchen. We’ve discussed the charms of reclaimed wood, the importance of choosing the right wood finish, and how to bring it all together with some clever DIY magic. Whether you’re a fan of modern and sleek or rustic and charming, there’s a wood type out there that’s perfect for your project. By considering factors like durability, affordability, and aesthetics, you can create a spice rack that not only serves its purpose but also becomes a beautiful addition to your kitchen.
So, as you embark on your own DIY spice rack journey, remember that it’s all about having fun and being creative. Don’t be afraid to experiment with different wood types, finishes, and designs until you find the one that makes you smile. With a little patience and some elbow grease, you can create a stunning and functional spice rack that reflects your personality and adds a touch of warmth to your kitchen. Happy building, and don’t forget to share your amazing creations with me!
Frequently Asked Questions
Will the type of wood I choose for my DIY spice rack affect its durability?
Absolutely, the type of wood you choose can impact your DIY spice rack’s durability. Softer woods like pine might be more prone to scratches, while hardwoods like oak or maple are more resistant. I’ve found that a durable wood finish, like a water-based polyurethane, can also make a big difference in withstanding daily use.
Can I use any type of wood for a DIY spice rack or are there specific types that are better suited for kitchen use?
Honestly, not all woods are created equal for kitchen use. I recommend avoiding porous woods like pine or fir, as they can harbor bacteria. Instead, opt for denser woods like maple, cherry, or walnut, which are more resistant to moisture and easier to clean. These woods will make your DIY spice rack both functional and food-safe.
How do I ensure that the wood I choose for my DIY spice rack is food-safe and won't contaminate my spices?
For a food-safe DIY spice rack, I always opt for naturally resistant woods like cedar or cypress. You can also use a food-safe finish like beeswax or mineral oil to protect the wood and your spices. Just remember to avoid using treated woods or finishes with harsh chemicals – your spices will thank you!