I still remember the day I decided to tackle my tiny kitchen’s outdated cabinets – it was a daunting task, especially when I started researching how to prep cabinets for painting. Everywhere I looked, it seemed like the advice was either overly complicated or required a ton of specialized tools. But I was determined to give my kitchen a fresh new look without breaking the bank. As I dove into the project, I realized that prepping cabinets for paint isn’t about following some arcane formula; it’s about taking control of your space and making it work for you.
In this article, I’ll share my hard-won tips and tricks for prepping your tiny kitchen cabinets for a fresh coat of paint. You’ll learn the essentials of cabinet preparation, from cleaning and sanding to filling gaps and removing hardware. My goal is to empower you with practical, no-nonsense advice that will help you achieve professional-looking results without the hefty price tag. By the end of this guide, you’ll be equipped with the knowledge and confidence to transform your kitchen into a beautiful, functional space that reflects your personal style. So, let’s get started and make your tiny kitchen shine!
Table of Contents
Guide Overview: What You'll Need
Total Time: 2 hours 30 minutes
Estimated Cost: $50 – $100
Difficulty Level: Intermediate
Tools Required
- Sandpaper (various grits)
- Putty Knife (for filling holes)
- Utility Knife (with extra blades)
- Drill (for removing hardware)
- Screwdriver (flathead and Phillips)
- Drop Cloths (for protecting floors and surfaces)
- Palm Sander (optional, for smoothing large areas)
- Cleaning Solution (for degreasing cabinets)
- Rags (for wiping down surfaces)
Supplies & Materials
- Wood Filler (for filling holes and gaps)
- Primer (optional, for ensuring better paint adhesion)
- Paint (chosen color and finish)
- Masking Tape (for protecting surrounding areas)
- New Hardware (if replacing existing knobs or handles)
Step-by-Step Instructions
- 1. First, let’s start by clearing the clutter from our cabinets. Take everything out and sort items into categories – keep, donate, and toss. This is a great opportunity to get rid of any unnecessary items that have been hiding in your cabinets. I like to think of it as a fresh start for my kitchen.
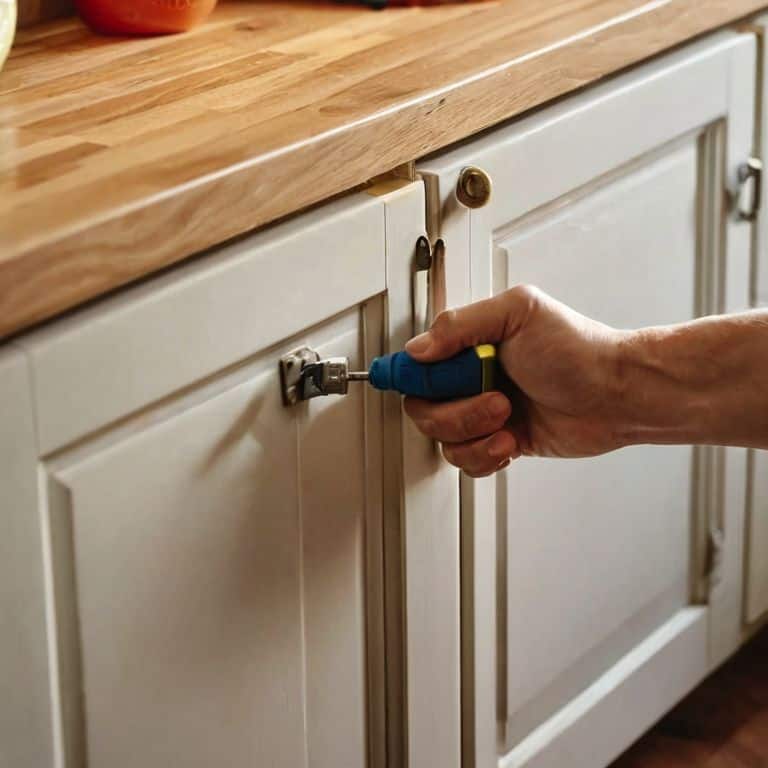
- 2. Next, we need to remove the hardware from our cabinets. This includes handles, knobs, and any other decorative elements. Set them aside in a safe place where they won’t get lost. I use a small container or a ziplock bag to keep everything organized. It’s also a good idea to take photos of the hardware before removing it, so you can remember how it was installed.
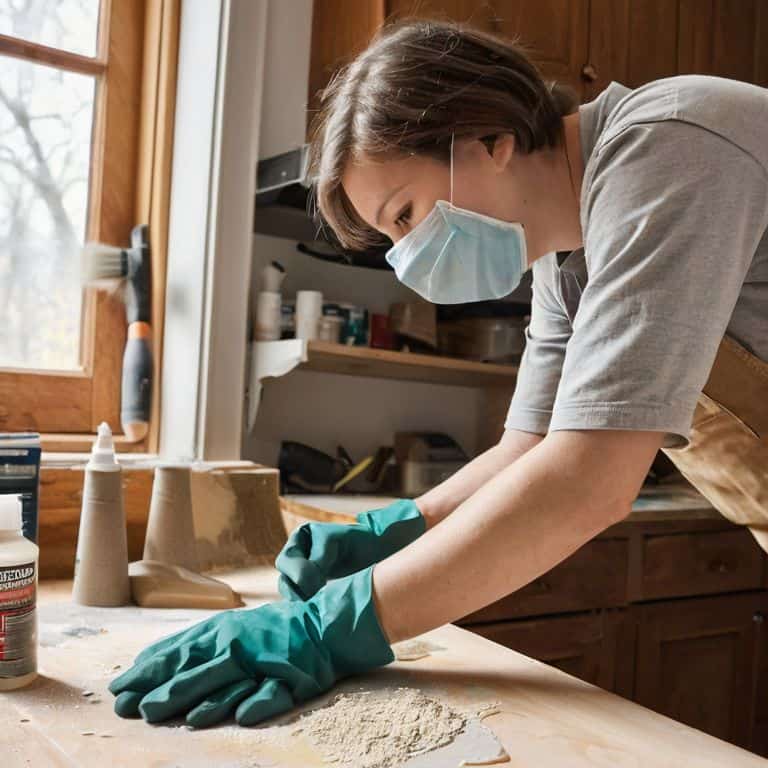
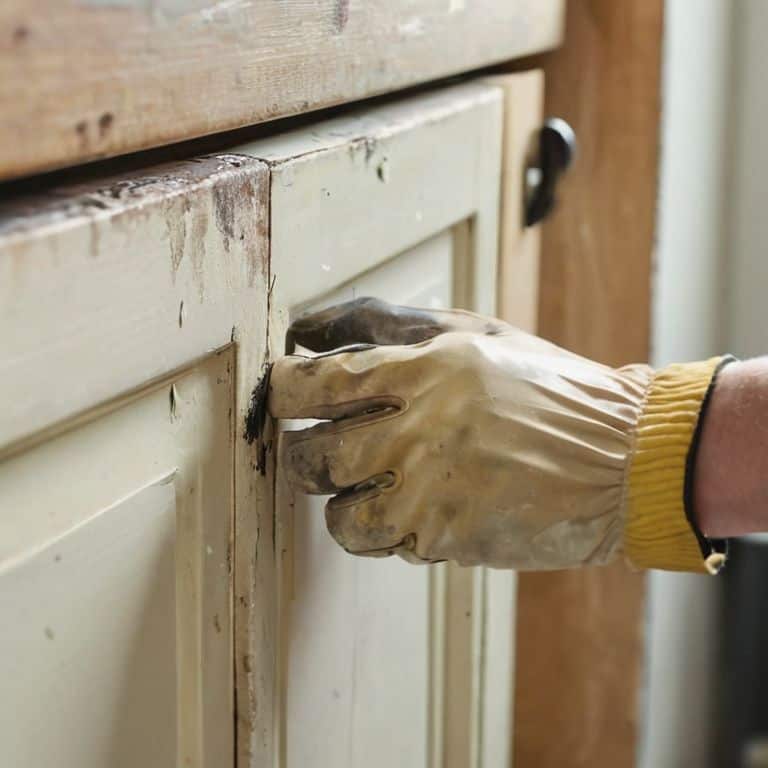
- 3. Now it’s time to assess the cabinet surfaces. Check for any grease, grime, or old adhesive that might be stuck to the cabinets. We’ll need to clean all of this off before painting. I use a mixture of soap and water, along with a scrub brush, to get rid of any tough stains. For more stubborn areas, I might use a gentle abrasive like baking soda or a soft scrubber.
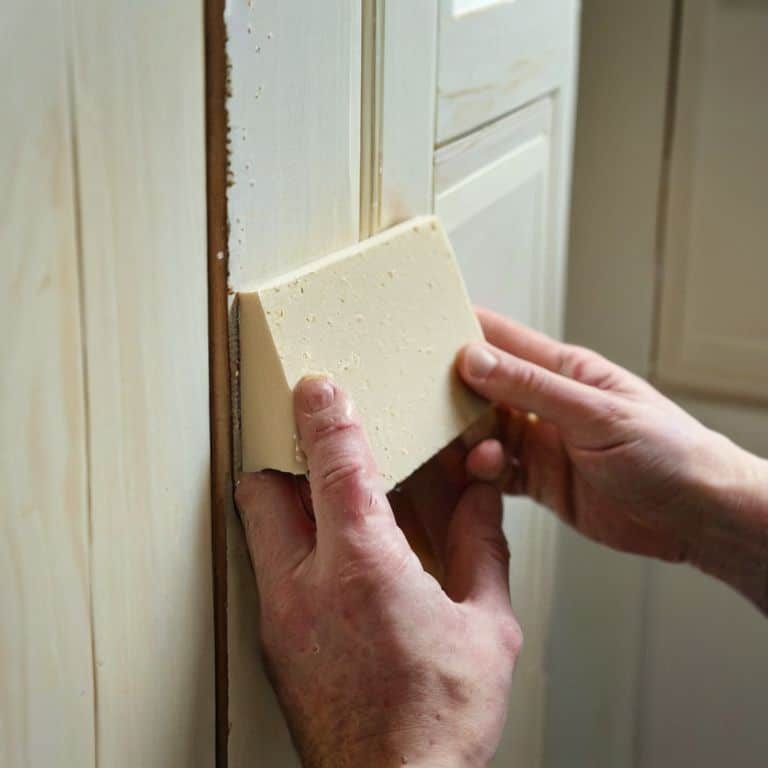
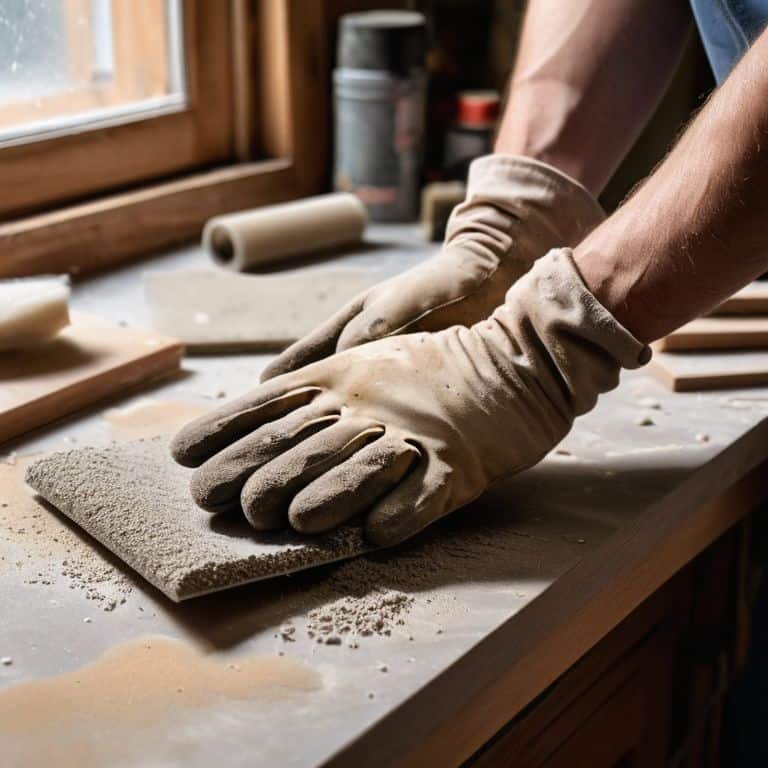
- 4. With the surfaces clean, we can move on to sanding the cabinets. This is an important step to create a smooth surface for painting. I use a fine-grit sandpaper to gently sand down the entire cabinet, paying extra attention to any areas with rough spots or old paint. It’s also a good idea to sand in the direction of the wood grain to avoid scratching the surface.
- 5. After sanding, we need to remove any dust or debris from the cabinets. I use a vacuum cleaner or a damp cloth to wipe down the surfaces. This is crucial to ensure a smooth paint job. I also like to use a tack cloth to remove any remaining dust or particles from the sanding process.
- 6. Next, we’ll need to apply a primer to the cabinets, especially if they have a glossy finish or are made of a material that’s prone to staining. I use a high-quality primer that’s specifically designed for cabinets and furniture. Make sure to follow the instructions on the primer can and apply it evenly to all surfaces. It’s also important to work in a well-ventilated area and use a mask to avoid inhaling any fumes.
- 7. Finally, we’re ready to mask off the edges and any areas we don’t want to paint. I use painter’s tape to carefully mask off the edges, and then apply a layer of newspaper or a drop cloth to protect the surrounding surfaces. This is a crucial step to ensure a clean and professional-looking paint job. I also like to double-check my work to make sure everything is properly masked and ready for painting.
Tiny Kitchen Big Impact
When it comes to giving your tiny kitchen a big impact, it’s all about the details. I’ve found that cabinet surface preparation techniques can make or break the final result. Taking the time to properly clean and sand your cabinets will ensure a smooth, even finish that looks like it was done by a pro.
To take your cabinet makeover to the next level, consider choosing the right cabinet paint. With so many options available, it can be overwhelming to decide. I recommend opting for a high-quality, water-based paint that’s specifically designed for cabinets. Not only is it easier to work with, but it’s also better for the environment.
In my own tiny kitchen, I’ve had great success with painting over laminate cabinets. It’s a game-changer for updating the look of your space without breaking the bank. By using the right cabinet painting tools and materials, you can achieve a beautiful, professional-looking finish that will make your kitchen feel brand new.
Mastering Cabinet Surface Prep
Now that we’ve covered the basics, let’s dive deeper into mastering cabinet surface prep. This is where the magic happens, and your tiny kitchen starts to feel like a high-end designer space. I love using a mixture of sugar soap and warm water to give my cabinets a gentle scrub, removing any grease or grime that’s accumulated over time. It’s amazing how a little elbow grease can make a huge difference in the final result.
By taking the time to properly prep your cabinet surfaces, you’ll be amazed at how smoothly the paint adheres, and how professional the finish looks. Trust me, it’s worth the extra effort – your tiny kitchen will thank you! With a little practice, you’ll be a pro at giving your cabinets a beautiful, long-lasting finish that will make your kitchen feel more spacious and stylish.
Painting Over Laminate Like Pro
When it comes to painting over laminate, I’ve learned a few tricks to get a smooth, pro-like finish. First, make sure your surface is squeaky clean and dry – any grease or dust will show through the paint. Next, use a special laminate primer to create a strong bond between the paint and the surface. I like to use a roller for large areas and a small brush for edges and details. Don’t be afraid to get creative with colors and patterns – a bold hue can totally transform your tiny kitchen’s vibe.
By painting over your laminate cabinets, you can give your kitchen a fresh new look without breaking the bank or committing to a full renovation. Plus, it’s a great way to add some personality to your space. I’ve had amazing results with this method, and I’m confident you will too. Just remember to be patient and take your time – the end result is totally worth it.
5 Essential Tips to Get Your Cabinets Ready for a Fresh Coat
- Clean out the clutter: Before you start prepping, take everything out of your cabinets and sort items into keep, donate, and discard piles to maximize your space and reduce stress
- Assess and repair: Check your cabinets for any damage or wear and tear, and make any necessary repairs before painting to ensure a smooth finish
- Sand down the surface: Use a fine-grit sandpaper to smooth out the cabinet surfaces, removing any glossy finishes or rough patches to help the paint adhere
- Remove hardware and labels: Take off all knobs, handles, and labels to prevent paint from getting stuck in tight spaces and to make the painting process easier
- Prime if necessary: If your cabinets have a glossy or uneven finish, consider applying a primer first to ensure better paint adhesion and a professional-looking result
Key Takeaways for a Stunning Tiny Kitchen Makeover
I can confidently prep my cabinets for painting with simple, budget-friendly steps that don’t require a lot of space or special equipment
By mastering the art of painting over laminate, I can give my tiny kitchen a fresh new look without breaking the bank or committing to a full renovation
With the right techniques and a little creativity, even the smallest of kitchens can be transformed into a beautiful, functional space that reflects my personal style and meets my unique needs
Painting with Purpose
The true magic of a tiny kitchen makeover lies not in the paint itself, but in the preparation – it’s where the cluttered becomes cute, and the ordinary becomes extraordinary, one carefully sanded surface at a time.
Maya Torres
Bringing It All Together: A Beautifully Painted Kitchen
As we’ve explored in this guide, prepping your cabinets for painting is all about attention to detail and a little bit of creativity. From mastering cabinet surface prep to painting over laminate like a pro, each step is crucial in achieving a professional-looking finish. By following these steps and tips, you’ll be well on your way to transforming your tiny kitchen into a beautiful, functional space that reflects your personal style. Remember, it’s all about finding solutions that work for you and your unique space.
So, don’t be afraid to get creative and make your kitchen your own. With a little bit of patience and elbow grease, you can turn even the smallest of kitchens into a cozy, inviting space that you’ll love spending time in. As you put the final touches on your freshly painted cabinets, take a step back and admire your handiwork – you’ve earned it! And who knows, you might just find that the process of transforming your kitchen is just as rewarding as the end result.
Frequently Asked Questions
What's the best way to remove old hardware from cabinets without damaging the surface?
To remove old hardware without damaging the surface, I swear by my trusty hair dryer and a screwdriver. Heat the hardware for a few seconds, then gently pry it off – this loosens the adhesive and makes removal a breeze, even on delicate surfaces.
How do I fix dents or scratches on my cabinets before painting?
For dents or scratches, I swear by a good ol’ filler like Spackling or wood filler. Just apply, let it dry, and sand it down until it’s smooth – then you’re ready to paint! I like to use a small putty knife to fill in the imperfections, and a fine-grit sandpaper to get it silky smooth.
Can I use a primer specifically designed for cabinets, and if so, how does it differ from regular primer?
Absolutely, cabinet-specific primers are a game-changer! They’re usually formulated to adhere exceptionally well to laminate and melamine surfaces, reducing the risk of peeling or flaking. Compared to regular primer, they often have a stronger bond and can help create a super-smooth finish – perfect for a flawless paint job in your tiny kitchen!