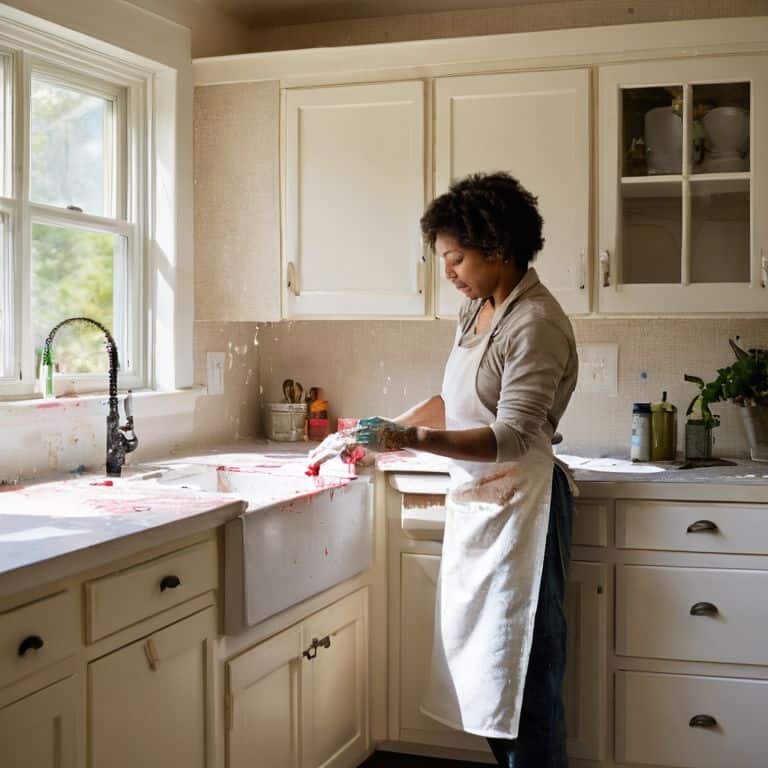
I still remember the day I decided to tackle my tiny kitchen’s outdated cabinets – I was determined to learn how to paint kitchen cabinets without breaking the bank or calling in a professional. The internet was flooded with tutorials, but most of them assumed I had a huge workshop, endless budget, or a team of helpers. As someone who’s passionate about DIY and making the most of small spaces, I was frustrated by the lack of practical, no-nonsense advice out there. So, I took matters into my own hands, and after weeks of trial and error, I successfully transformed my kitchen cabinets into beautiful, functional pieces that I love.
In this article, I’ll share my hard-earned wisdom on how to paint kitchen cabinets in even the tiniest of spaces. You’ll get step-by-step guidance on everything from preparing your cabinets to applying the perfect finish. I’ll cut through the noise and give you honest, budget-friendly tips that actually work, without requiring a lot of specialized tools or expertise. Whether you’re a fellow small-space dweller or just looking to give your kitchen a fresh new look, I’ve got you covered. So, let’s get started and turn those drab cabinets into a stunning focal point that you’ll enjoy for years to come!
Table of Contents
Guide Overview: What You'll Need
Total Time: 4 hours 30 minutes to several days
Estimated Cost: $100 – $300
Difficulty Level: Intermediate
Tools Required
- Sandpaper (various grits)
- Paintbrushes (assorted sizes)
- Roller and extension pole (for large, flat areas)
- Paint tray
- Drop cloths or tarps (for protecting floors and countertops)
- Primer (optional, but recommended)
- Masking tape (for creating sharp edges)
- Cleaning solution (for degreasing cabinets)
- Rags
Supplies & Materials
- Paint (choose your desired color and finish)
- Cabinet hardware (if replacing existing hardware)
- Wood filler (for filling any holes or gaps)
- Caulk (for sealing any gaps around cabinets)
- Lumber (2-in x 4-in or 1-in x 2-in for shimming, if necessary)
Step-by-Step Instructions
- 1. First, let’s prep those cabinets by removing all the hardware, including knobs and handles. This will give us a smooth surface to work with and prevent any paint from getting stuck in the tiny crevices. Take out your trusty screwdriver and get to work – it’s time to strip those cabinets bare!
- 2. Next, we need to clean the cabinets thoroughly. I like to use a mixture of soap and warm water to wipe down each cabinet, making sure to remove any grease, grime, or food residue. This step is crucial in ensuring the paint adheres properly, so don’t skip it! Use a soft cloth to dry the cabinets and remove any excess moisture.
- 3. Now it’s time to sand those surfaces. I know, I know – sanding can be a bit of a chore, but trust me, it’s worth it. Use a fine-grit sandpaper to smooth out any rough patches or bumps on the cabinets. This will help the paint go on evenly and prevent any imperfections from showing through. Remember to sand in the direction of the wood grain to avoid scratching the surface.
- 4. After sanding, we need to prime the cabinets to create a strong bond between the wood and the paint. I like to use a high-quality primer specifically designed for cabinets, as it will help the paint adhere better and withstand the wear and tear of daily use. Apply the primer according to the manufacturer’s instructions and make sure to let it dry completely before moving on to the next step.
- 5. With our cabinets primed and ready to go, it’s time to choose our paint. I’m a big fan of using latex-based paint for cabinets, as it’s easy to clean up and dries quickly. Select a color that complements your kitchen’s style and decor, and make sure to read the label for any specific instructions or recommendations. Some paints may require a special primer or have specific drying times, so be sure to follow the manufacturer’s guidelines.
- 6. Now we’re ready to apply the paint. I like to use a high-quality brush or roller to achieve a smooth, even finish. Work in small sections, applying thin coats of paint and allowing each coat to dry before adding the next. This will help prevent drips and unevenness, and ensure a professional-looking finish. Remember to paint in the direction of the wood grain to maintain a natural look.
- 7. Once the final coat of paint is dry, it’s time to reinstall the hardware. Take out those knobs and handles you removed earlier and screw them back into place. Make sure everything is securely fastened and even, as you don’t want any wobbly handles or loose screws. Stand back and admire your handiwork – you’ve just given your kitchen cabinets a beautiful, brand-new look!
Painting Kitchen Cabinets
When it comes to kitchen cabinet painting techniques, I’ve learned that preparation is key. Before you start painting, make sure to clean your cabinets thoroughly with a degreaser to remove any grease or food residue. This will ensure a smooth and even finish. I also recommend lightly sanding the surfaces to create a better bond between the old finish and the new paint.
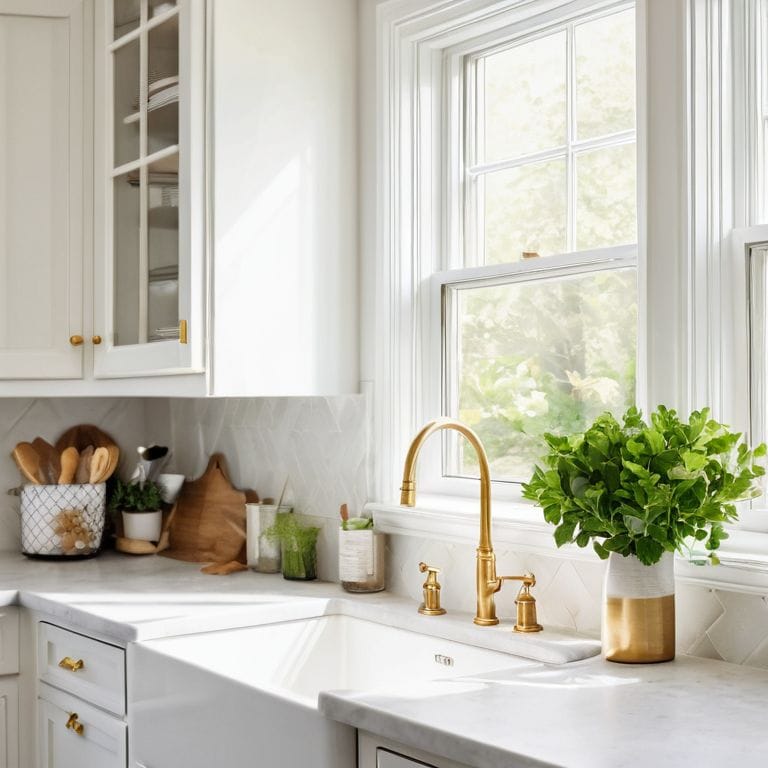
One of the most common cabinet painting mistakes to avoid is using the wrong type of paint. You’ll want to choose a high-quality paint that’s specifically designed for cabinets, such as a latex or acrylic enamel. These types of paint are durable and easy to clean, making them perfect for kitchen cabinets. For a classic look, painting kitchen cabinets white is a great option, but you can also get creative with other colors to match your personal style.
To achieve a professional-looking finish, consider using a budget friendly cabinet update technique like layering thin coats of paint. This will help prevent drips and unevenness, and it’s also a great way to build up a rich, vibrant color. By following these tips and taking your time, you can give your kitchen cabinets a beautiful and long-lasting makeover that will make your kitchen look and feel like new.
Best Paint for Cabinets
When it comes to painting kitchen cabinets, the type of paint you choose is crucial. I swear by high-quality, water-based acrylic paints – they’re easy to clean up and dry fast, which is a total lifesaver in a small kitchen. Look for paints specifically designed for cabinets and furniture, as they’ll be more durable and resistant to scratches and stains. Some of my favorite brands include Benjamin Moore and Valspar, which offer a wide range of colors and finishes to fit your unique style. Remember, the right paint can make all the difference in achieving a professional-looking finish, even with minimal experience.
Cabinet Painting Techniques
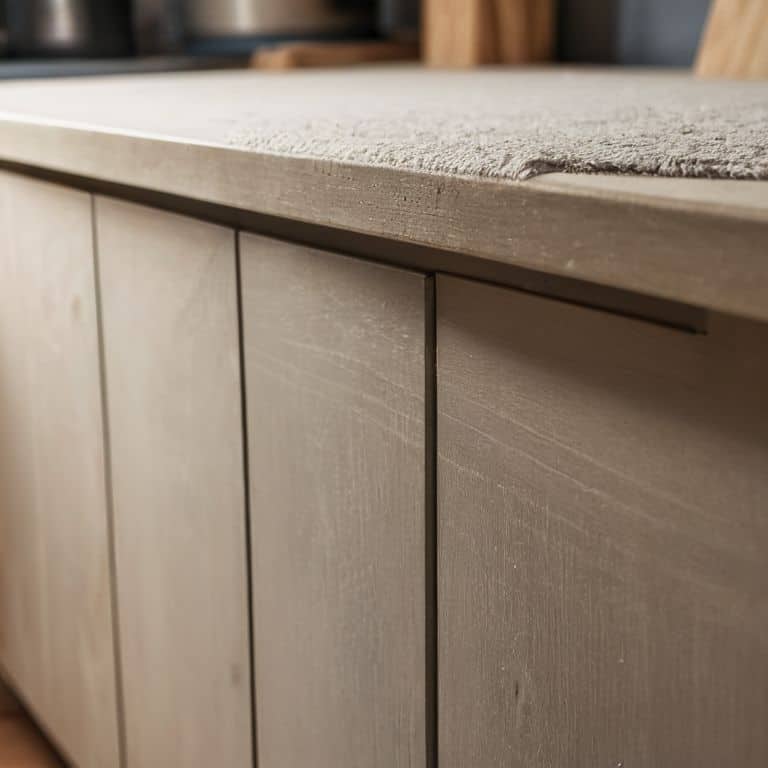
Now that we’ve covered the basics, let’s dive into some clever cabinet painting techniques to take your tiny kitchen to the next level. I’m obsessed with the “distressed” look – it’s perfect for adding some character to your space without breaking the bank. To achieve this, simply sand your cabinets lightly after painting for a beautifully worn finish.
For a more modern vibe, consider using a combination of matte and glossy paints to add depth and visual interest. I love pairing a soft, matte white with a glossy accent color to create a unique, eye-catching look that’s perfect for small kitchens. Remember, the key to a successful cabinet paint job is all about the prep work and having fun with the process!
My Top 5 Tips for a Flawless Cabinet Paint Job
- Prepare for Perfection: Clean and degrease your cabinets before painting to ensure a smooth, even finish
- Prime Time: Use a high-quality primer to create a strong bond between the old surface and your new paint
- Choose Your Color Wisely: Select a paint color that complements your kitchen’s style and decor, and don’t be afraid to test it out with a sample swatch
- Roll with It: Use a combination of rollers and brushes to achieve a professional-looking finish, and work in small sections to maintain even coverage
- Seal the Deal: Apply a clear coat of polyurethane to protect your freshly painted cabinets from scratches and spills, and make cleanup a breeze
Key Takeaways for a Stunning Cabinet Makeover
Painting your kitchen cabinets can completely transform the look and feel of your tiny kitchen, and with the right techniques and materials, it’s easier than you think to achieve professional-looking results
Choosing the right paint for your cabinets is crucial – consider durable, water-resistant options that will withstand the wear and tear of daily kitchen life, and don’t forget to prep those surfaces for a smooth, even finish
Remember, the devil’s in the details: add some personality to your cabinets with unique hardware, and don’t be afraid to get creative with color and design to make your tiny kitchen truly one-of-a-kind
Painting with Passion
Painting your kitchen cabinets isn’t just about slapping on a fresh coat – it’s about breathing new life into the heart of your home, and I truly believe that with a little creativity and the right tools, anyone can turn their tiny kitchen into a vibrant, functional oasis!
Maya Torres
Bringing Your Vision to Life
As we wrap up this journey of transforming your kitchen cabinets from drab to fab, let’s recap the key takeaways: choosing the right paint, mastering the perfect painting technique, and being patient with the process. It’s amazing how a fresh coat of paint can breathe new life into even the smallest of spaces, making them feel more spacious and inviting. Remember, the goal isn’t just to paint your cabinets, but to create a kitchen that reflects your personality and style.
So, the next time you’re faced with a design dilemma in your tiny kitchen, I hope you’ll remember that with a little creativity and some DIY magic, you can turn any challenge into an opportunity. Don’t be afraid to get your hands dirty, experiment with new ideas, and most importantly, have fun with the process. Your small kitchen can be a beautiful reflection of your ingenuity and style, and I’m excited to see what you create!
Frequently Asked Questions
What kind of primer should I use to ensure a smooth finish on my kitchen cabinets?
For a silky smooth finish, I swear by a high-quality, water-based primer specifically designed for cabinets. Look for one that’s labeled ‘stain-blocking’ or ‘adhesion-promoting’ to ensure a strong bond between the primer and your cabinet surface. My go-to is a universal primer that works on a variety of materials, from wood to laminate.
Can I paint over existing hardware or do I need to remove it first?
Hey, great question! I always remove the hardware before painting, it’s just easier to get a smooth finish. But, if you’re short on time, you can tape off the hardware with some precision masking tape. Just be aware, it might not be perfect, and you’ll need to touch up any mistakes after painting.
How long should I wait for the paint to dry between coats to avoid any imperfections?
Between coats, I like to wait at least 24 hours to ensure the paint is completely dry and cured. This helps prevent any imperfections or streaks. If you’re using a fast-drying paint, you might be able to get away with 4-6 hours, but trust me, it’s worth the wait for a smooth finish!