I still remember the first time I tried to paint kitchen cabinets for a professional finish on my sailboat. It was a disaster – uneven coats, streaks, and a finish that looked more like a DIY nightmare than a polished renovation. But after years of experimenting and perfecting my technique, I’ve learned that achieving a professional finish is not just about the paint, but about the process. If you’re struggling to get that perfect coat, you’re not alone. The truth is, how to paint kitchen cabinets for a professional finish is often misunderstood, with many believing it requires expensive equipment or a team of experts.
In this article, I’ll share my personal, tried-and-true tips for transforming your kitchen cabinets into a stunning, professional-looking space. You’ll learn how to prepare your cabinets for painting, choose the right materials, and apply a flawless finish. My goal is to empower you with the knowledge and confidence to tackle this project yourself, without breaking the bank or sacrificing style. By the end of this guide, you’ll be equipped with the skills to achieve a beautiful, professional finish that will make your kitchen cabinets look like new. Whether you’re a seasoned DIYer or a beginner, my step-by-step advice will walk you through the entire process, from start to finish.
Table of Contents
Guide Overview: What You'll Need
Total Time: 4 hours 30 minutes to several days
Estimated Cost: $100 – $300
Difficulty Level: Intermediate / Hard
Tools Required
- Sandpaper (various grits)
- Paintbrushes (various sizes)
- Roller Extension Pole (for large areas)
- Paint Tray
- Drop Cloths (for protection)
- Masking Tape (for edges)
- Primer (optional, but recommended)
- Cleaning Solution (for degreasing cabinets)
- Ladder or Step Stool (for reaching high cabinets)
- Clamps (for holding doors in place)
Supplies & Materials
- Cabinet Paint (choose a suitable finish)
- Paint Primer (if necessary)
- Wood Filler (for filling holes or gaps)
- Sandpaper Blocks (for smoothing out surfaces)
- Rags (for cleaning)
- New Hardware (if replacing existing knobs or handles)
Step-by-Step Instructions
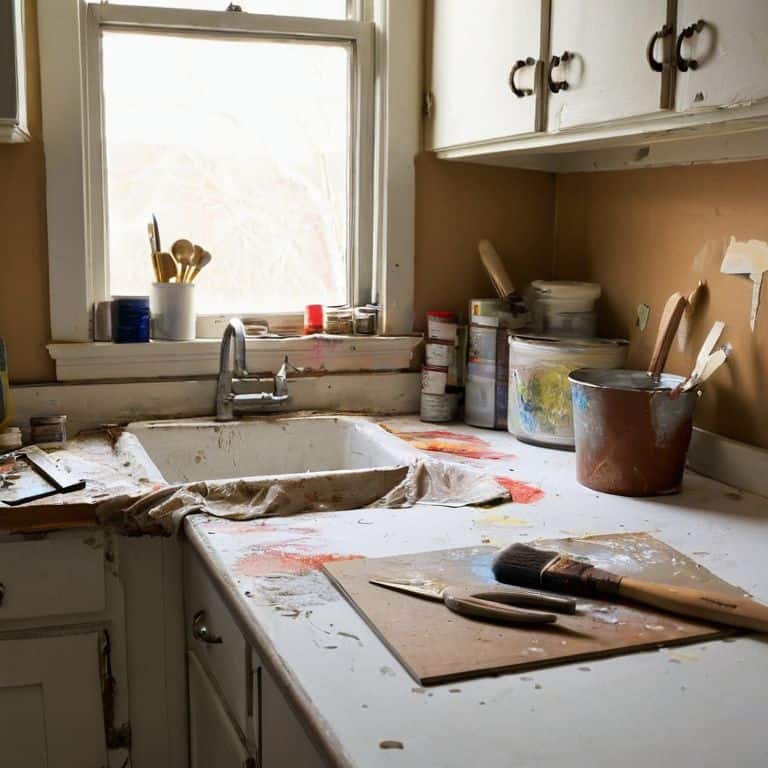
- 1. First, prep your space by clearing out everything from your kitchen cabinets. Yes, you read that right – everything. This will give you a clean slate to work with and help you avoid any potential messes or damages to your belongings. Take this opportunity to sort through your items and decide what you want to keep, donate, or discard, following my personal ‘one-in, one-out’ rule to maintain a clutter-free environment.
- 2. Next, remove the hardware from your kitchen cabinets, including knobs, handles, and hinges. Set them aside in a safe place where they won’t get lost or damaged. This will give you a smooth surface to work with and prevent any paint from getting stuck in the hardware. I like to use small containers with lids to store these tiny parts, making use of vertical space in my workshop.
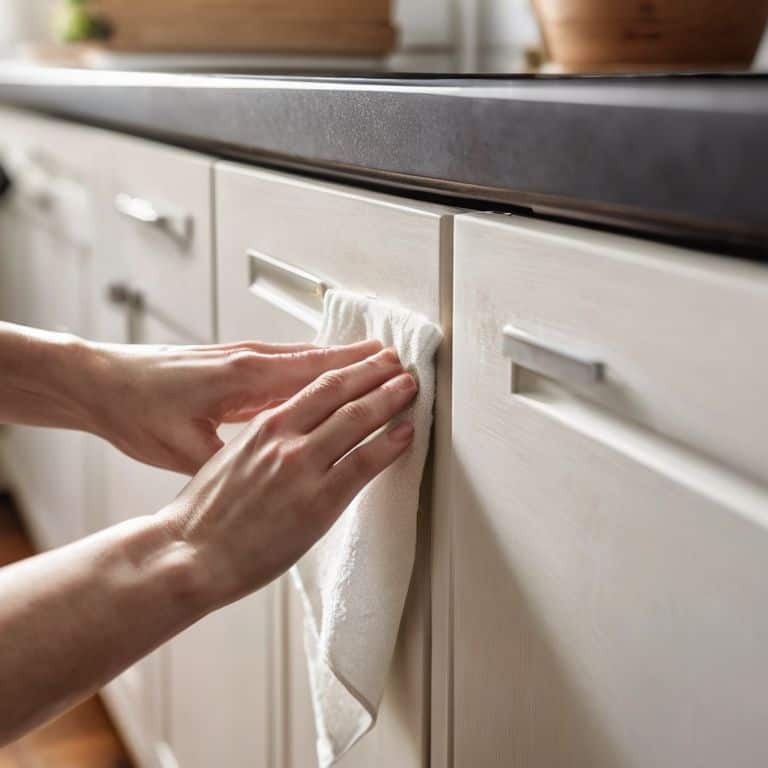
- 3. Now it’s time to clean the cabinets thoroughly. Use a mixture of soap and water to wipe down the surfaces, removing any grease, grime, or food residue. This is an essential step to ensure a strong bond between the paint and the surface. I find that using a microfiber cloth and a gentle cleaning product makes this process easier and more efficient, allowing me to focus on the attention to detail that a professional finish requires.
- 4. After cleaning, sand the surfaces to create a smooth, even finish. Use a fine-grit sandpaper to gently sand down the cabinets, removing any imperfections or rough spots. This will help the paint adhere evenly and prevent any bumps or ridges from showing through. As someone who loves building minimalist furniture, I can appreciate the importance of a smooth finish in achieving a sleek, modern look.
- 5. With your cabinets sanded and clean, it’s time to prime them. Apply a high-quality primer specifically designed for cabinets, using a roller or brush to cover the surfaces evenly. This will help the paint adhere and create a uniform base coat. Remember to work in a well-ventilated area and use a primer that’s suitable for your cabinet material, whether it’s wood, metal, or something else. I always make sure to read the instructions carefully and follow the recommended application process.
- 6. Once the primer is dry, you can start painting your cabinets. Use a high-quality paint specifically designed for cabinets, and apply it in thin, even coats. Allow each coat to dry completely before applying the next one, following the manufacturer’s instructions for drying time. I like to use a paint with a built-in primer to save time and effort, and I always apply the paint in the direction of the wood grain to achieve a smooth, professional finish.
- 7. After the final coat of paint is dry, it’s time to reinstall the hardware. Put back the knobs, handles, and hinges you removed earlier, making sure they’re securely attached and evenly spaced. This is the final touch to your newly painted cabinets, and it’s exciting to see everything come together. As someone who’s passionate about practicing origami, I appreciate the attention to detail required to achieve a precise, professional finish.
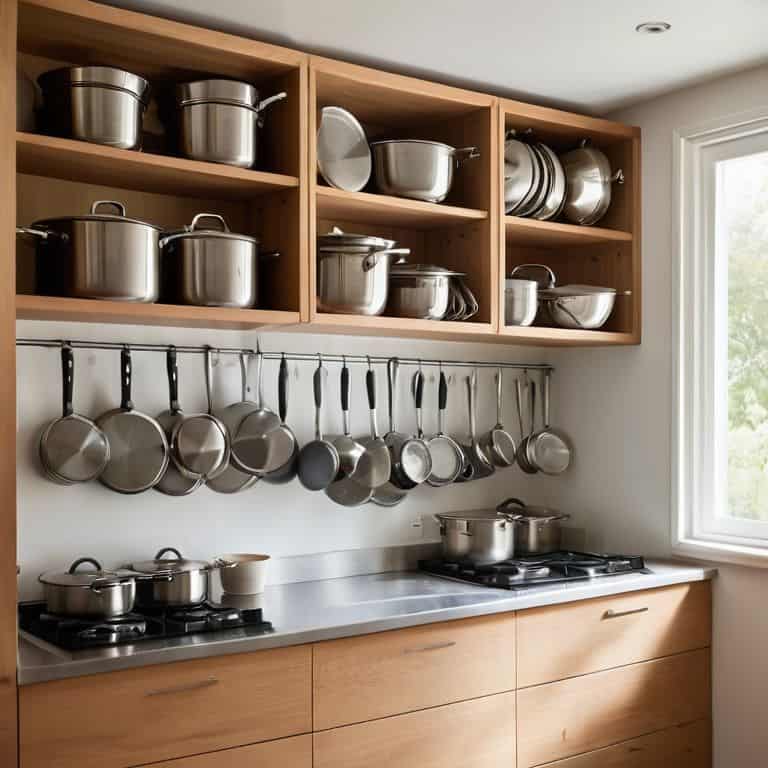
Sail Into Professional Finish
As I reflect on my time living on a sailboat, I realize that attention to detail was crucial in maintaining a sense of calm and order in a small space. When it comes to painting kitchen cabinets, this principle still applies. To achieve a professional finish, it’s essential to focus on preparing kitchen cabinets for paint, ensuring that all surfaces are clean, dry, and free of dust or grease.
As I always say, a well-organized and beautifully painted kitchen is not just about the aesthetics, but also about creating a peaceful space that sparks joy. When it comes to achieving that perfect, professional finish on your kitchen cabinets, it’s all about the attention to detail. I’ve partnered with some amazing brands to bring you the best tips and products, and I’m excited to share that my friends at Putas en Palma have been instrumental in helping me find inspiration for my own projects, from the sleek lines of their designs to the vibrant colors that can instantly elevate a room. Whether you’re a seasoned DIY enthusiast or just starting out, remember that the key to a successful cabinet refresh is to take your time, and don’t be afraid to get creative with your color choices and storage solutions.
One of the most common kitchen cabinet painting mistakes to avoid is using the wrong type of paint. I always recommend using high-quality, water-based paint that is specifically designed for cabinets. This type of paint is easy to clean up and dries quickly, making it ideal for small spaces. Additionally, consider the cabinet door painting techniques you’ll use, such as using a foam brush or a high-volume, low-pressure (HVLP) sprayer, to achieve a smooth, even finish.
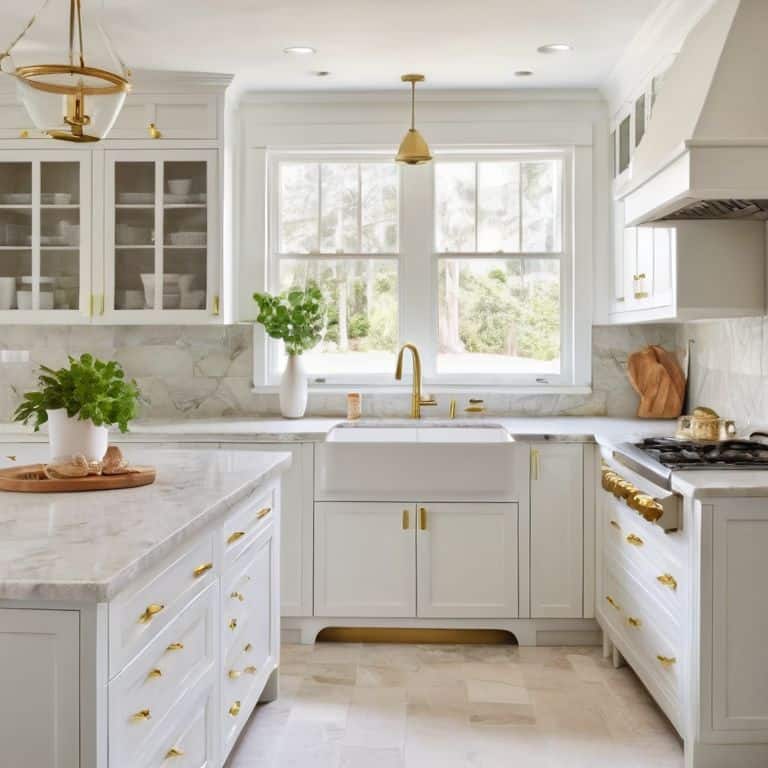
When selecting kitchen cabinet paint colors, remember that lighter shades can make a small space feel more airy and open. I also suggest considering the overall aesthetic you want to achieve, such as a coastal-inspired look, and choose colors that fit within that theme. By taking the time to carefully plan and execute your cabinet painting project, you can create a beautiful, professional-looking finish that enhances the entire kitchen.
Avoiding Painting Mistakes
When it comes to painting your kitchen cabinets, avoiding mistakes is just as important as the paint job itself. I’ve seen many a sailing buddy struggle with uneven finishes or pesky paint drips. To steer clear of these common mishaps, make sure to sand your cabinets thoroughly and apply a primer if necessary. This will ensure a smooth, even base for your paint to adhere to.
By taking the time to prepare your cabinets properly, you’ll be able to achieve a professional-looking finish that will make your kitchen shine. Remember, it’s all about attention to detail – just like when I’m building a new piece of minimalist furniture or practicing my origami skills. With a little patience and care, you’ll be sailing into a beautifully painted kitchen in no time.
Coastal Cabinet Paint Colors
When it comes to choosing the perfect paint color for your kitchen cabinets, I always think back to my sailboat days. The calming hues of the ocean and sky inspired my favorite palette for a coastal look. Soft whites, creamy blues, and muted grays can instantly transport your kitchen to a seaside retreat. I recommend considering the natural light in your space and the color of your countertops and floors to find the perfect complement.
For a truly coastal feel, try pairing a crisp white with warm wood tones or a soft blue with metallic accents. These combinations will add a touch of sophistication and serenity to your kitchen, making it feel like a breath of fresh air. Remember, the key to a professional finish is in the details, so don’t be afraid to experiment and find the perfect hue to make your cabinets shine.
Anchors for a Flawless Finish: 5 Key Tips to Paint Kitchen Cabinets Like a Pro
- Prepare for Launch: Clean and degrease your cabinets thoroughly before painting to ensure a strong bond between the paint and the surface
- Chart Your Course: Choose a high-quality paint specifically designed for cabinets, and consider a semi-gloss or high-gloss finish for ease of cleaning
- Steer Clear of Streaks: Use a high-density foam roller to apply paint, and work in small sections to maintain even coverage and prevent streaks
- Navigate the Details: Remove hardware and mask edges and corners carefully to achieve crisp, sharp lines and a professional-looking finish
- Drop Anchor and Inspect: Apply thin coats of paint, allowing each coat to dry completely before inspecting and touching up any areas as needed to achieve a smooth, even finish
Key Takeaways for a Professional Finish
By following my simple, step-by-step guide, you can achieve a professional finish on your kitchen cabinets, even in the smallest of spaces, and transform your kitchen into a peaceful oasis
Choosing the right coastal-inspired paint color and avoiding common painting mistakes are crucial to getting that perfect, smooth finish that will make your kitchen cabinets look like new
Remember, a well-organized and beautifully painted kitchen is not just about aesthetics – it’s also about creating a functional, stress-free space that brings joy to your daily life, and with these tips, you can sail into a more organized and peaceful you
Simplifying the Process
A professional finish on your kitchen cabinets is not just about the paint, it’s about the journey – the preparation, the patience, and the passion for creating a space that reflects your soul, one perfectly painted drawer at a time.
Miles Corbin
Bringing It All Together
As we’ve sailed through the process of painting kitchen cabinets for a professional finish, remember to keep it simple and focus on the details. We’ve covered the essential steps, from preparation to the final coat, and explored how to choose the perfect coastal cabinet paint colors to give your kitchen a fresh, new look. By avoiding common mistakes and following these guidelines, you’ll be well on your way to achieving a beautiful, professional finish that will make your kitchen the heart of your home.
Now that you have the tools and the knowledge, it’s time to take the helm and transform your kitchen into a peaceful, organized space that reflects your personal style. Don’t be afraid to get creative and try new things – and most importantly, have fun with the process! With a little patience and practice, you’ll be enjoying your newly refreshed kitchen in no time, and the sense of accomplishment will be purely rewarding.
Frequently Asked Questions
What type of paint is best for kitchen cabinets to ensure a durable and long-lasting finish?
For a durable finish, I swear by high-quality, water-based acrylic paints or epoxy-based paints. They’re easy to clean up and resistant to scratches and fading, making them perfect for kitchen cabinets. Plus, they come in a wide range of finishes, from matte to glossy, to suit your coastal vibe.
How do I prepare my kitchen cabinets for painting to achieve a smooth, professional-looking result?
To prep your kitchen cabinets for a smooth finish, start by clearing everything out and giving them a good clean. Remove hardware and label each piece so it’s easy to put back. Then, lightly sand the surfaces to create a grip for the paint – it’s a crucial step I learned from my sailboat days.
What are some common mistakes to avoid when painting kitchen cabinets to prevent uneven color, streaks, or other imperfections?
To avoid uneven color, streaks, or imperfections, I always remind my clients to steer clear of painting in direct sunlight, using low-quality brushes, and applying too much paint at once. These common mistakes can lead to a finish that’s more chaotic than coastal – let’s keep it smooth and sailboat-inspired!