I still remember the day I realized I didn’t have to live with a cluttered kitchen just because it’s small. I was rummaging through my tiny kitchen, trying to find a spot to store my favorite cookbook, when I stumbled upon an old wooden crate. It sparked an idea – what if I could create my own diy under-cabinet storage ideas that would keep my kitchen organized and beautiful? I began experimenting with different materials and designs, and soon discovered that with a little creativity, even the most mundane spaces can be transformed into functional and stylish storage solutions.
In this article, I’ll share my favorite no-fuss and practical tips for creating your own diy under-cabinet storage. You’ll learn how to repurpose everyday items, like baskets and jars, to create custom storage solutions that fit your unique kitchen needs. From space-saving shelves to clever drawer organizers, I’ll guide you through the process of designing and building your own under-cabinet storage, without breaking the bank or requiring a lot of expertise. Whether you’re a seasoned DIY enthusiast or a beginner, my goal is to empower you with the knowledge and inspiration to unlock the full potential of your kitchen, no matter how small it may be.
Table of Contents
Guide Overview: What You'll Need
Total Time: 2 hours 30 minutes
Estimated Cost: $50 – $100
Difficulty Level: Intermediate
Tools Required
- Drill (with screwdriver and drill bits)
- Saw (circular or handheld for cutting lumber)
- Sandpaper (for smoothing out wood surfaces)
- Level (to ensure proper installation)
- Measuring Tape (for accurate measurements)
- Pencil and Marker (for marking cuts and drill points)
Supplies & Materials
- 2-in x 4-in lumber (for shelf frames)
- 3/4-in plywood (for shelf bottoms)
- Wood Screws (1 inch and 2 inches long)
- Wood Glue (for reinforcing joints)
- Sand (for weight and stability in bottom shelves)
- Decorative Trim (optional for finishing touches)
Step-by-Step Instructions
- 1. First, let’s start by assessing our space and figuring out what kind of storage we need. Take a closer look at the area under your kitchen cabinets and think about what you want to store there. Are you looking to stash away cleaning supplies, kitchen utensils, or maybe some extra pantry items? Make a mental note of the types of items you want to store and their sizes to help you determine the best storage solution.
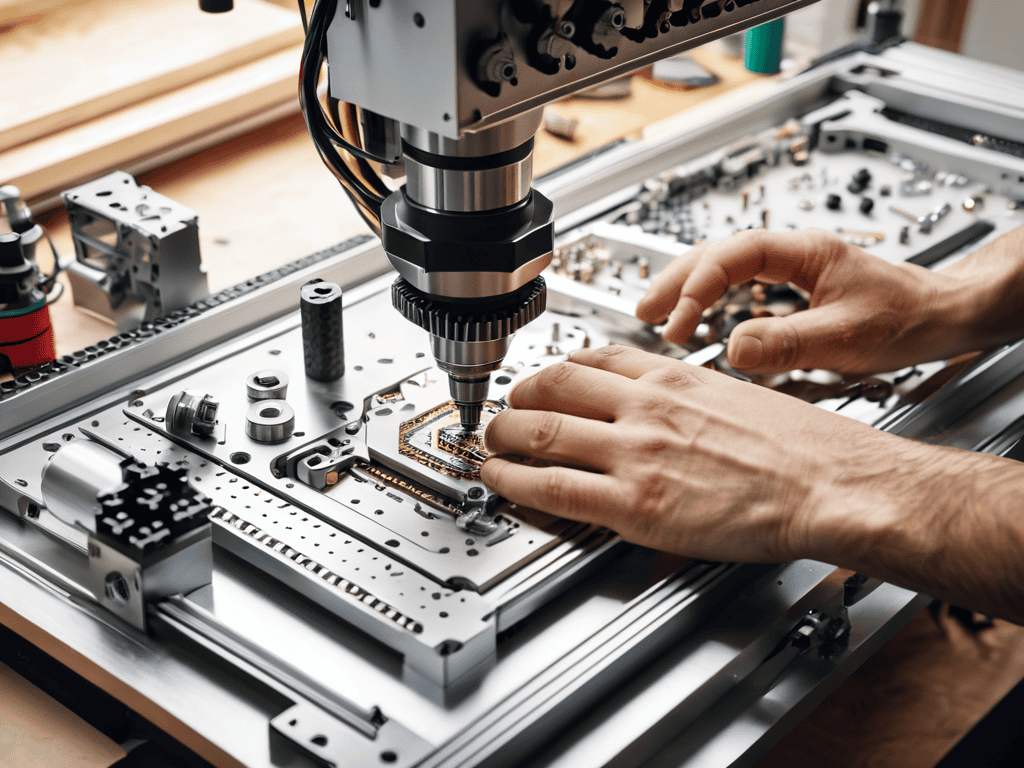
- 2. Next, we need to gather our materials. For this DIY project, you’ll need some basic tools like a drill, a saw, and a screwdriver. You’ll also need some wooden planks or a pre-made wooden crate, depending on the design you choose. Don’t forget to pick up some screws, nails, or hinges, depending on your design. I like to think of this step as a fun treasure hunt, where I get to scour the local hardware store for the perfect materials.
- 3. Now it’s time to measure twice and cut once. Take your measurements of the under-cabinet space and transfer them to your wooden planks or crate. Use a pencil to mark the cut lines, and then carefully cut the wood to size. If you’re using a pre-made crate, you can skip this step, but make sure it fits comfortably in the space.
- 4. With our wood cut to size, it’s time to assemble our storage unit. Use your drill and screws to attach the wooden planks together, or attach the crate to the wall using nails or hinges. Make sure it’s sturdy and can hold the weight of the items you plan to store. I like to think of this step as the magic happens moment, where our DIY project starts to take shape.
- 5. Next, we need to add some finishing touches. Sand down any rough edges, and apply a coat of paint or varnish to protect the wood and give it a nice finish. You can also add some decorative trim or molding to give it a more polished look. This is the fun part, where we get to unleash our creativity and make our storage unit truly unique.
- 6. Now it’s time to install our storage unit. Attach it to the wall or the underside of the cabinet using screws or nails. Make sure it’s level and secure, and then fill it with the items you want to store. Take a step back and admire your handiwork – you’ve just created a functional and beautiful storage solution for your tiny kitchen.
- 7. Finally, let’s make it functional and beautiful. Add some baskets, bins, or containers to store your items, and consider adding a small lip or edge to prevent things from falling off. You can also add some decorative labels or signs to give it a personal touch. This is the final touch of magic, where our DIY project becomes a true masterpiece.
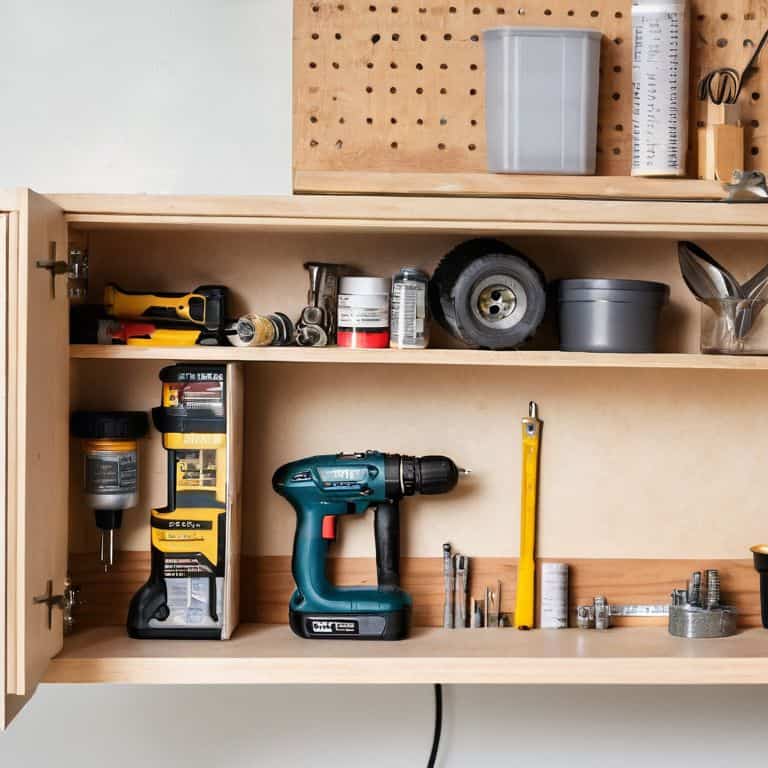
Diy Under Cabinet Storage Ideas
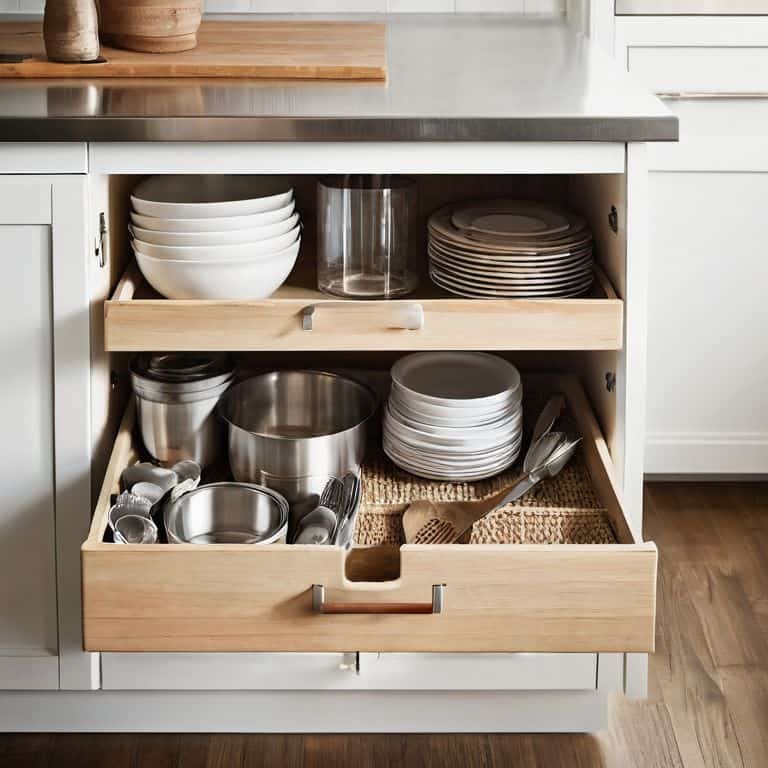
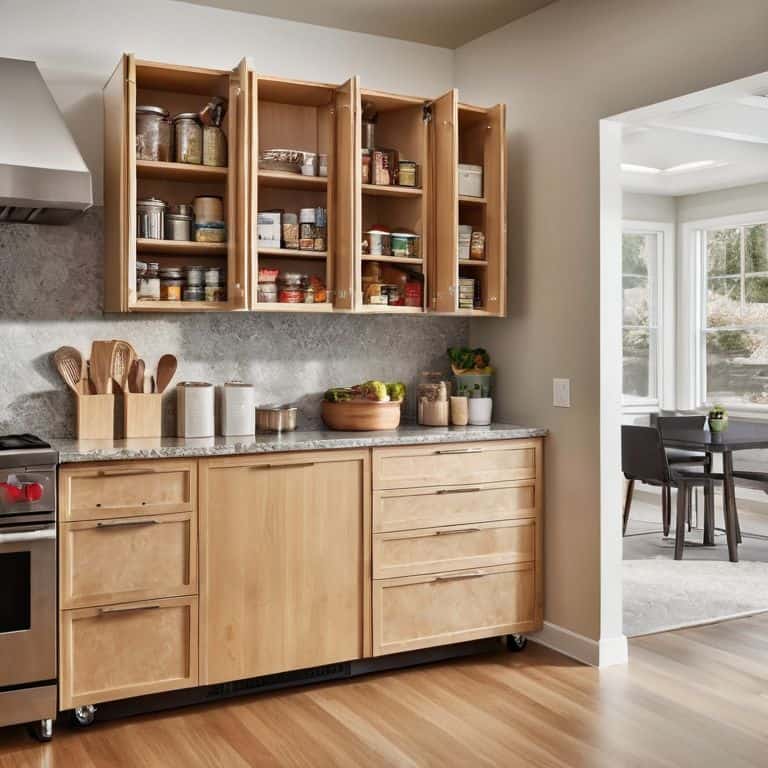
When it comes to maximizing your kitchen’s potential, every inch counts. That’s why I love experimenting with custom cabinet organizers to make the most of my under-cabinet space. By adding a few cleverly designed shelves or drawers, you can keep your countertops clear and your essentials within easy reach. Plus, it’s a great way to add some personality to your kitchen with decorative baskets or bins.
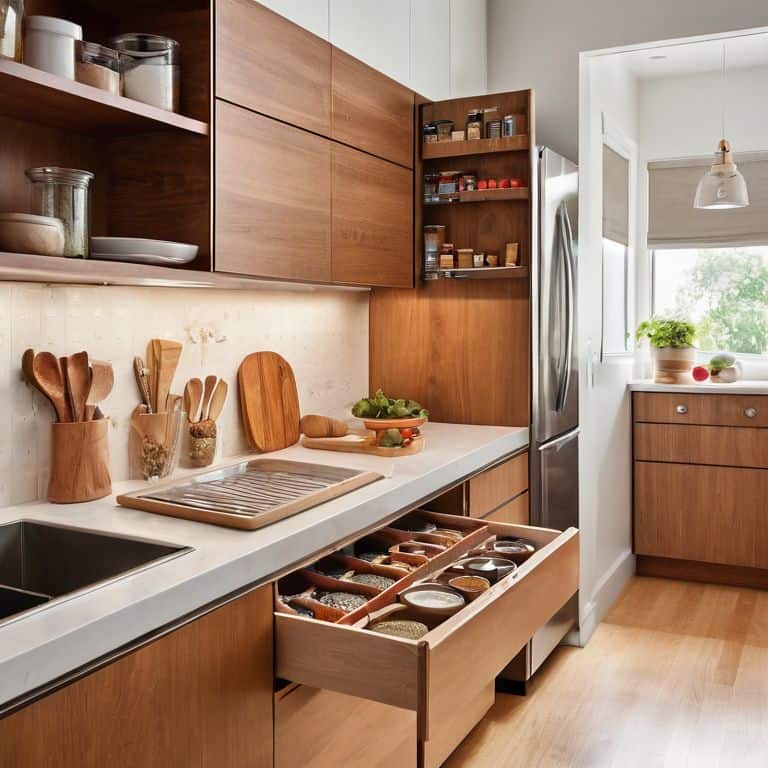
One of my favorite hacks for small kitchens is utilizing the often-wasted space under the sink. With some creative under sink storage solutions, you can stash cleaning supplies, trash bags, or even a tiny trash can. It’s all about thinking vertically and making the most of those narrow spaces. I’ve even repurposed an old kitchen cart with drawers to provide extra storage and counter space – it’s been a game-changer for food prep and cooking.
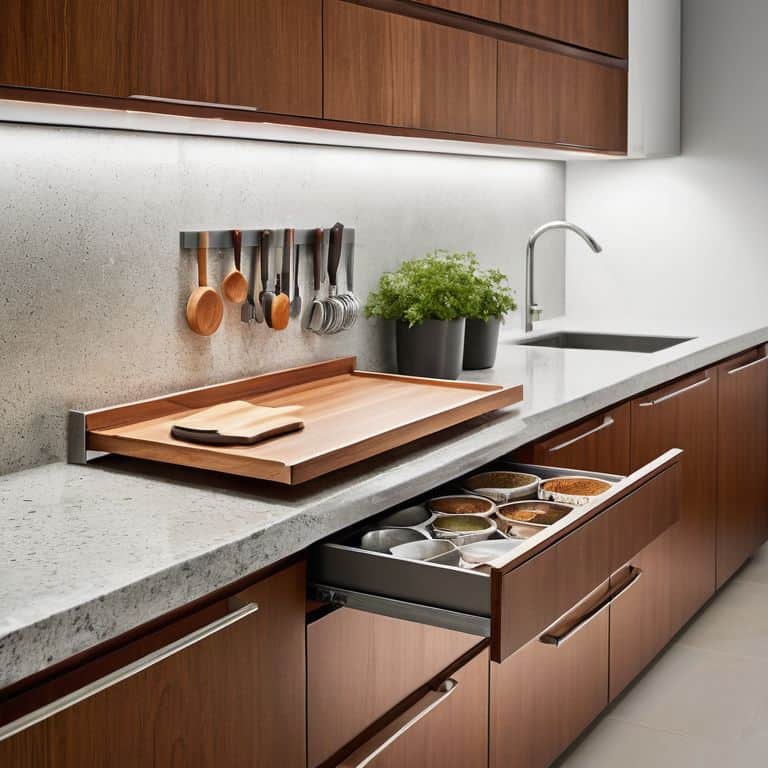
For a more polished look, consider investing in an adjustable shelf system that can be customized to fit your specific cabinet dimensions. This will allow you to create a hidden spice rack or store infrequently used items out of sight. And don’t forget about those tricky corner cabinet spaces – with a little creativity, you can turn them into functional storage areas that keep your kitchen running smoothly.
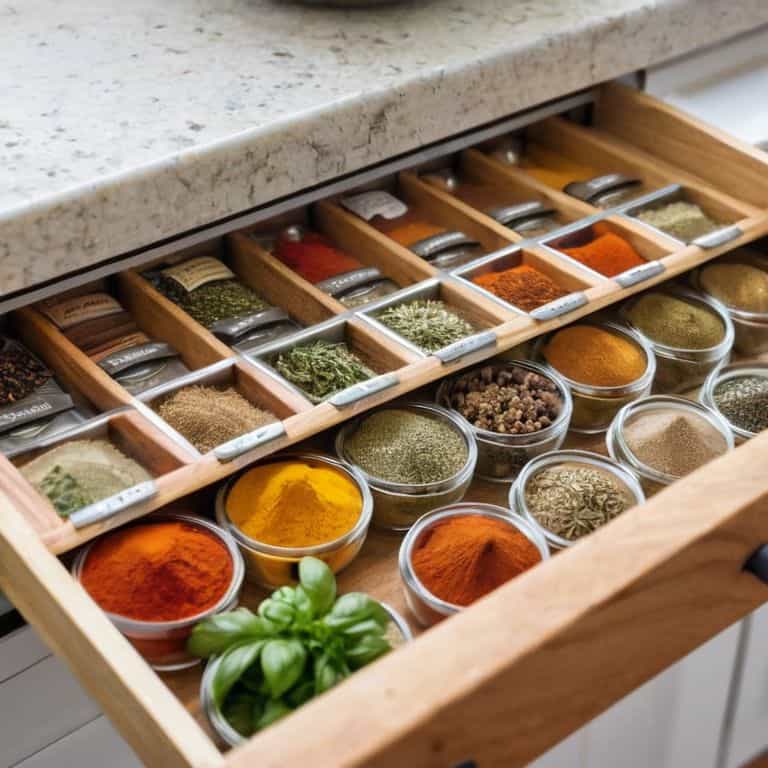
Hidden Spice Racks and Under Sink Storage
I love sneaking extra storage into tight spaces, and under the sink is one of my favorites. By attaching a slim shelf or a magnetic strip, you can stash cleaning supplies, spices, or even a tiny trash can. It’s amazing how much more organized your kitchen can feel with these hidden helpers. For a spice rack, try repurposing an old wooden crate or a metal mesh panel – just add some small jars or containers and you’re good to go!
Unlocking Custom Cabinet Organizers
Now that we’ve explored some amazing DIY under-cabinet storage ideas, let’s dive into the world of custom cabinet organizers. I’m obsessed with creating bespoke storage solutions that fit my unique kitchen needs. With a few simple materials like plywood, brackets, and a trusty drill, I can create custom shelves, drawers, and dividers that maximize my under-cabinet space. It’s all about measuring, cutting, and assembling the perfect pieces to fit my kitchen’s quirks.
By building my own custom cabinet organizers, I can ensure that every inch of my under-cabinet space is used efficiently. Plus, it’s a great way to add a personal touch to my kitchen. Whether it’s a slide-out spice rack or a hidden trash can, the possibilities are endless. With a little creativity and some basic DIY skills, I can unlock the full potential of my under-cabinet storage and create a kitchen that’s both beautiful and functional.
5 Genius Hacks to Supercharge Your DIY Under-Cabinet Storage
- Measure Twice, Build Once: Before you start building, take precise measurements of your under-cabinet space to ensure your DIY storage solution fits perfectly
- Choose the Right Materials: Select materials that are durable, easy to clean, and fit your kitchen’s style, such as waterproof glue, sturdy wood, or sleek metal
- Think Vertically: Maximize your under-cabinet storage by using stackable containers, baskets, or shelves to make the most of the often-wasted vertical space
- Keep it Adjustable: Incorporate adjustable features, like sliding drawers or customizable dividers, to ensure your DIY storage solution grows with your changing kitchen needs
- Add a Touch of Style: Don’t forget to add some personality to your under-cabinet storage – incorporate decorative trim, colorful paint, or stylish hardware to make your DIY project a beautiful addition to your kitchen
3 Key Takeaways for Tiny Kitchen DIYers
By embracing the often-wasted space under your kitchen cabinets, you can create functional and beautiful storage solutions that make the most of your tiny kitchen’s potential
DIY under-cabinet storage projects can be achieved with minimal budget and tools, making them perfect for renters and small-space dwellers who want to add a personal touch without committing to major renovations
With a little creativity and some basic DIY skills, you can transform your under-cabinet areas into hidden spice racks, under-sink storage, and custom cabinet organizers that will make your kitchen feel more spacious and efficient
Embracing the Power of DIY
To me, DIY under-cabinet storage is more than just a solution for tiny kitchens – it’s a declaration of independence from cramped, cluttered spaces and a celebration of the beauty in functional, self-made design.
Maya Torres
Wrapping Up Your DIY Under-Cabinet Storage Journey
As we’ve explored the world of DIY under-cabinet storage ideas, it’s clear that with a little creativity and some basic tools, you can unlock the full potential of your tiny kitchen. From custom cabinet organizers to hidden spice racks and under sink storage, we’ve covered a range of projects to help you maximize your space. Remember, the key to successful DIY projects is to start small, be patient, and have fun with the process. Don’t be afraid to experiment and come up with your own unique solutions to the challenges of small-space living.
So, as you put down your drill and step back to admire your handiwork, remember that DIY is all about empowerment. It’s about taking control of your space and making it truly your own, even when that space is tiny. By embracing the art of creative problem-solving, you’ll not only create a more functional and beautiful kitchen, but you’ll also develop a sense of pride and confidence that will serve you well in all your future DIY adventures. Happy building!
Frequently Asked Questions
What are some space-saving materials I can use to build my DIY under-cabinet storage?
For space-saving materials, I swear by reclaimed wood, bamboo, or compact plastic bins. They’re perfect for tiny kitchens and can be easily upcycled or repurposed to fit your under-cabinet space. Plus, they’re budget-friendly and add a touch of personality to your DIY project!
How do I determine the best size and configuration for my under-cabinet storage to maximize space?
To determine the best size and configuration for your under-cabinet storage, measure the space carefully and consider what you need to store. Think about the items you use most often and how you can group them together. I like to use cardboard boxes to mock up different layouts before committing to a design – it’s a game-changer for maximizing space!
Can I use prefab or recycled materials to make my DIY under-cabinet storage project more budget-friendly and eco-friendly?
Absolutely, I’m all about repurposing and upcycling. Consider using reclaimed wood, old pallets, or thrift store finds to create your under-cabinet storage. You can also repurpose plastic containers or jars for a more eco-friendly approach. Get creative and have fun with it – it’s a great way to add character to your kitchen while being kind to the planet!