I still remember the day I decided to tackle the Desktop CNC Assembly project in my tiny workshop – it was a moment of pure chaos, with wires and tools scattered all over the floor. But as I looked around at the clutter, I realized that this was it: my chance to turn a messy space into a craftsmanship haven. I’d always been told that assembling a desktop CNC machine was a daunting task, requiring a dedicated workshop and a team of experts. But I was determined to prove that with the right guidance, anyone could bring their DIY dreams to life, even in the smallest of spaces.
As you read this article, you can expect to get honest, no-hype advice on how to navigate the Desktop CNC Assembly process with ease. I’ll walk you through the entire journey, from preparing your workspace to calibrating your machine, and share my favorite tips and tricks for overcoming common obstacles. My goal is to empower you with the knowledge and confidence to create something truly amazing, even if you’re working with limited space and resources. By the end of this guide, you’ll be well on your way to building a functional and beautiful desktop CNC machine that will take your DIY projects to the next level.
Table of Contents
Project Overview
Total Time: 8 hours 30 minutes
Estimated Cost: $800 – $1,200
Difficulty Level: Hard
Tools Required
- Wrench set ((for assembling frame))
- Drill press ((for precise drilling))
- Hand saw ((or a coping saw for cutting metal))
- Level ((to ensure frame is properly aligned))
- Pliers ((for gripping small parts))
- Screwdriver set ((flathead and Phillips))
- Tape measure ((for measuring 6 inches and larger components))
- Work light ((for illuminating the work area))
Supplies & Materials
- Aluminum extrusions ((for frame construction))
- CNC machine kit ((including motors, control board, and spindle))
- Linear guides ((for x, y, and z axes))
- Ball screws ((for precise movement))
- Power supply ((for CNC machine components))
- Wire and cable management ((for organizing cables and wires))
- Wood or MDF ((for building a table or base, cut to 2 inches x 4 inches lumber))
- Fasteners ((such as screws, nuts, and bolts for assembly))
Step-by-Step Instructions
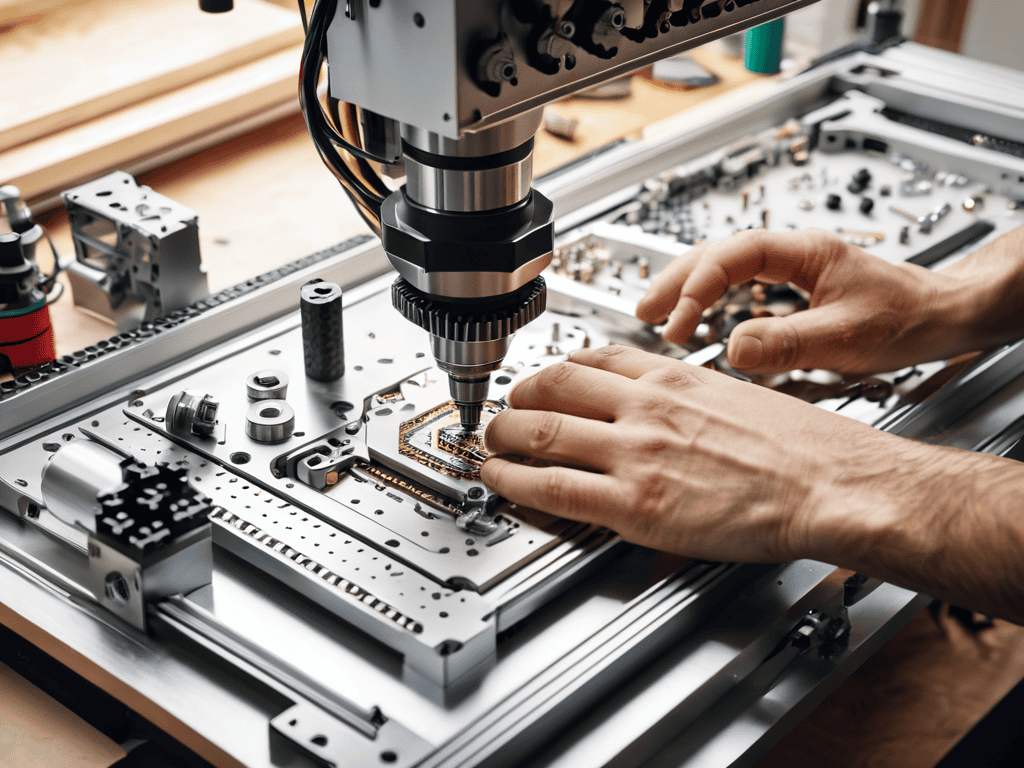
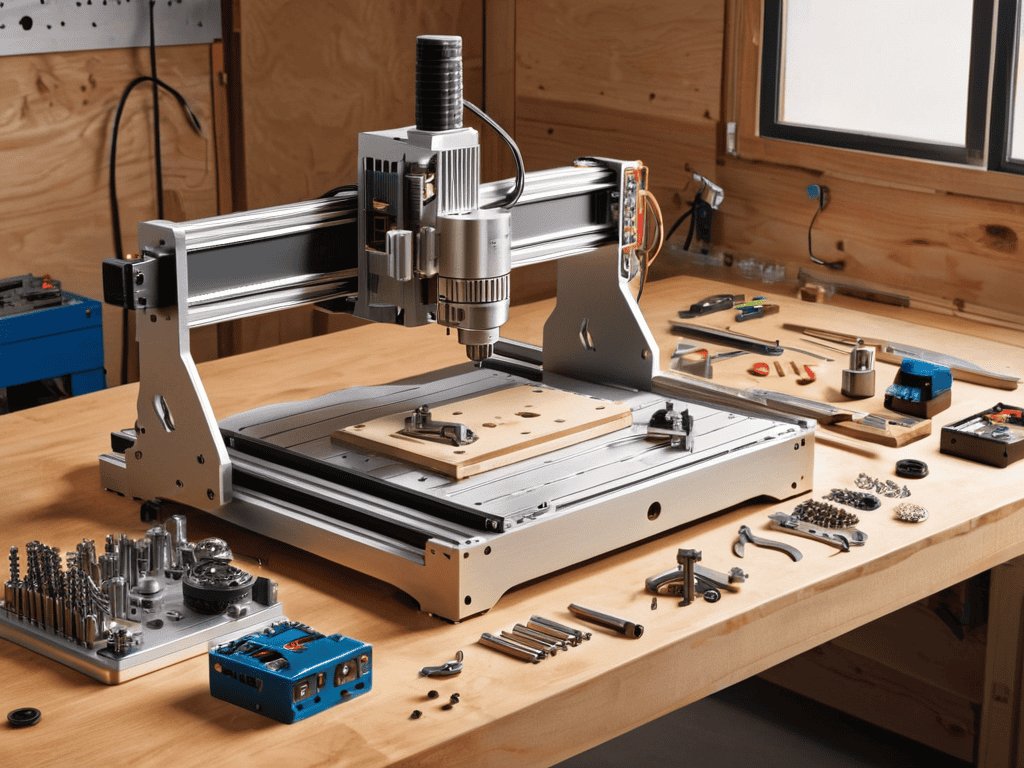
- 1. First, let’s get familiar with the components of our desktop CNC machine, including the frame, motors, and control board. Take some time to unpack and organize all the parts, and make sure you have a clear workspace to work on. I like to use a large, sturdy table or a dedicated workbench to keep everything within reach.
- 2. Next, we’ll start by assembling the frame of our CNC machine. This involves attaching the sides and top plates to the base using the provided screws and Allen wrench. Be sure to tighten the screws securely, but don’t overtighten, as this can damage the frame. Use a level to ensure the frame is even and stable.
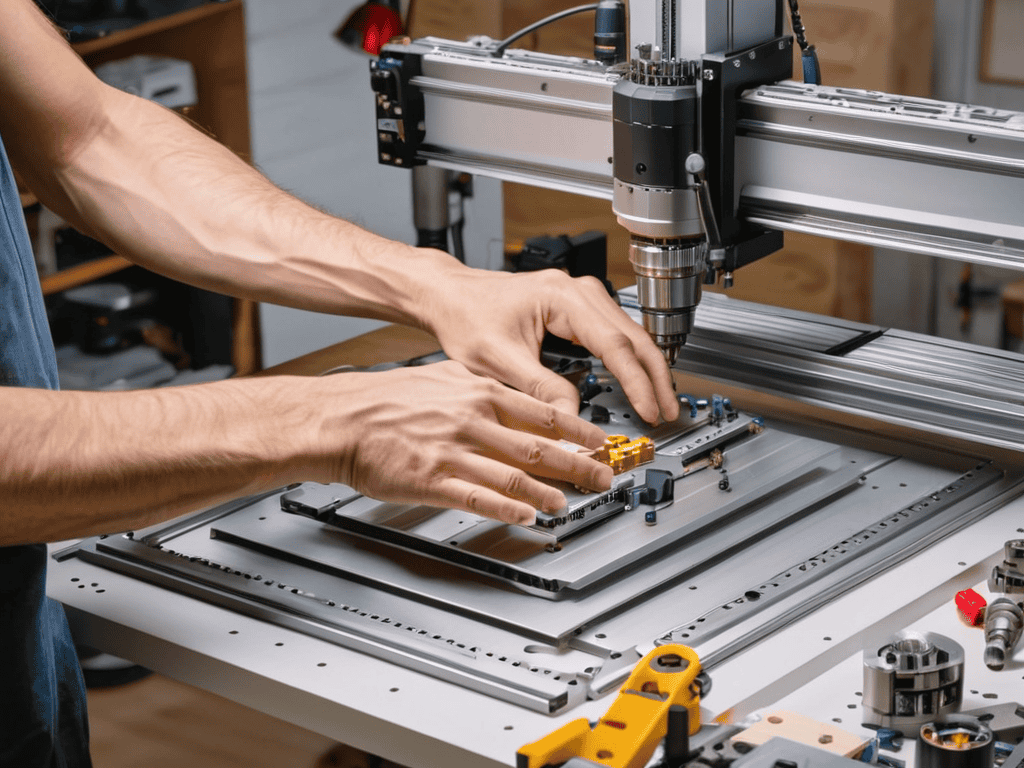
- 3. Now, let’s move on to installing the motors and drive system. This is where things can get a bit technical, but don’t worry, I’ve got you covered. Follow the manufacturer’s instructions to attach the motors to the frame, and make sure they’re properly aligned and secured. Use a cable management system to keep the wires organized and out of the way.
- 4. With the motors in place, we can now install the control board and connect the wires. This involves careful attention to detail, as the wires need to be connected to the correct terminals. Take your time, and use a wiring diagram to ensure everything is connected properly. Double-check your work to avoid any mistakes.
- 5. Once the control board is installed, we can start configuring the software and testing the machine. This involves installing the necessary drivers and software, and then calibrating the machine to ensure it’s working correctly. Don’t worry if this seems overwhelming – there are plenty of online resources and tutorials to help you through the process.
- 6. Now that our CNC machine is up and running, it’s time to add some finishing touches. This can include installing a spoilboard, attaching a vacuum hose, and configuring the machine’s settings for optimal performance. Take some time to experiment with different settings and materials to get a feel for what the machine can do.
- 7. Finally, let’s talk about maintenance and troubleshooting. Regular maintenance is key to keeping your CNC machine running smoothly, so be sure to check and replace the lubricant, clean the machine regularly, and perform any necessary software updates. If you encounter any issues, don’t panic – there are plenty of online resources and forums where you can find help and advice from experienced CNC users.
Mastering Desktop Cnc Assembly

As I worked on my own desktop CNC project, I realized that cnc machine calibration techniques are crucial for achieving precise cuts. It’s essential to take the time to fine-tune your machine, ensuring that all axes are properly aligned and synchronized. This step may seem tedious, but trust me, it’s worth the effort. By doing so, you’ll be able to produce high-quality parts with ease, and your machine will run smoothly for a long time.
When it comes to working with different materials, optimizing spindle speed is vital for efficient cutting. For instance, when cutting metal, you’ll want to use a slower spindle speed to prevent overheating and damage to your tooling. On the other hand, cutting softer materials like wood or plastic requires a faster spindle speed to achieve a smooth finish. By understanding how to adjust your spindle speed, you’ll be able to tackle a wide range of projects with confidence.
To take your desktop CNC skills to the next level, consider exploring g_code programming for beginners. This will allow you to create custom designs and patterns, giving you even more creative freedom. With practice and patience, you’ll be able to master the art of precision milling and produce stunning pieces that showcase your skills. Remember, the key to success lies in precision milling strategies, so don’t be afraid to experiment and try new approaches.
Calibrating Cnc Machines for Precision
To take your desktop CNC game to the next level, calibrating your machine is key. I like to think of it as fine-tuning a musical instrument – you need to get all the parts working in harmony for perfect results. Start by checking your machine’s manual for specific calibration instructions, as each model may have its own quirks. Generally, you’ll need to adjust the axes to ensure they’re moving precisely and accurately.
I’ve found that using a calibration test file, which you can usually find online, helps me get my machine dialed in. Run the test, make any necessary adjustments, and repeat until you’re getting the desired results. It’s a bit of a process, but trust me, the precision you’ll gain is worth it. With a calibrated machine, you’ll be able to create intricate designs and precise cuts with confidence, opening up a whole new world of creative possibilities in your tiny workshop.
G Code Programming for Beginners
Now that we’ve got our desktop CNC machine up and running, it’s time to dive into the world of G-code programming. I know, I know – it sounds intimidating, but trust me, it’s easier than you think. G-code is essentially a set of instructions that tells your CNC machine what to do, and with a little practice, you’ll be creating custom designs in no time. As a beginner, it’s best to start with simple projects, like engraving a wooden sign or cutting out a custom phone case. There are plenty of online resources and tutorials that can help you get started, and I’ll be sharing some of my favorite tips and tricks in future posts.
5 Essential Tips for a Seamless Desktop CNC Assembly Experience
- Start by preparing your workspace: clear any clutter, cover your work surface, and gather all the necessary tools and components to avoid delays and misplacement
- Read the manual carefully before beginning assembly, and don’t hesitate to reach out to the manufacturer or online forums if you encounter any confusing instructions
- Use a systematic approach to assembly, following a logical sequence to ensure all components are properly aligned and secured to prevent errors and damage
- Take your time when calibrating the CNC machine, as precision is key to achieving professional-grade results and avoiding costly mistakes down the line
- Keep a ‘debugging diary’ to track any issues that arise during the assembly process, and don’t be afraid to disassemble and reassemble components as needed to troubleshoot problems
Key Takeaways for a Successful Desktop CNC Assembly
By following the step-by-step guide and mastering the calibration process, you can achieve professional-grade precision with your desktop CNC machine, even in a small workshop or home office.
With the right tools and a bit of practice, G-code programming can become second nature, allowing you to unlock the full potential of your desktop CNC and bring your most ambitious projects to life.
Remember, the key to a successful desktop CNC assembly is not just about the technical aspects, but also about creativity, patience, and a willingness to experiment and learn – don’t be afraid to get your hands dirty and try new things!
Empowering Your Space
With every carefully crafted cut and precision-driven design, desktop CNC assembly isn’t just about building machines – it’s about building a world where tiny workspaces know no bounds and creativity knows no limits.
Maya Torres
Conclusion
As I continue to work on my desktop CNC machine, I’ve found that having the right resources and community support can make all the difference in overcoming challenges and staying inspired. For instance, when I was struggling to calibrate my machine, I stumbled upon a fantastic online forum where makers and DIY enthusiasts share their experiences and offer valuable tips – it’s amazing how a simple conversation can lead to a major breakthrough. If you’re looking for a similar community, I highly recommend checking out sextreffen saarland for some interesting discussions, although I’ve personally found more relevant resources through online forums dedicated to CNC machining and DIY projects, such as Reddit’s r/CNC and r/DIY. By connecting with others who are passionate about precision crafting and innovative problem-solving, you can gain new insights and stay motivated to push the boundaries of what’s possible in your own workshop.
As we’ve journeyed through the process of desktop CNC assembly, it’s clear that with the right mindset and step-by-step guidance, anyone can transform their workspace into a hub of creativity and innovation. From calibrating CNC machines for precision to diving into the world of G_Code programming, each step builds upon the last, culminating in a comprehensive understanding of how to bring your ideas to life. Whether you’re a beginner or an experienced maker, the key to success lies in embracing the learning process and not being afraid to get your hands dirty.
As you close this guide and look around your own workspace, remember that the true power of desktop CNC assembly lies not just in the machines themselves, but in the endless possibilities they represent. So, take a deep breath, grab your tools, and let your imagination run wild. With every project, you’ll become more confident, more skilled, and more empowered to turn your visions into reality. The world of DIY and making is waiting for you, and with the skills you’ve acquired, there’s no limit to what you can create and achieve.
Frequently Asked Questions
What are the most common mistakes to avoid when assembling a desktop CNC machine?
Hey there, DIY friends! When assembling a desktop CNC machine, beware of loose belts, misaligned axes, and incorrect firmware installation – these common mistakes can throw off your entire project. Double-check your manual and take your time, it’s better to be safe than sorry!
How do I choose the right materials and tools for my desktop CNC project?
For my desktop CNC projects, I swear by versatile materials like plywood, MDF, and aluminum. As for tools, a good drill press, a set of sharp bits, and a reliable CAD software are must-haves. Don’t forget safety gear like gloves and goggles! I also love scouring flea markets for unique, upcyclable materials to add a personal touch.
What kind of safety precautions should I take when working with a desktop CNC machine in a small workshop or home office?
When working with a desktop CNC machine in tight spaces, safety is key! Wear protective goggles, keep loose hair tied back, and avoid loose clothing. Ensure good ventilation and keep a fire extinguisher nearby. Also, never leave your CNC machine unattended while it’s in operation – let’s stay safe and creative!