I still remember the day I realized that my tiny kitchen wasn’t a curse, but a chance to get creative. I was struggling to find space for my cooking essentials, and that’s when I stumbled upon the idea of how to build a slim rolling pantry cart. It was a game-changer, and I’m excited to share my journey with you. I’ve heard people say that building a slim rolling pantry cart is a daunting task, but I’m here to tell you that it’s easier than you think. With a few simple tools and some clever planning, you can create a beautiful and functional cart that will make your kitchen feel more spacious.
In this article, I’ll walk you through the step-by-step process of building a slim rolling pantry cart that fits your needs and style. You’ll learn how to choose the right materials, design a cart that maximizes storage, and add those finishing touches that make it look like a professional piece. My goal is to empower you with the knowledge and confidence to take on this project, and I promise that by the end of this guide, you’ll be ready to get creative and start building. Whether you’re a seasoned DIY enthusiast or a beginner, I’ll provide you with practical tips and tricks to make the process enjoyable and rewarding. So, let’s get started and turn your tiny kitchen into a culinary haven!
Table of Contents
Guide Overview: What You'll Need
Total Time: 3 hours 15 minutes
Estimated Cost: $50 – $100
Difficulty Level: Intermediate
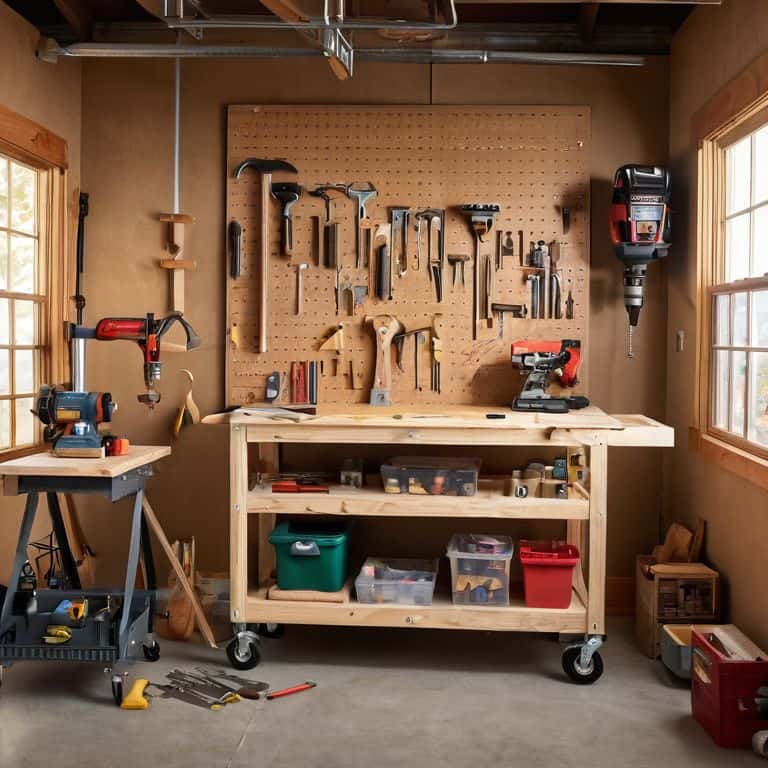
Tools Required
- Circular Saw (for cutting lumber)
- Drill Press (for precise drilling)
- Hand Drill (with screwdriver and drill bits)
- Tape Measure (for accurate measurements)
- Level (to ensure the cart is level)
- Wrench (for tightening bolts)
- Socket Set (for working with wheels and axles)
- Sandpaper (for smoothing out wood surfaces)
- Utility Knife (with extra blades)
Supplies & Materials
- 2-in x 4-in lumber (for the frame)
- 3/4-in plywood (for the shelves)
- 1-in x 2-in lumber (for the shelf supports)
- Caster Wheels (for smooth movement)
- 5/16-in bolts (for assembling the frame)
- 1 1/4-in wood screws (for attaching shelves)
- Wood Glue (for reinforcing joints)
- Sand (for weight and stability)
- Finishing Nails (for attaching trim and molding)
Step-by-Step Instructions
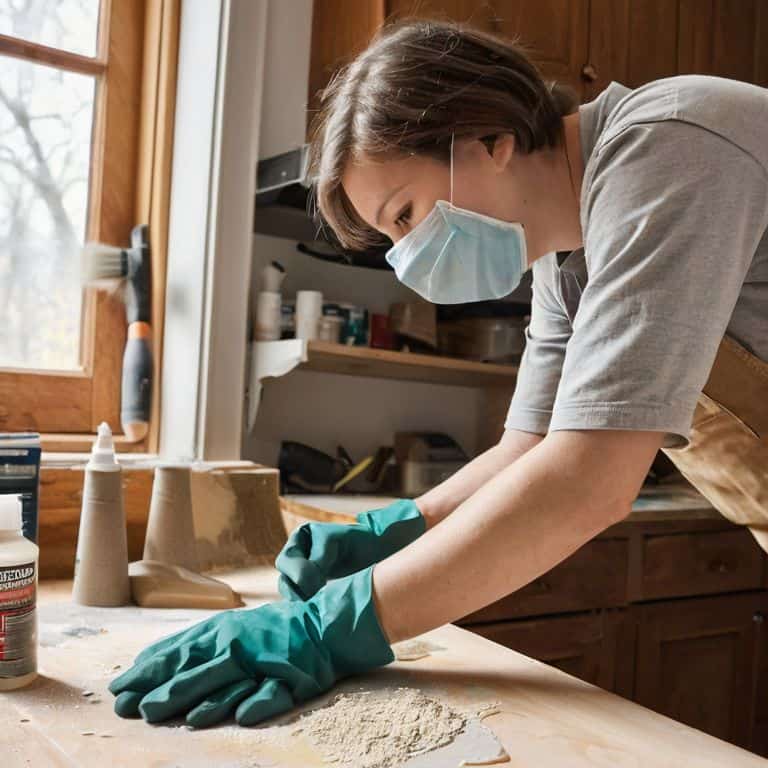
- 1. First, let’s start by gathering all the materials we need for this project. I like to make a shopping list beforehand to ensure I don’t forget anything. For this slim rolling pantry cart, we’ll need some wooden planks, caster wheels, a drill, screws, and a few other basics. I’ve found that having a well-organized workspace is key to a successful DIY project, so take some time to clear out a area and get your tools ready.
- 2. Next, we need to measure and cut our wooden planks to the right size. This is where things can get a bit tricky, but don’t worry, I’ve got you covered. To make sure our cart is stable and sturdy, we’ll need to cut four pieces for the frame and a few extra for the shelves. I recommend using a miter saw or a circular saw for this step, but if you don’t have one, you can always use a hand saw.
- 3. Now it’s time to assemble the frame of our cart. This is where the drill comes in handy – I just love how empowering it feels to use it! We’ll need to screw the pieces together, making sure they’re all aligned properly. Don’t worry if it gets a bit messy; we can always sand it down later to smooth out any rough edges.
- 4. With the frame in place, we can start adding the shelves. I like to use a combination of screws and wood glue to make sure everything is secure. We’ll need to measure and cut the shelves to the right size, taking into account the space we need for our pantry items. I’ve found that having adjustable shelves is a game-changer, so we’ll add some extra brackets to make it easy to customize.
- 5. Next up, we need to add the caster wheels to the bottom of our cart. This is what will make it mobile and easy to maneuver, even in tight spaces. I recommend using wheels with a lock mechanism, so we can keep the cart in place when we need to. Simply screw the wheels into the frame, making sure they’re evenly spaced and securely attached.
- 6. Now it’s time to add some finishing touches. We can sand down any rough edges, add a coat of paint or varnish, and install any extra features we want, like a handle or a drawer. I like to get creative with this step and add some personal touches, like a decorative trim or a fun color scheme.
- 7. Finally, let’s put our cart to the test! Fill it up with your pantry staples and see how it rolls. I love how this project can help solve the storage struggles of small kitchens, and I’m excited to hear how it works out for you. Remember to always measure twice and cut once, and don’t be afraid to get creative and make it your own.
Rolling Pantry Cart Diy
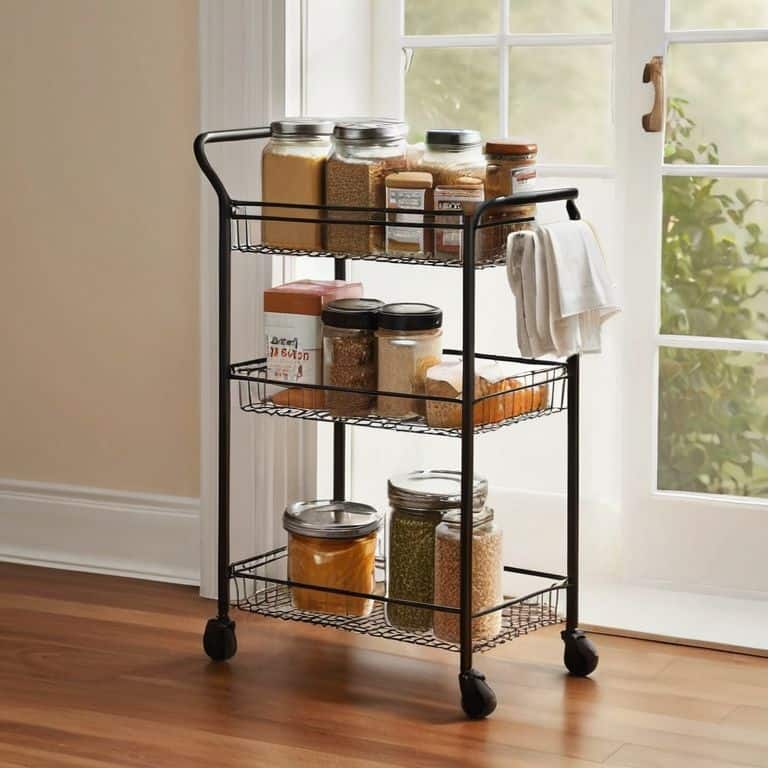
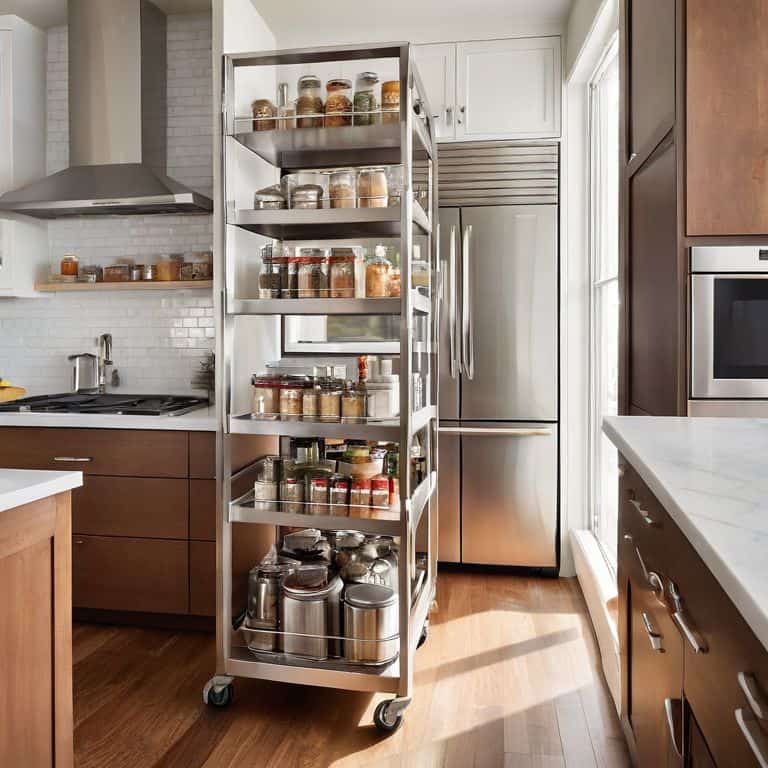
As I worked on my own narrow pantry storage solutions, I realized that a custom pantry cart design can make all the difference in a tiny kitchen. By incorporating sliding pantry shelves diy, you can maximize your storage space while keeping the overall footprint of the cart slim. This is especially important in small kitchens where every inch counts.
When it comes to space saving kitchen carts, it’s all about finding the right balance between form and function. I’ve experimented with various designs, from a kitchen cart with drawers to a simple shelf-based system. One of my favorite hacks is to use casters or wheels to create a building a pantry on wheels that can be easily moved around the kitchen.
To take your pantry cart to the next level, consider adding some decorative touches, such as a fresh coat of paint or some decorative hardware. This will not only make your cart more visually appealing but also add a personal touch to your kitchen. By following these tips and getting creative with your design, you can create a functional and stylish pantry cart that meets your unique needs and enhances your overall kitchen experience.
Building Slim Pantry on Wheels
Now that we’ve uncovered the potential of narrow storage solutions, let’s dive into the fun part – building our slim pantry on wheels. I want to show you how a few simple materials can become a game-changer for your tiny kitchen. With a drill, some wooden planks, and casters, we can create a custom storage unit that fits your unique space.
As we build, remember, the key to a successful slim pantry cart is to keep it lightweight and maneuverable. We’ll use thin yet sturdy materials to maximize storage without overwhelming the space. By adding wheels, we’ll make it easy to roll out when you need access and tuck away when you don’t, making the most of your kitchen’s limited real estate.
Narrow Storage Solutions Uncovered
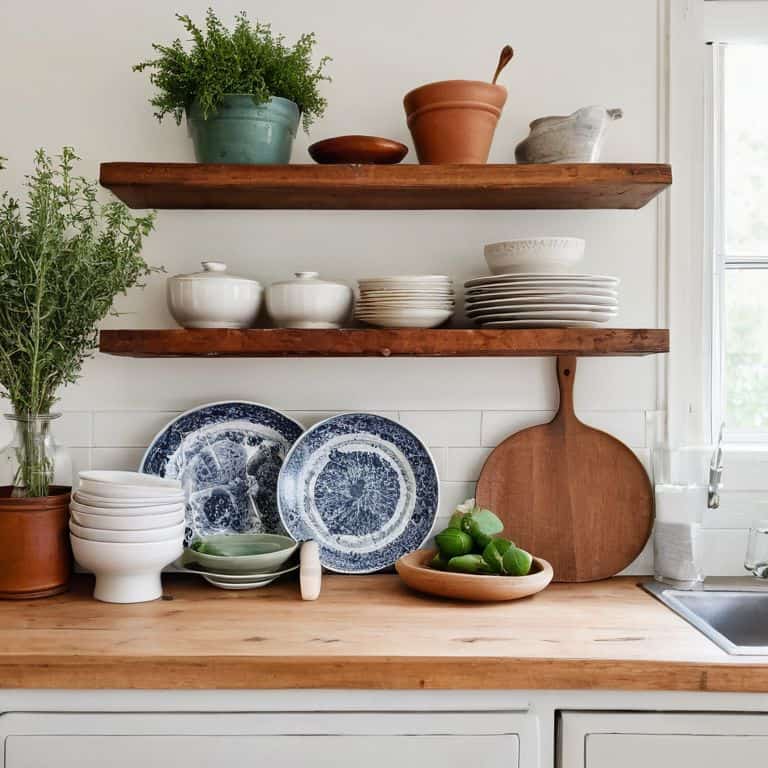
Now that we’ve got our slim rolling pantry cart up and running, let’s talk about the nitty-gritty of narrow storage solutions. I’ve found that maximizing vertical space is key in tiny kitchens. By using wall-mounted shelves, hooks, and even magnetic strips, we can keep our countertops clear and our essentials within easy reach. It’s all about creating a functional flow that works for you, not against you.
I love experimenting with different storage containers and baskets to find the perfect fit for my kitchen. From vintage mason jars to repurposed wooden crates, the possibilities are endless. By mixing and matching these elements, we can create a unique and functional storage system that not only solves our storage woes but also adds a touch of personality to our kitchen.
5 Essential Tips for a Slim Rolling Pantry Cart DIY Success
- Measure Your Space Like a Pro: Before you start building, take precise measurements of your kitchen to ensure your slim rolling pantry cart fits perfectly, leaving enough room to move around comfortably.
- Choose the Right Materials: Select durable, easy-to-clean materials for your cart, such as wood or metal, and consider adding a waterproof finish to protect it from spills and moisture.
- Optimize Your Storage: Think vertically and use stackable containers or baskets to maximize storage space within your cart, keeping frequently used items at easy-to-reach heights.
- Add Wheels for Ease: Incorporate high-quality wheels or casters to make your pantry cart mobile, allowing you to effortlessly move it around your kitchen as needed, and consider locking wheels for stability.
- Personalize and Adapt: Don’t be afraid to get creative and customize your slim rolling pantry cart to fit your specific needs, whether it’s adding a cutting board, hooks for utensils, or a small drawer for spices and oils.
Key Takeaways for a Slim Rolling Pantry Cart DIY
By building a slim rolling pantry cart, you can significantly increase your kitchen’s storage capacity without sacrificing floor space, making it perfect for tiny kitchens.
With a few simple tools and materials, such as a drill, wood planks, and casters, you can create a customized pantry cart that fits your specific needs and decor, all while staying on a budget.
Whether you’re a seasoned DIY enthusiast or a beginner, this project is accessible and rewarding, allowing you to add a touch of personal style to your kitchen while solving a common storage problem in small-space living.
Empowering Your Space
The true magic of a slim rolling pantry cart isn’t just about maximizing storage, but about unleashing your creativity and reclaiming your kitchen as a space where function meets beauty.
Maya Torres
Wrapping Up Your Slim Rolling Pantry Cart Project
As we finalize our DIY project, let’s take a moment to appreciate the journey we’ve been on. From understanding the importance of narrow storage solutions to actually building our slim pantry on wheels, we’ve covered a lot of ground. The main step-by-step instructions provided earlier should have given you a solid foundation to work from, and by now, you should have a beautiful, functional slim rolling pantry cart that’s perfect for your tiny kitchen. Remember, the goal was not just to build a piece of furniture but to create a smarter kitchen space that works for you, not against you.
So, as you stand back to admire your handiwork, remember that DIY is empowerment. It’s about taking control of your space and making it truly yours. Don’t be afraid to experiment, to try new things, and to always look for creative solutions to the challenges of small-space living. With your new slim rolling pantry cart in place, you’re not just gaining storage; you’re gaining a sense of pride and accomplishment that comes from creating something with your own hands. Happy building, and don’t forget to share your DIY adventures with me!
Frequently Asked Questions
What kind of materials are best for building a slim rolling pantry cart, and where can I find them?
For my slim rolling pantry cart, I swear by reclaimed wood, industrial pipes, and sturdy casters. You can find these gems at flea markets, Habitat for Humanity ReStores, or online marketplaces like Craigslist or Facebook Marketplace. Don’t be afraid to get creative and hunt for treasures – it’s all part of the DIY fun!
How do I determine the ideal size for my slim rolling pantry cart to fit my specific kitchen space?
To determine the ideal size for your slim rolling pantry cart, measure the narrowest part of your kitchen aisle and subtract a few inches for easy rolling. Consider the height of your countertops and the width of your pantry items too – you want it to fit snugly and function smoothly.
What are some creative ways to customize my slim rolling pantry cart, such as adding drawers or shelves, to maximize its storage potential?
Now that we’ve got our slim rolling pantry cart built, let’s talk customization! I love adding drawers for spices or oils, and shelves for canned goods or kitchen utensils. You can also add baskets, hooks, or even a pegboard to hang items like pots or colanders. The possibilities are endless, and I’m excited to see how you’ll make your cart truly yours!