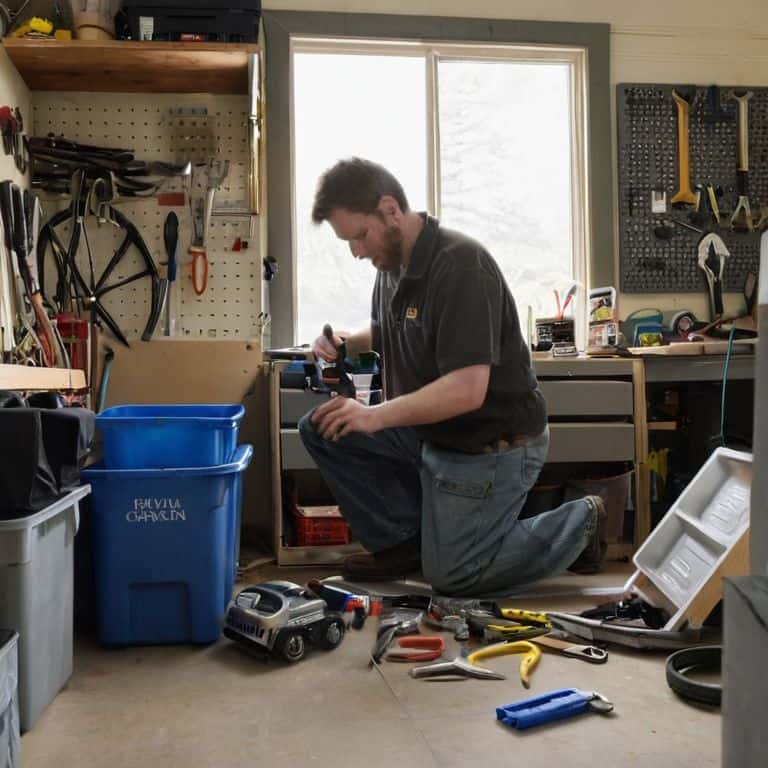
I still remember the days when I lived on a sailboat, where every inch counted. It was a challenge to maximize storage space, but it taught me that even the smallest areas can be functional and beautiful. That’s why I’m excited to share my expertise on how to create more storage space with you. Many people believe that creating more storage space requires a complete overhaul of their belongings or a massive renovation project. However, I’ve learned that it’s often the small, clever solutions that make the biggest impact.
In this article, I’ll show you how to think outside the box (or in this case, the room) and discover new ways to utilize your space. You’ll learn practical tips on how to create more storage space without breaking the bank or sacrificing style. From vertical storage solutions to clever furniture hacks, I’ll guide you through the process of transforming your cluttered areas into peaceful and functional spaces. By the end of this article, you’ll be equipped with the knowledge and inspiration to tackle your own storage challenges and create a more organized, serene living environment.
Table of Contents
- Guide Overview: What You'll Need
- Step-by-Step Instructions
- Charting Storage Serenity
- Anchoring Serenity: 5 Clever Ways to Chart a Course for a Clutter-Free Kitchen
- Key Takeaways for a Clutter-Free Kitchen
- Embracing the Art of Minimalist Storage
- Embracing the Freedom of Functional Spaces
- Frequently Asked Questions
Guide Overview: What You'll Need
Total Time: 4 hours 30 minutes
Estimated Cost: $50 – $100
Difficulty Level: Intermediate
Tools Required
- Tape Measure for accurate measurements
- Level to ensure shelves are straight
- Drill with screwdriver and drill bits
- Saw for cutting 2-in x 4-in lumber
- Sander for smoothing out wood surfaces
Supplies & Materials
- 2-in x 4-in lumber for shelving frames
- Plywood for shelving surfaces
- Wood Screws for assembling shelves
- Wall Anchors for securing shelves to walls
- Sandpaper for finishing touches
Step-by-Step Instructions
- 1. First, let’s start by assessing the space we’re working with. Take a good look at your kitchen and identify the areas that feel cluttered or disorganized. Is it the countertops, the cabinets, or maybe the pantry? Make a mental note of these trouble spots, as we’ll be tackling them one by one. I like to think of this process as mapping out a plan for a more efficient kitchen.
- 2. Next, we need to purge the unnecessary items. Go through your kitchen and get rid of anything you don’t use or need. This includes expired food, broken appliances, and duplicate items. Be ruthless – if you haven’t used it in the past year, it’s probably safe to get rid of it. As I always say, “a clear space = a clear mind.” Remember, the goal is to create a functional and peaceful space that you enjoy spending time in.
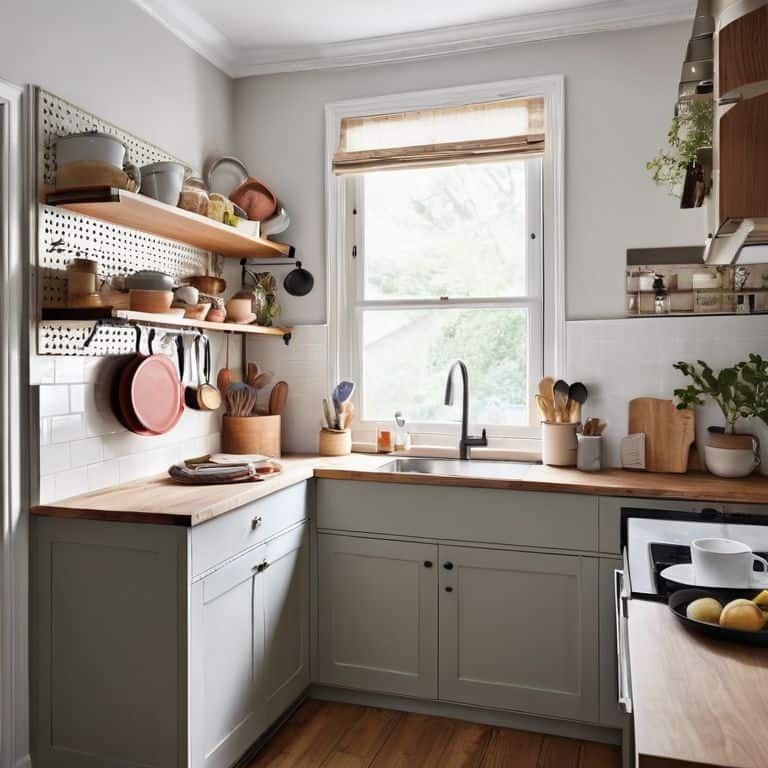
- 3. Now that we’ve decluttered, it’s time to think about vertical storage solutions. As someone who’s obsessed with vertical space, I can tell you that this is often the key to maximizing storage in small kitchens. Consider installing shelves, hooks, or a pegboard on a blank wall to hang items like pots, pans, and utensils. This will not only free up cabinet space but also keep your countertops clear.
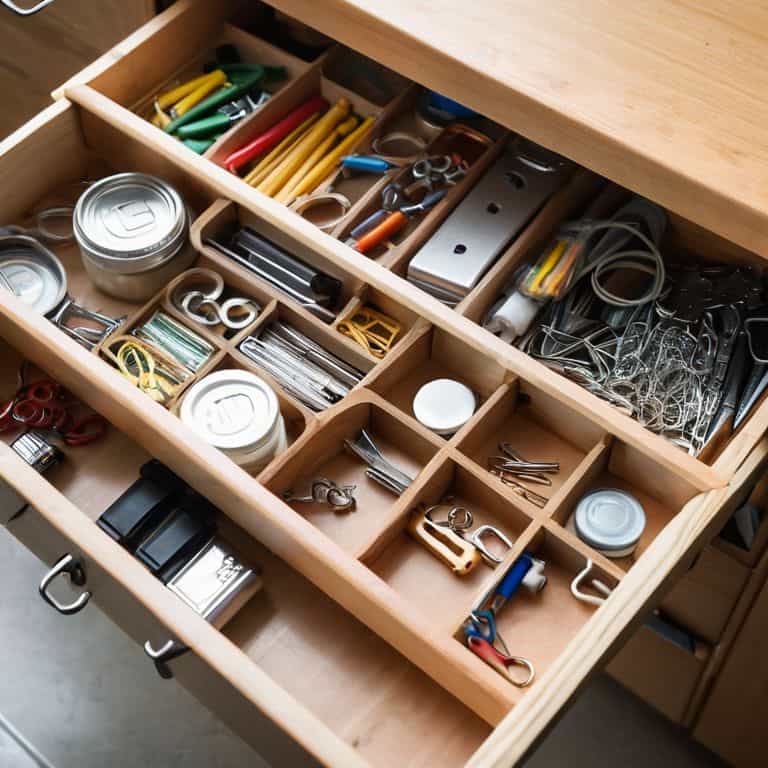
- 4. The next step is to optimize your cabinets. Take everything out and sort items into categories (e.g., baking supplies, cooking utensils, etc.). Then, use dividers, baskets, or bins to keep similar items together and make the most of your cabinet space. I like to use adjustable shelves to customize the storage to my needs. Don’t forget to utilize the back of the cabinet doors with over-the-door storage racks or hooks.
- 5. Moving on to the often-wasted space above your cabinets, let’s talk about how to make the most of it. You can use this area to store infrequently used items like special occasion dishes, cookbooks, or kitchen gadgets. Consider installing a crowns molding to create a ledge for displaying decorative items or storing small containers. Just be sure to measure your space carefully to ensure that any items you store here are easily accessible.
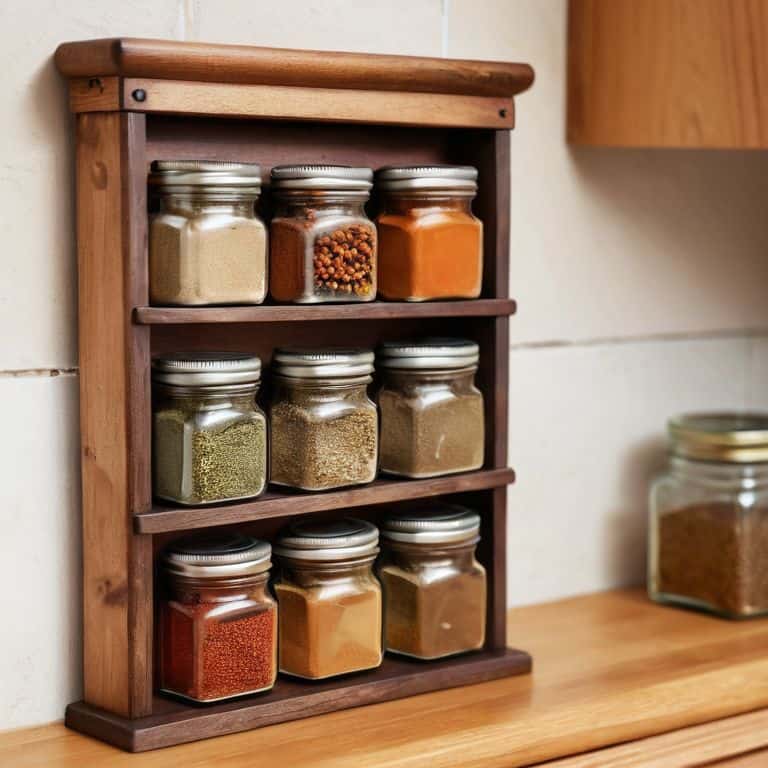
- 6. Another area that’s often overlooked is the space between the wall and the countertop. You can use this narrow gap to install a slide-out spice rack or a knife block. These types of storage solutions are perfect for small kitchens, as they keep essential items within easy reach without taking up valuable counter space. Plus, they’re a great way to add some visual interest to your kitchen.
- 7. Finally, let’s not forget about the power of magnets. If you have any metal surfaces in your kitchen, such as a refrigerator or a range hood, you can use magnets to store small items like spices, oils, or cleaning supplies. This is a great way to keep these items within easy reach while keeping your countertops and cabinets clutter-free. As someone who loves practicing origami, I appreciate the art of finding creative ways to use everyday objects, like magnets, to solve storage problems.
Charting Storage Serenity
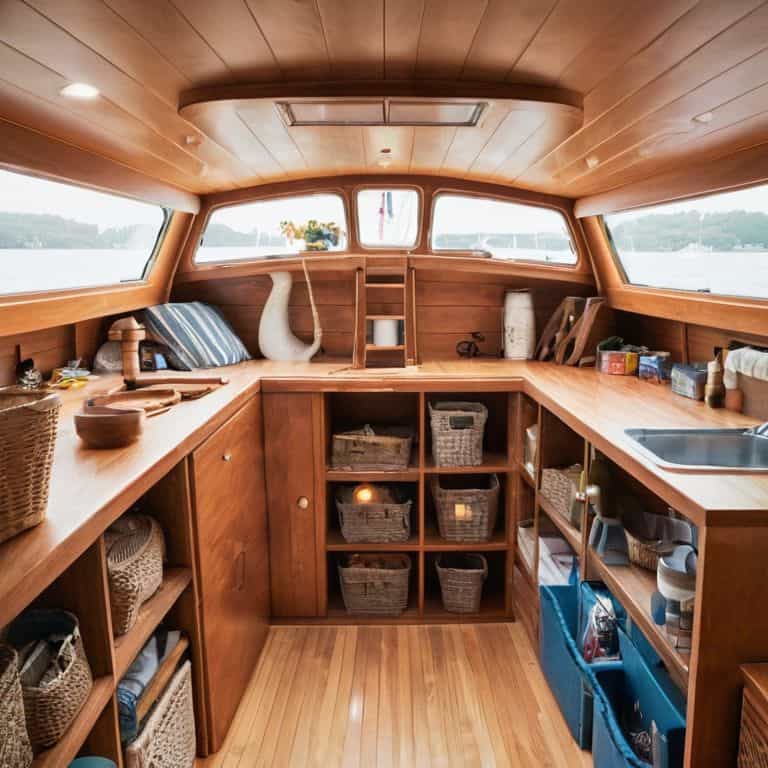
As I reflect on my sailboat days, I realize that maximizing cabinet storage was crucial to our compact lifestyle. One of my favorite hacks was using diy shelving units to make the most of our vertical space. By installing shelves that went all the way up to the ceiling, we were able to store items that we didn’t use frequently, keeping our living area clutter-free.
When it comes to optimizing corner spaces, I always recommend using vertical dividers to separate items and keep them organized. This simple trick can help you make the most of often-wasted corner space, and it’s surprisingly effective. Plus, it’s a great way to add some visual interest to your kitchen.
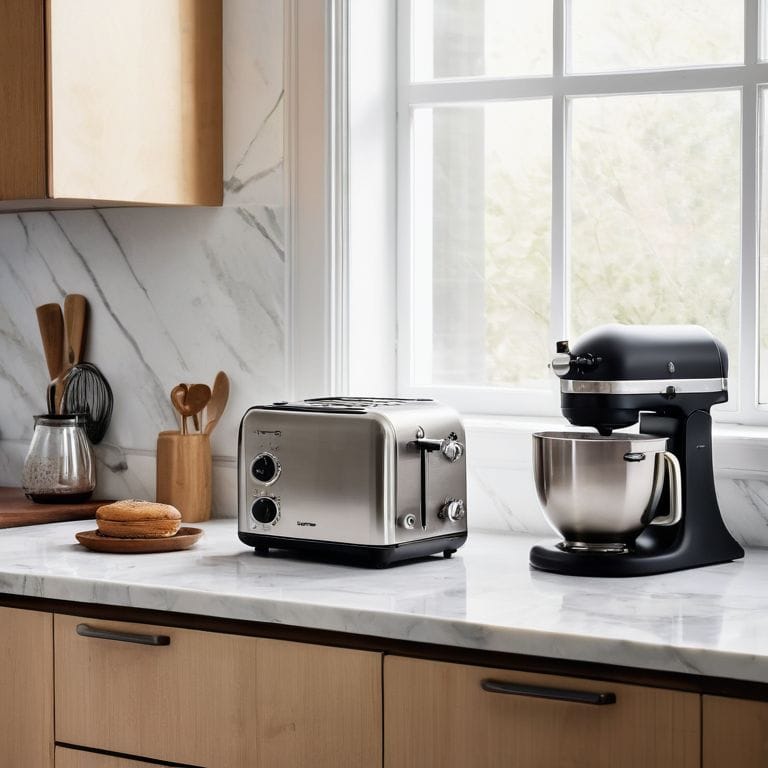
To take your storage game to the next level, consider incorporating space saving furniture ideas into your design. For example, you could use a cart with built-in storage or a foldable table to create more floor space. I also love exploring hidden storage solutions, like secret compartments or cleverly disguised storage containers, to add an extra layer of functionality to your kitchen.
Diy Shelving Units for Small Spaces
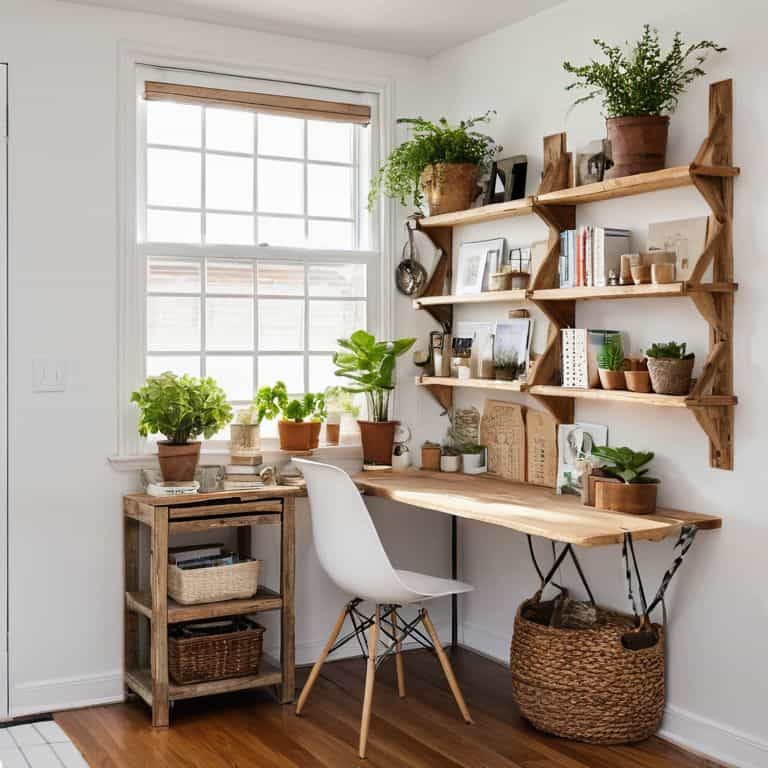
As I always say, vertical space is your best friend in small kitchens. One of my favorite hacks is building DIY shelving units that make the most of those often-wasted walls. I’ve found that using reclaimed wood or sleek metal brackets can add a touch of warmth and style to your kitchen while keeping your countertops clear. By installing shelves, you can keep frequently used items within easy reach, making cooking and meal prep a breeze.
I like to keep my DIY projects simple, so I opt for wall-mounted shelves or foldable units that can be easily stowed away when not in use. This not only saves space but also adds a layer of flexibility to your kitchen’s layout. With a little creativity, you can turn a cramped kitchen into a haven of efficiency and calm.
Maximizing Cabinet Storage Secrets
When it comes to cabinets, I’ve found that it’s all about layering your storage. By using stackable shelves, baskets, or even magnetic spice strips, you can double or triple your cabinet’s capacity. I like to think of it as creating a “storage ecosystem” within each cabinet – everything has its place, and everything is easy to find. For example, in my own kitchen, I use a pegboard on the back of a cabinet door to hang frequently used utensils, keeping them out of the way but still within reach.
By applying this principle to each of your cabinets, you can unlock a significant amount of hidden storage space. It’s amazing how much more serene your kitchen can feel when everything has its own designated spot. I encourage you to experiment with different storage configurations to find what works best for you – and don’t be afraid to get creative!
Anchoring Serenity: 5 Clever Ways to Chart a Course for a Clutter-Free Kitchen
- Use Vertical Space: Install hooks, magnets, or a pegboard on the backs of doors or walls to hang items like pots, pans, utensils, and spices, keeping them off the countertops and out of the way
- Optimize Your Cabinets: Implement a ‘one-in, one-out’ rule for your kitchen gadgets and dishes, and use dividers or baskets to separate and organize items within your cabinets
- Select Multifunctional Furniture: Choose kitchen islands, carts, or tables with built-in storage, such as drawers, shelves, or cabinets, to maximize your floor space while keeping essentials within easy reach
- Utilize the ‘Dead’ Spaces: Make the most of the often-wasted spaces between your wall and appliances, or the gap between your countertop and wall, by using slim storage units, baskets, or shelves specifically designed for these areas
- Embrace the Power of Magnets: Use magnetic strips or boards on the side of your fridge, cabinets, or even a metal door to store small metal items like spices, oils, or cleaning supplies, keeping them organized and easily accessible
Key Takeaways for a Clutter-Free Kitchen
I’ve found that by implementing a ‘one-in, one-out’ rule and utilizing vertical space with hooks and magnets, you can maintain a sense of calm and order in even the smallest of kitchens
DIY shelving units and clever cabinet storage solutions can be both budget-friendly and aesthetically pleasing, allowing you to create a functional and peaceful space
By applying the principles of minimalist design and embracing the art of simplicity, you can transform your kitchen into a serene and efficient hub of your home, perfect for cooking, socializing, and making memories
Embracing the Art of Minimalist Storage
The key to unlocking more storage space isn’t about finding more room, it’s about harnessing the power of the space you already have – every hook, every ledge, and every corner is an opportunity to create a sense of serenity and order.
Miles Corbin
Embracing the Freedom of Functional Spaces
As we’ve navigated the journey to create more storage space, we’ve uncovered the power of maximizing vertical space, cleverly utilizing hooks and magnets, and implementing a ‘one-in, one-out’ rule to maintain our newly organized areas. By applying these principles and incorporating DIY shelving units, we’ve not only increased our storage capacity but also cultivated a sense of serenity in our living and working environments. The key to sustaining this harmony lies in our ability to adapt these strategies to our unique spaces and needs, ensuring that every item has its designated place and purpose.
As you stand back to admire your newly optimized space, remember that the true beauty of organization lies not just in the systems we create, but in the freedom they afford us. With each clutter-free zone, we open ourselves up to new possibilities, embracing simplicity and clarity in all aspects of our lives. So, let’s continue to explore, to create, and to find joy in the everyday moments, surrounded by spaces that inspire us to live our best lives.
Frequently Asked Questions
How can I optimize my kitchen's vertical space to maximize storage without making it look cluttered?
I’m a big fan of using hooks and magnets to unlock vertical space. Try installing a pegboard on a wall or the side of a cabinet, and use it to hang pots, pans, and utensils. This keeps your countertops clear and creates a sense of flow, making your kitchen feel more spacious and serene.
What are some creative ways to repurpose everyday items as storage solutions in a small kitchen?
I love repurposing everyday items as storage solutions. For instance, use a magnetic strip to hang spices, a pegboard for pots and pans, or a tension rod to suspend utensils. You can also transform a vintage ladder into a pot rack or a wooden crate into a kitchen island with storage. Get creative and give new life to old items!
Are there any budget-friendly alternatives to buying new storage furniture or shelves for my kitchen?
I’m a big fan of repurposing items to save space and money. Consider upcycling old crates, jars, or mason jars to store kitchen essentials like spices, oils, or utensils. You can also use adhesive hooks or magnets to hang items like pots, pans, or kitchen tools, keeping your countertops clutter-free without breaking the bank.