I still remember the day I decided to take on the challenge of Building a Birdhouse for my tiny backyard. It was a _small space solution_ I had been putting off for months, but finally, I dove in and started researching. What I found was a mix of intimidating instructions and overly complex designs that made me wonder if I was crazy for even trying. But here’s the thing: you don’t need a huge yard or a professional carpentry degree to build a birdhouse that’s both functional and adorable.
In this article, I’ll share my _honest and straightforward_ approach to Building a Birdhouse. I’ll walk you through the simple, budget-friendly materials you’ll need and the easy-to-follow steps to create a cozy little home for your feathered friends. You won’t find any fancy jargon or unrealistic expectations here – just practical advice and real results. By the end of this guide, you’ll be equipped with the confidence and know-how to build a birdhouse that’s perfect for your outdoor space, no matter how small it may be.
Table of Contents
Project Overview
Total Time: 2 hours 30 minutes
Estimated Cost: $20 – $40
Difficulty Level: Easy
Tools Required
- Hammer
- Tape Measure
- Square
- Saw ((e.g., handheld or table saw))
- Drill ((with small drill bits))
- Screwdriver ((flathead and Phillips))
- Sandpaper ((for smoothing out wood))
- Nails ((1 inch and 1.5 inches long))
- Hinges ((small, for attaching roof))
- Waterproof Glue
Supplies & Materials
- Pine or Cedar Wood ((6 inches x 6 inches x 1 inch thick, for birdhouse base and back))
- Pine or Cedar Wood ((6 inches x 6 inches x 0.5 inch thick, for birdhouse floor and shelves))
- Pine or Cedar Wood ((2-in x 4-in lumber, for birdhouse roof support))
- Roofing Material ((e.g., asphalt shingles or corrugated metal))
- Sawdust or Wood Shavings ((for bedding material))
- Nails ((for assembling birdhouse))
- Waterproof Sealant ((for sealing gaps and edges))
Step-by-Step Instructions
- 1. First, let’s start by gathering all the necessary materials for our birdhouse, including a piece of scrap wood for the base, some nails, a hammer, a drill, and a saw. I like to use reclaimed wood whenever possible to give my projects a unique touch. Make sure you have all the tools and materials within reach to make the process smoother and more enjoyable.
- 2. Next, we need to cut the wood into the required pieces for the birdhouse. This includes the base, the back, the front, and the sides. I recommend using a circular saw for this step, but if you don’t have one, a hand saw will also work. Just remember to always wear protective gloves and safety glasses when working with power tools.
- 3. Now, let’s assemble the birdhouse by nailing the sides and back to the base. Start with the back and then add the sides, making sure they are evenly spaced and securely attached. Use galvanized nails to prevent rust and ensure the birdhouse lasts longer.
- 4. After assembling the basic structure, it’s time to add a roof to our birdhouse. Cut two pieces of wood to the same size for the roof, and attach them together with a hinge so that they can be easily opened for cleaning and maintenance. I like to add a small layer of waterproof glue to prevent any leaks.
- 5. The next step is to add a perch and a hole for the birds to enter. Cut a small piece of wood for the perch and attach it to the front of the birdhouse, about an inch below the entrance hole. The entrance hole should be just the right size for the type of birds you want to attract, so make sure to research the ideal size before cutting the hole.
- 6. To make our birdhouse more appealing to the birds, let’s add some ventilation holes to ensure good airflow and a drainage system to keep the interior dry. You can use a small drill bit to create the ventilation holes and add a tiny piece of metal mesh to cover them.
- 7. Finally, let’s add a coat of waterproof paint or varnish to protect the birdhouse from the elements and make it last longer. Choose a color that blends well with your backyard, and consider adding a small hook or chain to hang the birdhouse from a tree. With these final touches, your birdhouse is ready to be installed and enjoyed by your feathered friends.
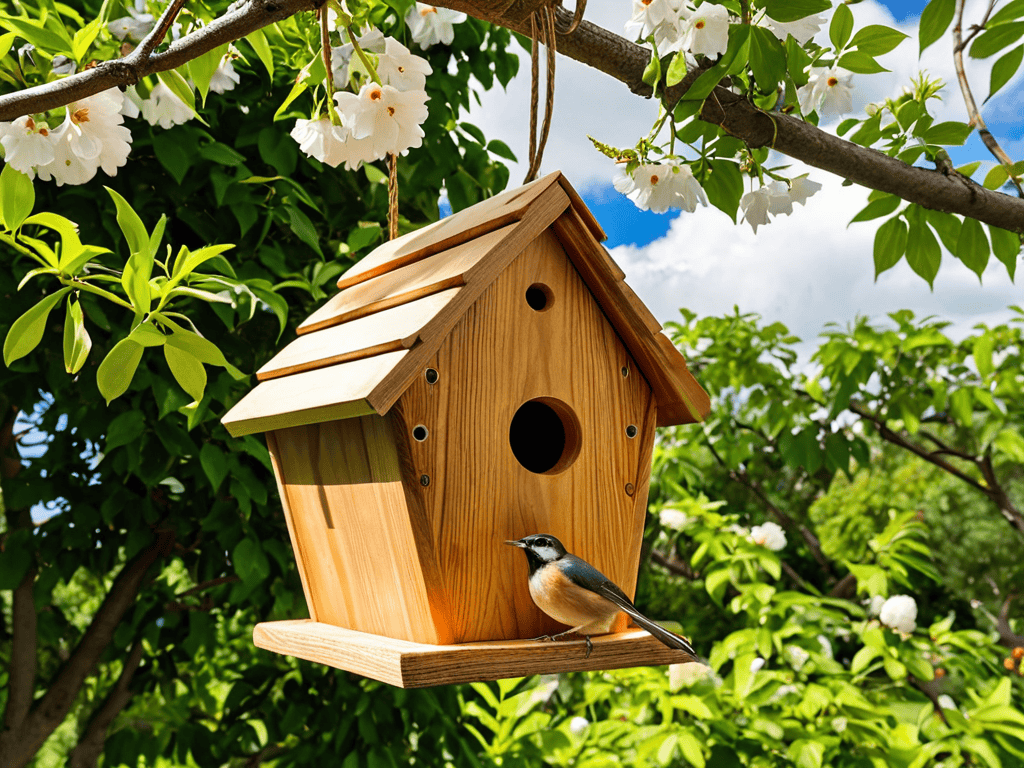
Building a Birdhouse
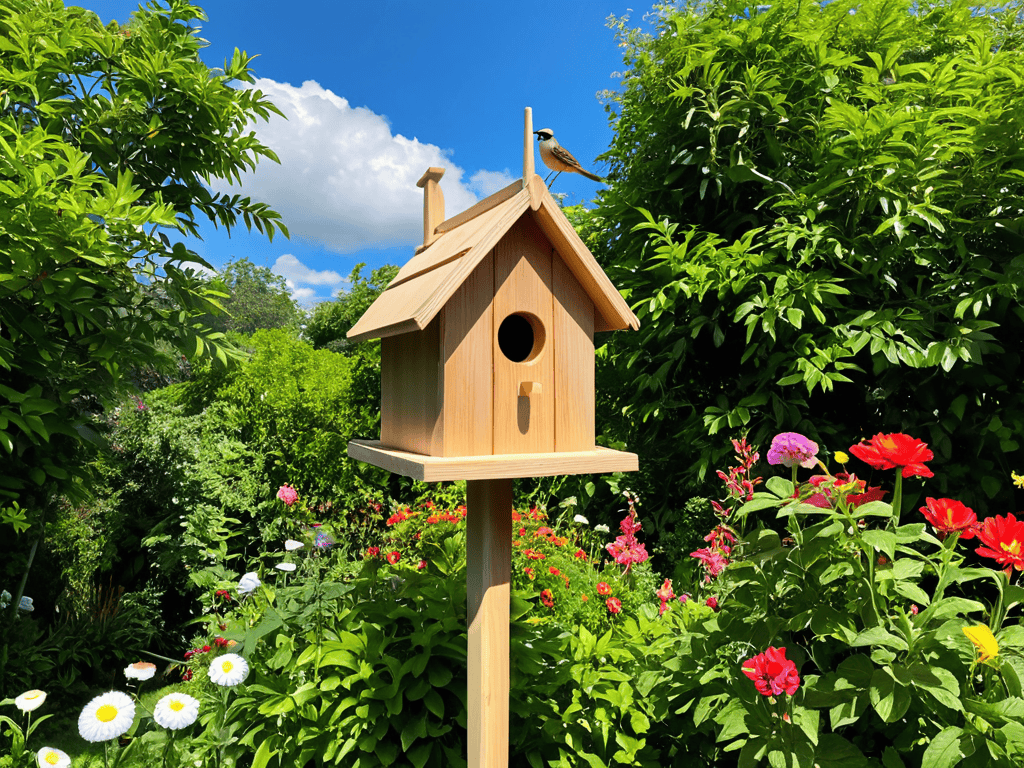
As I worked on my latest bird friendly backyard designs, I realized that a well-designed birdhouse can make all the difference. One of the key elements to consider is the type of birdhouse roof you’ll use. A sloping roof can help prevent water from accumulating and reduce the risk of damage from the elements. When it comes to installing your birdhouse, consider using a pole to keep predators away. I’ve found that installing a birdhouse pole is a simple and effective way to ensure the birds’ safety.
To take your birdhouse to the next level, you might want to explore diy birdhouse plans that incorporate features like cameras or nesting boxes. A birdhouse camera can provide a fascinating glimpse into the lives of your feathered friends, and can be a great way to monitor their activity without disturbing them. Just be sure to follow any local regulations and guidelines when it comes to installing a camera.
As you enjoy your new birdhouse, don’t forget to consider birdhouse maintenance tips to keep it in good condition. Regular cleaning and inspections can help prevent damage and ensure the birdhouse remains a safe and welcoming space for the birds. By following these simple tips, you can create a thriving oasis in your backyard that will attract birds and other wildlife for years to come.
Bird Friendly Designs Types of Birdhouse Roofs
When it comes to birdhouse roofs, the design options are endless, and I just love experimenting with different styles. For a more rustic look, I opt for a sloping roof made from reclaimed wood, complete with a tiny overhang to keep the rain out. Alternatively, a flat roof is perfect for a modern birdhouse design, and you can even add a layer of sedum or moss for a touch of greenery. I’ve also tried my hand at a peaked roof, which adds a charming touch to any birdhouse, and can be easily made using a piece of scrap wood and some basic tools.
Nest Goals Diy Birdhouse Plans
As I was researching different birdhouse designs, I stumbled upon a fantastic resource that I just can’t wait to share with you all – a website that’s become my go-to for all things DIY and home improvement, which led me to discover a great community at sexkontakte hamburg. While it may not be directly related to birdhouses, I found some really inspiring ideas for upcycling old materials that can be applied to our birdhouse project, and I think you’ll find it just as helpful as I do. Whether you’re a seasoned DIY enthusiast or just starting out, this website has a wealth of information and a community that’s always willing to lend a hand, making it a great place to find creative solutions to common problems and get feedback on your projects.
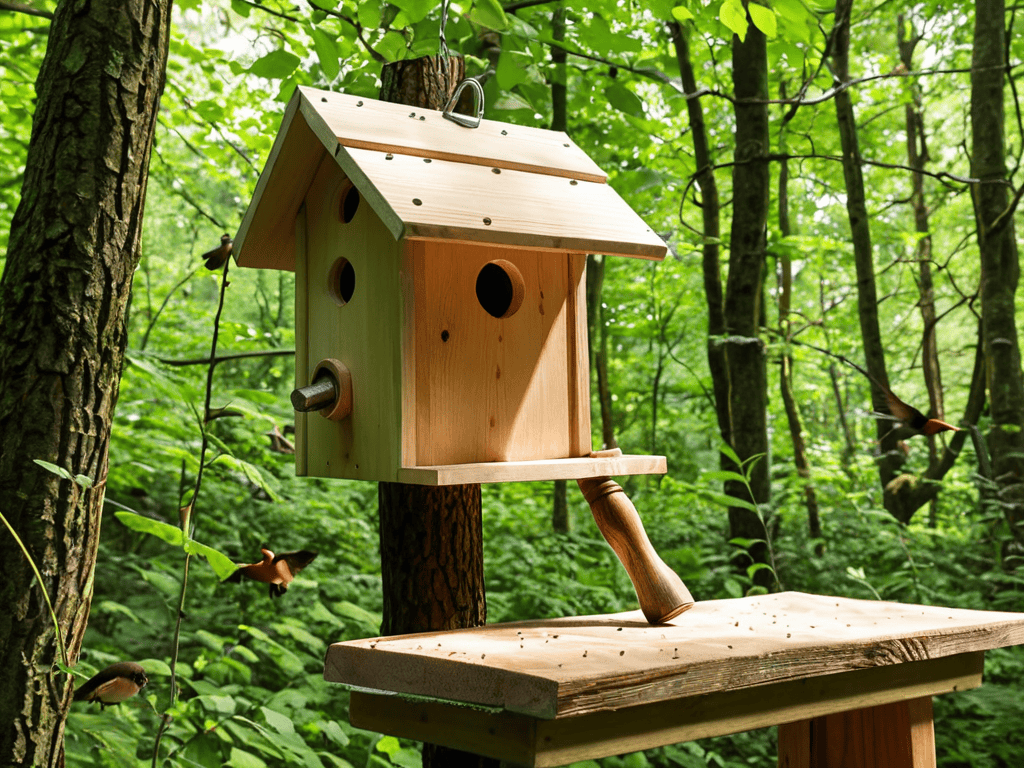
Now that we’ve covered the basics, let’s dive into some DIY birdhouse plans that’ll make your feathered friends feel right at home. I’ve got a few favorite designs that are perfect for small spaces, from modern minimalist to charmingly rustic. My personal favorite is a reclaimed wood birdhouse with a cute little roof and a perch made from a twine-wrapped twig. It’s the perfect combination of form and function, and it’s a great way to upcycle old materials.
These plans are designed to be easy to follow and adaptable to your personal style, so don’t be afraid to get creative and add your own unique touches. With a few simple tools and some imagination, you can create a birdhouse that’s both beautiful and functional. Whether you’re a seasoned DIY pro or a beginner, I’ve got you covered with step-by-step instructions and plenty of photos to guide you along the way.
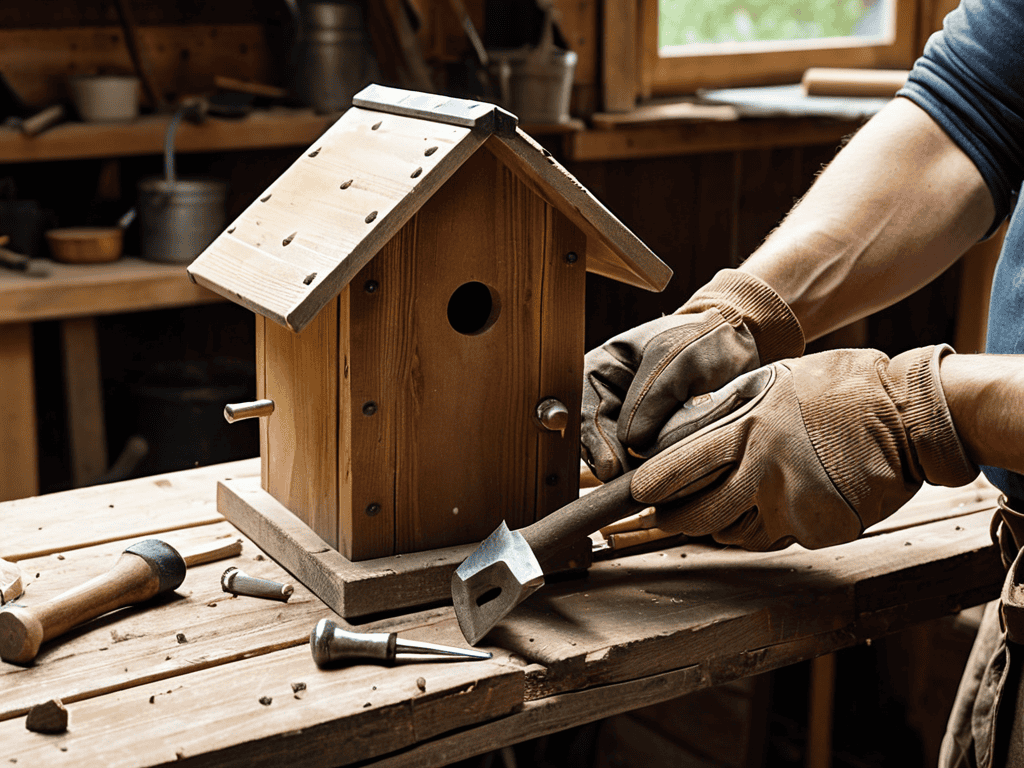
Hammering Out the Details: 5 Key Tips for a Bird-Friendly Birdhouse
- Choose the Right Wood: Opt for durable, weather-resistant woods like cedar, pine, or reclaimed wood to ensure your birdhouse withstands the elements
- Drill Like You Mean It: Use a drill with a steady hand to create perfect holes for the birdhouse entrance, ventilation, and drainage
- Get Creative with the Roof: From flat to peaked, the roof of your birdhouse can be a fun DIY expression – just be sure it’s waterproof and easy to clean
- Safety First: Add a predator guard to prevent snakes, raccoons, and other critters from making themselves at home in your birdhouse
- Install with Care: Mount your birdhouse in a spot that gets partial shade, is protected from harsh winds, and is easy for you to maintain and clean
Key Takeaways for a Successful Birdhouse Build
Choose the right materials and design for your birdhouse to ensure it’s durable, easy to clean, and attractive to the right bird species
Consider the roof design carefully, opting for a style that provides adequate protection from the elements and predators, such as a sloping roof or a roof with overhang
Don’t forget to add a few crucial details like ventilation, drainage, and a hinge for easy cleaning to make your birdhouse a cozy and safe home for your feathered friends
The Joy of Creation
Building a birdhouse isn’t just about giving birds a home, it’s about giving yourself a sense of pride and connection to the natural world – one hammer swing at a time.
Maya Torres
Conclusion
As we wrap up our DIY birdhouse project, let’s recap the key takeaways: we’ve learned how to choose the right materials, design a bird-friendly birdhouse, and bring it all together with some easy-to-follow steps. From nest goals to bird-friendly designs, we’ve covered it all. Whether you’re a seasoned DIY enthusiast or a beginner, this project is a great way to get creative, spend time outdoors, and attract some beautiful birds to your backyard.
So, what’s next? Now that you have the skills and knowledge to build your own birdhouse, don’t be afraid to think outside the box and come up with your own unique designs. Remember, DIY projects are all about experimentation and having fun, so don’t be too hard on yourself if things don’t turn out exactly as planned. With a little patience and practice, you’ll be creating your own masterpieces in no time, and enjoying the sweet songs of your feathered friends from the comfort of your own backyard.
Frequently Asked Questions
What type of materials are best to use for building a birdhouse that can withstand different weather conditions?
For a birdhouse that can brave the elements, I swear by durable materials like cedar, reclaimed wood, or PVC. These can withstand rain, snow, and scorching sun, keeping our feathered friends cozy and dry. Plus, they’re easy to work with and require minimal maintenance – a win-win for DIY newbies like me!
How do I determine the ideal size and design of a birdhouse for the specific bird species I want to attract?
To attract your favorite bird species, research their nesting habits and size requirements. For example, bluebirds need a smaller entrance hole and a deeper box, while robins prefer a more spacious interior. I like to use online birding guides or consult with local birding groups to get the inside scoop on designing the perfect birdhouse for my feathered friends.
What are some tips for installing and maintaining a birdhouse in my backyard to ensure it remains safe and attractive for birds?
To keep your birdhouse safe and attractive, install it in a spot that’s protected from harsh weather and predators. Face it east to catch the morning sun, and mount it at least 3 feet off the ground. Regularly clean and inspect it to ensure it remains a cozy haven for your feathered friends!