I still remember the first time I tried to update my tiny kitchen’s cabinet hardware – it was a nightmare. I had heard that how to change cabinet hardware without drilling new holes was a daunting task, but I was determined to give it a shot. The common myth that you need to drill new holes or completely replace your cabinets to get a fresh new look is just that – a myth. In reality, with the right tools and a little creativity, you can give your cabinets a beautiful update without making a mess or breaking the bank.
In this article, I’ll share my favorite tips and tricks for swapping out old cabinet hardware without damaging your cabinets or your wallet. You’ll learn how to measure, remove, and replace your existing hardware with ease, and I’ll even give you some inspiration for choosing the perfect new hardware to match your unique style. Whether you’re a seasoned DIYer or a beginner, I’ll walk you through the process step-by-step, so you can achieve a beautiful and functional kitchen update that reflects your personality. By the end of this guide, you’ll be empowered to tackle even the smallest of kitchen renovations with confidence, and you’ll be amazed at how a simple hardware update can completely transform the look and feel of your space.
Table of Contents
Guide Overview: What You'll Need
Total Time: 1 hour 15 minutes
Estimated Cost: $10 – $30
Difficulty Level: Easy
Tools Required
- Screwdriver (flathead and Phillips)
- Pliers (needle-nose for small hardware)
- Measuring Tape (for measuring existing hole spacing)
- Level (optional, for ensuring hardware is straight)
- Clamp (for holding hardware in place while tightening)
Supplies & Materials
- New Cabinet Hardware (with screws or bolts that match existing hole spacing)
- Wood Filler (optional, for filling old screw holes if changing hardware type)
- Sandpaper (for smoothing out filled areas, if necessary)
Step-by-Step Instructions
- 1. First, let’s prepare our tools and get ready to give our tiny kitchen a big style boost. We’ll need a screwdriver (preferably a trusty old friend that’s been with us through many DIY adventures), a drill (just in case, but we’re aiming to avoid using it), and our new cabinet hardware. I like to lay everything out on a clean, flat surface to get a good look at what we’re working with.
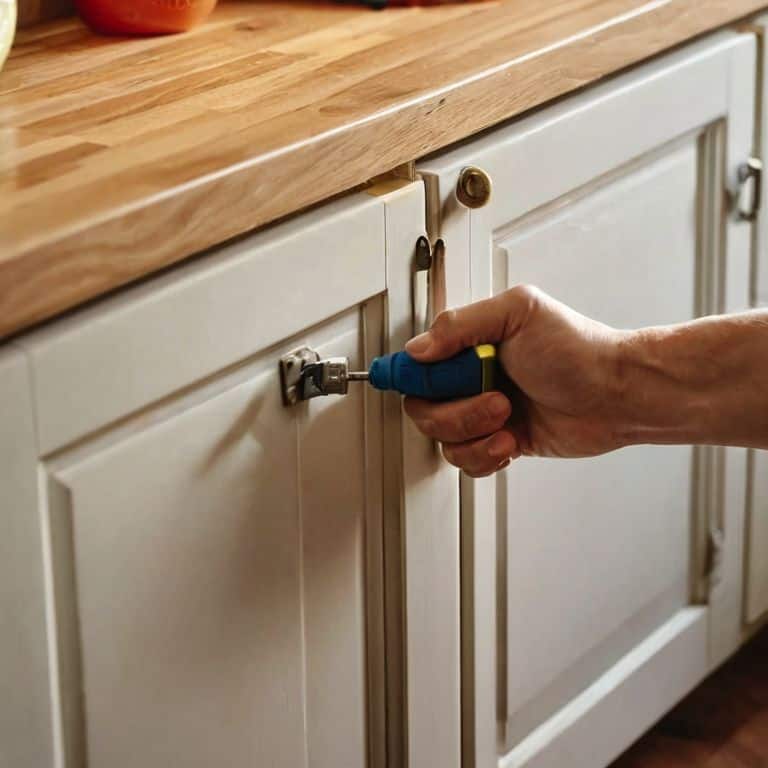
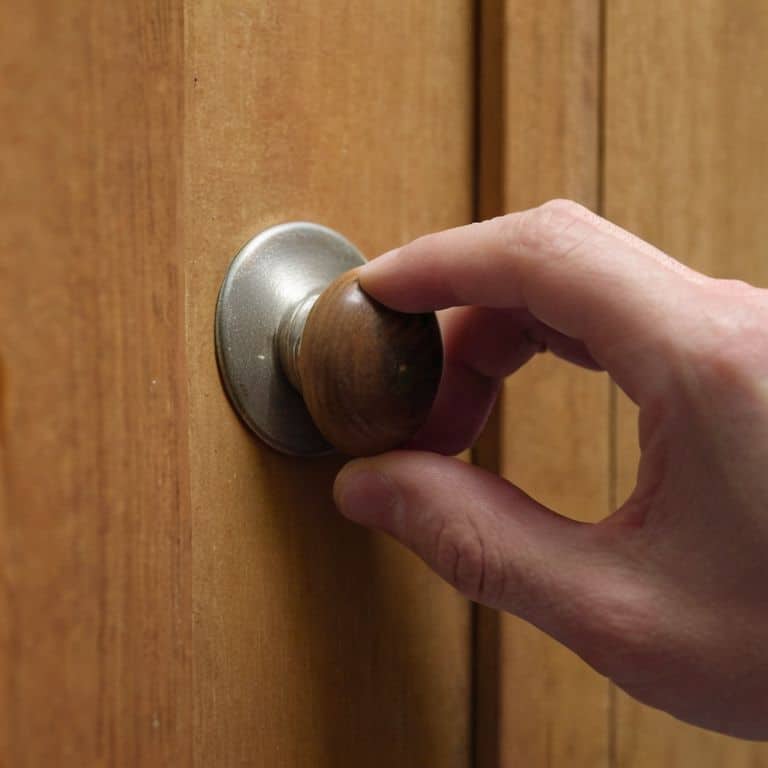
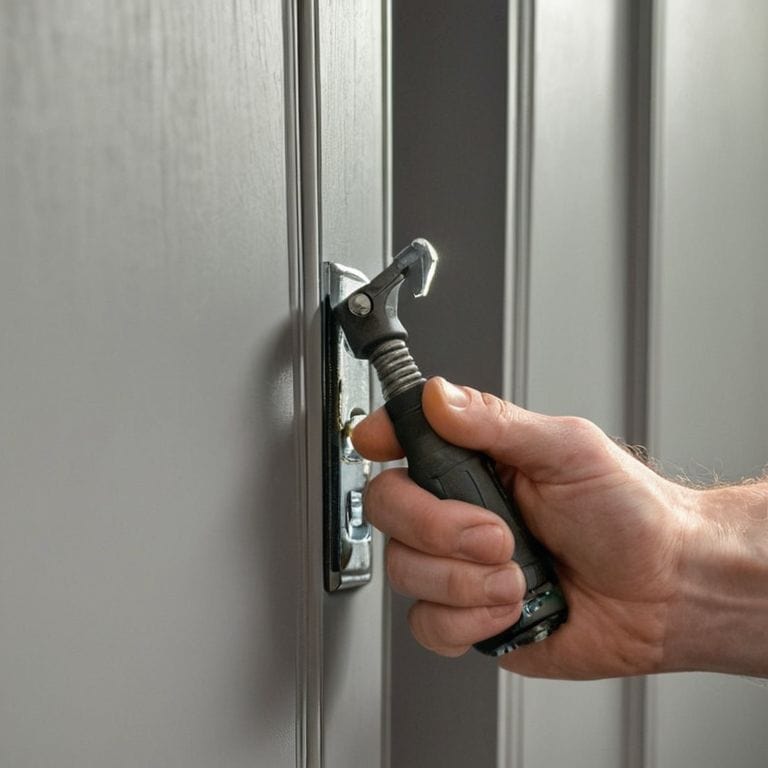
- 2. Next, we need to remove the old hardware. This is usually the easiest part – just unscrew the old knobs or handles and set them aside. If they’re stuck, don’t worry, a little bit of elbow grease will do the trick. Be careful not to scratch the surrounding surface, especially if you’re renting and want to avoid any potential issues when you move out.
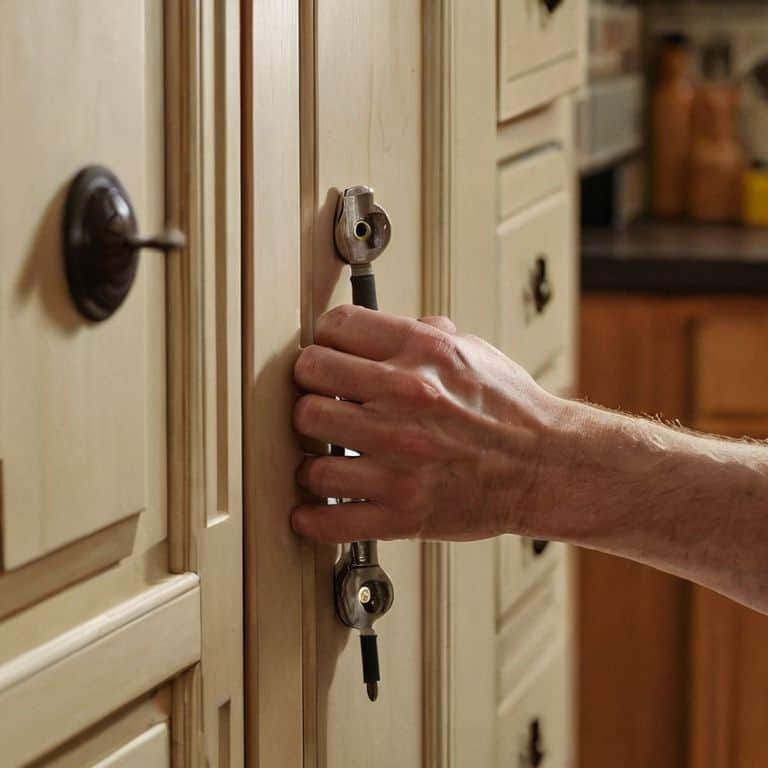
- 3. Now, it’s time to assess the situation and figure out how to make our new hardware fit without drilling new holes. Take a close look at the back of your new knobs or handles – are they the same size as the old ones? Do they have any adjustable features that can help us avoid drilling? I once found this amazing set of handles that had screws with built-in spacers, which made installation a breeze.
- 4. If our new hardware has the same screw pattern as the old one, we’re in luck. We can simply screw it in place using the same holes. However, if the screw pattern is different, we might need to get a bit creative. This is where having a drill on standby comes in – but only as a last resort. Let’s try to find another solution first.
- 5. One of my favorite hacks for avoiding new holes is to use 3M picture hanging strips. Yes, you read that right – those little strips of magic can hold a surprising amount of weight and are perfect for small hardware. Just make sure to clean the surface thoroughly before applying the strips, and follow the instructions for maximum hold.
- 6. If the above hack doesn’t work for our particular hardware, it’s time to think outside the box. Maybe we can use adhesive-backed hardware or find a different type of knob that doesn’t require screws at all. I once used magnetic catches to attach a small shelf to my fridge, and it was a game-changer for my tiny kitchen.
- 7. Finally, let’s step back and admire our handiwork. We’ve successfully changed our cabinet hardware without drilling new holes, and our tiny kitchen is looking better than ever. Take a moment to pat yourself on the back – you’ve just solved a common small-space problem with style and creativity. Now, go forth and tackle that next DIY project with confidence.
Tiny Kitchen Hardware Hacks
As I’ve experimented with various cabinet refacing on a budget methods, I’ve discovered that a little creativity can go a long way. For instance, using adhesive cabinet knobs can be a game-changer for renters or those who don’t want to commit to drilling new holes. These knobs are easy to apply and remove, making them a great temporary solution.
When it comes to choosing the right hardware, consider opting for hidden screw cabinet pulls. Not only do they provide a sleek, minimalist look, but they also eliminate the need for visible screws. This can be especially useful in small kitchens where every detail counts. By selecting the right hardware, you can create a cohesive and polished look without breaking the bank.
For a truly personalized cabinet makeover, don’t be afraid to think outside the box. I’ve used everything from vintage knobs to repurposed drawer handles to add a touch of personality to my kitchen. Remember, the key to a successful renovation is to have fun and be willing to experiment. With a little patience and creativity, you can create a beautiful and functional kitchen that reflects your unique style.
Cabinet Refacing on a Budget Tips
To take your cabinet makeover to the next level without breaking the bank, consider refacing instead of replacing. I’ve found that with a little creativity, you can give your cabinets a fresh new look for a fraction of the cost. For my own tiny kitchen, I used a combination of paint and adhesive veneers to completely transform the look of my cabinets. It was a game-changer! Not only did it save me money, but it also allowed me to customize the look to fit my personal style. Plus, it’s a great way to upcycle and reduce waste.
No Drill Cabinet Handles for Renters
As a renter, I totally get it – drilling into the cabinets is a major no-go. That’s why I’m obsessed with these genius no-drill cabinet handles. They use super-strong adhesive strips that won’t damage the surface, and they’re ridiculously easy to install. I’ve used them in my own tiny kitchen, and they’ve been a total game-changer. Plus, they come in a range of styles, from sleek and modern to rustic and charming.
I’ve tried a few different brands, but my favorite ones are the ones with the 3M adhesive strips – they’re seriously strong and have held up beautifully, even with daily use. And the best part? They’re totally removable when you move out, leaving no residue or damage behind. It’s the perfect solution for renters who want to add some personality to their kitchen without risking their security deposit.
5 Game-Changing Tips for a Drill-Free Cabinet Hardware Makeover
- Measure Twice, Drill Not at All: Take precise measurements of your existing hardware to ensure a perfect fit for the new pieces, eliminating the need for new holes
- Hardware Harmony: Choose new hardware that matches the existing hole pattern, making the swap a breeze and saving you from drilling into your cabinets
- Screw it (Literally): Use screw-in hardware adapters that fit into the existing holes, providing a secure hold without the need for drilling
- Renters Rejoice: Opt for adhesive-backed hardware or magnetic catches that don’t require drilling, perfect for renters who want to customize their space without damaging the cabinets
- Repurpose with Flair: Upcycle old hardware or use vintage finds to add a unique touch to your cabinets, all without drilling new holes or breaking the bank
Big Impact, Tiny Drilling: 3 Key Takeaways
Swap out old cabinet hardware without making a mess or drilling new holes by using clever hacks like adhesive strips or magnetic hooks
Refacing cabinets on a budget is possible with DIY-friendly materials like contact paper, decals, or even paint, giving your tiny kitchen a fresh new look without breaking the bank
Renters can still join the cabinet hardware revolution with no-drill solutions like 3M command strips or adhesive-backed hooks, ensuring you can take your stylish hardware with you when you move
Empowering Your Space
Changing cabinet hardware without drilling new holes isn’t just a hack, it’s a declaration of independence for small space dwellers – it’s about reclaiming your kitchen’s style and functionality on your own terms, without damaging the walls or your wallet.
Maya Torres
Wrapping Up Your Tiny Kitchen Makeover
As we’ve explored in this guide, changing cabinet hardware without drilling new holes is a game-changer for tiny kitchen renovations. From the initial steps of removing old hardware to the final touches of installing new pieces, we’ve covered it all. The Tiny Kitchen Hardware Hacks section offered additional tips and tricks, including Cabinet Refacing On A Budget Tips and No Drill Cabinet Handles For Renters, to help you navigate the challenges of small-space living. By following these steps and hacks, you’ll be well on your way to creating a beautiful, functional kitchen that reflects your personal style.
So, what’s the final takeaway from this DIY adventure? It’s that empowering yourself with the right tools and knowledge can make all the difference in transforming your tiny kitchen into a stunning space. Don’t be afraid to get creative, experiment with new ideas, and celebrate your small wins along the way. With a little patience, persistence, and passion, you can turn your tiny kitchen into a * culinary oasis* that brings joy and inspiration to your daily life.
Frequently Asked Questions
What if my cabinet doors have a non-standard hole spacing, can I still find replacement hardware that fits?
Don’t worry, I’ve been there too. If your cabinet doors have non-standard hole spacing, you can still find replacement hardware that fits. Look for adjustable or universal hardware, or consider a template or jig to help you drill new holes accurately – I’ll share some of my favorite sources in a future post.
How do I remove old cabinet hardware without damaging the surrounding finish or paint?
To remove old cabinet hardware without damaging the finish, I use a hairdryer to loosen the adhesive, then gently pry it off with a flathead screwdriver or a plastic spudger – it’s like a little wake-up call for the old hardware, and it comes off easily without scratching the surface.
Are there any specific types of adhesive or screws that work best for no-drill cabinet handles in a rental property?
For no-drill cabinet handles in a rental, I swear by 3M’s adhesive strips or these awesome little screws with pre-drilled anchors that won’t damage the surface – they’re a total game-changer! You can find them at most hardware stores or online.