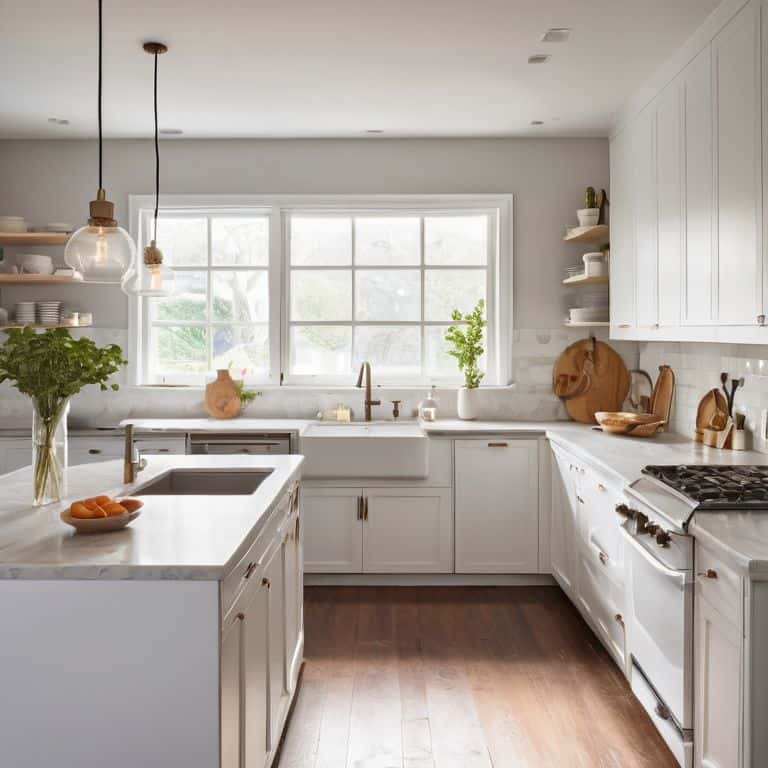
I still remember the day I realized I didn’t have to break the bank to give my tiny kitchen a fresh new look. I was determined to find a way to make a DIY countertop without sacrificing my entire paycheck. That’s when I stumbled upon the magic of contact paper – a game-changer for anyone looking to learn how to make a DIY countertop with contact paper. It’s amazing how a simple material can transform the entire aesthetic of a room, and I’m excited to share my journey with you.
In this article, I’ll walk you through the step-by-step process of creating your own DIY countertop using contact paper. You’ll learn how to measure, cut, and apply the contact paper to achieve a beautiful and functional finish. I’ll share my personal tips and tricks for making the process as smooth as possible, and by the end of it, you’ll be empowered to give your kitchen the makeover it deserves without denting your wallet. Whether you’re a fellow small-space dweller or just looking for a quick and easy DIY project, this guide is for you – so let’s get started and make that DIY countertop with contact paper a reality!
Table of Contents
Guide Overview: What You'll Need
Total Time: 1 hour 45 minutes
Estimated Cost: $10 – $30
Difficulty Level: Easy
Tools Required
- Ruler (for measuring countertop surface)
- Utility Knife (with extra blades)
- Cutting Mat (for protecting work surface)
- Credit Card (for smoothing out air bubbles)
Supplies & Materials
- Contact Paper (wide enough to cover countertop surface)
- Measuring Tape (for measuring countertop dimensions)
- Pencil (for marking measurements on contact paper)
Step-by-Step Instructions
- 1. First, prep your surface by cleaning the countertop thoroughly with a mixture of soap and water. This will ensure that the contact paper adheres properly and doesn’t peel off easily. Make sure to dry the surface completely before moving on to the next step.
- 2. Next, measure your countertop to determine how much contact paper you’ll need. Take into account any edges, corners, or cutouts that may require extra attention. You can use a measuring tape or a ruler to get an accurate measurement.
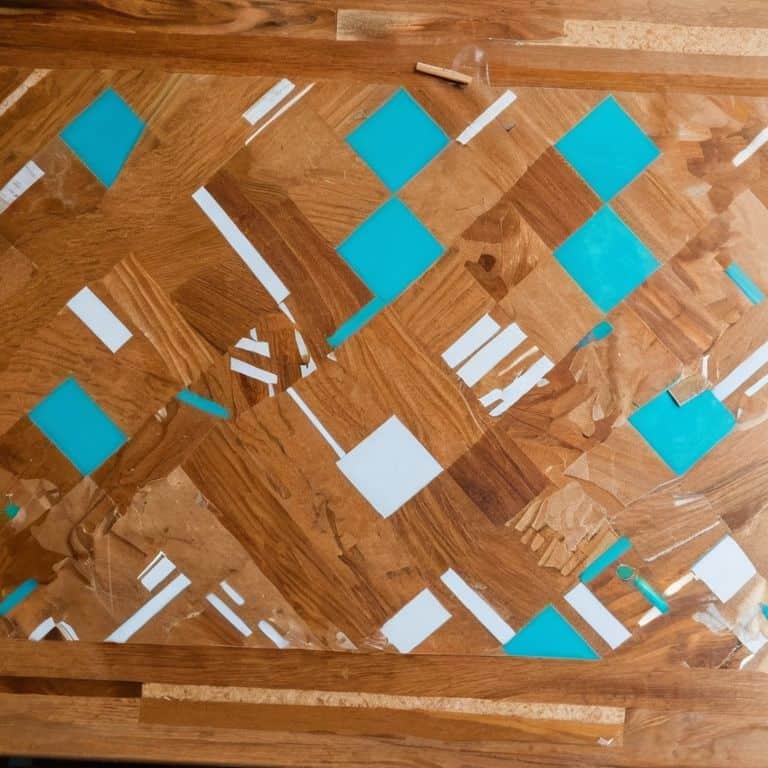
- 3. Now it’s time to cut the contact paper to size. Use a craft knife or scissors to cut the paper, leaving a little extra around the edges to account for any imperfections. You can also use a cutting mat or a ruler to help you get a straight cut.
- 4. Apply a small amount of contact paper adhesive to the back of the paper, following the manufacturer’s instructions. This will help the paper stick to the countertop and prevent it from peeling off over time. Make sure to apply the adhesive evenly and avoid any air bubbles.
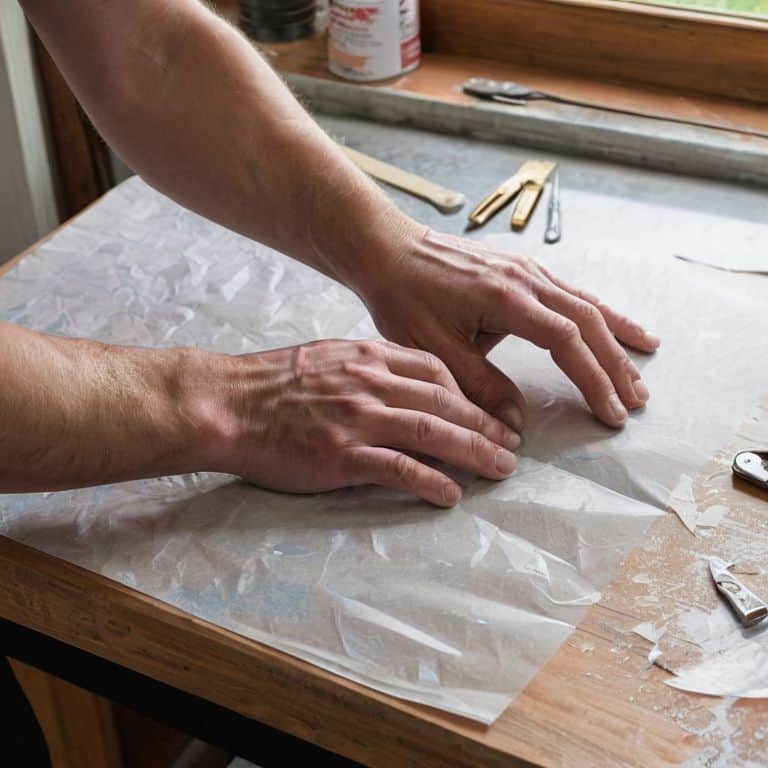
- 5. Carefully place the contact paper on the countertop, starting from one edge and working your way across. Use a credit card or a similar tool to smooth out any air bubbles that may form. Apply gentle pressure to ensure the paper adheres evenly to the surface.
- 6. Use a utility knife to trim the excess contact paper around the edges, leaving a smooth finish. Be careful not to cut too much paper at once, as this can cause the paper to tear. Take your time and work slowly to get a clean edge.
- 7. Finally, seal the edges with a clear coat of varnish or a sealant to protect the contact paper from moisture and wear. This will help extend the life of your DIY countertop and keep it looking its best. Apply the sealant according to the manufacturer’s instructions and let it dry completely before using your countertop.
Diy Countertop Transformation

As I worked on my own contact paper countertop, I realized that durability was a major concern. To ensure my new countertop would last, I made sure to clean the surface thoroughly before applying the contact paper. This simple step can make a big difference in the long run. I also discovered that using faux granite contact paper can give your kitchen a high-end look without the hefty price tag.
When it comes to rental property decor ideas, it’s all about finding creative solutions that won’t damage the space. My DIY countertop transformation was a game-changer for my small kitchen, and it’s a budget friendly kitchen remodel idea that anyone can try. To achieve a seamless look, I used contact paper application tips I found online, such as applying the paper in small sections and using a credit card to smooth out air bubbles.
For diy countertop makeover inspiration, I recommend browsing home decor blogs or social media platforms. You can find a wide range of styles and ideas to suit your taste and budget. Remember to have fun and get creative with the process! With a little patience and contact paper countertop durability in mind, you can give your kitchen a fresh new look that will last for years to come.
Budget Friendly Kitchen Remodel Tips
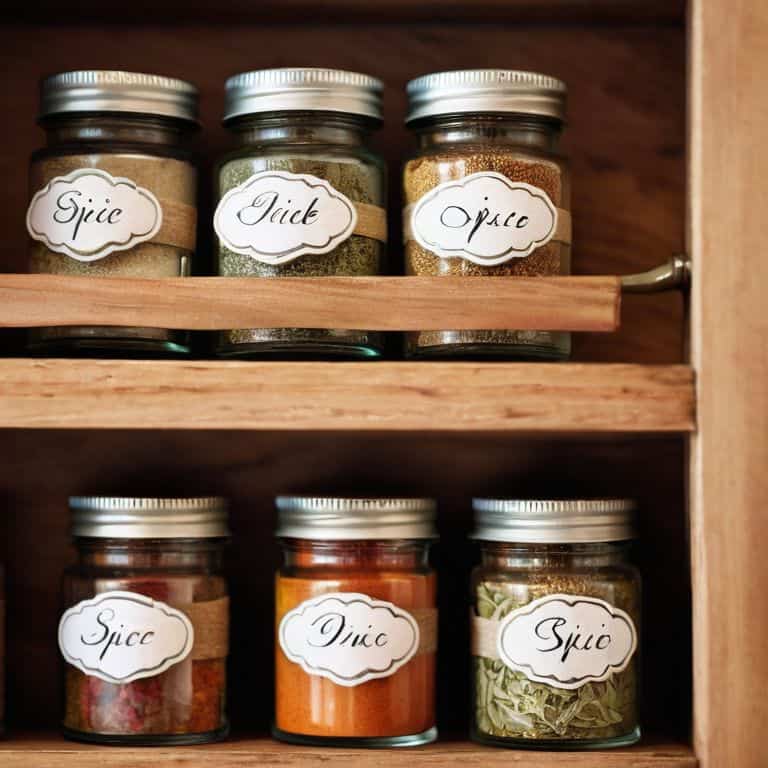
When transforming your kitchen countertops, remember that it’s all about creativity and resourcefulness. I’ve found that shopping during sales or using coupons for materials can make a huge difference. Consider repurposing items you already have, like turning old jars into storage containers or using a vintage ladder as a pot rack. These small tweaks can add up and save you a significant amount of money in the long run.
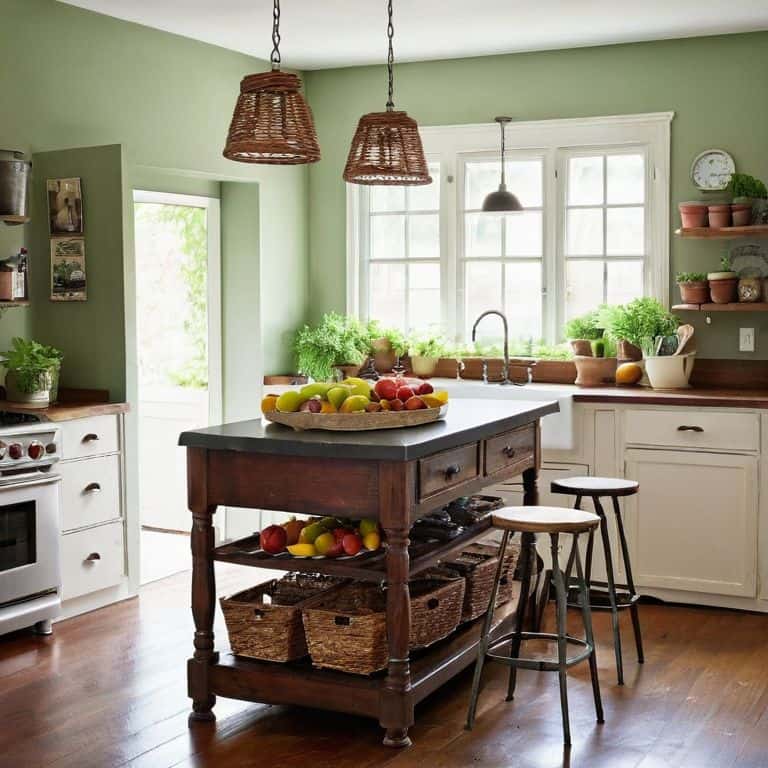
By adopting a DIY mindset, you can achieve a high-end look without the hefty price tag. For my own kitchen, I’ve used thrift store finds and flea market treasures to add unique touches, like a one-of-a-kind light fixture or a set of eclectic plates. It’s amazing how a little bit of imagination and elbow grease can turn a small, budget-friendly project into a stunning kitchen remodel.
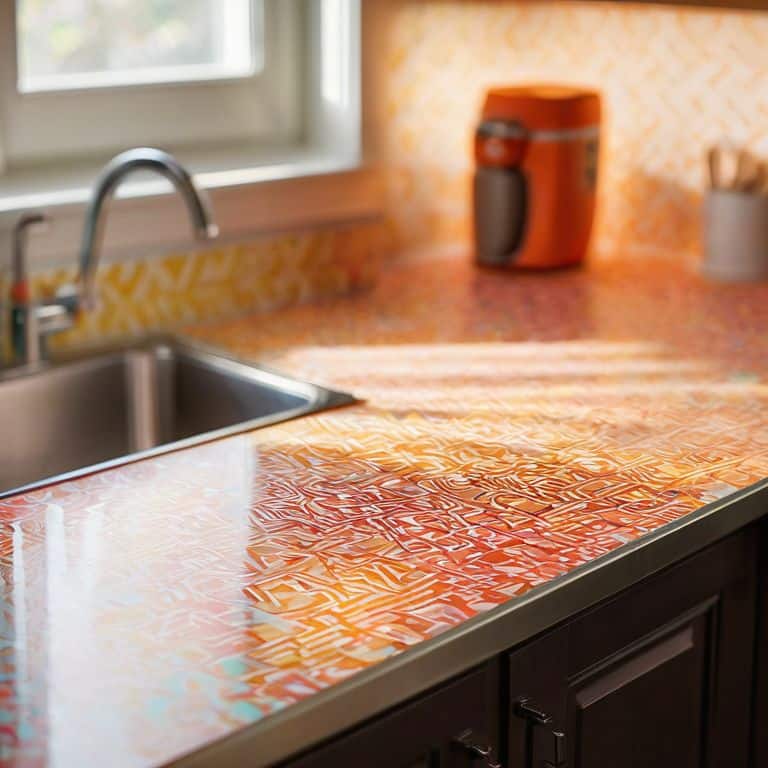
Faux Granite Contact Paper Magic
Now that we’ve covered the basics of transforming your countertop with contact paper, let’s talk about taking it to the next level with faux granite contact paper. I mean, who says you can’t have the look of luxurious granite without the hefty price tag? This stuff is like magic – it’s ridiculously easy to apply and instantly gives your kitchen a high-end vibe. I’ve experimented with a few different patterns, but the faux granite is hands-down my favorite. It adds a level of sophistication to my tiny kitchen that I never thought possible. Plus, it’s a great conversation starter when I have friends over!
5 Contact Paper Hacks to Transform Your Countertops
- Choose the Right Pattern: Select a contact paper design that mimics the look of granite, marble, or wood to give your countertops a high-end feel without the price tag
- Measure Twice, Apply Once: Measure your countertops carefully to ensure you have enough contact paper, and consider applying a thin layer of varnish or sealant for extra durability
- Cleanliness is Key: Make sure your countertops are free of dust, dirt, and grease before applying the contact paper for a smooth, bubble-free finish
- Add Some Edge: Use a utility knife or scissors to trim the contact paper to fit snugly around edges, sinks, and faucets for a professional-looking finish
- Don’t Be Afraid to Mix and Match: Combine different contact paper patterns and textures to create a unique, one-of-a-kind look that reflects your personal style and adds visual interest to your kitchen
Key Takeaways for a Stunning DIY Countertop
With a little creativity and some contact paper, you can give your kitchen a fresh new look without breaking the bank, and it’s easier than you think to achieve a faux granite or marble finish
You don’t need a big budget or a lot of space to make a big impact in your kitchen – even small, budget-friendly changes like a DIY countertop can completely transform the feel of your space
Empower yourself to take on small-space living challenges with DIY projects that are both beautiful and functional, and remember, the right tools and a bit of determination can turn any design obstacle into an opportunity for creativity and growth
Transforming Spaces with Creativity
The beauty of a DIY countertop with contact paper lies not just in its affordability, but in its ability to breathe new life into a small kitchen, proving that with a little creativity, even the most mundane spaces can become vibrant reflections of our personalities.
Maya Torres
Wrapping Up Your DIY Countertop Transformation
As we’ve explored in this guide, creating a DIY countertop with contact paper is a surprisingly simple and cost-effective way to give your kitchen a fresh new look. From the initial preparation to the final application of the contact paper, we’ve covered each step in detail to ensure your project turns out beautifully. Whether you opted for the faux granite magic or another design, the key takeaway is that with a little creativity and some elbow grease, you can achieve a professional-looking finish without breaking the bank.
So, as you stand back to admire your handiwork, remember that this project is more than just a cosmetic upgrade – it’s a testament to the power of DIY ingenuity. Don’t be afraid to think outside the box and push the boundaries of what’s possible in your small kitchen. With each new project, you’ll become more confident in your ability to transform your space into a reflection of your unique style and personality. Happy crafting, and don’t forget to share your before-and-after photos – I’d love to see how your DIY countertop transformation turns out!
Frequently Asked Questions
Will the contact paper peel off or fade quickly if my countertop is near a sink or stove?
Don’t worry, I’ve got you covered. I’ve had my contact paper countertop near my sink for months, and it still looks great. To ensure it lasts, just make sure to clean up spills quickly and avoid exposing it to extreme heat or moisture. A little maintenance goes a long way in keeping your DIY countertop looking fresh and fabulous.
Can I use this method on a countertop with a complex shape or irregular edges?
For complex shapes or irregular edges, I recommend using a combination of contact paper strips and a utility knife to trim excess material. You can also use a credit card or similar tool to smooth out air bubbles and ensure a tight seal. It might take a bit more patience, but with some careful planning, you can achieve a seamless look even on tricky countertops.
How do I ensure the contact paper is applied smoothly and without air bubbles or wrinkles?
To get a smooth application, I use a credit card or a similar tool to gently push out air bubbles and wrinkles as I apply the contact paper. It’s all about working from the center outwards, taking your time, and being patient – trust me, it’s worth the extra effort for a flawless finish!