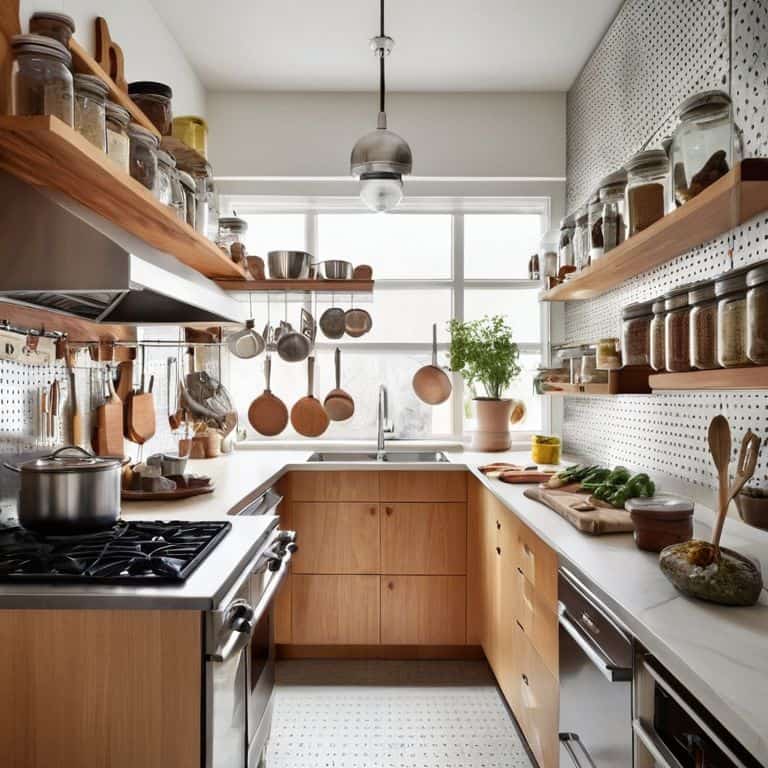
I still remember the first time I tried to cook a decent meal in my tiny kitchen – it was a disaster. I had all the ingredients, but I was struggling to blend the soup with a traditional blender, as it was just too bulky for my limited counter space. That’s when I discovered the magic of how to cook with an immersion blender. It was a total game-changer, allowing me to whip up a storm in even the coziest of spaces. I was amazed at how this simple tool could simplify my culinary workflow and make cooking a breeze.
In this article, I’ll share my personal experience and expertise on how to cook with an immersion blender, providing you with practical tips and honest advice on how to get the most out of this versatile tool. You’ll learn how to choose the right immersion blender for your needs, how to use it to prepare a variety of dishes, from soups to sauces, and how to optimize your kitchen workflow to make cooking faster and more efficient. By the end of this guide, you’ll be equipped with the knowledge and confidence to take your tiny kitchen cooking to the next level and make the most of your immersion blender.
Table of Contents
Guide Overview: What You'll Need
Total Time: 30 minutes to 1 hour
Estimated Cost: $20 – $50
Difficulty Level: Easy
Tools Required
- Immersion Blender (handheld or stick blender)
- Pot or Container (deep enough to hold ingredients and blender)
- Measuring Cups (for accurate ingredient measurement)
- Spoon or Spatula (for scraping sides and folding ingredients)
Supplies & Materials
- Ingredients for Recipe (varies depending on desired dish)
- Cooking Oil or Liquid (for blending and cooking)
- Salt and Pepper (for seasoning)
- Optional Spices or Herbs (for added flavor)
Step-by-Step Instructions
- 1. First, let’s get started with the basics: choosing the right immersion blender for your tiny kitchen. I recommend opting for a model with a compact design and multiple speed settings to ensure you can tackle a variety of tasks with ease.
- 2. Next, prepare your ingredients and cooking station by clearing a small area of your countertop and gathering all the necessary tools and utensils. This is where my love for workflow optimization comes into play – having everything within arm’s reach will save you time and reduce stress in the long run.
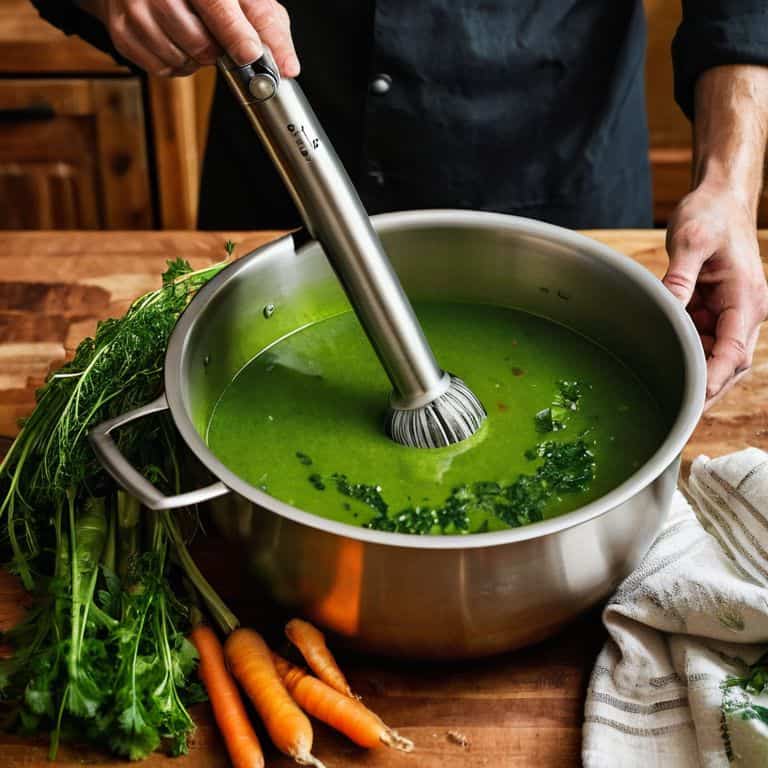
- 3. Now, let’s talk about blending techniques. When using an immersion blender, it’s essential to submerge the blade completely in the mixture to avoid splashing and ensure a smooth consistency. Start with low speed and gradually increase as needed to maintain control.
- 4. To puree soups or sauces, simply insert the immersion blender into the pot or container and blend until you reach the desired consistency. Be careful not to over-blend, as this can lead to an unappetizing texture – a common mistake that can be avoided with a little practice.
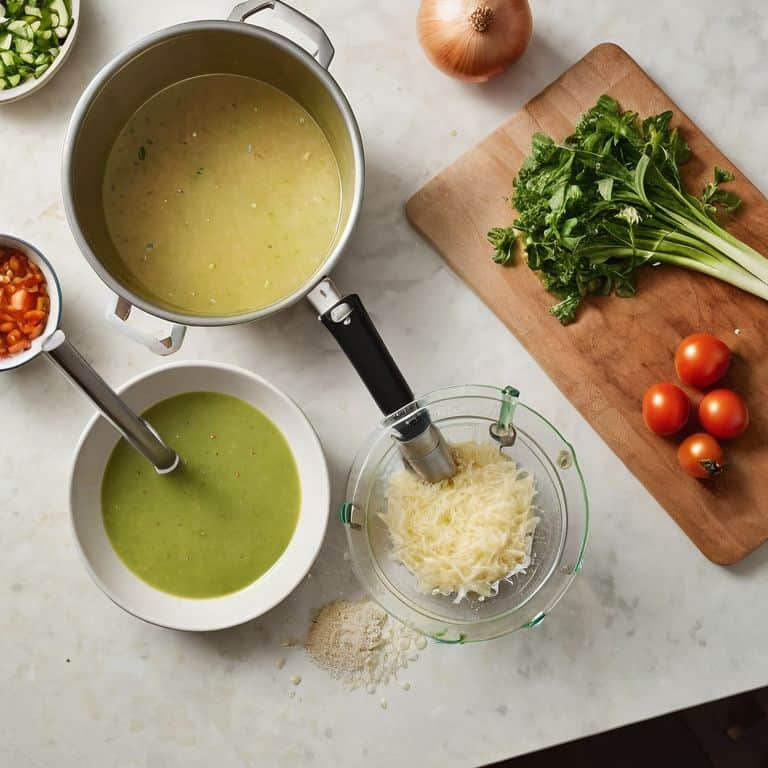
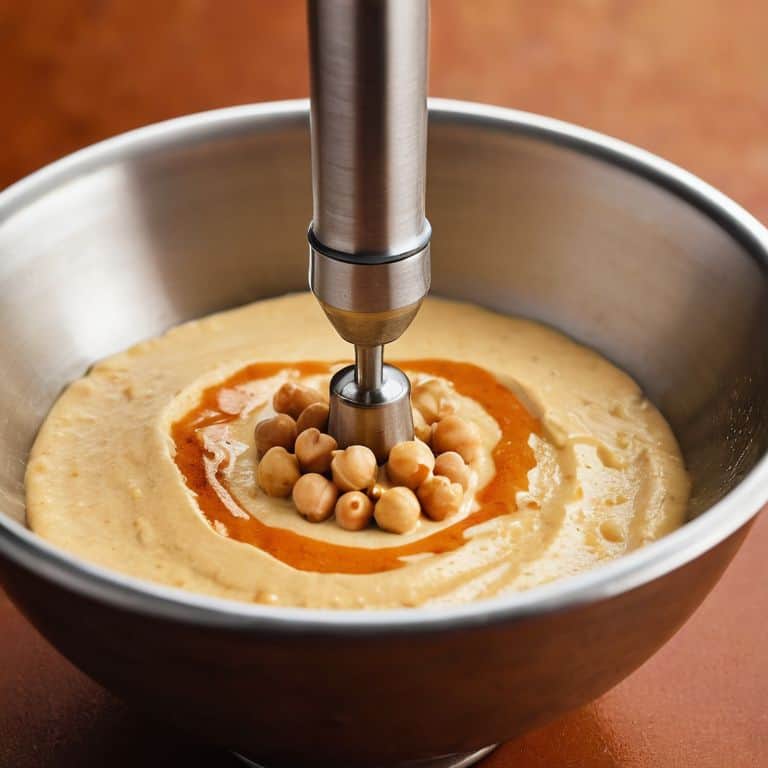
- 5. For more complex recipes, such as creamy soups or hummus, you may need to pause and scrape the sides of the container to ensure all ingredients are well incorporated. This is where the multiple speed settings on your immersion blender come in handy, allowing you to adjust the blending power as needed.
- 6. Once you’ve mastered the basics of immersion blending, it’s time to experiment with new recipes and ingredients. I recommend starting with simple dishes like roasted vegetable soups or homemade marinara sauce, and gradually moving on to more complex creations.
- 7. Finally, don’t forget to clean and maintain your immersion blender regularly to ensure it continues to perform at its best. A quick rinse with warm soapy water and a dry with a soft cloth should do the trick – a small price to pay for the convenience and versatility this incredible tool brings to your tiny kitchen.
Cooking Smarter With Immersion
As I delve deeper into the world of immersion blenders, I’ve discovered that blending hot soups safely is an art that requires some finesse. To avoid any accidents, it’s essential to let the soup cool down slightly before blending, and to always keep the blender at an angle to prevent hot liquid from splashing out. I’ve also found that making hummus with an immersion blender is a game-changer, as it allows for a smooth and creamy texture that’s hard to achieve with traditional blenders.
When it comes to creative uses for immersion blenders, the possibilities are endless. I’ve used mine to make everything from salad dressings to frozen drinks, and it’s amazing how much of a difference it can make in terms of texture and flavor. For beginners, I recommend starting with simple immersion blender recipes for beginners, such as soups or sauces, and then experimenting with more complex recipes as you become more comfortable with the device.
To get the most out of your immersion blender, it’s crucial to follow some basic immersion blender maintenance tips, such as cleaning it regularly and storing it in a dry place. By doing so, you’ll be able to enjoy your blender for years to come and explore the many benefits of immersion blending, from faster cooking times to increased nutrient retention.
Blending Hot Soups Safely Today
When it comes to blending hot soups, safety is paramount. I’ve found that using my immersion blender with a vented pot or a splatter guard is a game-changer. This simple setup allows me to puree hot soups right in the pot, eliminating the need for tedious transfers and minimizing the risk of splatters. By containing the hot liquid, I can blend with confidence, knowing I’m protecting myself and my kitchen from potential burns.
To take it to the next level, I’ve developed a “blend zone” in my tiny kitchen – a designated area with easy cleanup and minimal clutter. This workflow hack enables me to focus on the task at hand, blending hot soups to the perfect consistency without worrying about making a mess. With my immersion blender and trusty splatter guard by my side, I can whip up a delicious, creamy soup in no time, all while maintaining a safe and efficient cooking environment.
Hummus Hacks for Beginners Now
As a beginner, making hummus with an immersion blender is a great way to get started. I like to think of it as a “workflow win” – it’s quick, easy, and requires minimal cleanup. Simply combine chickpeas, tahini, garlic, and lemon juice in a tall, narrow container, and blend until smooth. For a silky texture, make sure to scrape down the sides of the container periodically.
To take your hummus game to the next level, try adding a pinch of salt or a squeeze of fresh lime juice to taste. You can also experiment with different flavors like roasted garlic or spicy peppers. Remember, the key to a great hummus is to taste and adjust as you go, so don’t be afraid to get creative and make it your own. With an immersion blender, you can whip up a delicious batch of hummus in no time, and it’s a great way to practice your blending skills for more complex recipes.
5 Essential Tips for Mastering Immersion Blender Cooking
- Choose the Right Container: Always use a deep, sturdy container to prevent splashing and spills when blending hot or thick mixtures
- Select the Perfect Speed: Adjust the speed of your immersion blender according to the ingredient’s texture and your desired outcome, from gentle folding to high-speed pureeing
- Master the Art of Angles: Experiment with different blade angles and positions to optimize your blending results, whether you’re emulsifying sauces or pureeing soups
- Respect the Hot Zone: Keep your immersion blender at a safe distance from your body when blending hot liquids, and always keep a lid or splatter guard handy to contain the mess
- Clean as You Go: Make the most of your immersion blender’s detachable parts and easy-clean design by washing and drying them immediately after use to prevent food residue from building up
Key Takeaways for Tiny Kitchen Mastery
Use your immersion blender to optimize cooking workflows in tight spaces, focusing on recipes that minimize mess and maximize flavor
Prioritize safety when blending hot soups by using the immersion blender’s depth marks and a tall, heat-resistant container to avoid splashing
Experiment with creative hummus recipes and hacks, such as roasting your own garlic and using the immersion blender to achieve a silky-smooth texture, perfect for tiny kitchen snack prep
The Power of Precision
Cooking with an immersion blender isn’t just about blending – it’s about orchestrating a symphony of flavors and textures in the most efficient way possible, proving that even the tiniest of kitchens can produce the biggest of delights.
Leo Vance
Unlocking the Full Potential of Your Tiny Kitchen
In this guide, we’ve covered the essential steps for cooking with an immersion blender in a tiny kitchen, from the initial setup to optimizing your workflow. We’ve also explored some clever hacks, such as blending hot soups safely and creating delicious hummus with ease. By following these steps and tips, you’ll be well on your way to unlocking the full potential of your tiny kitchen and making the most of the space you have. Whether you’re a beginner or an experienced cook, the immersion blender is a versatile tool that can help you prepare a wide range of dishes, from soups and sauces to dips and desserts.
As you continue to experiment with your immersion blender and refine your cooking techniques, remember that the key to success in a tiny kitchen is all about efficiency and creativity. Don’t be afraid to try new things and think outside the box – or in this case, the blender. With a little practice and patience, you’ll be whipping up gourmet meals in no time, and you’ll be amazed at how much you can accomplish in even the smallest of spaces. So go ahead, get blending, and discover the limitless possibilities of your tiny kitchen!
Frequently Asked Questions
What are some common mistakes to avoid when using an immersion blender in a tiny kitchen?
When using an immersion blender in a tiny kitchen, beware of over-blending, which can lead to a mess and a ruined dish. Also, avoid blending hot liquids near the top of the container to prevent splashing, and never submerge the blender beyond its maximum depth to prevent motor damage.
How do I choose the right immersion blender for my specific cooking needs and limited storage space?
Choosing the right immersion blender is all about balance – power, size, and features. For tiny kitchens, I recommend a compact, lightweight model with variable speed and a detachable blade for easy cleaning and storage. Consider your cooking habits: if you’re a soup enthusiast, look for one with a built-in cooling system.
Can I use an immersion blender for tasks beyond blending, such as whipping or kneading, in my compact kitchen?
While immersion blenders excel at blending, they can also handle tasks like whipping creams or soft ingredients, but kneading is a stretch – that’s a job for a stand mixer or good old-fashioned elbow grease. For whipping, just be gentle and monitor progress to avoid over-whipping.