I still remember the first time I struggled with how to clean an immersion blender – it was a messy, frustrating experience that left me wondering if the convenience of this kitchen gadget was worth the hassle. But, as someone who’s passionate about minimalist living and maximizing counter space, I was determined to find a better way. The common myth that immersion blenders are a pain to clean is, in my opinion, a result of poor design or lack of knowledge on how to properly maintain them. In reality, cleaning an immersion blender can be a breeze if you know the right techniques.
In this article, I’ll share my no-nonsense approach to cleaning an immersion blender, based on my own experiences and experiments. You’ll learn the simple, effective methods I use to keep my immersion blender in top condition, without wasting time or water. I’ll cut through the clutter and give you the honest, practical advice you need to make the most of this versatile kitchen tool. By the end of this guide, you’ll be equipped with the knowledge to keep your immersion blender clean and functional, freeing up more time for what really matters – cooking and enjoying delicious meals in your own tiny kitchen.
Table of Contents
Guide Overview: What You'll Need
Total Time: 30 minutes to 1 hour
Estimated Cost: $0 – $10
Difficulty Level: Easy
Tools Required
- Soft-bristled brush (for cleaning around blades)
- Mild soap (for cleaning the blender)
- Warm water (for rinsing the blender)
- Towel (for drying the blender)
Supplies & Materials
- Baking soda (optional for removing stubborn stains)
- White vinegar (optional for sanitizing the blender)
Step-by-Step Instructions
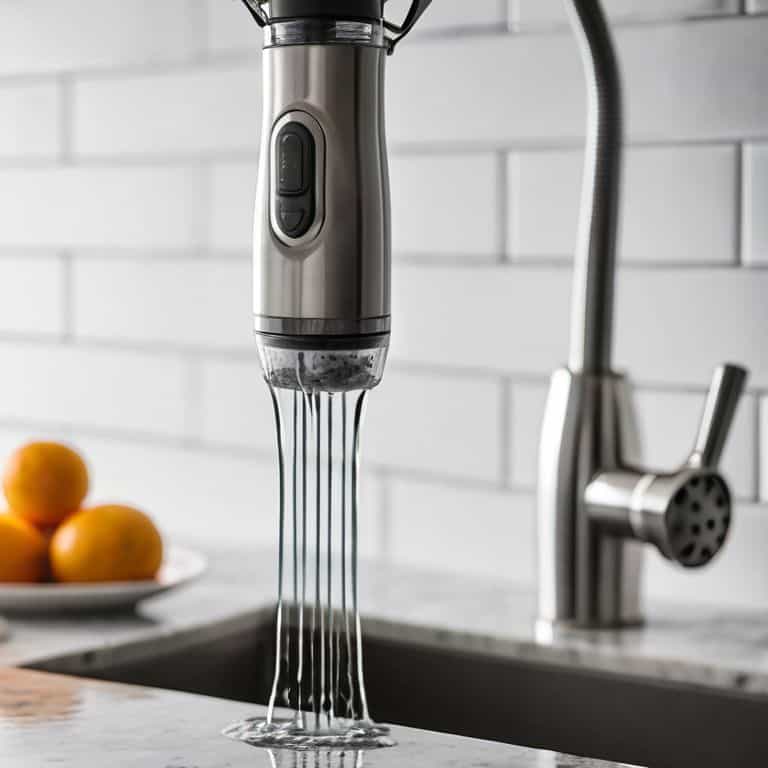
- 1. First, unplug your immersion blender from the power source to avoid any accidental start-ups or electrical shocks. This might seem like a no-brainer, but trust me, it’s a crucial step in maintaining your safety while cleaning.
- 2. Next, disassemble the blender by removing any detachable parts such as the blade guard or the shaft. This will give you access to all the areas that need cleaning. Be sure to set aside any small parts in a safe place to avoid losing them.
- 3. Now, mix equal parts water and white vinegar in a bowl to create a cleaning solution. This natural and non-toxic mixture is perfect for breaking down any food residue without leaving harsh chemical smells or residues on your blender.
- 4. Submerge the detachable parts of the blender, such as the blade and guard, into the vinegar solution and let them soak for about 10-15 minutes. This will help loosen any stubborn food particles, making them easier to clean.
- 5. Using a soft-bristled brush or a non-abrasive scrubber, gently remove any food residue from the blender parts. Be careful not to scratch any of the surfaces, especially if they’re made of a delicate material.
- 6. For the blender’s motor body, dampen a cloth with the vinegar solution and wipe it down, making sure to remove any splatters or spills. Avoid getting any electrical components wet, so be cautious around the power button and cord area.
- 7. Once all parts are clean, use a dry cloth to wipe down and dry each component thoroughly. This step is crucial in preventing any water spots or mineral deposits from forming, which can affect the blender’s performance over time.
- 8. Finally, reassemble your immersion blender by attaching the parts you removed earlier. Make sure everything is securely locked in place to ensure safe and efficient operation during your next use.
Blender Bliss Found
Now that we’ve tackled the nitty-gritty of cleaning our trusty immersion blenders, let’s talk about immersion blender maintenance tips that’ll make your life easier in the long run. I’m all about finding ways to make the most of our kitchen tools, and when it comes to blenders, it’s all about preventing clogs and stains before they become a problem. A simple trick I swear by is rinsing the blender immediately after use, especially when dealing with sticky ingredients like soup or sauce.
To take your blender care to the next level, consider sanitizing kitchen appliances on a regular basis. This not only keeps your immersion blender in top shape but also ensures your kitchen stays hygienic. For those tough stains, I’ve found that blender cleaning hacks like soaking the parts in warm soapy water or using a gentle scrubber can work wonders. And, if you’re lucky enough to have dishwasher safe blender parts, make sure to take advantage of that convenience to save time and effort.
In my experience, the key to hassle-free blender maintenance is being proactive. By removing stuck-on food from blenders as soon as possible and storing them properly, you can prevent a lot of headaches down the line. It’s all about striking a balance between convenience and proper care, ensuring your immersion blender remains a trusted companion in the kitchen for years to come.
Cleaning Tough Blender Stains
When it comes to tackling tough blender stains, I’ve found that a mixture of baking soda and water is a total game-changer. Simply apply the paste to the stain, let it sit for about 30 minutes, and then scrub it off with a soft sponge. For really stubborn stains, I recommend soaking the blender in warm soapy water for a few hours before scrubbing. It’s all about being gentle yet firm – you don’t want to scratch the surface, but you do want to get rid of that pesky stain.
I’ve also had success with using a bit of white vinegar to remove any lingering discoloration. Just be sure to rinse the blender thoroughly after cleaning to avoid any lingering flavors or odors. With a little patience and elbow grease, you can get your immersion blender looking like new again – and that’s a beautiful thing, especially when counter space is at a premium.
Immersion Blender Maintenance Tips
To keep your immersion blender in top shape, I swear by regular maintenance. A quick rinse after each use and a deep clean every month or so will do wonders. I also make it a point to dry the blender thoroughly, paying extra attention to the blade and motor area, to prevent any water spots or mineral buildup.
By following these simple tips, you’ll not only extend the life of your blender but also ensure it continues to perform at its best. And let’s be real, a well-maintained blender is a blissful addition to any kitchen, especially when counter space is at a premium.
5 Essential Tips for a Sparkling Immersion Blender
- Daily wipe-downs are your friend: take a minute to wipe down your immersion blender after each use to prevent stubborn stains
- Soak the blade and shaft in warm soapy water for 10-15 minutes to loosen any tough food residue
- Use a soft-bristled brush to gently scrub away any remaining food particles, paying special attention to the blade and any crevices
- For tougher stains, mix equal parts water and white vinegar in the blender and let it sit for 30 minutes before rinsing and drying
- Regularly deep clean your immersion blender by submerging it in a mixture of equal parts water and white vinegar, then letting it air dry to prevent water spots and bacterial growth
Practical Cleaning Takeaways
Cleaning your immersion blender is a breeze when you do it immediately after use, and it’s worth the extra minute to prevent stuck-on food
Regular maintenance, like rinsing and drying, can extend the life of your blender and keep it in top working condition, which is essential for a tiny kitchen like mine
By adopting a few simple cleaning habits and investing in a quality, multi-use immersion blender, you can free up counter space and make the most of your kitchen, which is the ultimate goal of a minimalist like me
Cleaning Wisdom
A clean immersion blender is not just a matter of hygiene, it’s a statement of intent: to cook with purpose, to value your space, and to never let a stuck-on soup dictate your kitchen’s rhythm.
Clara Finch
Cleaning Your Immersion Blender: The Key to a Clutter-Free Kitchen
As we’ve explored in this guide, proper cleaning and maintenance of your immersion blender can make all the difference in its performance and longevity. From the initial step-by-step cleaning instructions to the tough stain removal techniques and maintenance tips, we’ve covered it all. By following these simple yet effective methods, you’ll be able to enjoy your immersion blender for years to come, all while keeping your kitchen counters clutter-free and your appliances in top condition.
So, the next time you’re tempted to let that immersion blender sit in the sink, remember that a few minutes of effortless cleaning can lead to a lifetime of culinary bliss. By embracing the minimalist mindset and taking care of your belongings, you’ll not only be reducing waste but also creating a more efficient, enjoyable cooking experience. Keep your space tidy, your gadgets in check, and your meals delicious – the minimalist way.
Frequently Asked Questions
What's the best way to remove stuck-on food from the immersion blender's blade?
For stuck-on food, I swear by a mixture of baking soda and water to create a paste. Apply it to the blade, let it sit for 30 minutes, and then scrub with a soft brush. It’s a gentle yet effective way to remove tough stains without damaging the blade, and it’s a huge space-saver compared to special cleaning solutions.
Can I put my immersion blender in the dishwasher to clean it?
Honestly, I’d advise against dishwasher cleaning for your immersion blender. The high heat and intense water pressure can damage the blades or handle. Instead, stick to gentle soap and warm water – it’s a bit more effort, but trust me, it’s worth preserving your blender’s lifespan and keeping your counter space clutter-free.
How often should I be cleaning my immersion blender to keep it in good condition?
Honestly, I clean my immersion blender after every use to prevent food buildup. For tougher messes, a weekly deep clean does the trick. It’s all about finding that balance between convenience and maintenance – trust me, your blender (and your countertops) will thank you!