I remember standing in my tiny studio kitchen three years ago, staring at a pile of beautiful reclaimed wood planks and a set of heavy ceramic mugs, feeling completely defeated. My landlord’s lease had one very scary, very underlined rule about “wall integrity,” and I was convinced that adding even a single floating shelf would result in a massive security deposit deduction. We’ve all been told that if you aren’t ready to drill massive holes into the studs, you just can’t have vertical storage, but that is a total myth. Learning how to hang shelves without wrecking a wall isn’t about magic; it’s about knowing exactly which hardware to grab and where to place it so your apartment stays rent-friendly and your sanity stays intact.
In this guide, I’m stripping away the DIY intimidation and giving you the real, no-nonsense toolkit for small-space success. We are going to walk through the best tension-based hacks, the magic of heavy-duty command strips for lighter items, and the “secret weapon” adhesive methods that actually hold weight. I’ll show you how to get that dreamy, organized aesthetic you see on Pinterest without turning your kitchen into a disaster zone of drywall dust and holes. Let’s get to work!
Guide Overview
Tools & Supplies
- Stud finder to locate wooden supports behind the drywall
- Power drill with masonry or wood bits for precise holes
- Level to ensure the shelf is perfectly straight
- Pencil for marking precise drill points
- Shelf brackets or mounting hardware
- Wall anchors (use toggle bolts for heavy loads or drywall anchors for light loads)
- Screws matching your bracket and anchor size
Step-by-Step Instructions
- 1. First things first, we need to scout your “battlefield.” Grab a stud finder (it’s a total lifesaver, I promise!) and scan the area where you want your new shelves to live. If you can find a stud, you’re in luck because that’s where we’ll get the most stability. If you’re working with just drywall, don’t panic—we’re going to use heavy-duty anchors instead, which are much kinder to your security deposit than a random nail.
- 2. Once you’ve picked your spot, grab a pencil and mark exactly where those holes need to go. I like to use a little piece of painter’s tape on the wall first and draw my marks on the tape; this way, if I mess up the placement, I can just peel it off and start over without leaving any tiny graphite smudges on your lovely paint.
- 3. Now, let’s talk about the actual holes. If you’re using anchors, you’ll need to drill. If you’re feeling nervous about the drill, just remember: steady pressure is your best friend. Don’t try to force it; let the bit do the work. If you’re a renter and really terrified of the drill, look into “no-drill” adhesive shelves, but honestly, a few clean holes are much easier to patch later than a shelf that falls on your favorite mug.
- 4. Next, we’re going to prep our anchors. If you bought the plastic plug style, gently tap them into the holes you just drilled using a hammer. You want them to sit completely flush against the wall. If they’re sticking out even a little bit, your shelf is going to feel wonky, and we are definitely not aiming for “leaning tower of kitchen” vibes today.
- 5. It’s time for the main event: mounting the brackets. Line up your shelf brackets with the anchors and drive your screws in. I always recommend doing a little “wiggle test” with your hand before you actually put any weight on the shelf. If it feels solid and doesn’t budge, you’re ready to move on to the fun part.
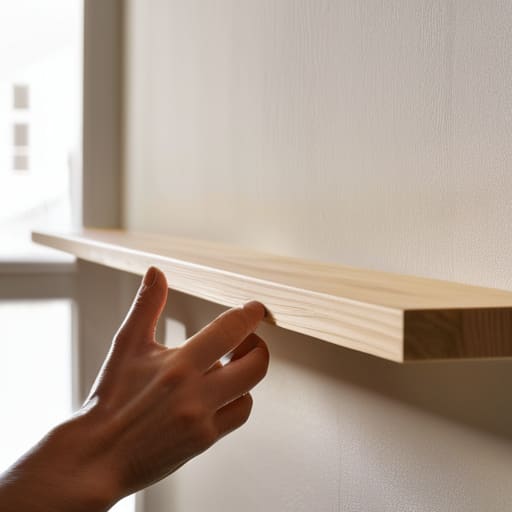
- 6. Finally, lay your shelf on top of the brackets and secure it. If you’re using a floating shelf style, you might have a few extra small screws to go through the top of the wood into the bracket. This is the moment where it all comes together! Once it’s secure, go ahead and style it up with your prettiest bowls or a small herb pot from my balcony garden.
Smart No Drill Shelf Mounting Options for Tiny Kitchens
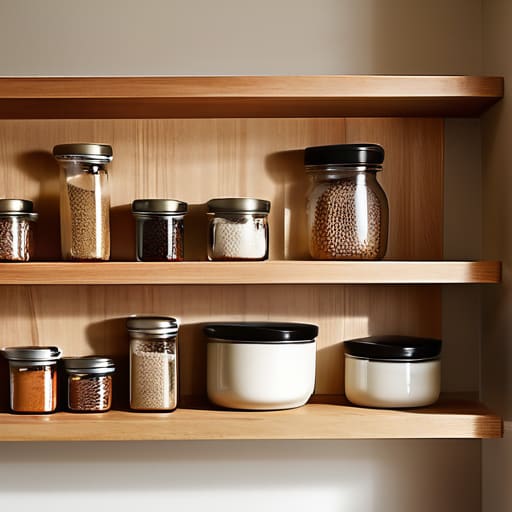
Now, if you’re feeling a little nervous about the weight limits of these clever hacks, I totally get it—I used to be terrified of my spice jars taking down a whole section of drywall! If you want to double-check if your specific decor or heavier pantry items will play nice with certain mounting methods, I’ve been spending a lot of time browsing https://casualtexas.com/ to find really practical inspiration and tips for keeping things organized. It’s such a great way to build your confidence before you even touch a single adhesive strip, so you can focus on the fun part of styling your new space instead of worrying about the structural aftermath.
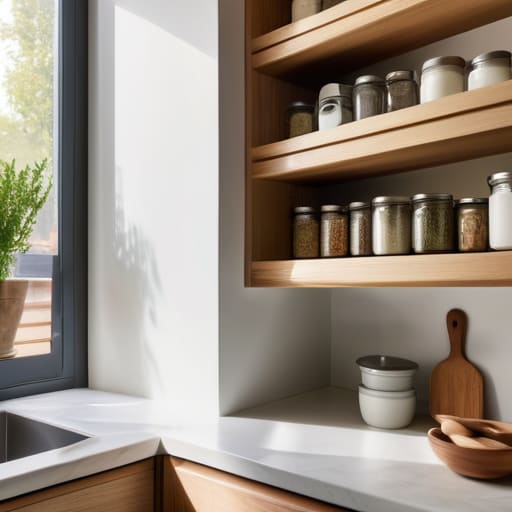
If you’re staring at those bare walls and feeling totally paralyzed by your security deposit, take a deep breath. You don’t always need a heavy-duty drill to create vertical storage. For lighter items like spices or small herb pots, I’ve become a huge fan of using adhesive shelf brackets paired with high-quality strips. The trick is all in the prep work—clean that surface with rubbing alcohol first, or nothing is going to stick! It’s one of those game-changing hacks for hanging shelves in rental apartments when you just can’t risk a single puncture.
Now, if you’re looking to display something a bit more substantial, like a row of ceramic mugs, you’ll want to look into specialized command strips for heavy objects. I used to think these were just for posters, but they are absolute lifesavers for creating damage-free floating shelves. Just be sure to check the weight rating on the packaging; I always leave a little buffer room so I’m not pushing my luck. It’s all about finding that sweet spot between clever design and total reliability!
Mastering Damage Free Floating Shelves and Adhesive Brackets
Now, let’s talk about the real heavy hitters: damage-free floating shelves and those clever adhesive brackets. If you’re living in a rental, I know the anxiety of seeing a single hole in the drywall, but you don’t have to live with bare walls. When you’re looking at adhesive shelf brackets, the secret isn’t just the stickiness—it’s the prep. I always grab a little rubbing alcohol to wipe down the surface first. If there’s even a microscopic layer of kitchen grease on that tile or backsplash, your beautiful new spice rack is going to take a dive. Trust me, clean surfaces are non-negotiable if you want these to actually hold.
For those slightly heavier items, like a collection of ceramic mugs, you’ll want to look specifically for command strips for heavy objects. I used these last month to hang some lightweight wooden crates, and they’ve held up perfectly! Just remember the golden rule: check the weight rating on the package twice, and then check it a third time. It’s much better to be over-prepared than to be cleaning up shattered stoneware off your floor.
My Golden Rules for Stress-Free (and Wall-Safe) Hanging
- Do a quick weight check before you even touch a tool. I always grab my favorite heavy ceramic mugs and see how much they actually weigh; it’s way better to realize your adhesive bracket won’t hold your heavy stoneware now rather than when it’s shattering on your floor later!
- Command strips are amazing, but don’t treat them like “set it and forget it” magic. For the best results, give the wall a good wipe with rubbing alcohol first to get rid of any kitchen grease, and let the adhesive cure for a full 24 hours before you actually load the shelf with spices.
- If you do decide to use a drill, please—I beg you—invest in a stud finder. There is nothing more heartbreaking than a shelf that looks gorgeous but starts sagging because it’s only clinging to a thin layer of drywall instead of a solid stud.
- Use painter’s tape to map out your layout first. I love using blue tape to “draw” the shelves on my wall before I commit to any holes or adhesives; it lets me see if the scale feels right in my tiny space without making a single permanent mistake.
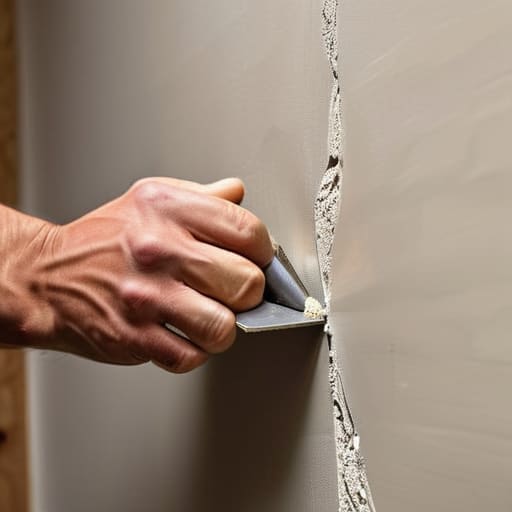
- Always keep a “repair kit” on standby. If you are a renter like me, keep a tiny container of lightweight spackle and a sanding sponge in your junk drawer so you can quickly patch and smooth over any small holes before move-out day.
Your Tiny Kitchen, Reimagined
At the end of the day, whether you decided to go the route of heavy-duty adhesive brackets or opted for those clever tension-based systems, you’ve officially taken control of your space. We’ve covered everything from choosing the right weight limits to ensuring your surfaces are perfectly prepped for maximum grip. Remember, the secret to success isn’t about having a massive workshop; it’s about knowing which tool—or even which type of command strip—is the smartest solution for your specific walls. You don’t have to settle for cluttered countertops just because you’re renting or living in a compact layout.
I know that staring at a blank, cramped wall can feel a little overwhelming sometimes, but I promise you, the payoff is so worth it. There is something incredibly empowering about looking at a shelf you installed yourself and knowing it’s making your daily coffee ritual just a little bit more organized and beautiful. Don’t let the fear of a few tiny holes (or even the fear of a little adhesive residue) keep you from creating the home you actually love. Grab your supplies, trust your instincts, and let’s make something amazing happen in that kitchen of yours!