I still remember the day I decided to tackle my tiny kitchen’s outdated tile backsplash – it was a moment of desperation, but also a turning point. I was determined to find a way to give my kitchen a fresh new look without breaking the bank or calling in a pro. That’s when I discovered the secret to a stunning kitchen makeover: a guide to painting a tile backsplash. It’s a game-changer for small-space dwellers like myself, and I’m excited to share my journey with you. I’ve learned that with the right tools and a little creativity, you can achieve a beautiful, high-end look without the hefty price tag.
In this article, I’ll be sharing my honest, no-nonsense advice on how to paint a tile backsplash that will elevate your kitchen’s style and functionality. You’ll get a step-by-step guide on how to prepare your tiles, choose the perfect paint, and achieve a professional-looking finish. I’ll also be sharing some of my favorite tips and tricks for making the process easier and more efficient. Whether you’re a seasoned DIYer or a beginner, this guide is designed to empower you to take on the project with confidence. So, let’s get started and give your kitchen the makeover it deserves with a beautiful, hand-painted tile backsplash!
Table of Contents
- Guide Overview: What You'll Need
- Step-by-Step Instructions
- Painting Tiny Kitchens
- 5 Essential Tips for a Flawless Hand-Painted Tile Backsplash
- 3 Key Takeaways for a Stunning Hand-Painted Tile Backsplash
- Painting Your Way to Perfection
- Wrapping Up Your Tile Backsplash Transformation
- Frequently Asked Questions
Guide Overview: What You'll Need
Total Time: 4 hours 30 minutes
Estimated Cost: $50 – $100
Difficulty Level: Intermediate
Tools Required
- Paintbrushes various sizes
- Roller Extension Pole for large areas
- Paint Tray with liner
- Sandpaper for light sanding
- Drop Cloths for protecting countertops
- Tape for creating straight edges
Supplies & Materials
- Tile Paint choose your desired color
- Primer optional, but recommended
- Clear Coat for added protection
- Cleaning Solution for preparing the surface
Step-by-Step Instructions
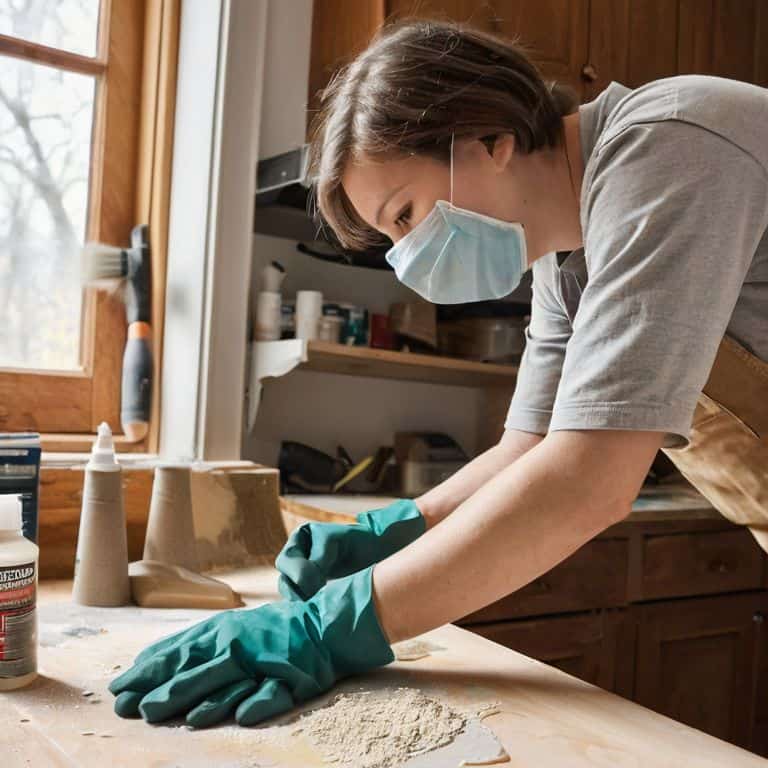
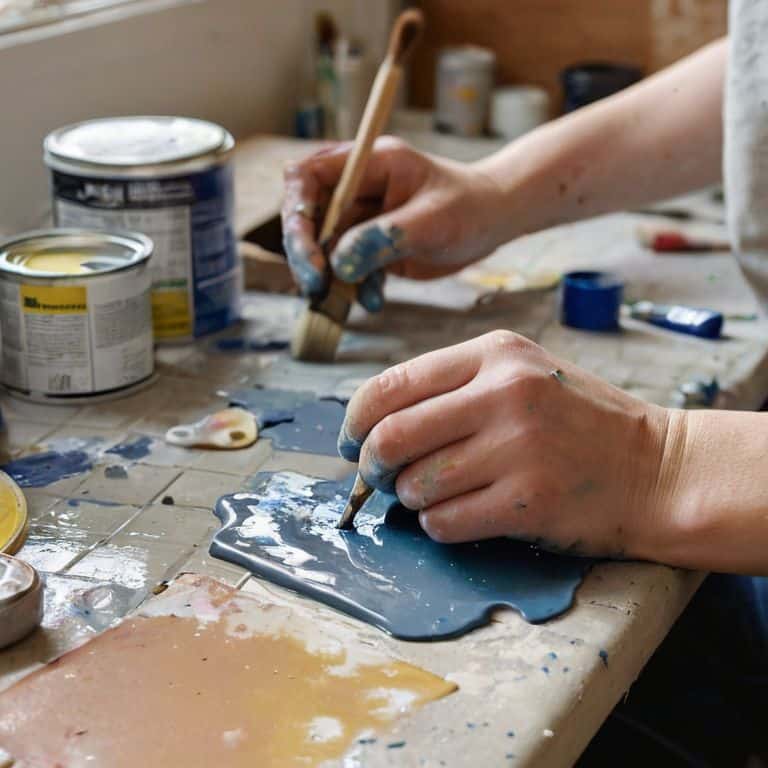
- 1. First, prep your space by clearing everything off your countertops and covering them with drop cloths or old sheets to protect them from any paint spills or stains. This will give you a clean slate to work on and prevent any damage to your kitchen surfaces.
- 2. Next, clean your tile backsplash thoroughly with a mixture of soap and water to remove any grease, grime, or food residue that might interfere with the paint’s adhesion. Use a soft-bristled brush or a non-abrasive scrubber to get into the grout lines and corners.
- 3. Now it’s time to tape off the edges around your tile backsplash, including the areas where the tiles meet the countertops, walls, or any other surfaces you don’t want to paint. Use a high-quality painter’s tape to create a seal, and apply it carefully to ensure it’s straight and smooth.
- 4. With your edges taped off, it’s time to prime your tiles if necessary. If your tiles have a glossy finish or are made of a material that’s prone to staining, such as ceramic or porcelain, you may need to apply a primer first to create a better bond between the tile and the paint. Use a roller or brush to apply the primer, and let it dry completely according to the manufacturer’s instructions.
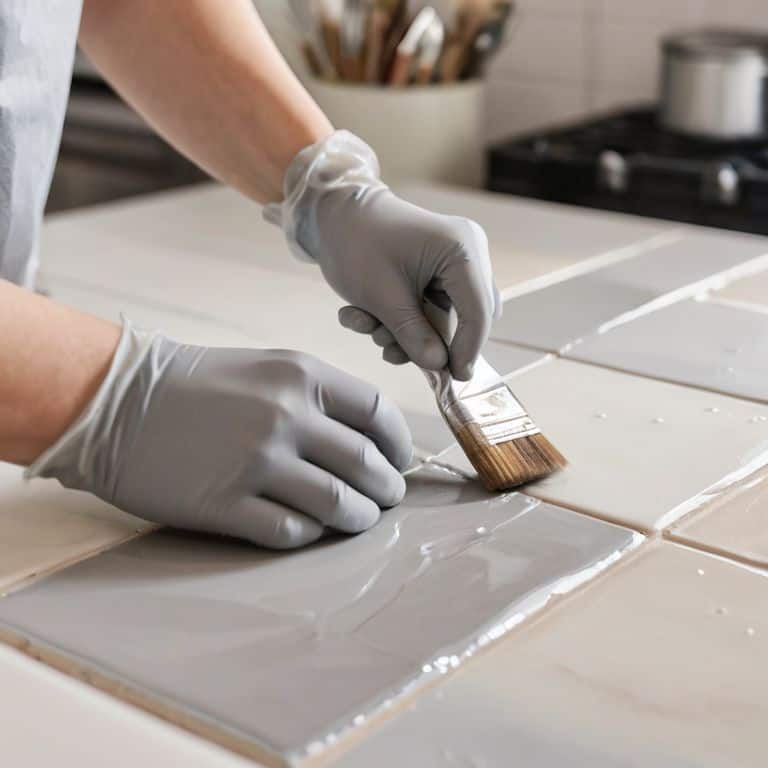
- 5. Once your primer is dry, you can start painting your tile backsplash. Use a high-quality paint specifically designed for tile or ceramics, and apply it with a roller or brush, depending on the size and texture of your tiles. Work in small sections, using a ‘W’ or ‘M’ pattern to cover the entire area evenly, and make sure to let each coat dry completely before applying the next one.
- 6. After you’ve applied the desired number of coats, it’s time to remove the tape and inspect your work. If you notice any areas where the paint may have seeped under the tape, use a small brush to touch them up, and apply additional coats as needed.
- 7. Finally, seal your paint job with a clear coat of varnish or sealant to protect it from water, stains, and wear and tear. This will help extend the life of your painted tile backsplash and make it easier to clean and maintain over time. Apply the sealant according to the manufacturer’s instructions, and let it dry completely before exposing the area to water or heavy use.
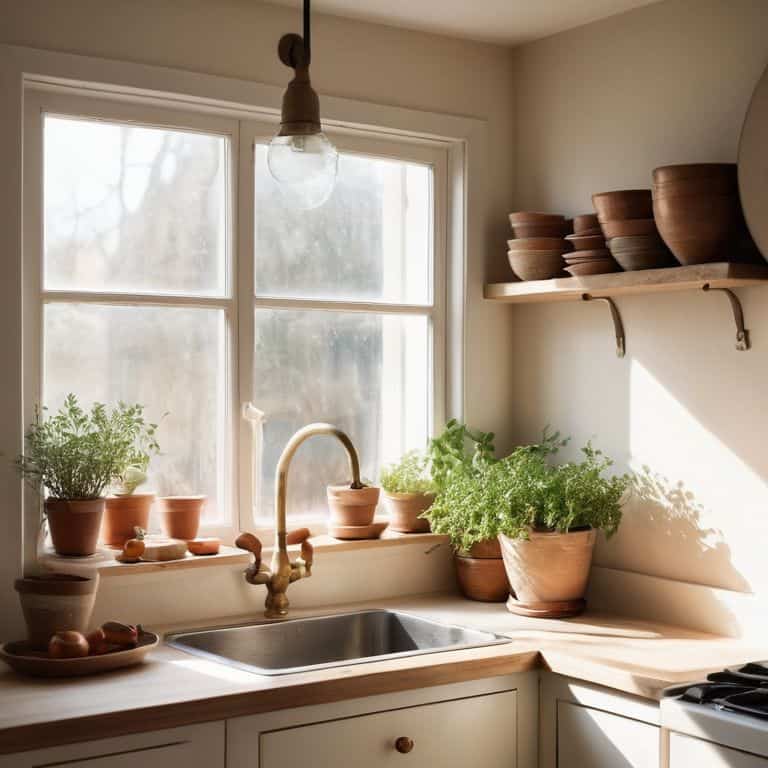
Painting Tiny Kitchens
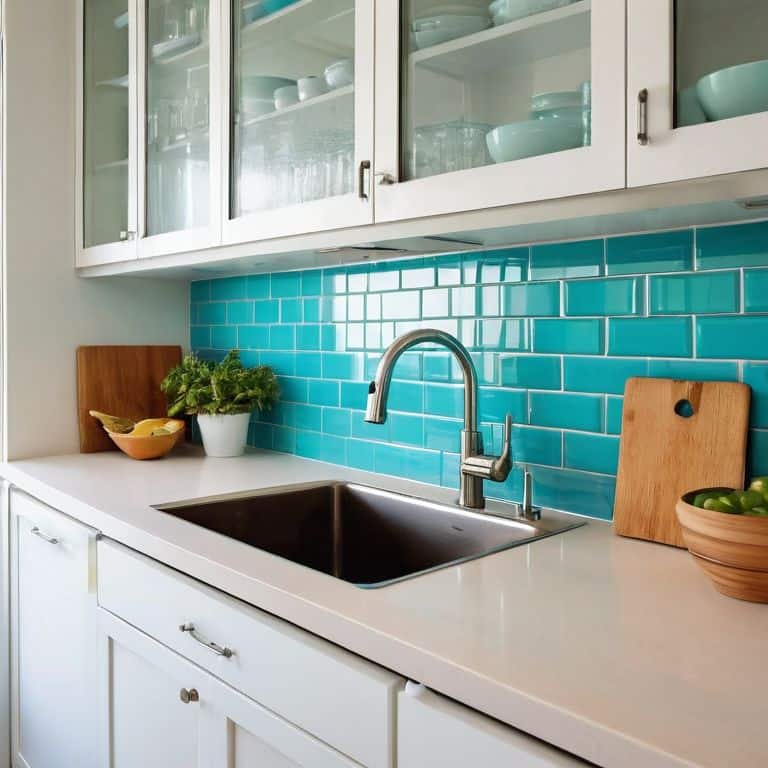
When it comes to painting tiny kitchens, every inch counts. I’ve learned that using ceramic tile painting techniques can add a touch of personality to an otherwise compact space. For my own tiny kitchen, I opted for a bold, contrasting color to create the illusion of more space. This simple trick can make a big impact, and it’s easier than you think to achieve.
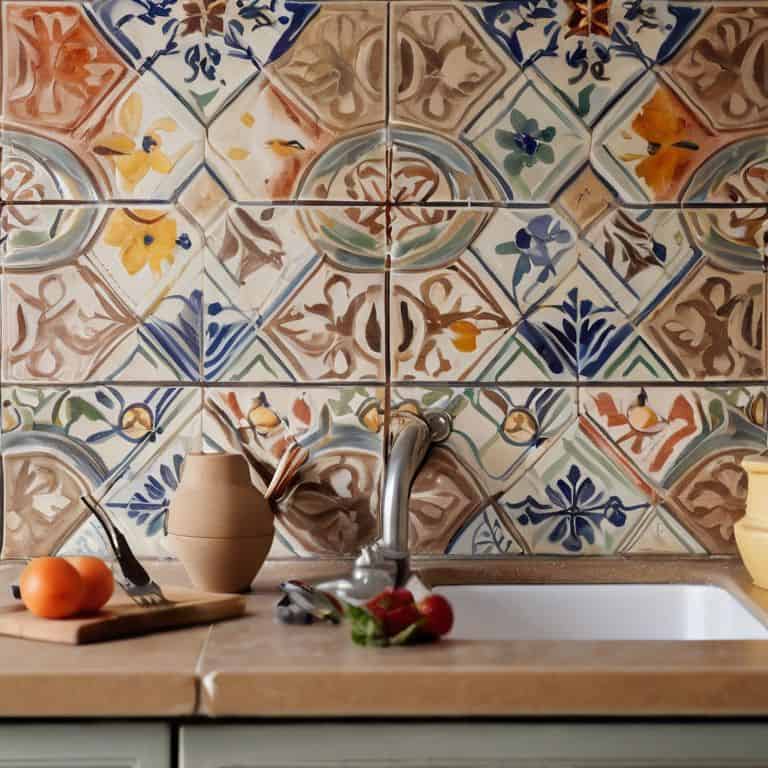
One of the biggest challenges in tiny kitchens is dealing with backsplash tile design ideas that are both functional and visually appealing. To overcome this, I recommend exploring diy tile painting kits that include everything you need to get started. These kits often come with tile stencil patterns for kitchen designs, making it easy to add a decorative touch to your space.
For a truly polished look, consider using a grout pen for tile refresh to touch up any grout lines after painting. This is especially useful when painting over glass tiles, as it can help create a seamless finish. By following these tips, you can create a beautiful, one-of-a-kind backsplash that enhances your tiny kitchen’s unique charm.
Ceramic Tile Painting Secrets
When it comes to painting ceramic tiles in tiny kitchens, I’ve learned a few secrets that make all the difference. First, choose a paint specifically designed for ceramics – it’s usually labeled as “high-heat” or “epoxy-based.” This ensures your design won’t fade or chip when exposed to water or cooking fumes. I also swear by using a primer, even if the paint claims it’s not necessary. It helps the color adhere evenly and brings out the vibrancy of your design.
For a truly professional look, consider adding a clear coat after your design is complete. This protects the paint from wear and tear, and gives your tiles a beautiful sheen. Plus, it’s easy to clean! With these tips, you can create a stunning, one-of-a-kind tile backsplash that adds personality to even the smallest kitchen.
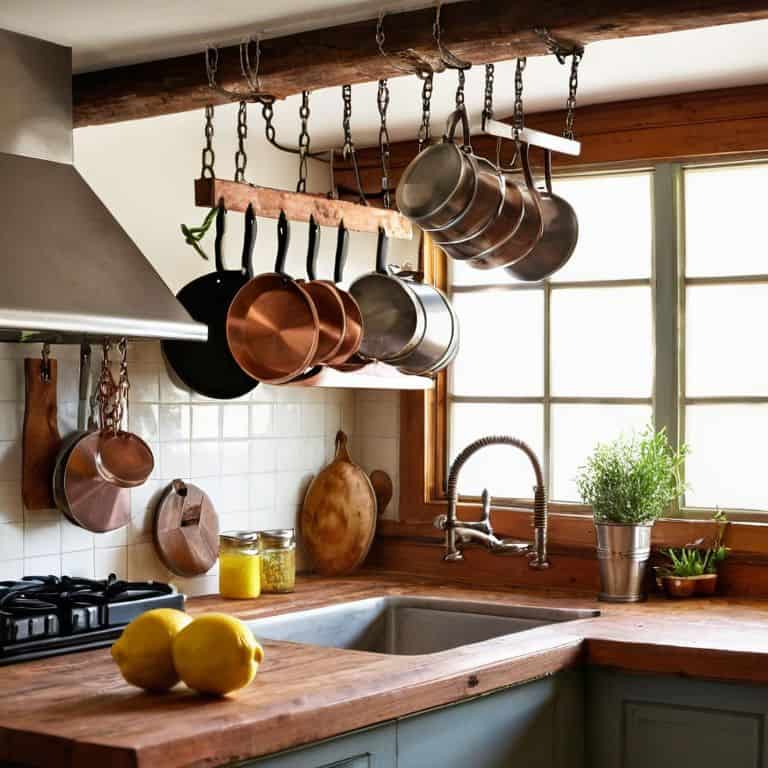
Diy Backsplash Tile Design
When it comes to DIY backsplash tile design, I love experimenting with different patterns and colors to add some visual interest to my tiny kitchen. One of my favorite tricks is to use a mix of solid and patterned tiles to create a unique, eye-catching design. You can also play with the direction of the tiles to create a sense of movement or energy in the space.
For a small kitchen, a simple yet bold design can work wonders. Consider a horizontal stripe or a subtle geometric pattern to create the illusion of more space. I’ve even used stencils and paint to add a pop of color or a fun design element to a single tile, making it a one-of-a-kind focal point in the room.
5 Essential Tips for a Flawless Hand-Painted Tile Backsplash
- Choose the right paint: Not all paints are created equal, so make sure you select a high-quality, ceramic-specific paint that’s designed to withstand the wear and tear of a kitchen backsplash
- Prepare your surface: Clean, degrease, and lightly sand your tiles to ensure a strong bond between the tile and paint – it’s the secret to a durable, long-lasting finish
- Don’t forget to prime: Applying a primer can make all the difference in achieving a vibrant, even color, especially if you’re painting over a dark or boldly-patterned tile
- Get creative with design: Don’t be afraid to experiment with stencils, stamps, or freehand patterns to add some visual interest to your backsplash – it’s a great way to reflect your personal style
- Seal it like a pro: Once your paint is fully dry, apply a clear, water-based sealant to protect your design from spills, splatters, and everyday kitchen grime – it’s the final touch to a stunning, one-of-a-kind tile backsplash
3 Key Takeaways for a Stunning Hand-Painted Tile Backsplash
Choose the right paint for your tile type to ensure a durable and long-lasting finish, and don’t be afraid to mix and match colors to create a unique design that reflects your personality
Prepare your surface properly by cleaning and degreasing the tiles, and use a primer if necessary, to guarantee a smooth and even paint application
Get creative with your design and don’t be limited by the size of your kitchen – with a little patience and practice, you can achieve a beautiful, one-of-a-kind hand-painted tile backsplash that adds major style and personality to your tiny kitchen
Painting Your Way to Perfection
A beautiful tile backsplash is not just a design statement, it’s a declaration of independence – a reminder that with a little paint and a lot of heart, you can turn even the smallest kitchen into a masterpiece that’s truly yours.
Maya Torres
Wrapping Up Your Tile Backsplash Transformation
As we’ve explored in this guide to painting a tile backsplash, the key to a successful project lies in preparation and attention to detail. From choosing the right paint and primer to executing your design with precision, each step plays a crucial role in achieving a professional-looking finish. We’ve also delved into the specifics of painting tiny kitchens, including ceramic tile painting secrets and DIY backsplash tile design ideas to help you maximize your space with style and functionality.
Now that you’re equipped with the knowledge and inspiration to tackle your tile backsplash, remember that the true power of DIY lies in its ability to empower you to transform your space and make it truly yours. Don’t be afraid to experiment, try new things, and make mistakes – they’re all part of the creative process, and you never know what unique, beautiful solution you might stumble upon. Happy painting, and I look forward to seeing your before-and-after photos!
Frequently Asked Questions
What kind of paint is best for painting a tile backsplash and will it really last?
For a tile backsplash, I swear by epoxy-based paints – they’re super durable and water-resistant. I’ve used them in my own tiny kitchen and they’ve withstood all the splashes and spills. Just make sure to prime first and seal after painting for a long-lasting finish!
Can I paint over existing grout or do I need to regrout the entire area first?
Honestly, it’s best to touch up or regrout before painting for a seamless look. But, if you’re short on time, you can paint over existing grout – just make sure to clean it thoroughly and use a primer to ensure the paint adheres evenly. I like to use a grout pen for quick touch-ups, it’s a total game-changer!
How do I prepare my tile surface for painting to ensure a smooth and even finish?
To get a smooth finish, I always clean my tile surface with a degreaser and lightly sand it to create a grip for the paint. Then, I wipe it down with a damp cloth to remove any dust or debris. It’s like prepping a canvas for a masterpiece – you want a clean slate for your beautiful new backsplash!