I still remember the night I hosted a dinner party for eight in my 400-square-foot apartment, and the conversation turned to the ultimate symbol of adulting: a home bar. A friend joked that I must have a secret liquor cabinet, given the cozy size of my space. But the truth is, I’ve always believed that a small home can be the catalyst for a big life, and that includes hosting unforgettable gatherings. That’s why I’m excited to share a guide to creating a DIY bar cart that will make your tiny apartment the life of the party. I’ve learned that with a little creativity, you can turn even the most unlikely spaces into a warm and inviting hub for friends and family.
In this article, I’ll show you how to create a DIY bar cart that’s both functional and beautiful, perfect for hosting in small spaces. You’ll get practical tips on how to choose the right materials, design a cart that fits your style, and stock it with all the essentials for a memorable night in. My goal is to empower you to think outside the box (or bar cart, in this case!) and create a space that’s truly yours. By the end of this guide, you’ll be ready to shake (and stir) things up and turn your tiny apartment into the ultimate entertainment destination. So, let’s get started and make your DIY bar cart dreams a reality!
Table of Contents
Guide Overview: What You'll Need

Total Time: 2 hours 30 minutes
Estimated Cost: $50 – $100
Difficulty Level: Intermediate
Tools Required
- Drill (with screwdriver and drill bits)
- Saw (circular or handheld for cutting wood)
- Sandpaper (for smoothing out wood surfaces)
- Measuring tape (for accurate measurements)
- Level (to ensure the cart is even)
- Wrench (for tightening bolts)
- Pencil and marker (for marking wood and planning the design)
Supplies & Materials
- 2-in x 4-in lumber (for the cart frame)
- 3/4-in plywood (for the shelves)
- Wood glue (for assembling the cart)
- 2 1/4-in wood screws (for assembling the cart)
- 1 1/4-in wood screws (for attaching the shelves)
- Wood finish (optional, for protecting and beautifying the wood)
- Casters or wheels (for mobility)
- Decorative hardware (optional, for a custom look)
Step-by-Step Instructions
- 1. First, let’s start with the basics – you’ll need a solid foundation for your DIY bar cart, which can be as simple as an old crate, a wooden pallet, or even a vintage suitcase. I’ve used all of these in the past, and each one gives your bar cart a unique character that sparks conversations when you’re hosting.
- 2. Next, think about the essential elements you want your bar cart to have – are you a cocktail enthusiast who needs a lot of storage for mixers and garnishes, or are you more of a wine and beer person who just needs a simple rack? For me, it’s all about versatility, so I’ve included both a wine rack and a small fridge in my design.
- 3. Now it’s time to get creative with the upcycling part – take your foundation and start adding the features you need. For example, you can attach casters to the bottom of your crate or pallet to make it mobile, or add a wooden plank on top to create a smooth surface for mixing drinks. I’ve also added a small LED lighting strip under my bar cart to give it a warm glow in the evenings.
- 4. The fun part is adding the personal touches that make your bar cart truly unique – this could be anything from a set of vintage cocktail glasses to a handmade sign with your favorite drink recipe. I’ve hung a few of my favorite art pieces above my bar cart to create a cozy nook that feels like a miniature cocktail lounge.
- 5. Once you have all the components, it’s time to assemble your masterpiece – start by attaching the shelves or racks you need, then add any decorative elements like lighting or signage. Don’t be afraid to experiment and try out different configurations until you find one that feels like home.
- 6. With your bar cart taking shape, think about how you can optimize the space around it – for example, you can hang a mirror or a piece of art behind it to create the illusion of a larger room, or add a few comfortable stools to create a cozy seating area. I’ve also used this opportunity to declutter my living room and get rid of any furniture that’s no longer needed.
- 7. Finally, it’s time to stock your bar and start mixing – fill your cart with your favorite drinks and ingredients, and don’t forget to add a few garnishes and snacks to complete the experience. I love hosting themed nights where I create special cocktails and decor to match – it’s a great way to get creative and have fun with friends in a small but lively space.
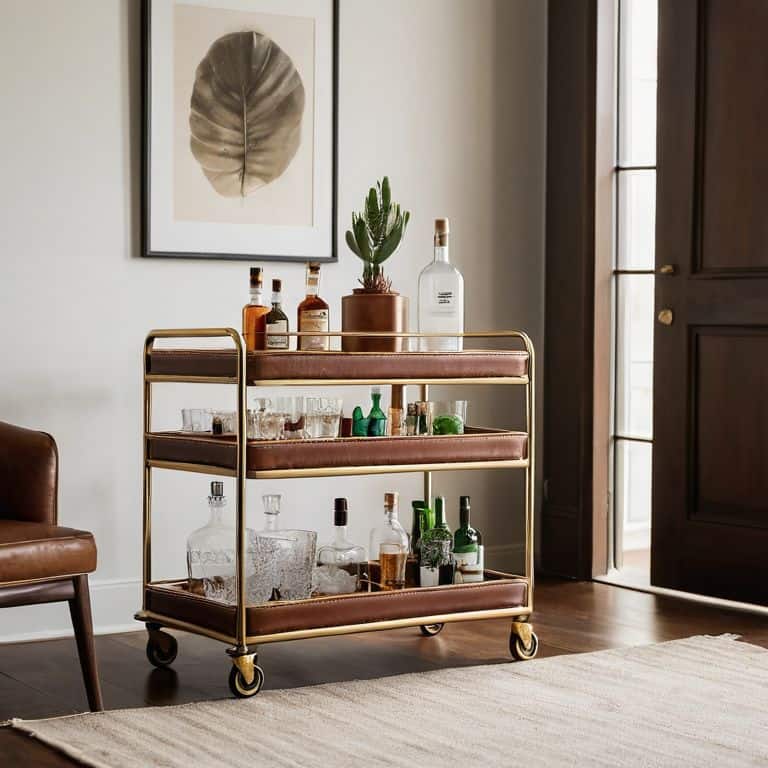
A Guide to Creating a Diy Bar Cart
As I look back on my own journey of creating a DIY bar cart, I realize that repurposing furniture can be a game-changer. I’ve seen friends turn old dressers into stunning bar carts, complete with customized drawers for storing glasses and bottles. The key is to think outside the box and consider how a piece of furniture can be upcycled to serve a new purpose. For instance, an old side table can be transformed into a bar cart with the addition of a few bar cart organization ideas, such as a wine rack or a tray for holding bottles.
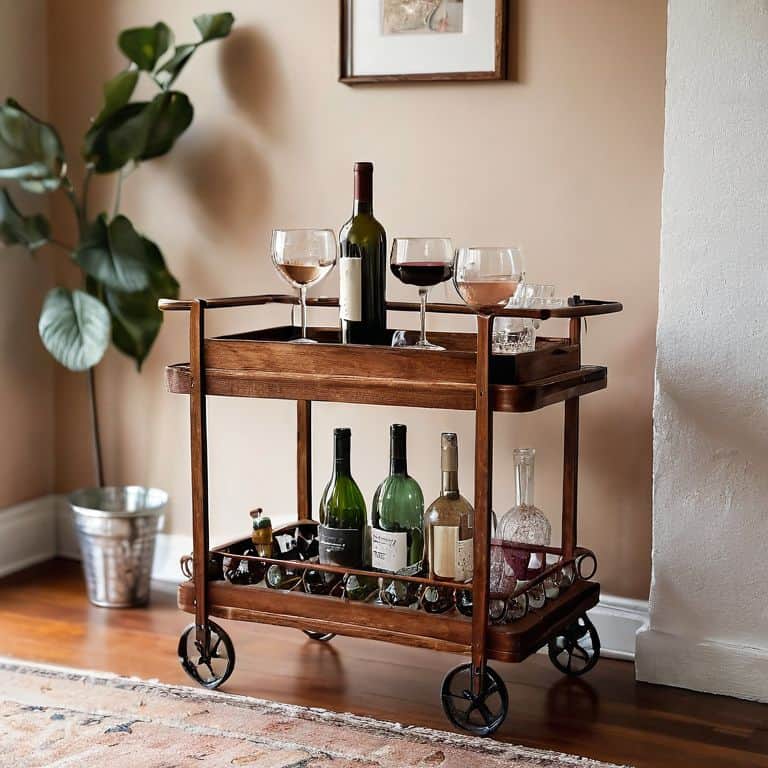
When it comes to bar cart styling on a budget, it’s all about getting creative. I’ve used everything from vintage bottles to potted plants to add a touch of personality to my bar cart. The goal is to create a space that feels warm and inviting, without breaking the bank. One of my favorite tips is to upcycle old furniture and give it a fresh coat of paint to match your bar cart’s aesthetic. This not only saves money but also adds a unique touch to your DIY project.
To take your DIY bar cart to the next level, consider investing in some small space entertaining tips. This might include using multi-functional accessories, such as a bottle opener that also serves as a wine stopper. By incorporating these types of items into your bar cart design, you can create a space that is both functional and stylish. Whether you’re hosting a dinner party or just a quiet night in, a well-designed DIY bar cart can be the perfect addition to your small space.
Bar Cart Styling on a Budget Tips and Tricks
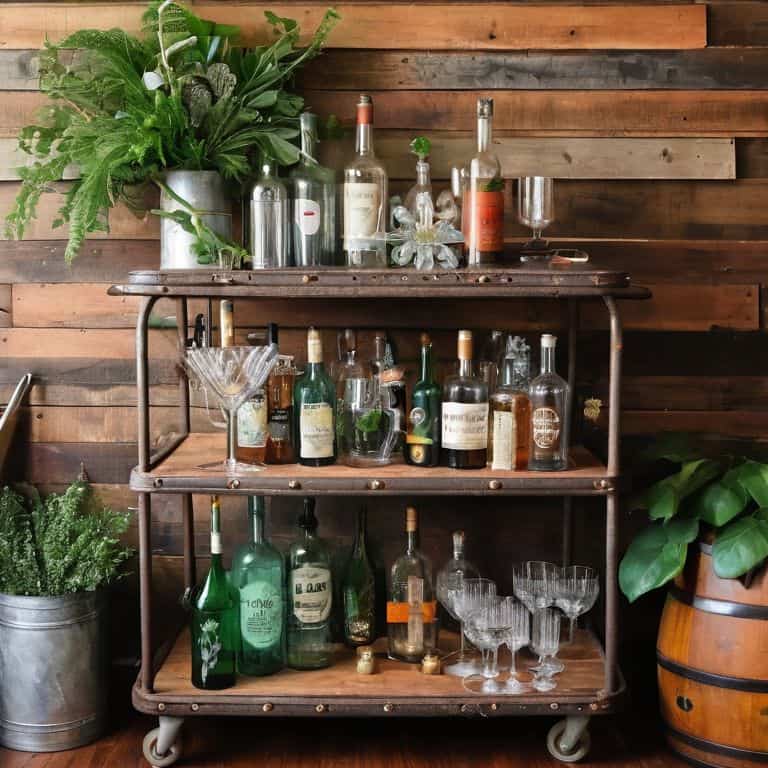
To style your bar cart without breaking the bank, think beyond the cart itself. Shop your home for items like vintage glasses, candles, and plants to add character. I like to repurpose old mason jars as vases or pen holders to keep things tidy. You can also scour thrift stores or flea markets for unique decor pieces that reflect your personality. Remember, it’s all about mixing high and low to create a look that’s uniquely yours.
By getting creative with what you already have, you can add visual interest to your bar cart without overspending. Plus, it’s a great way to tell a story and spark conversations when you’re hosting friends. I’ve found that a little bit of personality goes a long way in making a small space feel truly special.
Repurposing Furniture for Unique Bar Carts
Repurposing Furniture for Unique Bar Carts
I’ve found that some of the best bar carts come from thinking outside the box – or in this case, the furniture store. Consider repurposing an old dresser, side table, or even a vintage ladder to create a one-of-a-kind bar cart. Not only will this add some personality to your space, but it’s also a great way to reduce waste and get creative. I once turned an old wooden crate into a bar cart, and it’s been a conversation starter at every gathering since. With a little imagination, you can turn any piece of furniture into a functional and stylish bar cart that reflects your unique style.
Shake Things Up: 5 Essential Tips for Your DIY Bar Cart
- Start with a solid base: Choose a cart or table with sturdy wheels and a smooth surface to make mixing and serving a breeze
- Get creative with containers: Repurpose mason jars, vintage bottles, or wooden crates to add a personal touch and store your favorite spirits and mixers
- Light it up: Add some ambiance with string lights, candles, or a mini chandelier to create a warm and inviting atmosphere
- Keep it organized: Incorporate trays, baskets, or dividers to keep your bar cart tidy and make it easy to find what you need in the heat of the moment
- Make it a showstopper: Add a few decorative elements, like a funky lamp, a potted plant, or a statement piece of art, to give your DIY bar cart some serious personality and make it the life of the party
Key Takeaways for a Legendary DIY Bar Cart
By repurposing old furniture or thrift store finds, you can create a one-of-a-kind bar cart that adds character to your small space and sparks conversations with friends and family
With a little creativity, you can style your bar cart to look like a million bucks without breaking the bank – think vintage glasses, DIY cocktail mixes, and fresh greenery
Ultimately, a DIY bar cart is more than just a piece of furniture – it’s a tool for connection, community, and making unforgettable memories in even the coziest of urban spaces
The Art of Crafting Memories
A DIY bar cart is more than just a piece of furniture – it’s a catalyst for connection, a spark for stories, and a reminder that the best nights are often the ones we don’t plan for.
Noah Burton
Bringing it all Together: The Perfect DIY Bar Cart
As we’ve explored in this guide to creating a DIY bar cart, the key to a successful project lies in repurposing furniture and getting creative with the materials you have on hand. We’ve covered the main steps to build your bar cart, from selecting the perfect piece of furniture to adding the final decorative touches. By thinking outside the box and considering unique items like vintage suitcases or crates, you can create a one-of-a-kind bar cart that reflects your personal style and adds a touch of warmth to your home. Whether you’re a seasoned DIY enthusiast or just starting out, this project is all about embracing your creativity and having fun with the process.
As you finish your DIY bar cart and start to enjoy the fruits of your labor, remember that it’s not just about the end result – it’s about the experiences you’ll have along the way. Whether you’re hosting dinner parties, game nights, or just relaxing with a good book, your new bar cart will be the heart of the party, bringing people together and creating memories that will last a lifetime. So go ahead, pour yourself a drink, and cheers to the joy of DIY and the magic of making the most of your small space!
Frequently Asked Questions
What are some creative ways to repurpose old furniture into a functional bar cart?
I’ve repurposed an old dresser, a vintage ladder, and even a skateboard to create unique bar carts. Think outside the box – or in this case, the furniture piece! An old door, a wooden crate, or a metal cart can become a one-of-a-kind bar cart with some creativity and elbow grease.
How can I style my DIY bar cart to fit my personal decor without breaking the bank?
For a DIY bar cart that fits your vibe without breaking the bank, think thrift stores, flea markets, and repurposing items you already own. I scored an amazing vintage lantern at a garage sale and used it as a unique cocktail garnish holder – it adds a personal touch and tells a story. Get creative, and don’t be afraid to mix high and low pieces!
What are some essential items I should include on my bar cart to make it a hit with my guests?
For a show-stopping bar cart, I swear by a few essentials: a versatile whiskey decanter, a wine opener, and a mix of artisanal syrups and bitters. Don’t forget plenty of glasses and a few garnishes like citrus or olives – it’s all about creating a DIY cocktail experience that makes your guests feel like mixologists!