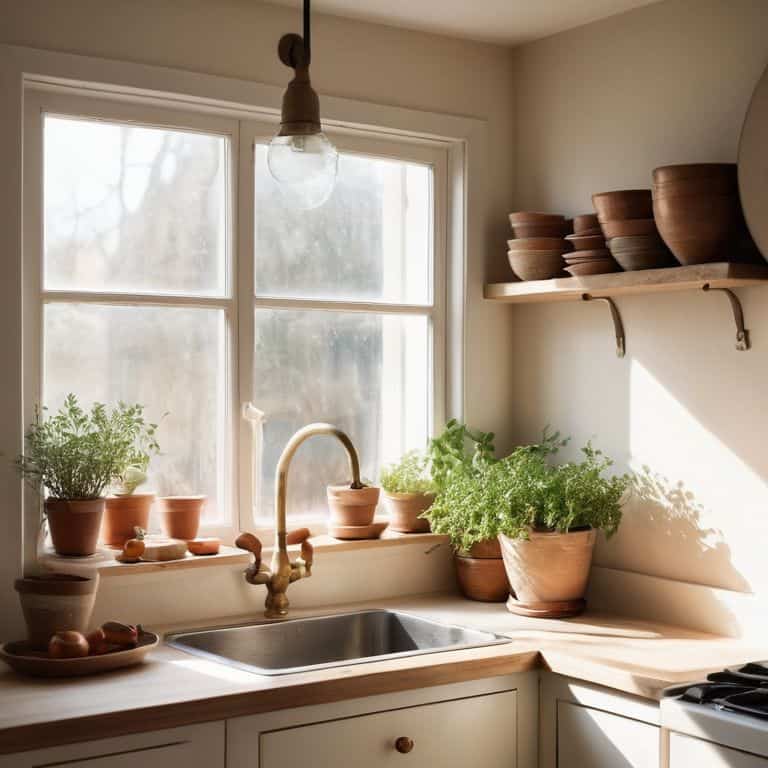
I still remember the day I decided to tackle my tiny kitchen’s lackluster backsplash with a peel and stick backsplash. I was on a mission to find a guide to making a peel and stick backsplash look good, and what I discovered changed everything. The common myth that peel and stick backsplashes are tacky or cheap is just that – a myth. With the right approach, they can be a game-changer for small kitchens like mine. I learned that with a little creativity and some practical tips, I could make my peel and stick backsplash look like a million bucks.
In this article, I’ll share my honest, no-hype advice on how to make a peel and stick backsplash look good. You’ll get the inside scoop on how to choose the right material, prepare your surface, and install your backsplash like a pro. I’ll also share some of my favorite tips and tricks for making your peel and stick backsplash pop, from adding decorative edges to incorporating LED lighting. By the end of this guide, you’ll be equipped with the knowledge and confidence to transform your kitchen with a beautiful, functional, and totally on-trend peel and stick backsplash.
Table of Contents
- Guide Overview: What You'll Need
- Step-by-Step Instructions
- A Guide to Making Peel Stick Backsplash Look Good
- Peel and Stick Tile Design Ideas for Small Kitchens
- Troubleshooting Common Backsplash Issues With Ease
- 5 Essential Tips to Make Your Peel and Stick Backsplash Shine
- My Top 3 Takeaways for a Stunning Peel and Stick Backsplash
- Empowering Your Space
- Wrapping Up Your Peel and Stick Backsplash Project
- Frequently Asked Questions
Guide Overview: What You'll Need
Total Time: 2 hours 30 minutes
Estimated Cost: $50 – $100
Difficulty Level: Intermediate
Tools Required
- Utility Knife (with extra blades)
- Measuring Tape
- Level
- Pencil
- Credit Card or Similar Tool (for smoothing out air bubbles)
- Ladder or Step Stool (for reaching high areas)
Supplies & Materials
- Peel and Stick Backsplash Tiles (various designs and sizes)
- Wall Cleaner (for cleaning the wall surface)
- Drywall Patches (for filling any holes or gaps)
- Spacers or Grout (optional, for a more realistic grout line)
Step-by-Step Instructions
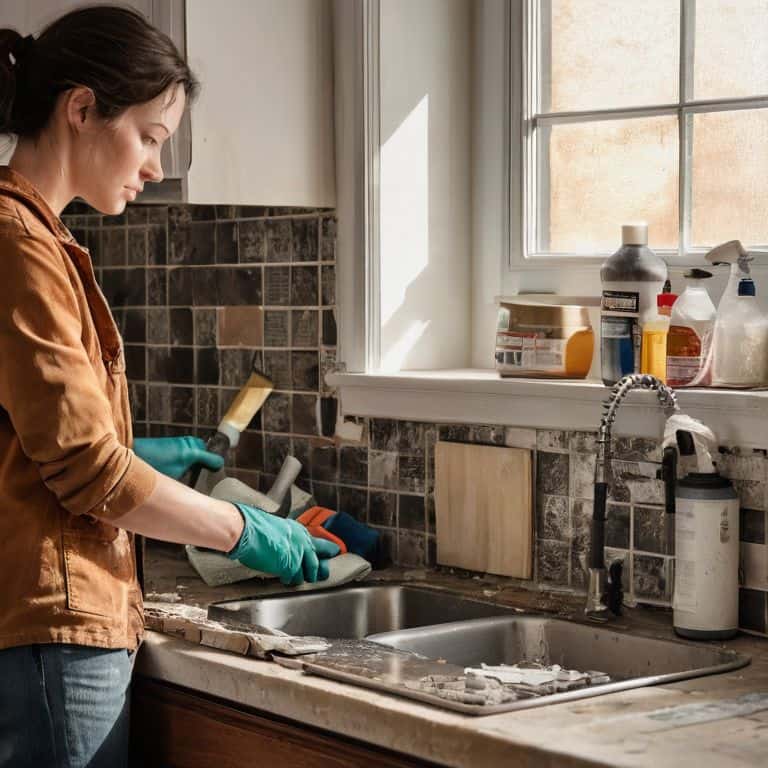
- 1. First, let’s prep the area behind your sink or stove where you’ll be applying the peel and stick backsplash. This means clearing any clutter, wiping down the walls with a damp cloth to remove any grease or dust, and making sure the surface is dry and even. I like to use a level to double-check that my walls are straight, because let’s face it, a wonky backsplash can be a real eyesore.
- 2. Next, measure the area where you’ll be applying the backsplash, taking note of any outlets, switches, or other obstacles that might get in the way. I recommend using a laser level to get accurate measurements and mark the walls with a pencil. Don’t forget to account for any patterns or designs on your peel and stick tiles, so you can plan your layout accordingly.
- 3. Now it’s time to choose your peel and stick backsplash material. There are so many options available, from glass to metal to natural stone, so pick the one that fits your style and budget. Make sure to read the instructions and reviews for your specific product, as some may have special requirements or recommendations for application.
- 4. With your material in hand, it’s time to start applying the peel and stick backsplash. Begin by peeling off the backing and applying the first tile to the center of your marked area. Use a credit card or similar tool to smooth out any air bubbles or wrinkles, working your way out from the center. This will help prevent any bumps or unevenness in the finished product.
- 5. Continue applying the tiles, working your way out from the center and using a level to ensure each one is straight. Use a utility knife or scissors to cut any tiles that need to fit around outlets or other obstacles. Don’t worry if it gets a little messy – it’s all part of the process, and you can always clean up any excess adhesive or debris as you go.
- 6. As you apply each tile, use a rubber roller or similar tool to press it firmly onto the wall, making sure it’s securely attached. This will help prevent any tiles from peeling off over time, and ensure your backsplash looks great for years to come. I like to use a combination of the roller and my hands to really press each tile into place.
- 7. Once you’ve applied all the tiles, step back and admire your handiwork. If necessary, use a touch-up paint or marker to cover any gaps or edges where the tiles meet the wall. Finally, clean the entire area with a damp cloth to remove any dust, debris, or excess adhesive, and you’re done! Your new peel and stick backsplash is now installed and ready to use.
A Guide to Making Peel Stick Backsplash Look Good
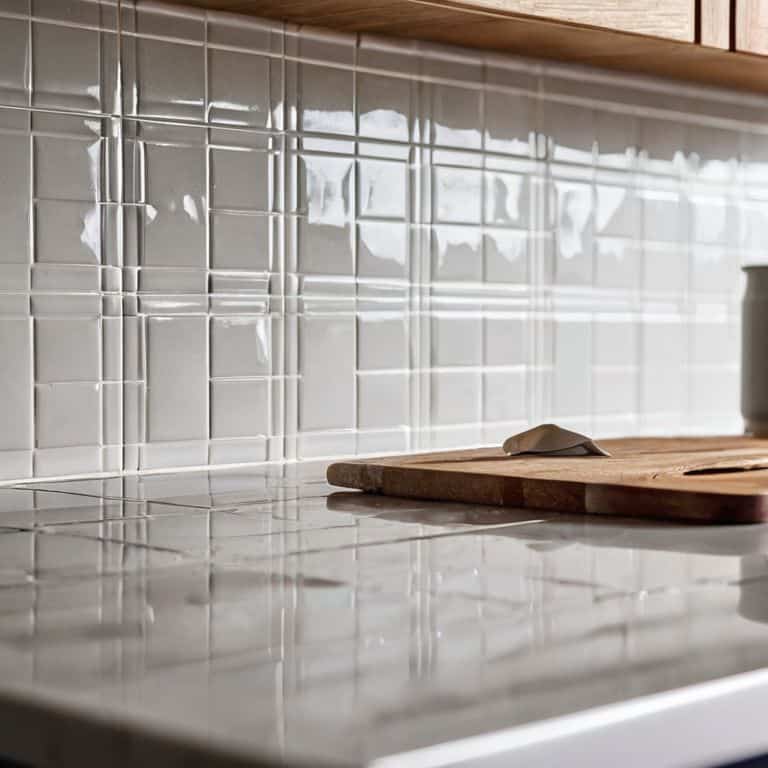
As I worked on my own peel and stick backsplash, I realized that choosing the right design is crucial to making it look good. I spent hours browsing through peel and stick tile design ideas online, trying to find the perfect pattern for my tiny kitchen. One tip I learned is to consider the style of your kitchen when selecting a design – if you have a modern kitchen, a geometric pattern might work well, while a more traditional kitchen might suit a classic subway tile look.
When it comes to installation, I’ve found that easy backsplash installation methods can make all the difference. Using a level and a pencil to mark the wall before applying the tiles can help ensure a straight and even application. It’s also important to press the tiles firmly onto the wall to avoid any air bubbles or wrinkles. By following these simple steps, you can achieve a professional-looking finish without breaking the bank.
To keep your peel and stick backsplash looking its best, it’s essential to follow some basic maintenance tips. Avoid using harsh chemicals or abrasive cleaners, which can damage the tiles or cause them to lose their stickiness. Instead, simply wipe down the backsplash with a damp cloth and mild soap. With proper care, your peel and stick backsplash can remain a beautiful and functional part of your kitchen for years to come.
Peel and Stick Tile Design Ideas for Small Kitchens
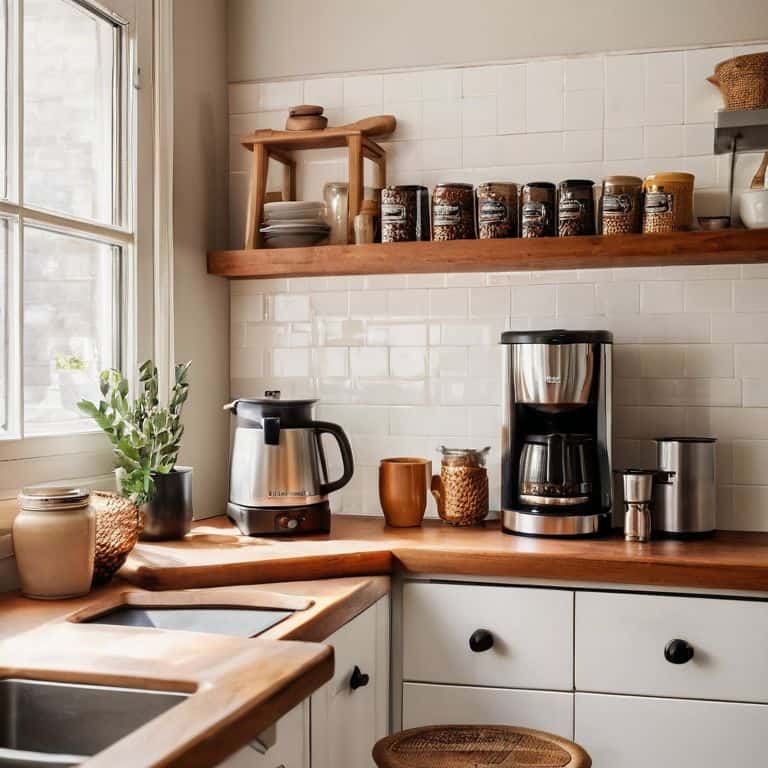
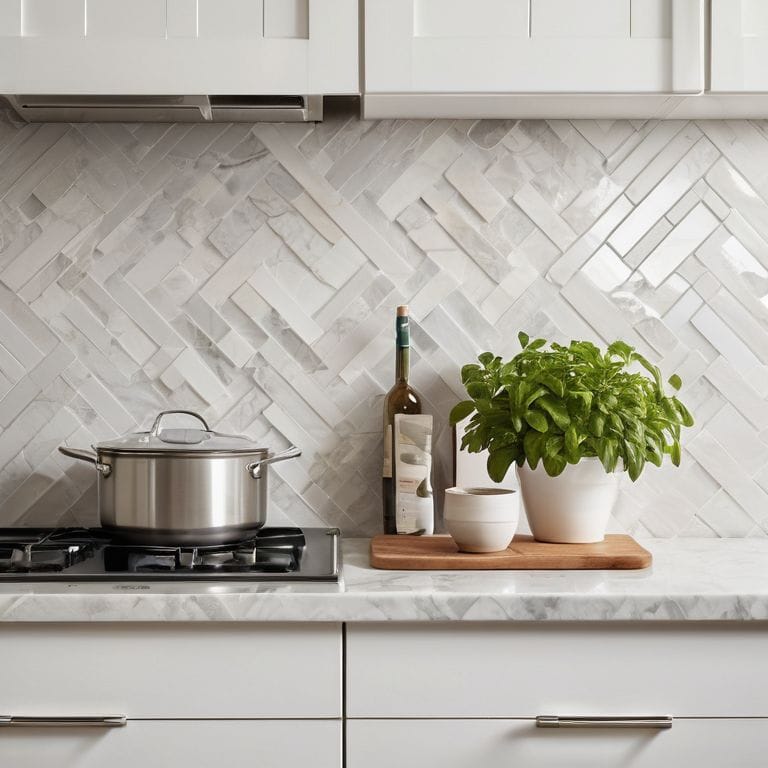
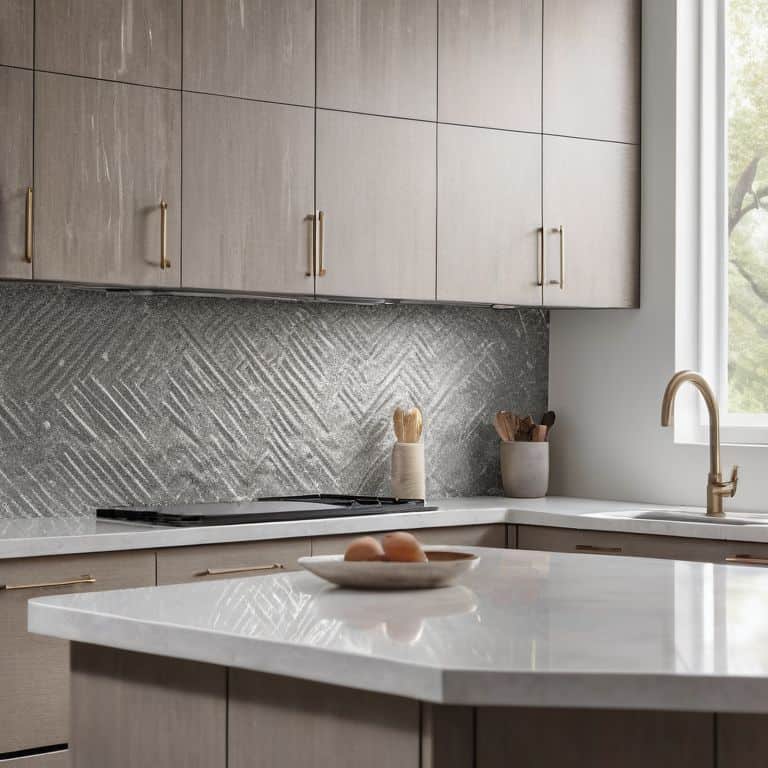
Now that we’ve got the basics covered, let’s talk design. For small kitchens like mine, I love playing with patterns and textures to create visual interest. Consider a geometric pattern to add some personality to your space, or a natural stone look to bring in some warmth. I’ve also had fun experimenting with metallic accents – they can add a touch of sophistication to even the tiniest of kitchens. When choosing your design, remember to keep it simple and uncluttered to avoid overwhelming the space. A simple, yet elegant peel and stick tile design can make all the difference in a small kitchen, and I’ve found that a little creativity can go a long way.
Troubleshooting Common Backsplash Issues With Ease
Now that we’ve explored some amazing design ideas, let’s talk about the not-so-glamorous part: troubleshooting. We’ve all been there – a tile doesn’t stick quite right, or a seam is visible. Don’t worry, these issues are easy to fix. For uneven tiles, try using a credit card or similar tool to gently scrape out any air bubbles. If a tile won’t stick, make sure the surface is clean and dry.
To hide seams, use a caulk that matches your tile color and apply it sparingly. These quick fixes will save you from frustration and ensure your peel and stick backsplash looks professional and polished. With a little patience and creativity, you can overcome any obstacle and achieve a beautiful, functional backsplash that enhances your small kitchen’s style.
5 Essential Tips to Make Your Peel and Stick Backsplash Shine
- Choose a pattern that complements your kitchen’s style, whether it’s modern, traditional, or a mix of both, to create a cohesive look
- Measure twice, stick once: ensure you have the right amount of material and a solid plan before applying your peel and stick tiles
- Clean the wall thoroughly before application to guarantee a strong bond and a smooth finish
- Play with texture and contrast by mixing peel and stick tiles with other materials, like glass or metal, for a unique and eye-catching design
- Don’t be afraid to get creative with the layout – a thoughtful, non-traditional arrangement can add visual interest and make your backsplash a true showstopper
My Top 3 Takeaways for a Stunning Peel and Stick Backsplash
Choose the right peel and stick tile design that complements your small kitchen’s style and layout, considering factors like color, pattern, and texture to create a cohesive look
Prepare your wall surface properly before installation to ensure a strong bond and a smooth finish, and don’t be afraid to get creative with tile placement and pattern combinations
Don’t stress about potential issues – with the right troubleshooting tips and tricks, you can easily overcome common problems like air bubbles, uneven edges, and tile misalignment, and achieve a professional-looking result
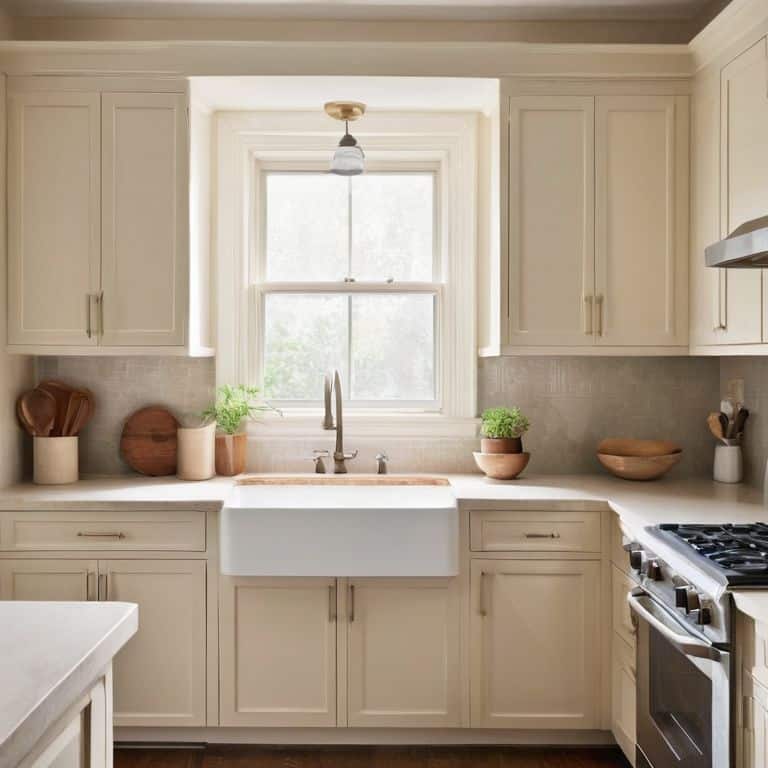
Empowering Your Space
A peel and stick backsplash isn’t just a quick fix, it’s a chance to redefine the heart of your home – with a little creativity, even the smallest kitchens can become a masterpiece of function and style.
Maya Torres
Wrapping Up Your Peel and Stick Backsplash Project
I hope this guide has been your go-to resource for making a peel and stick backsplash look absolutely stunning in your small kitchen. We’ve covered everything from the initial planning stages to troubleshooting common issues that may arise during the installation process. By following these steps and tips, you should now have a beautiful, functional backsplash that not only enhances the aesthetic of your kitchen but also provides a durable, easy-to-clean surface. Remember, the key to a successful peel and stick backsplash is in the preparation and attention to detail, so don’t rush the process, and take your time to ensure each step is done correctly.
As you stand back to admire your handiwork, remember that empowering your space is all about taking control of the design elements that make your house a home. A peel and stick backsplash is more than just a practical solution for small kitchens; it’s an opportunity to add your personal touch and style to the room. So, don’t be afraid to get creative and experiment with different patterns, colors, and designs until you find the one that perfectly reflects your personality and complements your kitchen’s unique charm. With your new backsplash in place, you’ll be inspired to tackle even more DIY projects, and that’s where the real fun begins!
Frequently Asked Questions
How can I ensure the peel and stick tiles are properly aligned and spaced for a professional-looking finish?
To get that pro finish, I swear by using a laser level and a spacer tool – it’s a total game-changer for ensuring my peel and stick tiles are perfectly aligned and spaced. I also like to start from the center and work my way out, that way any imperfections are evenly distributed and barely noticeable.
What are some tips for cutting peel and stick tiles around outlets and other obstacles in my kitchen?
When cutting peel and stick tiles around outlets, I swear by a good ol’ utility knife and a metal ruler. For curves, like around pipes, I use a scissors or a craft knife – it’s all about patience and taking your time. Don’t forget to measure twice, cut once, and leave a little extra room for adjustments!
Can I use multiple patterns or colors of peel and stick tiles to create a unique and personalized design for my small kitchen backsplash?
Absolutely, mix and match patterns and colors to create a one-of-a-kind look. I did this in my own kitchen with a combo of geometric and hex tiles – it adds visual interest and makes the space feel more personalized. Just balance bold patterns with solids to avoid visual overload.