I still remember the morning I realized I’d had enough of my coffee mugs taking over the entire kitchen counter – it was time to find a solution. As I searched for a guide to creating a coffee mug rack, I was surprised to find that most tutorials assumed I had a huge kitchen or a fancy workshop. But what about those of us living in small spaces? That’s when I decided to take matters into my own hands and create my own DIY coffee mug station. With a little creativity and some basic tools, I was able to build a functional and beautiful coffee mug rack that perfectly fit my tiny kitchen.
In this article, I’ll share my step-by-step process for creating a coffee mug rack that’s perfect for small kitchens. You’ll learn how to choose the right materials, design a rack that fits your space, and assemble it with ease. My goal is to empower you to take control of your kitchen and create a custom coffee mug station that makes your morning routine a breeze. Whether you’re a coffee lover or just looking for a way to declutter your counter, this guide to creating a coffee mug rack is for you. So, let’s get started and build a coffee mug rack that will make your kitchen feel more organized and beautiful.
Table of Contents
- Guide Overview: What You'll Need
- Step-by-Step Instructions
- A Guide to Creating a Coffee Mug Rack
- Brewing Up a Solution With Customizable Mug Storage
- Upcycling Pallets Into Space Saving Coffee Stations
- Brew-tiful Hacks: 5 Essential Tips for Your DIY Coffee Mug Rack
- Key Takeaways for a Smarter Coffee Mug Station
- The Power of Small Space Solutions
- Wrapping Up Your Coffee Mug Rack Project
- Frequently Asked Questions
Guide Overview: What You'll Need
Total Time: 1 hour 45 minutes
Estimated Cost: $20 – $40
Difficulty Level: Easy
Tools Required
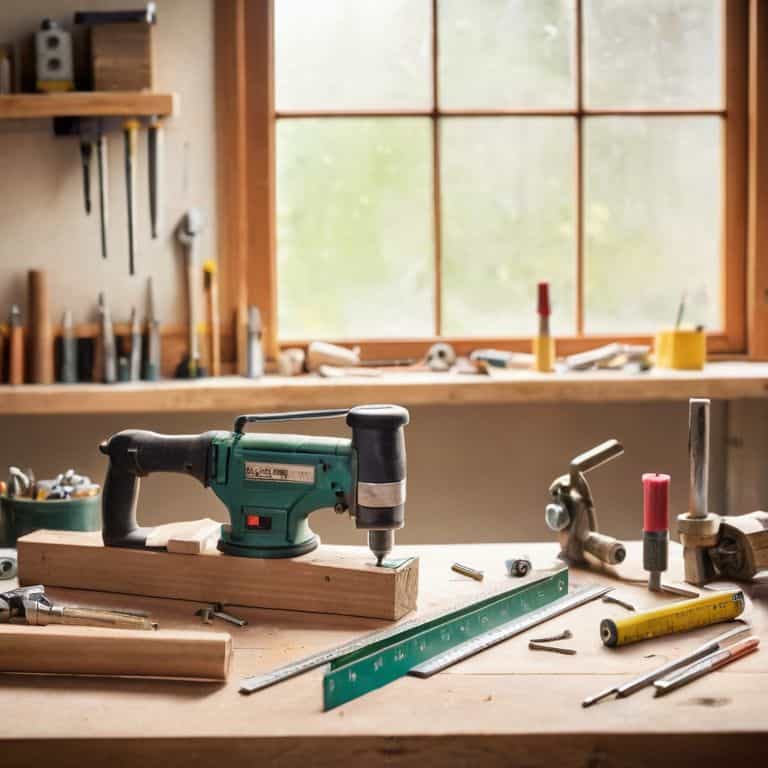
- Drill (with screwdriver and drill bits)
- Saw (coping saw or hand saw)
- Sandpaper (for smoothing out wood)
- Measuring Tape (for accurate measurements)
- Level (for ensuring the rack is straight)
- Pencil (for marking wood)
- Clamp (for holding the rack together while gluing)
Supplies & Materials
- 1-in x 4-in lumber (for the shelf and sides)
- 1-in x 2-in lumber (for the back and supports)
- Wood Glue
- 2 inches wood screws (for assembling the rack)
- 1.5 inches wood screws (for attaching the back and supports)
- Wood finish (optional, for protecting the wood)
- Hinges (optional, for creating a foldable rack)
Step-by-Step Instructions
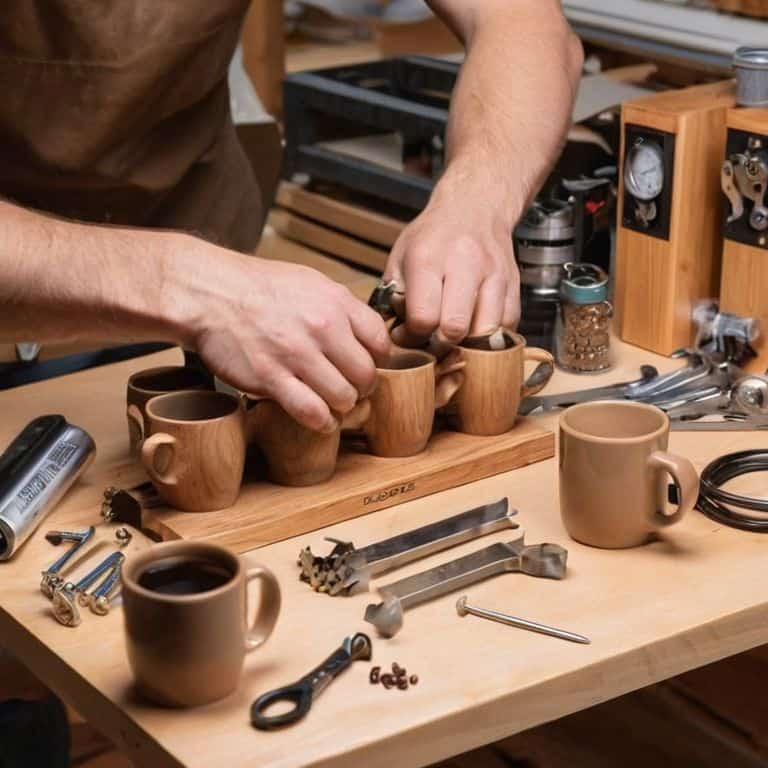
- 1. First, let’s gather our materials – we’ll need a few basic tools like a drill, a saw, and some sandpaper. I like to think of my drill as my trusty sidekick, it’s the most empowering tool in my DIY arsenal. For this project, you’ll also need some wooden planks or an old pallet, a hammer, some nails, and a few screws. Don’t worry if you don’t have all of these lying around, I’m all about repurposing and upcycling whenever possible.
- 2. Next, we need to measure and mark our wooden planks to determine the size of our coffee mug rack. Since I’m working with a tiny kitchen, I need to make the most of my wall space. I decided to go with a vertical rack to save on counter space. Take your measurements, and mark the wood where you’ll need to cut it. Remember, it’s all about creating a functional and beautiful piece that fits your unique space.
- 3. Now it’s time to cut our wood into the required pieces. If you’re new to DIY like I was when I started, don’t worry if your cuts aren’t perfect – it’s all part of the learning process. Just make sure you’re wearing safety goggles and working in a well-ventilated area. I find that listening to music or a podcast makes this part of the process way more enjoyable.
- 4. With our pieces cut, we can start assembling our rack. This is the part where you get to see your project come to life. Use your nails and screws to attach the pieces together, making sure it’s sturdy and can hold the weight of your coffee mugs. I like to add a personal touch to my projects, so I might add some decorative screws or paint it later to match my kitchen decor.
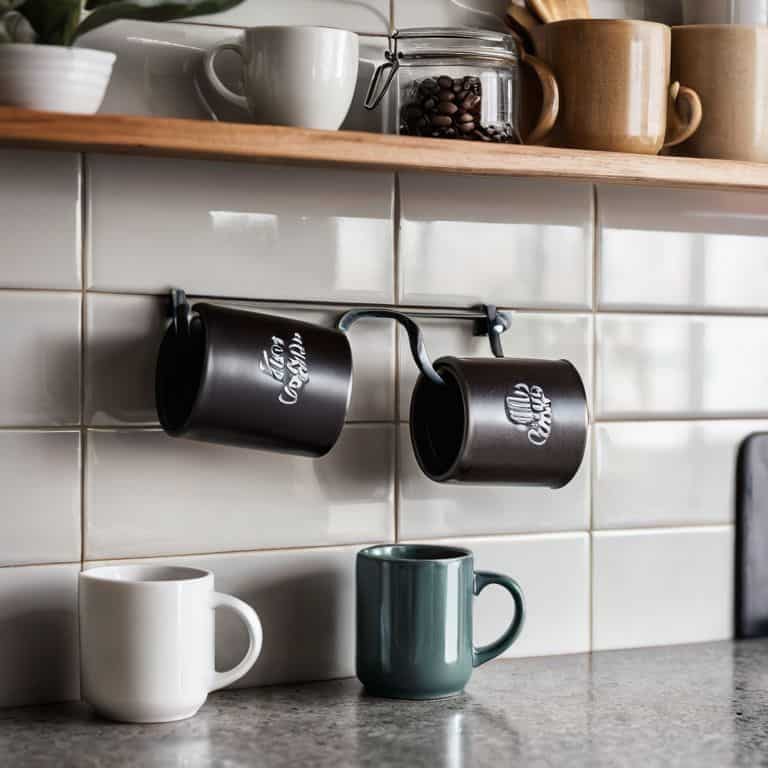
- 5. After assembling the basic structure, it’s time to add the hooks or holders for your mugs. This is where you can get really creative with your design. You can use hooks, small wooden or plastic pegs, or even repurpose old jar lids. Just attach them to the rack in a pattern that makes sense for your mug collection and the space where the rack will live.
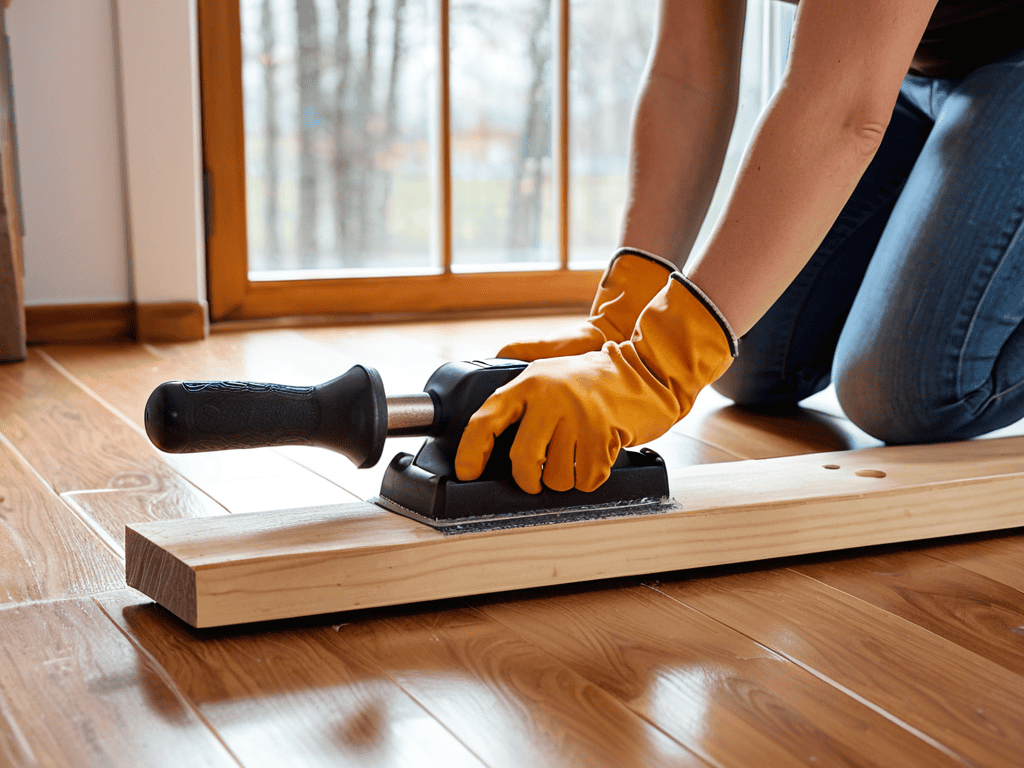
- 6. Next up, we sand and finish our coffee mug rack. This step is all about making your project look polished and professional. Use your sandpaper to smooth out any rough edges or splinters, and then apply your chosen finish. I’m a fan of natural finishes like wood stain or varnish, but you can also paint it to match your kitchen’s color scheme.
- 7. Finally, it’s time to install your rack. Decide where you want to place it – for me, it’s above my coffee maker to create a coffee station – and then attach it to the wall using screws or nails. Make sure it’s level and securely fastened so it doesn’t tip over. Now, stand back and admire your handiwork! You’ve just created a functional and beautiful coffee mug rack that’s perfect for your tiny kitchen.
A Guide to Creating a Coffee Mug Rack
As I always say, a drill is the most empowering tool you can own, and it’s especially true when it comes to customizable mug storage solutions. When building your coffee mug rack, consider using upcycled materials like old pallets or wooden crates to add a touch of rustic charm to your kitchen. Not only will this reduce waste, but it’ll also give your DIY project a unique character.
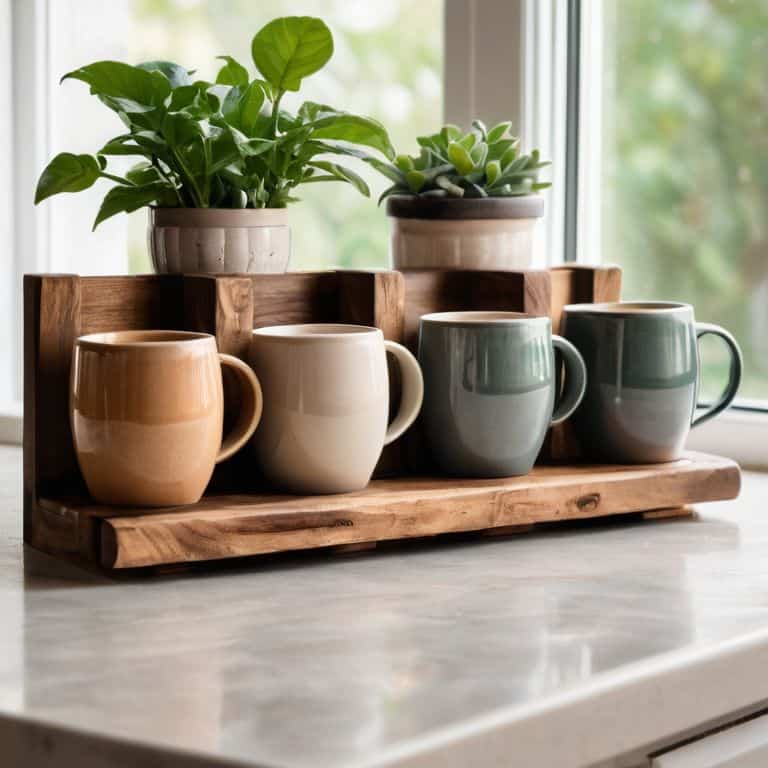
When designing your mug tree, think about the mug tree design ideas that will work best for your small kitchen. You can opt for a compact, wall-mounted design or a freestanding one that can be placed on your countertop. Either way, make sure it’s space saving and won’t clutter your kitchen. I’ve found that having a dedicated coffee station with a built-in mug rack is a total game-changer for my morning routine.
To take your coffee mug rack to the next level, explore different diy mug rack plans and get creative with the materials and design. You can add a coffee mug display shelf to showcase your favorite mugs or incorporate a small tray to hold sugar, creamer, or other coffee essentials. Remember, the key to a successful DIY project is to have fun and be willing to experiment and try new things – and don’t be afraid to get a little messy and upcycle those old pallets into something truly amazing!
Brewing Up a Solution With Customizable Mug Storage
Now that we’ve got our coffee mug rack up and running, let’s talk about taking it to the next level with customizable mug storage. I love that this project can be tailored to fit your unique kitchen style and needs. Whether you’re a fan of modern and minimalist or cozy and eclectic, you can adjust the design to suit your taste.
By adding a few extra details, like hooks or a small tray, you can create a storage system that works perfectly for you. For example, if you have a lot of tea or coffee accessories, you can add a small basket or container to keep them organized. The possibilities are endless, and I’m excited to see how you’ll make this project your own!
Upcycling Pallets Into Space Saving Coffee Stations
Now that we’ve got our mug rack game strong, let’s think outside the box – or rather, the pallet. I’m obsessed with upcycling old pallets into space-saving coffee stations. Not only is it eco-friendly, but it’s also a great way to add some rustic charm to your tiny kitchen. I’ve taken old pallets and turned them into coffee bars, complete with built-in mug storage and even a tiny shelf for my favorite coffee beans. It’s amazing how a little creativity can turn trash into a functional piece of art that’ll make your morning coffee routine a whole lot brighter.
Brew-tiful Hacks: 5 Essential Tips for Your DIY Coffee Mug Rack
- Choose materials that are both durable and easy to clean, like reclaimed wood or metal, to ensure your coffee mug rack withstands daily use
- Consider the size and shape of your mugs when designing your rack – you want to make sure it can accommodate your favorite cups
- Add a personal touch to your coffee mug rack with decorative hardware or a fresh coat of paint to match your kitchen’s unique style
- Don’t forget to measure your kitchen counter or wall space before building your rack – you want to make sure it fits snugly and doesn’t overwhelm the area
- Think beyond just mugs – your DIY coffee mug rack can also store coffee beans, sugar, or creamer, making it a functional and space-saving addition to your tiny kitchen
Key Takeaways for a Smarter Coffee Mug Station
By repurposing materials like pallets or scrap wood, you can create a functional and space-saving coffee mug rack that adds a personal touch to your tiny kitchen
Customizable mug storage is key to maximizing your kitchen counter space, and with a little creativity, you can turn any corner into a cozy coffee nook
With these simple DIY hacks, you can transform your cluttered kitchen into a beautiful, organized space that makes your morning routine a whole lot brighter, all without breaking the bank or compromising on style
The Power of Small Space Solutions
A coffee mug rack isn’t just a piece of furniture, it’s a declaration of independence from clutter and chaos – it’s a reminder that even in the tiniest kitchens, we have the power to create spaces that are both beautiful and functional.
Maya Torres
Wrapping Up Your Coffee Mug Rack Project
As we conclude this guide to creating a coffee mug rack, let’s recap the key points that will help you breath new life into your tiny kitchen. We’ve covered the importance of customizable mug storage, and explored the possibilities of upcycling pallets into space-saving coffee stations. By following these steps and tips, you’ll be well on your way to a more organized and efficient morning routine. Remember, the goal is to create a coffee mug rack that not only saves space but also reflects your personal style and adds a touch of warmth to your kitchen.
Now that you’ve got the tools and inspiration you need, it’s time to get creative and make your coffee mug rack a reality. Don’t be afraid to experiment and try new things – after all, the best DIY projects are the ones that are truly unique and functional. As you work on your project, remember that it’s not just about building a coffee mug rack, it’s about creating a beautiful and functional space that makes your daily life easier and more enjoyable. Happy building, and don’t forget to share your creations with me!
Frequently Asked Questions
What type of materials are best for building a coffee mug rack in a small kitchen?
For a coffee mug rack in a small kitchen, I swear by reclaimed wood, like old pallets or crates, and metal brackets – they’re budget-friendly, durable, and add a touch of industrial chic. Plus, you can upcycle or repurpose materials you might otherwise toss, which is a total win for tiny kitchens like mine!
How can I customize the size and design of my coffee mug rack to fit my specific kitchen decor?
To customize your coffee mug rack, consider the style and era of your kitchen – think rustic, modern, or minimalist. Measure your available wall or counter space, and choose materials that fit your aesthetic. You can use reclaimed wood, metal, or even repurposed crates to create a unique rack that reflects your kitchen’s personality.
Are there any special considerations I should keep in mind when installing a coffee mug rack in a rental property to avoid damaging the walls?
As a renter myself, I totally get it – we want to customize without jeopardizing our security deposit. When installing a coffee mug rack, consider using adhesive strips or 3M Command hooks that won’t damage the walls. You can also opt for a freestanding rack or a mug tree that doesn’t require any wall attachment at all!