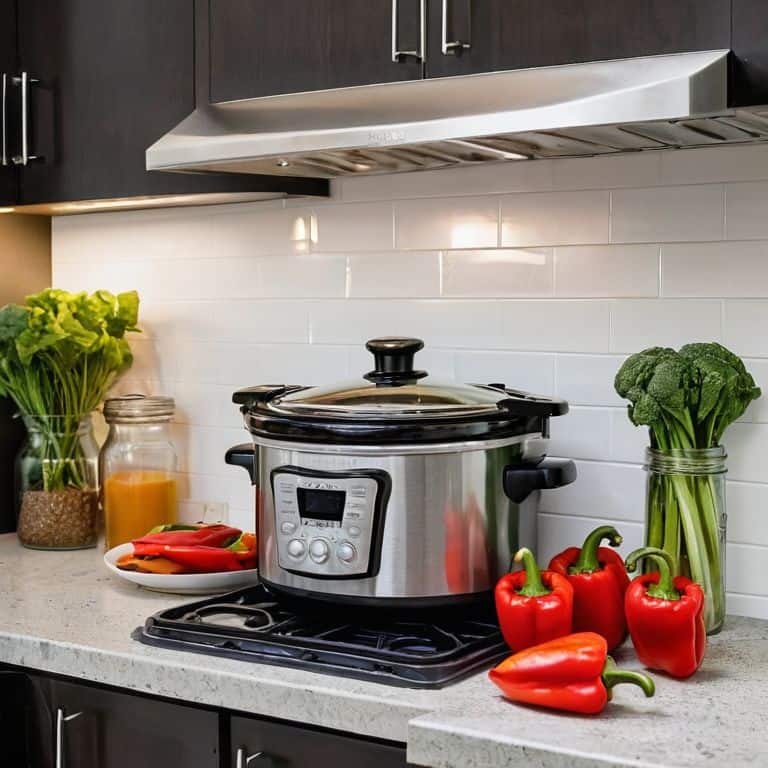
I still remember the day I discovered the joy of making a recipe for no-bake energy bites in my tiny kitchen. It was a game-changer for me, as I was tired of feeling like I needed a lot of space and fancy equipment to make healthy snacks. The common myth that you need a big kitchen to make delicious and nutritious food is just that – a myth. I’ve found that with a little creativity and the right ingredients, you can whip up a batch of no-bake energy bites in no time, and they’re perfect for reducing food waste and saving money.
As someone who’s passionate about using what you have, I want to share my experience-based advice with you on how to make the most of your kitchen, no matter how small it is. In this article, I’ll show you how to create a simple and delicious a recipe for no-bake energy bites that’s not only good for you, but also easy on the wallet and the environment. I’ll share my favorite tips and tricks for making the most of your ingredients, and how to turn simple ingredients into delicious treats. My goal is to empower you to take control of your health and wellbeing, and to make nourishing your body feel simple and joyful.
Table of Contents
- Recipe Instructions
- Kitchen Magic a Recipe for No Bake Energy Bites
- Nourishing Nuggets: 5 Essential Tips for Crafting the Perfect No-Bake Energy Bites
- Nourishing Your Body with Ease: 3 Key Takeaways
- Nourishing Wisdom
- Conclusion: Nourishing Your Body with Simple, Sustainable Choices
- Frequently Asked Questions
Recipe Details
Ingredients
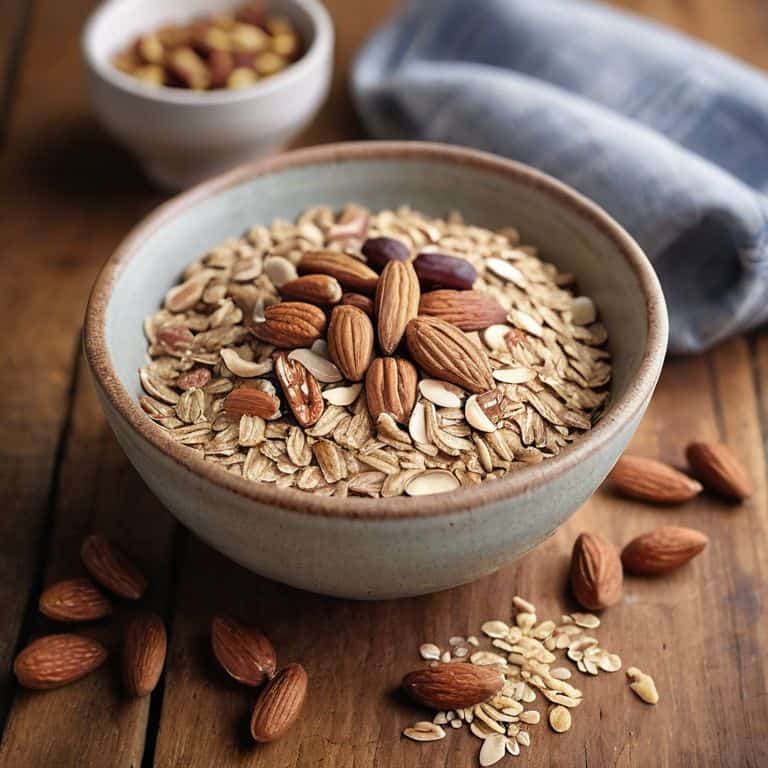
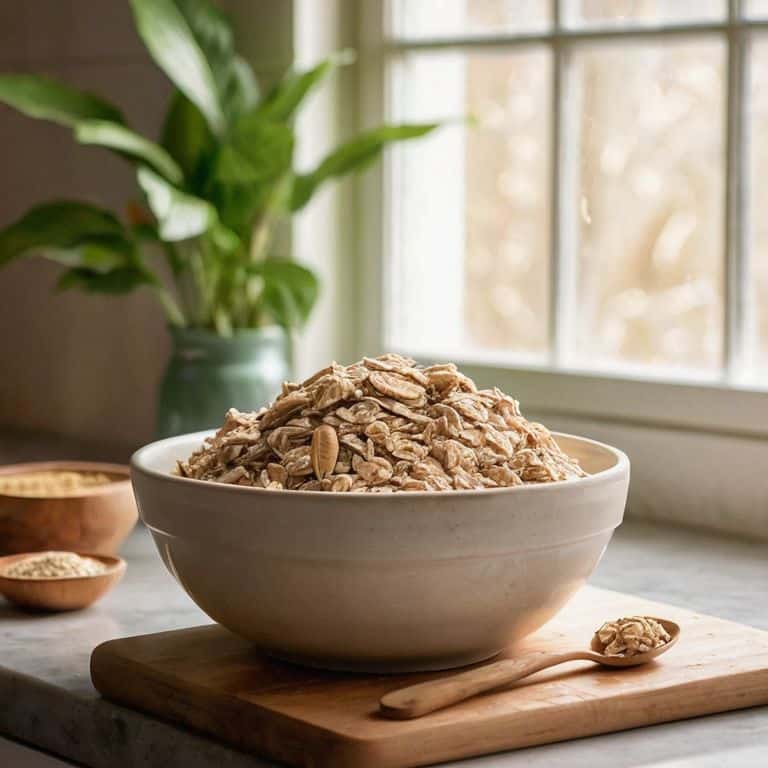
- 2 cups rolled oats (old-fashioned or quick-cooking)
- 1 cup creamy peanut butter (or any nut butter of choice)
- 1/2 cup honey (or pure maple syrup)
- 1/4 cup chia seeds (optional)
- 1/4 cup chocolate chips (at least 70% cocoa)
- 1/4 cup chopped nuts (such as walnuts or almonds)
- Pinch of salt (to taste)
Tools & Supplies
- Large mixing bowl
- Measuring cups and spoons
- Spoon or small cookie scoop
- Refrigerator
Recipe Instructions
Step 1
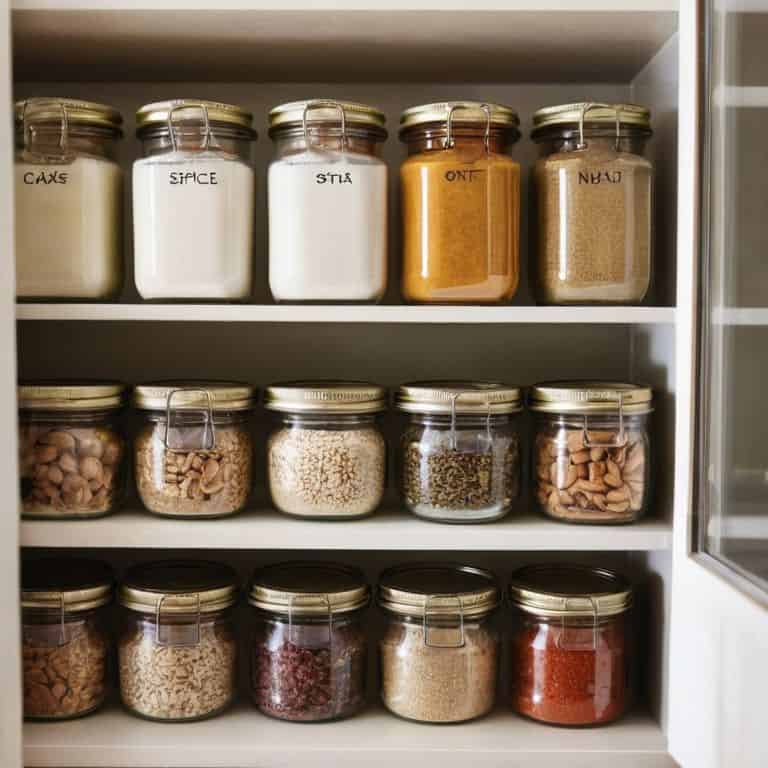
First, let’s start by gathering our ingredients, which include rolled oats, nut butter, honey, and chia seeds – I like to think of this step as setting the foundation for our no-bake energy bites. I usually buy these ingredients in bulk and store them in my tiny pantry, which I’ve organized to maximize space.
Step 2
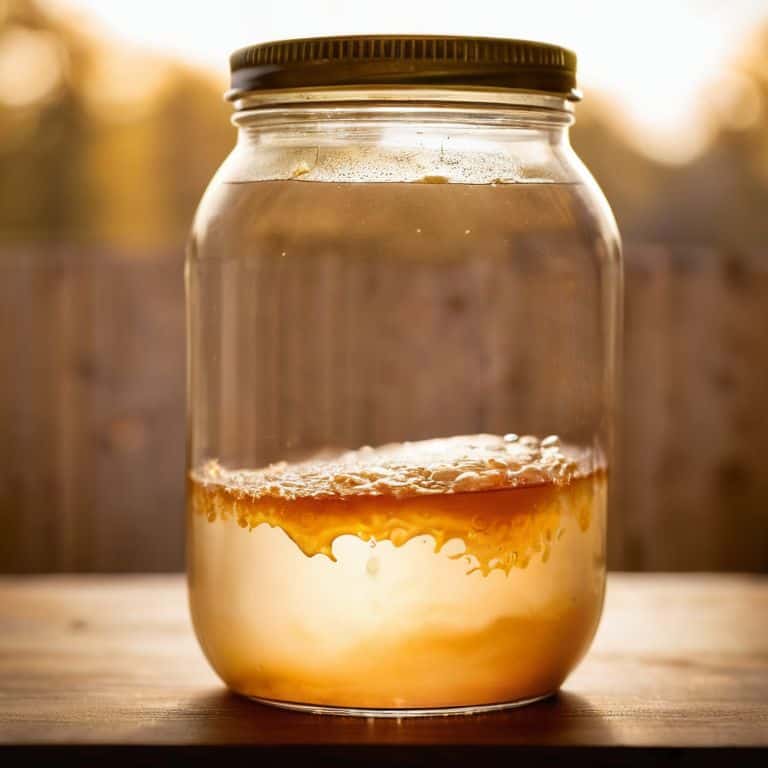
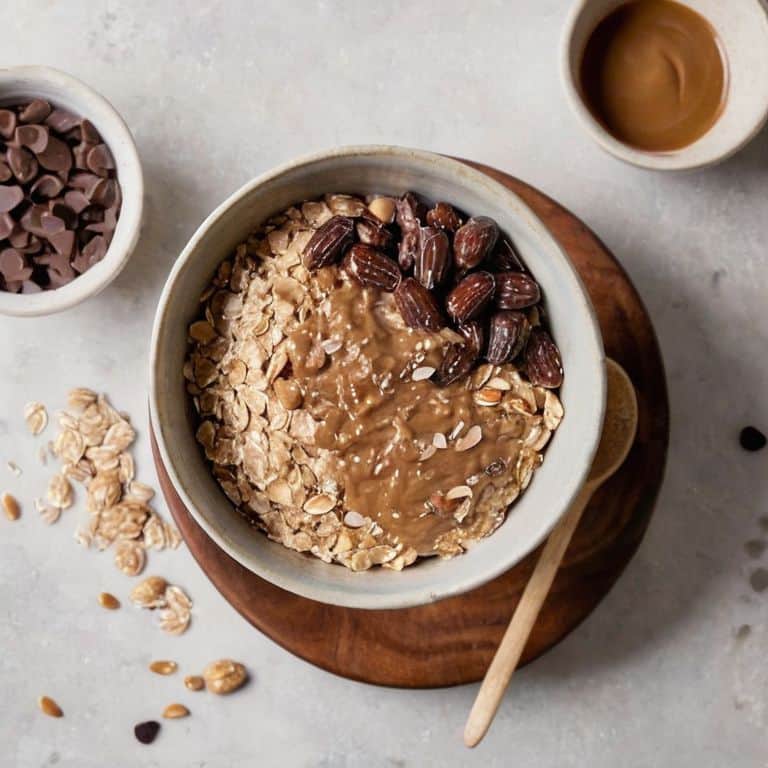
Next, in a large mixing bowl, combine 2 cups of rolled oats, 1 cup of nut butter, and 1/2 cup of honey. I use a mason jar to measure out my ingredients, and I find that using a natural sweetener like honey really makes a difference in the flavor of these energy bites. Mix everything together until you get a smooth, consistent paste.
Step 3
Now, add in 1/2 cup of chia seeds and mix well. I love using chia seeds because they’re packed with omega-3 fatty acids and they help to bind the ingredients together. If the mixture is too sticky, you can add a bit more oats, and if it’s too dry, you can add a bit more honey.
Step 4
With your hands, shape the mixture into small balls, about 1 inch in diameter. I find that this is the fun part – you get to be creative and make your energy bites whatever size you like. As you’re shaping the mixture, you can also add in any other ingredients you like, such as dried fruit or nuts.
Step 5
Once you’ve shaped all of your energy bites, place them on a baking sheet lined with parchment paper and refrigerate for at least 30 minutes to set. I like to use this time to clean as I go, washing any dishes and wiping down my countertops to keep my kitchen tidy. After the energy bites have set, you can store them in an airtight container in the fridge for up to a week.
Step 6
Finally, enjoy your no-bake energy bites as a healthy snack or dessert. I like to pack them in my bag when I’m on-the-go, or serve them to friends and family as a guilt-free treat. You can also customize the recipe to suit your tastes by using different types of nut butter or adding in other ingredients, such as coconut flakes or cinnamon.
Kitchen Magic a Recipe for No Bake Energy Bites
As I experiment with different no bake energy ball recipes, I’ve found that the key to making them truly special lies in the combination of ingredients. For instance, using date and nut combinations can add a rich, depth of flavor that’s hard to resist. I love playing around with various types of nuts and seeds to find the perfect blend. When it comes to oats, I swear by best oats for energy bites that are rolled or old-fashioned – they provide a lovely texture that holds everything together.
One of the things I appreciate about these energy balls is how versatile they are. You can easily turn them into easy no bake granola recipes by simply breaking them down into smaller pieces and mixing with other ingredients. This makes for a great healthy snack idea for kids, as they can be customized with their favorite ingredients. Plus, they’re so simple to make – just mix, roll, and refrigerate.
For those looking to take their energy balls to the next level, I recommend trying out different homemade energy bars without baking recipes. These can be a great way to experiment with new ingredients and flavors, and can even be made in advance for a quick snack on-the-go. By getting creative with your ingredients and presentation, you can turn a simple energy ball into a delicious and satisfying treat that’s perfect for any time of day.
Simple Ingredients for Healthy Snack Ideas
I love how these no-bake energy bites come together with just a few simple ingredients. Rolled oats, nut butters, and honey are staples in my tiny kitchen, and I’m always excited to find new ways to use them. By combining these basics with some dried fruits and nuts, I can create a delicious and healthy snack that’s perfect for on-the-go.
The best part is, these ingredients are not only nutritious, but they’re also incredibly versatile. I can swap out different types of nut butter or add in some seeds to change up the flavor and texture. This flexibility makes it easy to get creative and reduce food waste, which is a big part of my approach to cooking.
Unlocking Date and Nut Combinations for Energy Balls
I love experimenting with different date and nut combinations to create unique energy ball flavors. One of my favorites is pairing Medjool dates with almonds and a hint of vanilla. The sweetness of the dates balances perfectly with the crunch of the almonds, making for a delicious and satisfying snack. I also enjoy mixing it up with walnuts and pecans for a richer, earthier flavor profile. The key is to find the right balance of sweet and savory to keep your taste buds engaged and your body nourished.
Nourishing Nuggets: 5 Essential Tips for Crafting the Perfect No-Bake Energy Bites
- Keep it fresh: Always use the freshest dates and nuts for the best flavor and texture in your energy balls
- Mix and match: Experiment with different combinations of nuts and seeds to find your perfect blend
- Bind with love: Use a variety of binders like honey, peanut butter, or coconut oil to hold your energy bites together
- Add a twist: Incorporate spices, vanilla, or cinnamon to give your no-bake energy bites an extra boost of flavor
- Store with care: Keep your energy balls in an airtight container in the fridge for up to a week, or freeze for up to 2 months for a quick snack on-the-go
Nourishing Your Body with Ease: 3 Key Takeaways
I can whip up a batch of no-bake energy bites in my tiny kitchen using just a few simple ingredients, reducing food waste and saving money in the process
By experimenting with different date and nut combinations, I can create a variety of delicious energy ball flavors that are not only healthy but also tailored to my taste preferences
With a well-stocked pantry and a little creativity, I can turn everyday ingredients into nutrient-dense snacks that fuel my body and nourish my soul, making healthy eating feel simple and joyful
Nourishing Wisdom

The beauty of no-bake energy bites lies not just in their ease, but in their ability to transform scraps into sustenance, reminding us that even the smallest acts of cooking can be profound acts of self-care.
Jenna Matthews
Conclusion: Nourishing Your Body with Simple, Sustainable Choices
As we wrap up this recipe for no-bake energy bites, I hope you’ve seen how easy it is to create healthy, delicious snacks using simple ingredients and reducing food waste. We’ve explored the magic of combining dates and nuts to create the perfect energy balls, and I’ve shared my favorite tips for making the most of your pantry staples. By embracing a root-to-stem approach to cooking, you can unlock a world of flavors and nutrients while also doing your part for the planet. Whether you’re a busy professional or an avid health enthusiast, these no-bake energy bites are the perfect addition to your daily routine.
As you continue on your journey to nourish your body and reduce your environmental footprint, remember that every small change adds up. By choosing to make a few simple, sustainable swaps in your daily life, you can have a profound impact on your overall well-being and the health of our planet. So go ahead, get creative in the kitchen, and watch how these small changes can add up to make a big difference in your life and the lives of those around you.
Frequently Asked Questions
Can I customize the no-bake energy bites recipe with different types of nuts or seeds?
Absolutely, feel free to experiment with different nuts and seeds to customize the no-bake energy bites recipe. I love using almonds, cashews, or pecans, and sometimes I’ll add chia seeds or flaxseeds for an extra nutritional boost. The key is to find a combination that you enjoy and that works with the other ingredients – don’t be afraid to get creative and make it your own!
How long do no-bake energy bites typically last when stored in an airtight container?
In my experience, no-bake energy bites can last up to 5-7 days when stored in an airtight container in the fridge. I like to make a batch on the weekends and grab them as needed throughout the week. You can also freeze them for up to 2 months and thaw as needed – perfect for meal prep!
Are no-bake energy bites suitable for people with common dietary restrictions, such as gluten-free or vegan?
Absolutely, these no-bake energy bites are perfect for those with dietary restrictions! Most of the ingredients are naturally gluten-free and vegan, making them a great option for everyone. Just be sure to choose vegan-friendly chocolate and gluten-free oats to accommodate specific needs. I love that they can be adapted to suit various diets, making healthy snacking accessible to all.