I still remember the day I realized that my tiny kitchen didn’t have to feel claustrophobic – it was the day I decided to create a guide to creating a kitchen gallery wall. I had just moved into a small city apartment, and I was determined to make the most of the limited space. As I began to research ways to enhance the aesthetic appeal of my kitchen, I stumbled upon the idea of a gallery wall. At first, I thought it would be a daunting task, but as I delved deeper, I discovered that it was actually a simple and effective way to add some personality to my kitchen.
As you read this article, you’ll get honest and practical advice on how to create a stunning kitchen gallery wall that reflects your personality. I’ll share my own experiences, tips, and tricks for designing a beautiful and functional gallery wall, even in the smallest of kitchens. You’ll learn how to choose the right frames, select the perfect pictures, and arrange them in a way that creates a visually appealing display. By the end of this guide, you’ll be equipped with the knowledge and confidence to transform your tiny kitchen into a unique and inviting space that you’ll love spending time in.
Table of Contents
- Guide Overview: What You'll Need
- Step-by-Step Instructions
- A Guide to Creating a Kitchen Gallery Wall
- Mixing Frame Sizes and Shapes for Visual Impact
- Tiny Kitchen Big Personality Kitchen Wall Decor Ideas
- 5 Tips to Hang a Kitchen Gallery Wall Like a Pro
- Key Takeaways for a Stunning Kitchen Gallery Wall
- The Power of a Personalized Kitchen Gallery Wall
- Bringing it all Together: Your Unique Kitchen Gallery Wall
- Frequently Asked Questions
Guide Overview: What You'll Need
Total Time: 2 hours 30 minutes
Estimated Cost: $50 – $100
Difficulty Level: Intermediate
Tools Required
- Level (to ensure straight hanging)
- Hammer (for tapping nails into place)
- Tape measure (for measuring wall space)
- Pencil (for marking wall)
- Nail or hanging kit (for securing frames to wall)
Supplies & Materials
- Picture frames (various sizes and styles)
- Frame hanging kit (including nails, screws, or adhesive strips)
- Wall putty (for filling any holes or gaps)
- Paint or touch-up (to match wall color if needed)
- Ruler or straightedge (for drawing straight lines)
- Eraser (for correcting pencil marks)
Step-by-Step Instructions
- 1. First, let’s gather our materials, because a successful DIY project starts with being prepared. You’ll need a few basic supplies like a hammer, nails, a level, a pencil, and of course, the frames you’ve chosen for your gallery wall. I like to mix and match frames from thrift stores and flea markets to give my wall a unique, eclectic vibe.
- 2. Next, decide on the layout of your gallery wall. This is the fun part where you get to be creative and play around with different arrangements. You can use a large piece of paper or even a digital tool to plan out how your frames will look on the wall. Don’t be afraid to try out a few different layouts until you find one that feels right to you. Remember, it’s all about creating a space that reflects your personal style.
- 3. Now, it’s time to start measuring and marking the wall. Use your level and pencil to draw a light line where you want the top of your first frame to sit. Make sure it’s straight, as this will be the foundation for the rest of your gallery wall. I like to start with the center piece and work my way outwards to ensure everything is symmetric and balanced.
- 4. With your first frame in place, start hanging the rest of your pieces. Work from the center outwards, using your level to ensure each frame is straight. Don’t worry too much about making mistakes – they can often lead to interesting and unexpected design decisions. The key is to have fun and be flexible.
- 5. As you hang each frame, take a step back to evaluate the overall look of your gallery wall. You might find that you need to make a few adjustments along the way. Maybe a frame needs to be moved an inch to the left, or perhaps you’ve decided that a certain piece doesn’t fit with the rest. This is all part of the process, and it’s better to make these decisions as you go rather than waiting until everything is hung.
- 6. Once all your frames are up, take a step back and admire your handiwork. You’ve created a unique and beautiful space that reflects your personality and style. If you’re feeling extra crafty, you could even add a few extra decorative elements, like a string of fairy lights or a small shelf for plants, to really make your gallery wall pop.
- 7. Finally, don’t be afraid to make changes over time. A gallery wall is not a static entity – it’s a living, breathing part of your home that can evolve as your tastes and interests change. Feel free to swap out frames, add new pieces, or completely rethink your layout. The beauty of a DIY project like this is that it’s totally customizable and can grow with you.
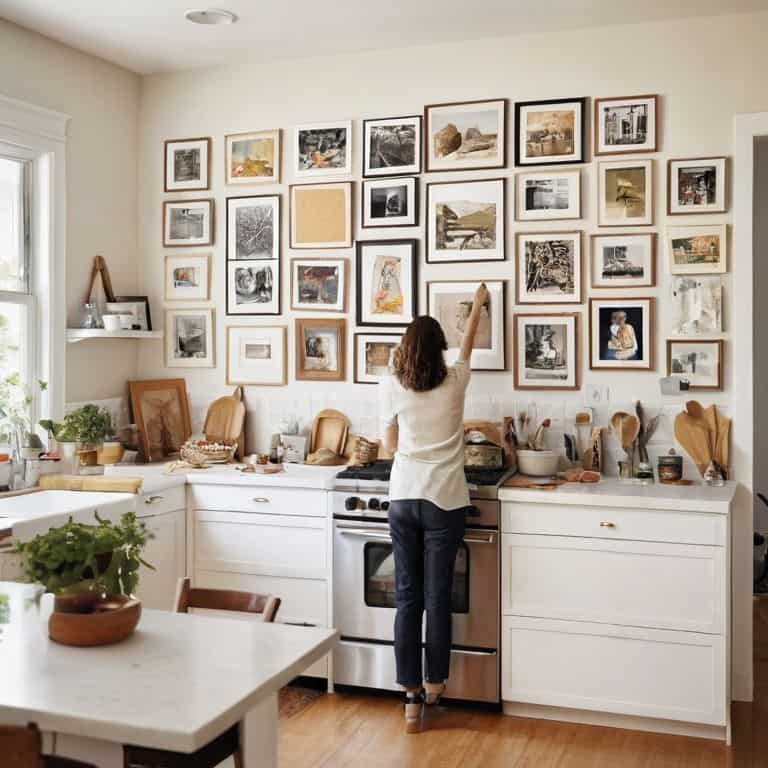
A Guide to Creating a Kitchen Gallery Wall
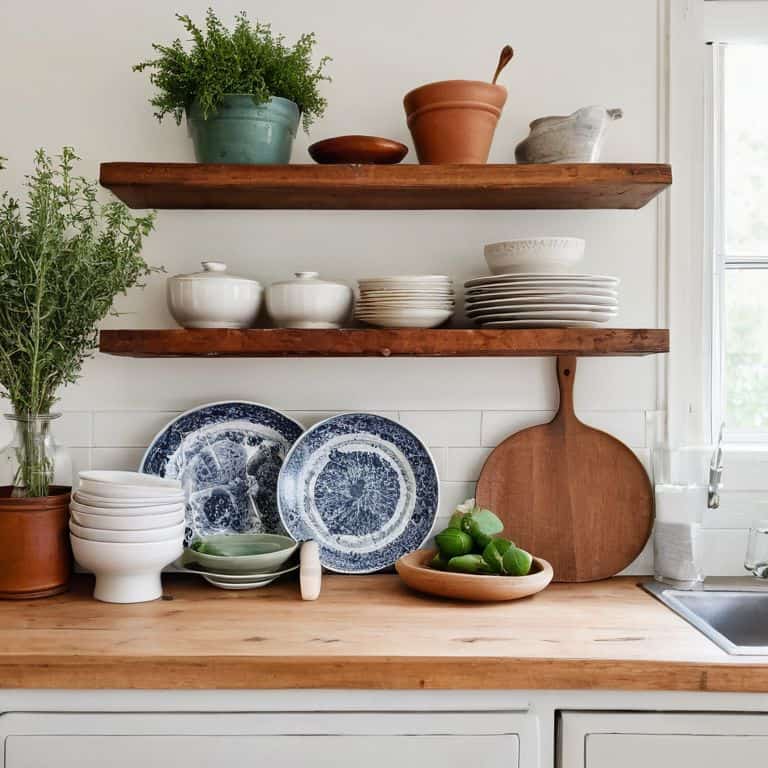
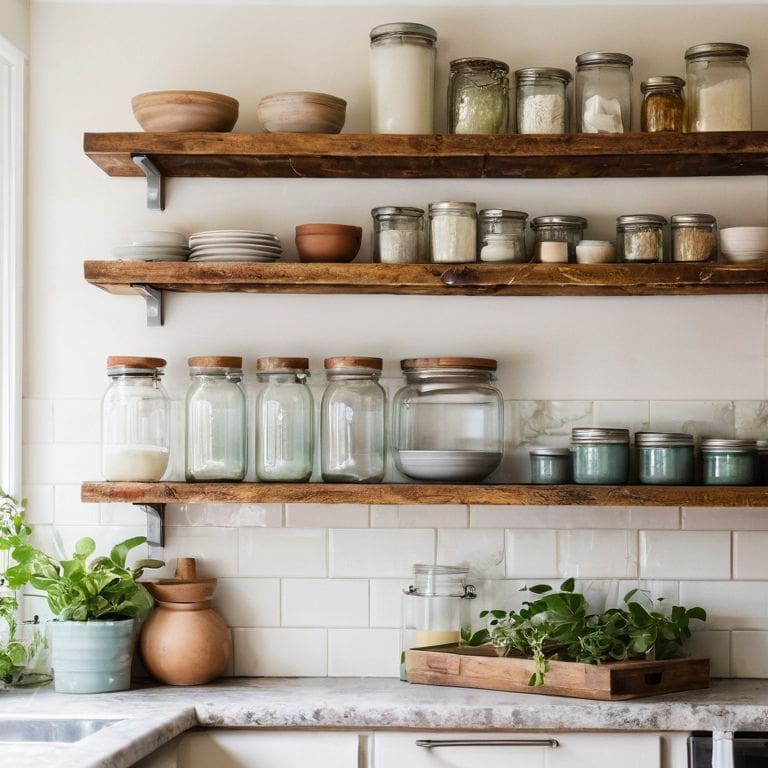
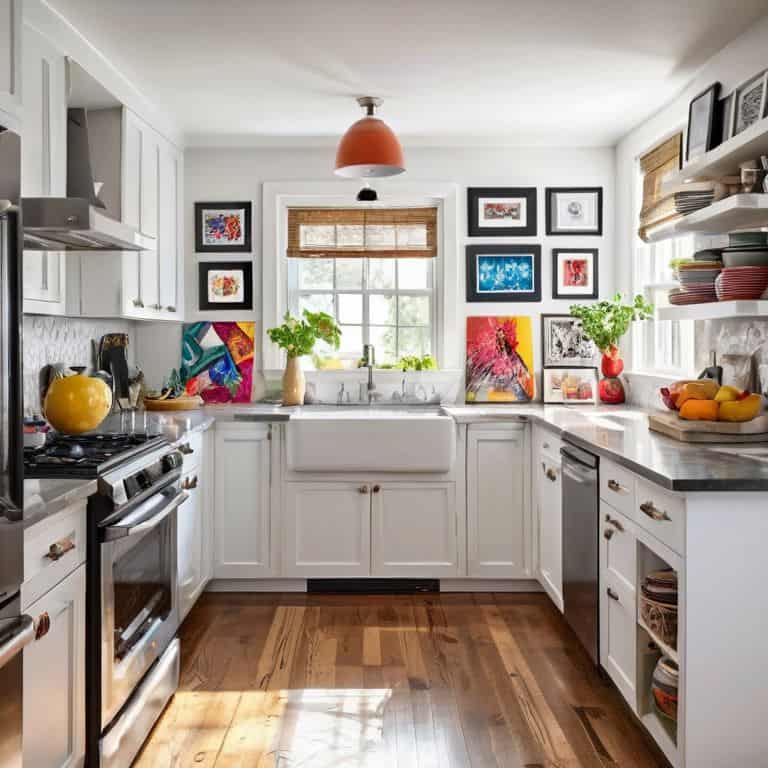
As I always say, mixing frame sizes and shapes is key to adding visual interest to your kitchen wall decor. Don’t be afraid to combine different frame styles, from modern to vintage, to create a unique look that reflects your personality. When it comes to gallery wall frame styles, the possibilities are endless, and it’s all about finding the right balance between cohesion and eclecticism.
To take your kitchen gallery wall to the next level, consider creating a themed gallery wall that ties in with your kitchen’s style and decor. For example, if you have a rustic-themed kitchen, you could use frames with a distressed finish or add some natural elements like wood or plants to your wall decor. This will help create a cohesive look that makes your kitchen feel more intentional and thoughtful.
When it comes to hanging your gallery wall, I swear by using command strips – they’re a game-changer for renters or anyone who doesn’t want to damage their walls. Plus, they make it easy to rearrange your frames if you need to. By following these small kitchen decorating tips, you can create a beautiful and functional kitchen gallery wall that adds personality and style to your space.
Mixing Frame Sizes and Shapes for Visual Impact
To add some visual oomph to your kitchen gallery wall, try mixing frame sizes and shapes. I love combining sleek, modern frames with vintage or ornate ones for a unique look. For example, you could pair a large, rectangular frame with a few smaller, circular ones to create a visually interesting arrangement. Don’t be afraid to experiment and have fun with it – after all, that’s what DIY is all about!
By mixing and matching frames, you can create a one-of-a-kind gallery wall that reflects your personality and style. Plus, it’s a great way to repurpose old frames or find new uses for thrift store scores. I’ve even used old windows, mirrors, and other unconventional items as “frames” to add some extra texture and depth to my wall. The key is to have fun and not be too hard on yourself – it’s okay if it’s not perfect, that’s what makes it charming!
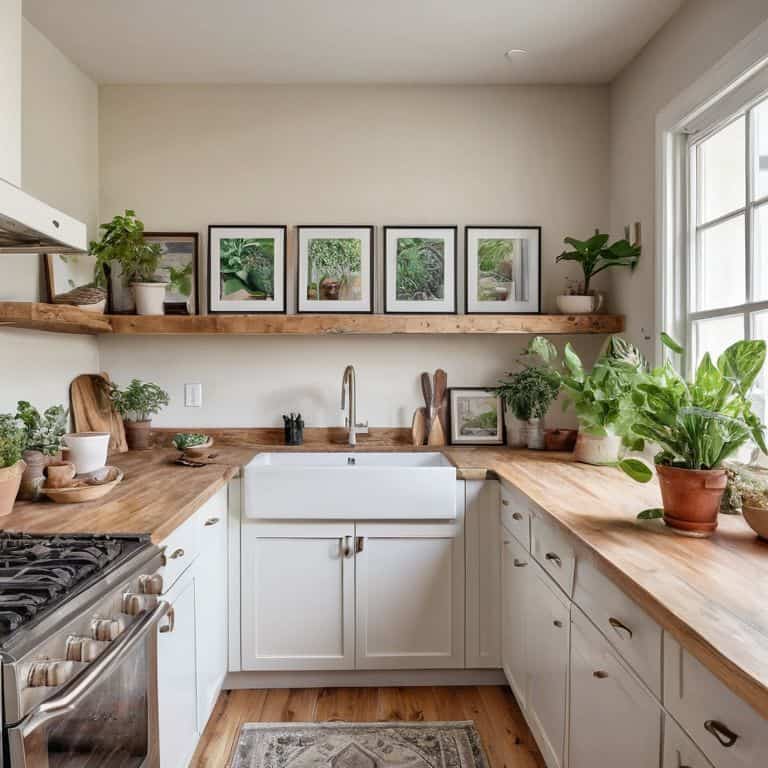
Tiny Kitchen Big Personality Kitchen Wall Decor Ideas
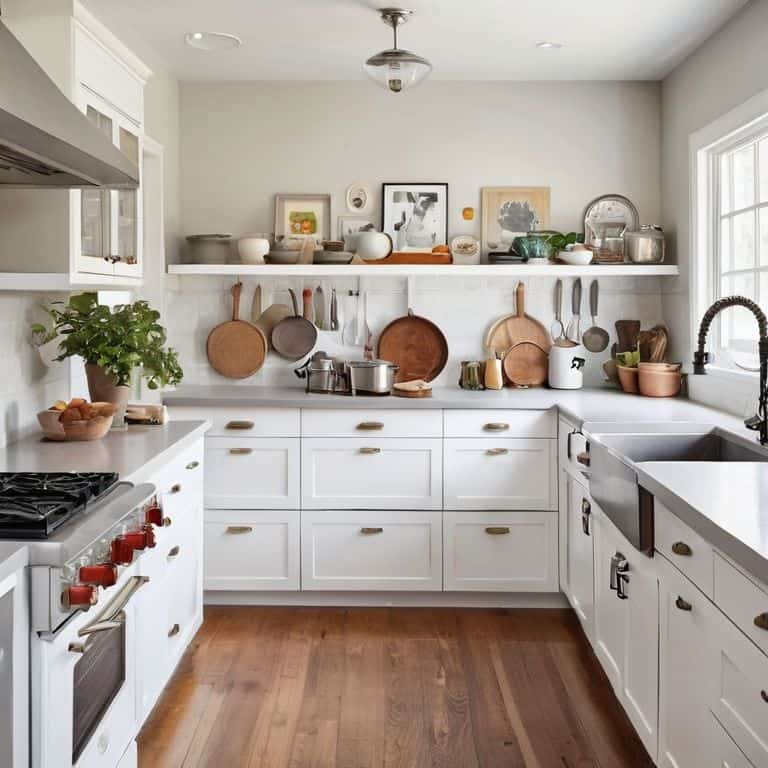
Now that we’ve got the basics of creating a kitchen gallery wall covered, let’s talk about making it truly reflect your personality. For me, it’s all about mixing and matching frames, colors, and textures to add visual interest. I love combining black and white photos with vibrant artwork and eclectic kitchen-themed prints. Consider adding a few favorite quotes, recipe cards, or even a handwritten menu plan to make your gallery wall feel more intimate and functional.
Some of my favorite kitchen wall decor ideas include using vintage kitchen utensils, like wooden spoons or metal colanders, as unique frame alternatives. You can also repurpose old windows, doors, or shutters to create a one-of-a-kind display for your kitchen treasures. The key is to have fun and experiment with different layouts until you find a combination that feels like you.
5 Tips to Hang a Kitchen Gallery Wall Like a Pro
- Start with a Unifying Theme: Choose a common thread, like vintage kitchenware or food-themed art, to tie your gallery wall together and make it feel cohesive
- Play with Proportions: Mix large and small frames to add visual interest, but balance them out so your wall doesn’t feel too cluttered or overwhelming
- Consider the Negative Space: Don’t be afraid to leave some breathing room between frames – it’ll make your gallery wall feel more curated and less like a cluttered mess
- Create a Focal Point: Designate a statement piece, like a large piece of art or a show-stopping kitchen gadget, to draw the eye and create a sense of visual hierarchy
- Make it Personal: Incorporate personal items, like family photos or handwritten recipes, to make your kitchen gallery wall feel truly unique and reflective of your personality
Key Takeaways for a Stunning Kitchen Gallery Wall
Curate a unique kitchen gallery wall by blending frame sizes, shapes, and styles to add visual intrigue and reflect your personality
Experiment with a mix of frame colors and textures, and don’t be afraid to incorporate non-traditional items like vintage utensils, recipe cards, or kitchen-themed artwork
Remember, the key to a successful kitchen gallery wall is balance: play with different layouts, step back, and adjust until your arrangement feels both beautiful and ruthlessly functional
The Power of a Personalized Kitchen Gallery Wall
A kitchen gallery wall is more than just a decoration – it’s a reflection of your personality, a dash of your style, and a pinch of your story, all mixed together to create a space that’s uniquely yours.
Maya Torres
Bringing it all Together: Your Unique Kitchen Gallery Wall
As we’ve explored in this guide to creating a kitchen gallery wall, the key to a stunning space is mixing and matching different frame sizes and shapes to create visual impact. We’ve also discussed the importance of choosing pieces that reflect your personality, whether that’s through vibrant colors or meaningful quotes. By following these simple steps and embracing your creativity, you can turn your tiny kitchen into a beautiful and functional space that feels truly yours.
So, don’t be afraid to get creative and make your kitchen gallery wall a true reflection of your style. Remember, it’s all about having fun and experimenting with different ideas until you find the perfect combination that makes your heart skip a beat. With a little patience and imagination, you can create a kitchen that’s not only functional but also a work of art that brings a smile to your face every time you step into it.
Frequently Asked Questions
How do I choose the right frame styles and colors to match my kitchen's decor?
For a cohesive look, choose frames that complement your kitchen’s style. If you’ve got a modern kitchen, opt for sleek metal or minimalist wood frames. For a more rustic vibe, go for distressed wood or vintage-inspired frames. And don’t be afraid to mix and match – it’s all about creating a visually interesting gallery wall that reflects your personality!
What's the best way to arrange a mix of frame sizes and shapes to create a visually appealing gallery wall?
For a visually appealing mix, I like to balance large frames with smaller ones, and combine rectangular shapes with circular or oval ones. Start with a centerpiece, then build outwards, playing with arrangements until it feels right. Don’t be afraid to experiment and have fun with it!
Can I use command strips or do I need to nail the frames into the wall to hang my kitchen gallery wall?
Hey, no need to nail those frames into the wall – I’m all about renter-friendly solutions. Command strips are a great option for hanging your kitchen gallery wall, they’re easy to use and won’t damage your walls. Just make sure to follow the weight limit instructions to keep everything secure and looking fabulous.