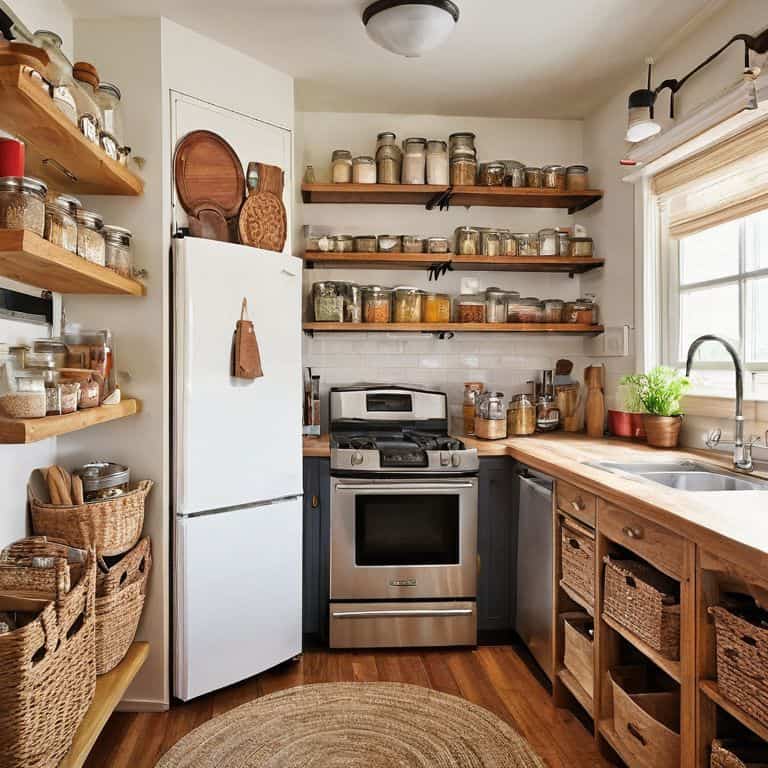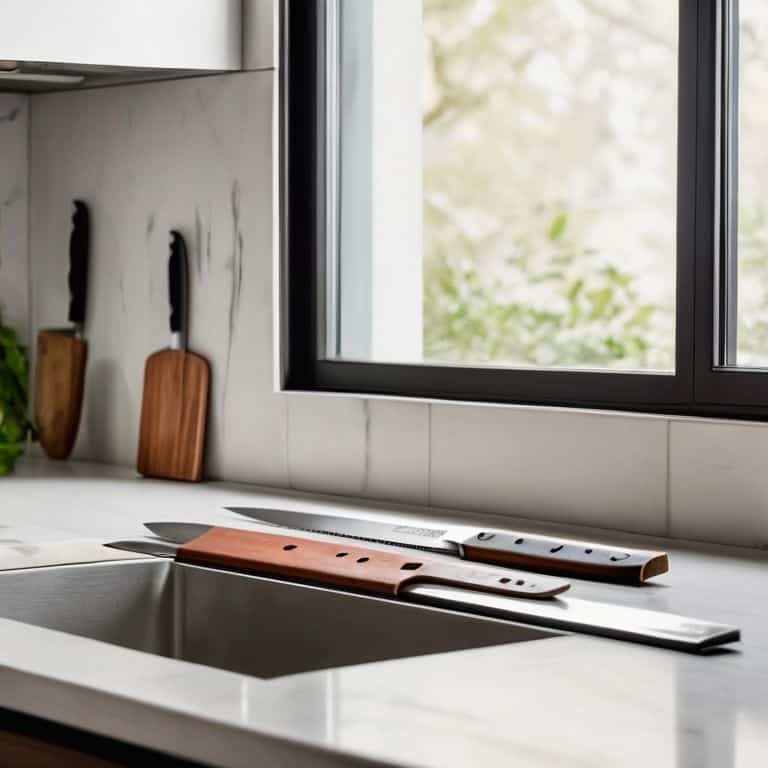
I still remember the day I realized that a cluttered kitchen wasn’t just an eyesore, but a workflow killer. I was struggling to cook in my tiny kitchen, and it wasn’t until I stumbled upon a guide to magnetic knife strips that things started to fall into place. As someone who’s passionate about optimizing spaces, I was amazed at how such a simple solution could make a huge difference. A guide to magnetic knife strips is not just about organization; it’s about creating a seamless cooking experience.
In this article, I’ll share my personal experience and expertise to provide you with a step-by-step guide on how to choose and install the perfect magnetic knife strip for your tiny kitchen. You’ll learn how to maximize your kitchen’s potential by creating a functional and efficient workspace. From the benefits of magnetic knife strips to tips on how to install them, I’ll cover it all. My goal is to empower you with the knowledge to transform your kitchen into a haven of productivity, and I’m excited to share my insights with you.
Table of Contents
- Guide Overview: What You'll Need
- Step-by-Step Instructions
- A Guide to Magnetic Knife Strips
- 5 Essential Tips for Maximizing Your Magnetic Knife Strip
- Key Takeaways for a Sharper Kitchen Workflow
- Optimizing Your Kitchen Workflow
- Streamlining Your Space with Magnetic Knife Strips
- Frequently Asked Questions
Guide Overview: What You'll Need

Total Time: 1 hour 15 minutes
Estimated Cost: $15 – $30
Difficulty Level: Easy
Tools Required
- Drill (with screwdriver and drill bits)
- Level (for ensuring straight installation)
- Measuring Tape (for accurate measurements)
- Pencil (for marking the wall)
- Screwdriver (for manual screw driving if needed)
Supplies & Materials
- Magnetic Knife Strip (available in various lengths)
- Screws (for mounting the strip to the wall)
- Wall Anchors (optional, for extra support)
- 2-in x 4-in lumber (optional, for creating a backing board)
- Wood Glue (optional, for securing the lumber)
Step-by-Step Instructions
- 1. First, let’s assess your kitchen layout to determine the best location for your magnetic knife strip. Consider the area near your cooking station, as this is where you’ll be using your knives most frequently. Take note of the distance between your countertop and the nearest cabinet or wall, as this will help you decide on the optimal strip length.
- 2. Next, measure your knives to ensure you choose a magnetic strip that can accommodate them. You’ll want to consider the length, width, and thickness of your knives, as well as the type of metal they’re made of. This will help you select a strip with the right strength and size to hold your knives securely.
- 3. Now, select the right magnetic strip for your needs. Look for one made from a high-quality, durable material that can withstand the weight of your knives. Consider the strength of the magnets, the ease of installation, and the overall design aesthetic. You’ll want a strip that not only functions well but also complements your kitchen’s style.
- 4. Once you’ve chosen your magnetic strip, it’s time to prepare the installation area. Clean the surface where you’ll be mounting the strip to ensure a strong bond. If you’re using a adhesive-backed strip, make sure the surface is dry and free of dust or oils. This will help create a secure attachment and prevent the strip from falling or becoming dislodged over time.
- 5. To install the magnetic strip, follow the manufacturer’s instructions carefully. Typically, this involves peeling off the backing and pressing the strip firmly onto the surface. Make sure it’s level and straight, as this will affect the overall functionality and appearance of the strip. Use a level or a straightedge to double-check the alignment.
- 6. After installing the magnetic strip, test its strength by placing your knives on it. Start with the largest or heaviest knife and work your way down to ensure the strip can hold the weight. This will give you an idea of the strip’s capacity and help you determine the best arrangement for your knives.
- 7. Finally, optimize your knife storage by arranging your knives in a logical and accessible pattern. Consider the frequency of use, the type of knife, and the workflow of your kitchen. By placing your most frequently used knives in easy-to-reach locations, you’ll be able to streamline your cooking process and make the most of your magnetic knife strip.
A Guide to Magnetic Knife Strips
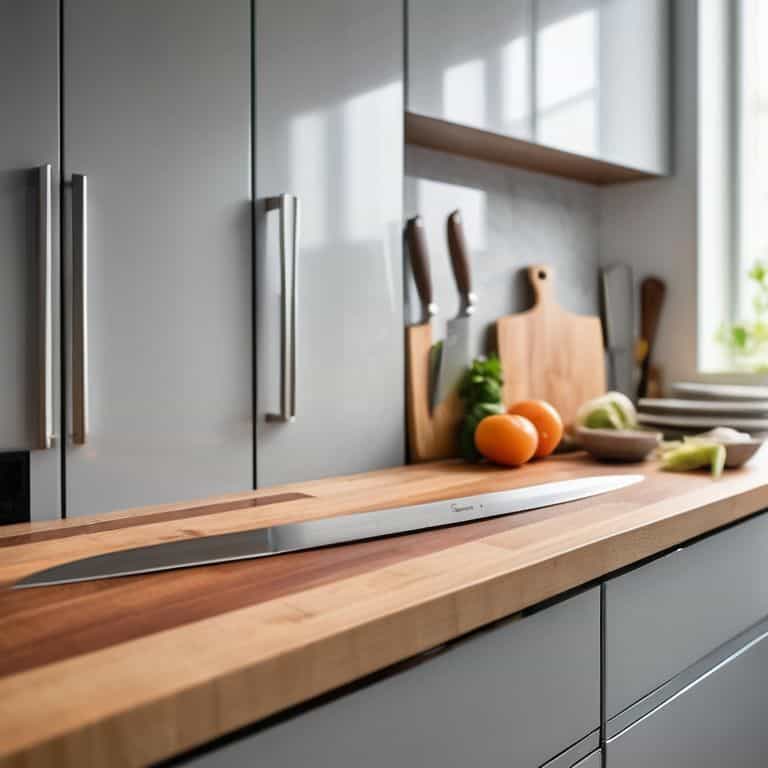
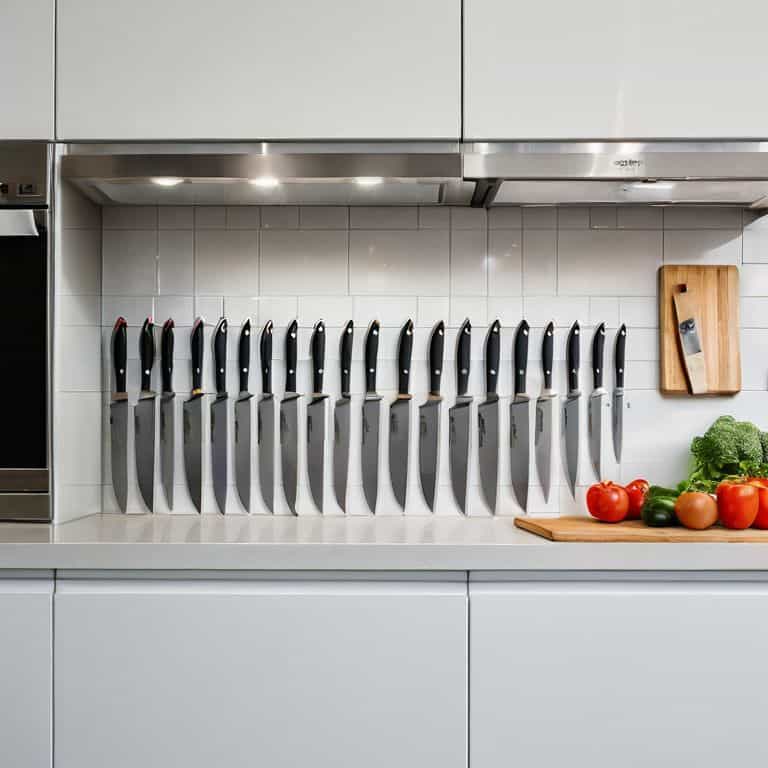
When it comes to magnetic knife strip installation tips, I’ve found that it’s all about choosing the right location. You want to place your strip in a spot that’s easily accessible, but also out of the way of your main cooking area. For me, that means installing it on the side of a cabinet or on a wall near my cutting board. This way, I can quickly grab the knife I need without having to navigate a cluttered countertop.
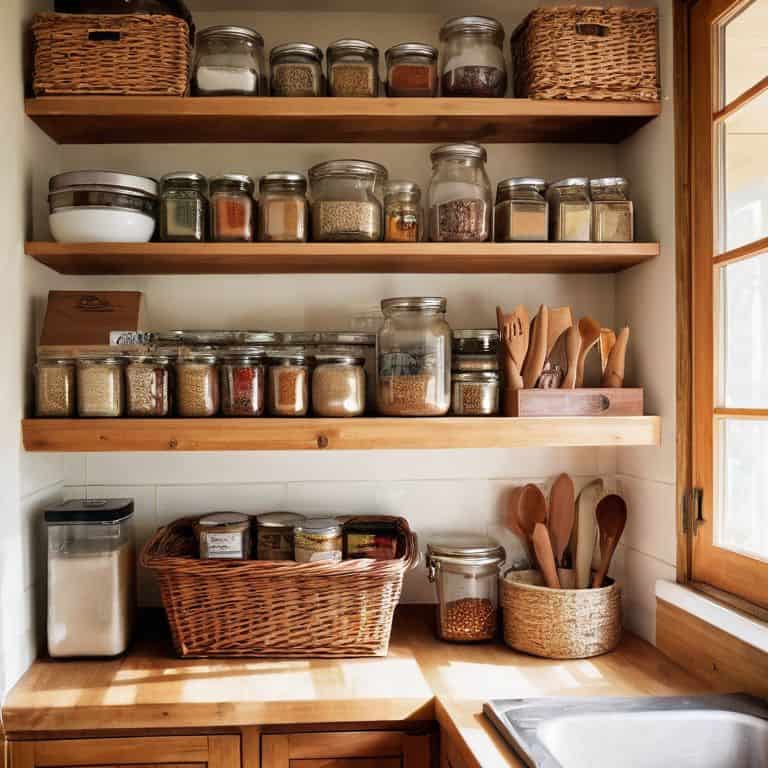
In terms of knife storage solutions for cluttered countertops, magnetic knife strips are a total game-changer. Not only do they keep your knives organized and within reach, but they also free up valuable space on your countertops. I’ve even used them to store other metal items like my kitchen shears and can opener. By keeping these items organized and out of the way, I can focus on cooking and enjoying the process.
To get the most out of your magnetic knife strip, I recommend checking out some diy magnetic knife strip projects online. These can be a great way to customize your strip to fit your specific needs and kitchen style. Plus, they can be a fun and rewarding project to tackle on a weekend afternoon. Whether you’re looking to upgrade your existing strip or start from scratch, I say give it a try and see what you can create.
Diy Magnetic Knife Strip Projects
For a more customized approach, I love diving into DIY magnetic knife strip projects. Not only can you tailor the size and material to your kitchen’s specific needs, but it’s also a fun way to get creative. I’ve made my own strips using wooden dowels, strong magnets, and a bit of wood glue. It’s amazing how such a simple project can elevate your kitchen’s workflow.
If you’re feeling adventurous, you can even repurpose old furniture or pallet wood to create a unique magnetic knife strip that doubles as a decorative piece. Just remember to choose materials that are durable and easy to clean, as they’ll be holding your knives and other metal utensils. With a little patience and some basic DIY skills, you can create a custom magnetic knife strip that perfectly fits your tiny kitchen’s style and functionality.
Magnetic Knife Strip Installation Tips
When it comes to installing magnetic knife strips, a few simple tips can make all the difference. I’ve found that cleaning the surface where the strip will be applied is crucial – any dust or dirt can compromise the adhesive. Next, measure the space carefully to ensure the strip is centered and evenly spaced from any surrounding features, like cabinets or countertops. This might seem obvious, but trust me, it’s worth taking the extra minute to get it just right.
For an extra-strong hold, consider adding a small amount of mounting tape to the back of the strip, especially if you’re planning to store heavier items like cleavers or chef’s knives. By following these simple installation tips, you’ll be able to enjoy the benefits of magnetic knife strips – a sharper workflow and a clutter-free kitchen – for years to come.
5 Essential Tips for Maximizing Your Magnetic Knife Strip
- Choose the Right Size: Select a magnetic knife strip that fits your kitchen’s unique layout and the number of knives you need to store
- Cleanliness is Key: Regularly wipe down your magnetic knife strip to prevent dust and grime from accumulating and reducing its effectiveness
- Strategic Placement: Install your magnetic knife strip in a spot that minimizes clutter and optimizes your workflow, such as near your cutting board or stove
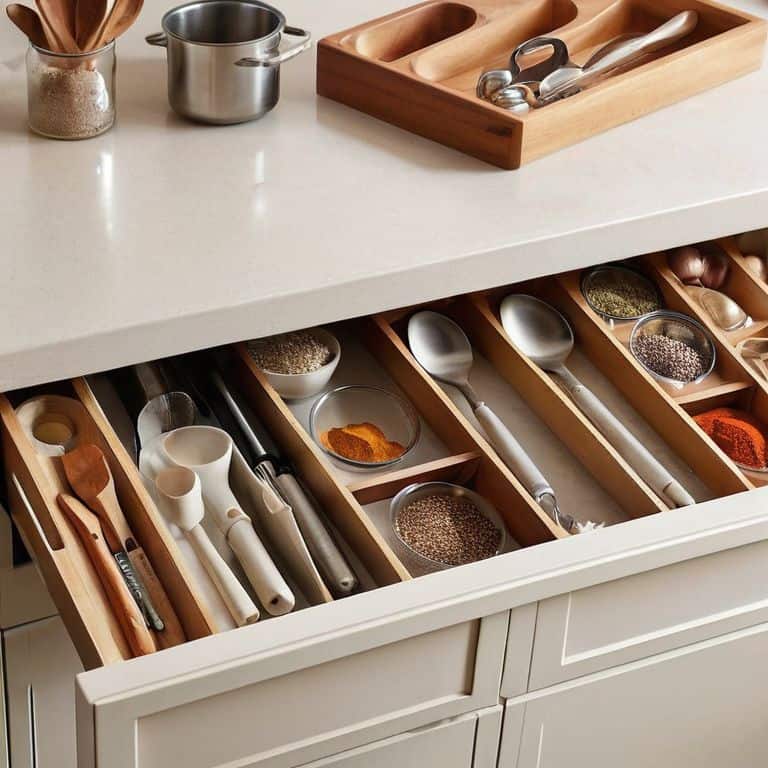
- Mix and Match: Combine your magnetic knife strip with other organizational tools, like a spice rack or utensil holder, to create a customized storage system
- Experiment with Angle: Don’t be afraid to try out different angles and orientations for your magnetic knife strip to find the one that works best for your kitchen’s unique geometry
Key Takeaways for a Sharper Kitchen Workflow
Optimizing your kitchen with magnetic knife strips can significantly reduce clutter and improve your cooking efficiency, especially in tiny kitchens where space is limited
Proper installation and strategic placement of magnetic knife strips are crucial for maximizing their effectiveness and creating a seamless workflow in your kitchen
By incorporating magnetic knife strips into your kitchen design, you can apply the principles of workflow optimization to create a more functional, minimalist, and enjoyable cooking space
Optimizing Your Kitchen Workflow
A magnetic knife strip is not just a tool holder, it’s a catalyst for a sharper workflow – it’s the difference between a cluttered kitchen and a culinary cockpit where every movement has a purpose.
Leo Vance
Streamlining Your Space with Magnetic Knife Strips
As we’ve explored throughout this guide, magnetic knife strips are a simple yet powerful tool for optimizing your tiny kitchen’s workflow. By following the step-by-step installation tips and considering DIY projects, you can create a more efficient and clutter-free space. Whether you’re a culinary enthusiast or a busy professional, magnetic knife strips can help you make the most of your kitchen’s limited real estate. From freeing up counter space to keeping your knives within easy reach, the benefits of magnetic knife strips are clear.
So, as you embark on your own tiny kitchen optimization journey, remember that it’s all about finding creative solutions to everyday challenges. By embracing the principles of workflow optimization and seeking out innovative tools like magnetic knife strips, you can turn even the smallest of spaces into a haven of productivity and culinary joy. Happy cooking, and don’t forget to keep it sharp!
Frequently Asked Questions
What are the benefits of using magnetic knife strips in a small kitchen?
For me, magnetic knife strips are a total game-changer – they free up counter space, reduce clutter, and make my knives easily accessible. It’s all about optimizing workflow in a small kitchen, and these strips are a simple yet brilliant solution, keeping my most-used tools within easy reach.
How do I choose the right size and strength of magnetic knife strip for my kitchen?
To choose the right size and strength, consider the number and size of knives you’ll be storing, as well as the material of your kitchen surface. I like to use a simple formula: measure your knife set and add 10% for spacing, then select a strip with a pull force that’s 2-3 times the weight of your heaviest knife.
Can I install magnetic knife strips on any type of surface, such as glass or ceramic tile?
When it comes to installing magnetic knife strips, not all surfaces are created equal. Glass and ceramic tile can be tricky, as the magnets might not hold as well. I recommend testing the strip on a small, inconspicuous area first to ensure it adheres securely. For optimal hold, traditional metal, wood, or plastic surfaces are usually your best bet.