I still remember the day I discovered the secret to reducing food waste in my own kitchen – it was all about learning how to use vegetable scraps to make stock. I was working as a holistic nutritionist in a community health clinic, and I saw firsthand how challenging it can be for people to eat healthy meals on a budget. One of my clients, a busy single mom, was struggling to make ends meet, and I realized that she was throwing away valuable ingredients that could be used to make nutritious meals. That’s when I started experimenting with turning vegetable scraps into delicious stock, and it’s been a game-changer ever since.
In this article, I’ll share my personal tips and tricks for making the most of your vegetable scraps. You’ll learn how to use vegetable scraps to make stock that’s not only delicious but also packed with nutrients. I’ll show you how to create a flavorful and healthy stock using leftover vegetables, and provide you with practical advice on how to incorporate it into your daily meals. Whether you’re a busy professional or a parent on-the-go, this simple technique can help you reduce food waste and save money while nourishing your body. So, let’s get started and turn those scraps into a tasty and healthy stock!
Table of Contents
Guide Overview: What You'll Need
Total Time: 1 hour 30 minutes
Estimated Cost: Free – $5
Difficulty Level: Easy
Tools Required
- Large pot (at least 8 quarts in size)
- Colander or strainer (for draining)
- Cheesecloth or fine-mesh sieve (optional for straining)
Supplies & Materials
- Vegetable scraps (various, e.g., onion peels, carrot tops, celery leaves)
- Water (enough to cover scraps, approximately 6 quarts)
- Optional aromatics (e.g., bay leaves, peppercorns, thyme)
Step-by-Step Instructions
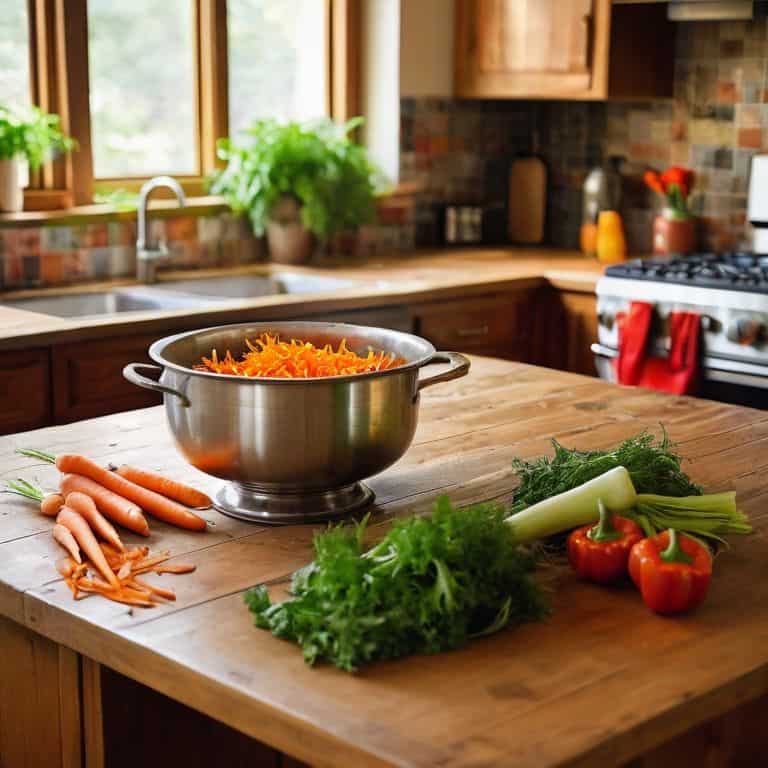
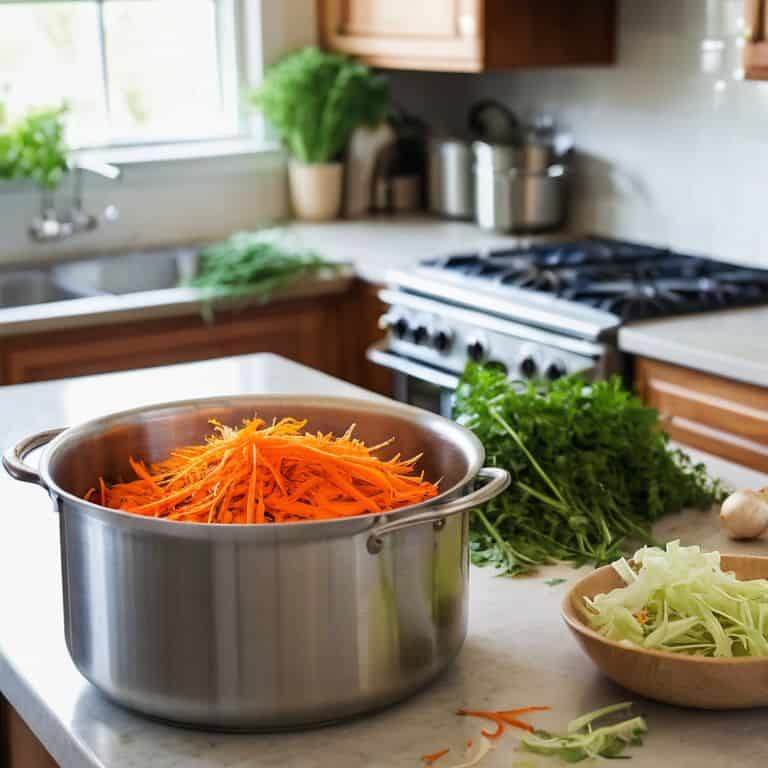
- 1. First, let’s start by collecting our vegetable scraps. I like to keep a big bowl or container on my counter where I toss all the veggie leftovers from my meals. This can include carrot tops, onion peels, celery leaves, and even mushroom stems. The key is to save everything and not let any of it go to waste.
- 2. Next, I sort through my scraps and separate the herbs from the rest of the vegetables. I find that herbs like parsley, thyme, and bay leaves can add a lot of flavor to my stock, but they can also become bitter if they’re cooked for too long. So, I like to add them towards the end of the cooking process to preserve their delicate flavor.
- 3. Now it’s time to chop our scraps into smaller pieces. This will help them cook more evenly and release their flavors into the stock. I like to use my trusty knife and cutting board for this step, and I try to cut everything into similar-sized pieces so that they cook at the same rate.
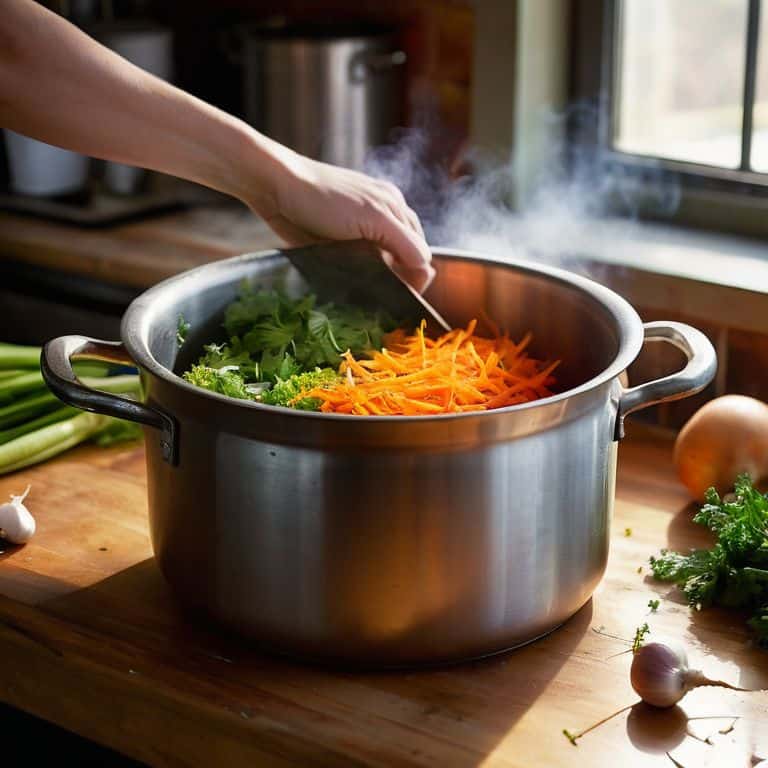
- 4. In a large pot, I heat some oil over medium heat. I like to use a neutral-tasting oil like canola or grapeseed, and I add just enough to coat the bottom of the pot. Then, I add my chopped scraps and sauté them until they’re softened and lightly browned. This step is all about caramelizing the natural sugars in the vegetables to bring out their deep, rich flavors.
- 5. Once my scraps are softened, I add some liquid to the pot. I like to use a combination of water and homemade vinegar to help bring out the flavors of the vegetables. The acidity in the vinegar will help to break down the cell walls of the vegetables and release their nutrients into the stock.
- 6. Now it’s time to simmer our stock. I bring the liquid to a boil, then reduce the heat to low and let it simmer for at least an hour. This will give the flavors time to mingle and deepen, and it will also help to extract all the nutrients from the vegetables. I like to skim the stock occasionally to remove any impurities that rise to the surface.
- 7. After an hour or so, I strain the stock through a fine-mesh sieve into a large bowl or container. I like to discard the solids and reserve the liquid for use in soups, stews, or as a base for sauces. I find that this homemade stock is incredibly versatile and can be used in a variety of dishes to add depth and flavor.
- 8. Finally, I store my stock in the fridge or freezer for later use. I like to portion it out into smaller containers or ice cube trays so that I can easily grab what I need when I’m cooking. This homemade stock is a great way to reduce food waste and add some extra nutrition to my meals, and I feel good knowing that I’m using every part of the vegetable to nourish my body.
Scrappy Stock Secrets
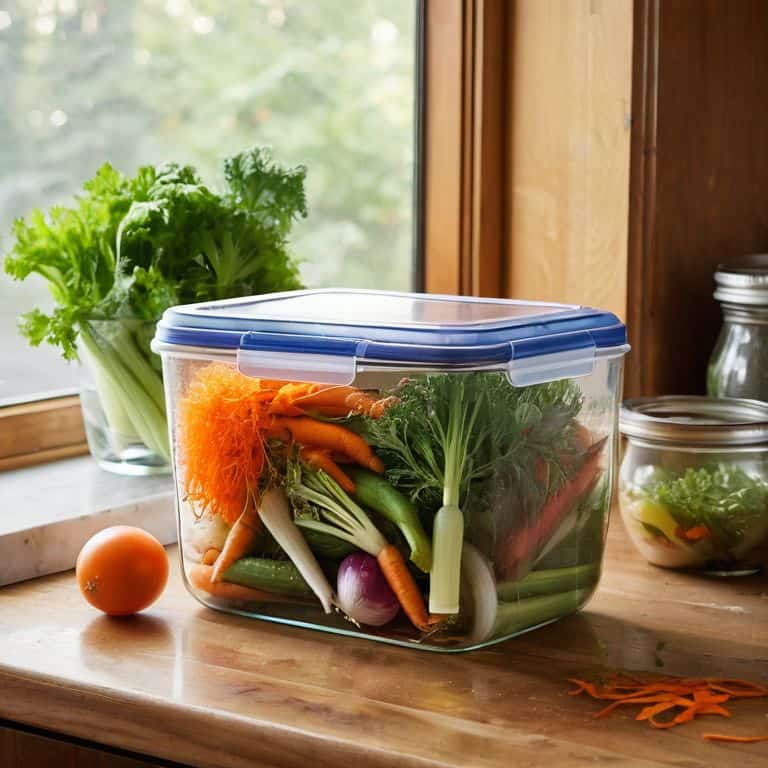
As I continue to experiment with reducing food waste in the kitchen, I’ve discovered a few scrappy stock secrets that take my homemade broth to the next level. One of my favorite techniques is to store vegetable scraps in a designated container in the fridge, making it easy to grab what I need when I’m ready to make a new batch of stock. This simple trick has helped me maximize flavor and reduce waste in my own kitchen.
When it comes to choosing the best vegetables for homemade broth, I like to think outside the box. Carrot tops, onion peels, and mushroom stems are all fair game, and they add a depth of flavor that’s hard to replicate with traditional ingredients. By getting creative with my vegetable scraps, I’ve been able to create a variety of delicious and nutrient-dense stocks that are perfect for soups, stews, and sauces.
To take my stock making to the next level, I’ve also started implementing some clever freezer organization for meal prep strategies. By freezing my stocks in ice cube trays and labeling them with the date and ingredients, I can easily pull out what I need for a quick and easy meal. This technique has been a game-changer for me, and I love that it allows me to maximizing flavor from vegetable scraps while also reducing waste and saving time in the kitchen.
Maximizing Flavor From Scraps for Beginners
As a beginner, it’s amazing how much flavor you can coax out of scraps. I like to think of it as a treasure hunt in my kitchen – what can I turn into something delicious? For me, it starts with saving all the odds and ends in a big jar in the fridge. Onion peels, garlic skins, and carrot tops all get tossed in, waiting to be transformed into a rich, savory stock. The key is to experiment and have fun with it – don’t be afraid to try new combinations and see what magic happens.
I’ve found that a simple trick for maximizing flavor is to roast your scraps in the oven before turning them into stock. It brings out this deep, caramelized flavor that’s just incredible. Just toss your scraps on a baking sheet, drizzle with a bit of oil, and let the oven do the work. Then, simply simmer them in water to create a stock that’s packed with depth and nutrition. It’s a game-changer, trust me!
Reducing Waste With Veggie Scrap Storage
To make the most of your veggie scraps, proper storage is key. I like to keep a designated container in my fridge, like a mason jar, where I collect all my scraps throughout the week. It’s amazing how quickly they add up! By storing them in one place, I can easily see what I have on hand and plan my stock-making accordingly. This simple trick has helped me reduce waste and get creative with my cooking.
I also swear by freezing my scraps when I don’t have time to make stock right away. Simply chop them up, toss them in a freezer-safe bag or container, and voilà! You’ve got a ready-to-go stock starter for when you need it. This way, nothing goes to waste, and I can enjoy a nourishing, homemade stock whenever I want.
Scrappy Stock Essentials: 5 Tips to Get You Started
- I always say, the key to making great stock is to save those scraps – every onion skin, carrot top, and celery leaf counts!
- Store your veggie scraps in airtight containers or freezer bags to keep them fresh for up to a week – it’s amazing how quickly they add up!
- Don’t be afraid to mix and match different scraps for unique flavor profiles – I love combining mushroom stems with leek greens for a rich, earthy taste
- When using scraps, remember that a little goes a long way – start with a small amount and taste as you go, adjusting the seasoning to your liking
- Experiment with different cooking times and methods to bring out the best in your scraps – I find that a low-and-slow simmer really coaxes out the goodness in those veggie leftovers
Nourishing Your Way: 3 Key Takeaways
I’ve learned that turning vegetable scraps into stock is a simple yet powerful way to reduce food waste and add depth to your meals, all while making the most of your grocery budget
By implementing a few practical storage solutions, like using mason jars or airtight containers, you can keep your veggie scraps fresh and ready to use in your next stock recipe, making healthy eating a breeze even in the smallest of kitchens
Remember, the art of making stock from scraps is all about experimentation and creativity – don’t be afraid to try new combinations of vegetables and spices to create unique and nourishing flavors that will elevate your meals and make you feel like a resourceful rockstar in the kitchen
Embracing the Scraps
I truly believe that the art of turning vegetable scraps into nourishing stock is a testament to the magic that happens when we choose to see waste as an opportunity, not a limitation – it’s a simple yet profound shift in mindset that can transform the way we cook, eat, and live.
Jenna Matthews
Nourishing Your Way to a Sustainable Kitchen
As we wrap up our journey to creating delicious stock from vegetable scraps, let’s recap the key takeaways: we’ve learned how to turn yesterday’s leftovers into today’s nourishing meals, and discovered the importance of reducing waste in our kitchens. From storing veggie scraps to maximizing flavor, we’ve covered it all. By implementing these simple steps, you’ll not only be reducing your environmental footprint but also creating healthy, budget-friendly meals that your body (and taste buds) will thank you for.
So, the next time you’re about to toss those veggie scraps, remember that they hold the power to create something truly special. By embracing this scrappy approach to cooking, you’ll be joining a movement of like-minded individuals who believe that healthy eating and sustainability go hand-in-hand. Keep experimenting, keep creating, and most importantly, keep nourishing your body and the planet – one delicious, scrap-based meal at a time.
Frequently Asked Questions
What are some common vegetable scraps that I can use to make stock?
I just love using carrot tops, onion peels, and celery leaves to make stock – they add such depth of flavor! You can also use mushroom stems, bell pepper scraps, and even garlic skins. Really, any veggie scraps you have on hand can be tossed into a pot to create a delicious, nourishing stock.
How long can I store vegetable scraps before they go bad and can no longer be used for stock?
I like to store my veggie scraps in airtight containers in the fridge for up to 3-5 days. If you won’t be using them within that time frame, you can also freeze them for later use. Just make sure to label and date the containers so you can keep track of how long they’ve been stored.
Can I use scraps from any type of vegetable, or are there some that are better suited for making stock than others?
While you can use scraps from most veggies, some are definitely more stock-friendly than others. I love using carrot tops, onion peels, and mushroom stems for added depth of flavor. Avoid using bitter or strongly flavored scraps like broccoli or Brussels sprouts, as they can overpower your stock.