I still remember the chaos that lurked under my sink when I first moved onto my sailboat. It was a cramped, cluttered space that seemed to swallow up any sense of calm I tried to bring into my home. But as I learned to maximize every inch of my tiny vessel, I discovered that a guide to under-sink organization was the key to unlocking a more peaceful living space. I found that with a little creativity, even the most mundane areas could be transformed into havens of calm. My journey taught me that it’s not about having more space, but about using the space you have wisely.
As you read this article, you’ll get practical advice on how to tackle the chaos under your sink and turn it into a functional, peaceful space. I’ll share my favorite tips and tricks for making the most of this often-wasted area, from clever storage solutions to simple habits that will keep your under-sink space organized for good. Whether you’re a sailor like me or just someone looking to bring a little more calm into your kitchen, this guide will show you that even the smallest spaces can be big on functionality. By the end of this article, you’ll be equipped with the knowledge and inspiration you need to create your own under-sink oasis.
Table of Contents
Guide Overview: What You'll Need
Total Time: 2 hours 30 minutes
Estimated Cost: $50 – $100
Difficulty Level: Intermediate
Tools Required
- Drill (with screwdriver and drill bits)
- Measuring Tape
- Level
- Pencil
- Utility Knife (with extra blades)
- Socket Wrench (for adjustable shelves)
Supplies & Materials
- Pegboard (for hanging items)
- Shelves (adjustable, 2 inches deep)
- Baskets (for storing small items)
- Drawer Dividers (for organizing cleaning supplies)
- Adhesive Hooks (for hanging accessories)
- 2-in x 4-in lumber (for custom shelves, cut to 30 inches long)
Step-by-Step Instructions
- 1. First, let’s assess the situation under your sink. Take everything out and sort items into categories, such as cleaning supplies, trash bags, and sponges. This will give you a clear idea of what you need to store and how you can optimize the space. As I always say, a cluttered space is a cluttered mind, so let’s get started on decluttering.
- 2. Next, give the area a good clean. Wipe down the walls, floor, and any shelves or cabinets with a damp cloth. This will not only make the space feel fresher but also give you a clean slate to work with. I like to use a mixture of water and white vinegar to get the job done.
- 3. Now, it’s time to measure the space. Take note of the dimensions of the area under your sink, including the height, width, and any obstacles like pipes or plumbing fixtures. This will help you determine the best storage solutions for your specific space. As someone who’s lived on a sailboat, I can attest to the importance of precision planning.
- 4. Choose your storage containers. I’m a big fan of using stackable bins and baskets to maximize vertical space. Look for containers that fit your measurements and can be easily labeled. Don’t forget to consider the ergonomics of the space – you want to be able to easily access the items you need.
- 5. Install any necessary shelves or racks. If you have a lot of cleaning supplies, consider adding a slide-out shelf to make the most of the space. You can also use adhesive hooks or magnets to hang items like sponges, scrubbers, or trash bags. I like to use a combination of both to keep my space visually appealing.
- 6. Organize your items into the containers and onto the shelves. Group similar items together, such as all cleaning supplies in one bin, and make sure to label each container so you can easily find what you need. Remember, a place for everything and everything in its place is key to maintaining a clutter-free space.
- 7. Finally, implement my one-in, one-out rule to maintain your newly organized space. This means that for every new item you bring into the space, you must remove an old one to make room for it. This will help prevent clutter from building up again and keep your space feeling calm and peaceful. By following these steps, you’ll be well on your way to creating a functional and serene space under your sink.
A Guide to Under Sink Organization
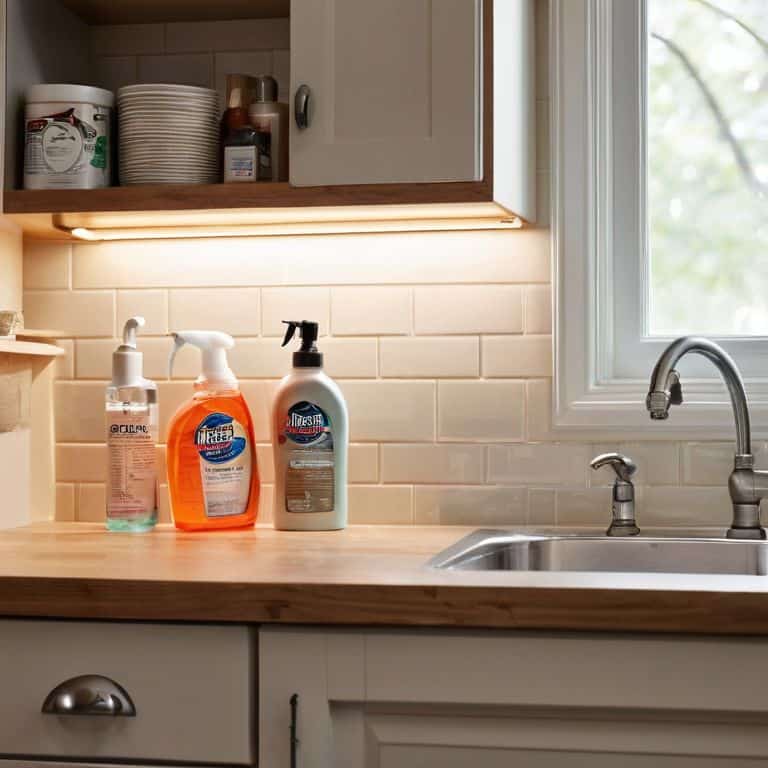
As I always say, maximizing under sink storage is all about creativity and resourcefulness. When I was living on my sailboat, I had to think outside the box to keep my kitchen tidy. One of my favorite tricks is to use under sink shelving ideas that make the most of the often-wasted space above the plumbing fixtures. By installing a simple shelf or ledge, you can keep frequently used items like cleaning supplies or dish soap within easy reach.
Another area where people often struggle is with plumbing supply organization. It’s easy for pipes and fittings to get tangled and cluttered under the sink, but with a few simple tweaks, you can keep them tidy and out of the way. I like to use hooks and magnets to keep smaller items like wrenches and pliers organized and easy to find. This not only saves time but also reduces stress when you need to make a quick repair.
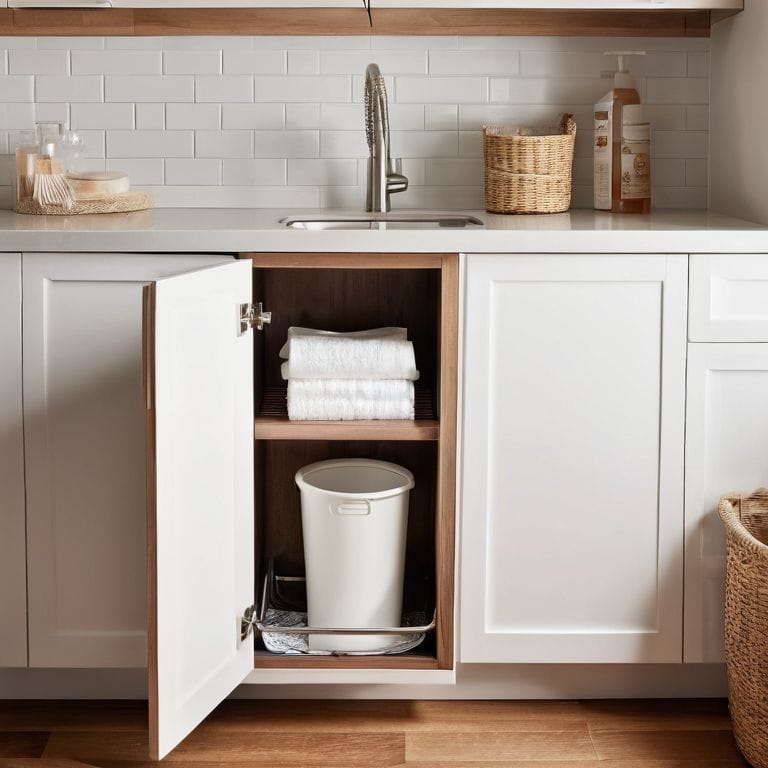
For a more polished look, consider investing in custom under sink cabinets that fit your specific needs and style. These can be a game-changer for keeping your kitchen looking sleek and streamlined. Plus, they can help you implement clever solutions like built-in under sink trash can solutions, keeping your countertops clear and clutter-free. By thinking creatively about your under-sink space, you can create a kitchen that’s both beautiful and functional.
Custom Under Sink Cabinets for Clutter Free Living
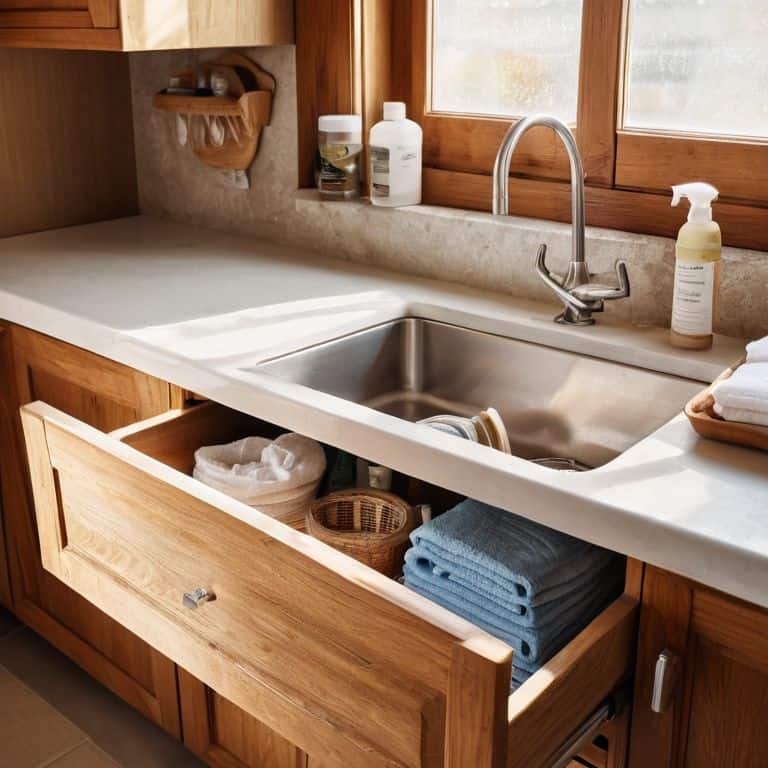
To take your under-sink organization to the next level, consider custom cabinets that fit your unique space and needs. I’ve seen it on my sailboat and in tiny apartments – a tailored approach can make all the difference. By designing a custom cabinet, you can maximize every inch under your sink, keeping essentials like cleaning supplies or kitchen utensils neatly stored and out of sight.
I love how a custom under-sink cabinet can blend seamlessly into your kitchen’s style, creating a clutter-free living space that’s both functional and beautiful. With the right design, you can even incorporate hooks, magnets, or sliding drawers to enhance storage and accessibility, making the most of your kitchen’s vertical space.
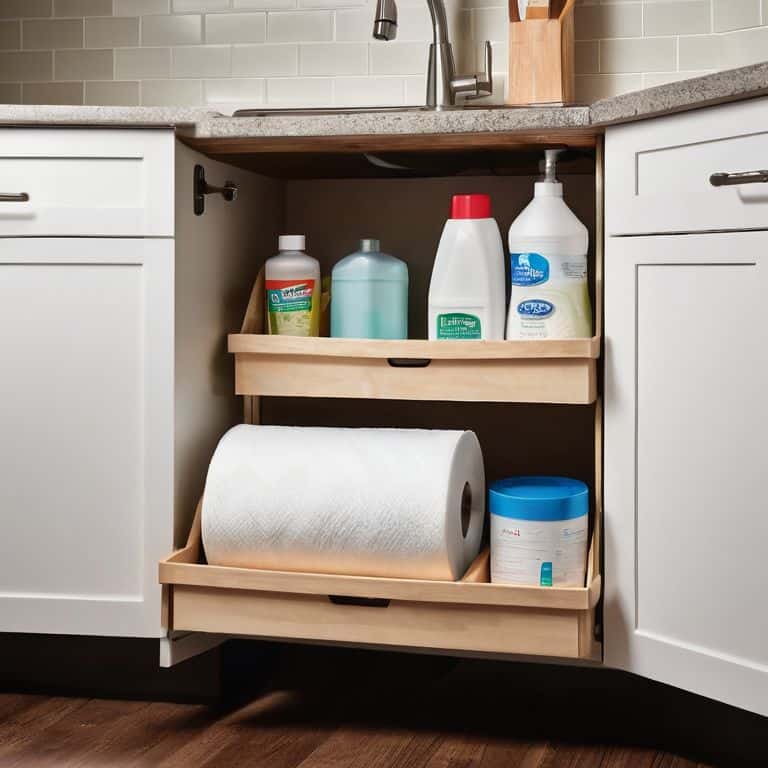
Maximizing Under Sink Storage With Style
To maximize under sink storage with style, I recommend installing a sleek pull-out drawer or a slide-out shelf. This will not only keep your cleaning supplies organized but also add a touch of elegance to the space. Consider using a tension rod to hang spray bottles and bags, keeping them out of the way but still accessible. For a more minimalist look, you can use adhesive hooks to hang smaller items like scrubbers or dusters. By incorporating these elements, you can create a functional and visually appealing under sink area that reflects your personal style.
5 Essential Tips to Unlock Your Under-Sink Potential
- Tame the Chaos: Start by purging everything from under your sink and sorting items into categories to understand what you need to store
- Measure Up: Take precise measurements of your under-sink area to determine the best storage solutions for your space, considering height, width, and any plumbing or electrical constraints
- Choose Multi-Functional Storage: Invest in or DIY storage containers that serve more than one purpose, such as a slide-out drawer with a built-in tray for cleaning supplies
- Utilize Vertical Space: Make the most of your under-sink area by using wall-mounted shelves, hooks, or a pegboard to hang items like bags, brushes, or accessories, keeping floors and surfaces clear
- Maintain Your Haven: Implement a ‘one-in, one-out’ policy and schedule regular clean-outs to ensure your under-sink area remains clutter-free and continues to be a functional, peaceful part of your kitchen
Three Key Takeaways for a Serene Under-Sink Space
Taming the under-sink area is not just about storage, but about creating a sense of calm and visual flow in your kitchen, which can be achieved through clever use of hooks, magnets, and minimalistic furniture
Customizing your under-sink cabinet to fit your specific needs can make a huge difference, from maximizing vertical space to implementing a ‘one-in, one-out’ rule for your kitchen essentials
By applying simple, budget-friendly organization hacks and focusing on functionality, you can transform your under-sink space into a haven of efficiency and style, making your small kitchen feel more spacious and joyful to use
Taming the Under Sink Chaos
The space under your sink is not just a storage area, it’s a gateway to a more mindful kitchen experience – by transforming this often-overlooked zone, you’re not just organizing your belongings, you’re cultivating a sense of calm in the heart of your home.
Miles Corbin
Bringing Order to the Under Sink Chaos
As we’ve explored in this guide to under-sink organization, the key to a clutter-free kitchen lies in maximizing vertical space and implementing custom storage solutions. By assessing your needs, choosing the right materials, and getting creative with your design, you can turn the often-wasted area under your sink into a haven of calm and efficiency. Remember, it’s all about finding a balance between form and function, and making the most of every inch of your kitchen. Whether you opt for a sleek, modern look or a more rustic, charm-filled aesthetic, the end result should be a space that feels serene and organized.
So, as you embark on your own under-sink organization journey, keep in mind that it’s not just about the physical space – it’s about creating a sense of peace and tranquility in the heart of your home. By embracing the principles of minimalism and clever design, you can transform your kitchen into a true sanctuary, where cooking and socializing become a joy, not a chore. And when you open that cabinet door to reveal your beautifully organized under-sink area, you’ll be reminded that, with a little creativity and determination, even the most chaotic spaces can be tamed.
Frequently Asked Questions
What are some creative ways to use the often-wasted space behind the under-sink cabinet?
I love leveraging hidden spaces. Behind the under-sink cabinet is a great spot for a magnetic spice strip, a folding step stool, or even a narrow tray for cleaning supplies. You can also use adhesive hooks to hang a small towel or a scrub brush, keeping them out of the way but still within reach.
How can I keep my under-sink area organized if I have a lot of plumbing or pipes to work around?
Don’t let plumbing and pipes cramp your style – I’ve worked around tight spaces on my sailboat, remember? Use wall-mounted shelves, adhesive hooks, or a tension rod to maximize vertical space and keep essentials within reach, all while navigating those pesky pipes with ease.
Are there any affordable and easy-to-install under-sink storage solutions that don't require a lot of DIY expertise?
I’ve got you covered. For a stress-free under-sink storage solution, consider adhesive hooks or magnetic strips – they’re budget-friendly, easy to install, and require zero DIY expertise. I used them on my sailboat and they’re still a game-changer in my tiny kitchen today.