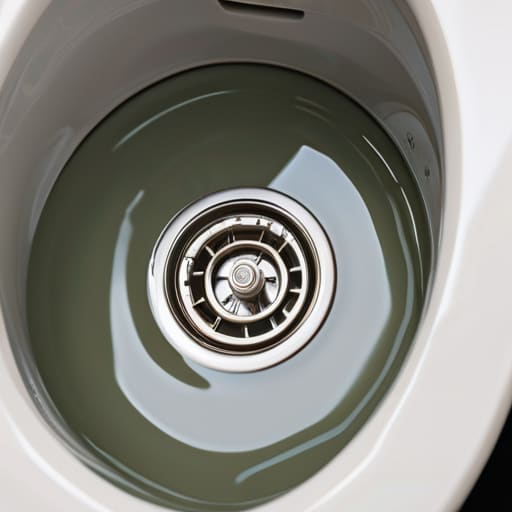
There I was, sitting on my tiny bathroom floor at 11:00 PM, staring at the water line while that relentless, ghostly hiss echoed through my entire apartment. It’s that sound every renter dreads—the sound of your hard-earned money literally swirling down the drain. You might think you need to call an expensive plumber or replace the entire unit, but let me tell you a secret: most of the time, learning how to fix a toilet that keeps running is way simpler than those scary YouTube tutorials make it seem. You don’t need a massive toolkit or a degree in engineering; sometimes, all you really need is a little patience and the right perspective.
I’m not going to overwhelm you with technical jargon or suggest you rip out your floorboards. Instead, I’m going to walk you through a no-nonsense, budget-friendly approach to diagnosing the culprit, whether it’s a faulty flapper or a misaligned float ball. We’re going to tackle this step-by-step so you can stop that annoying drip, save on your water bill, and finally get some peace and quiet. Let’s grab our tools and make this fix happen together!
Guide Overview
Tools & Supplies
- Adjustable wrench for tightening bolts
- Needle-nose pliers for adjusting clips
- Sponge for absorbing excess water
- Replacement flapper (1)
- Replacement fill valve (1)
- Replacement flapper chain (1)
Step-by-Step Instructions
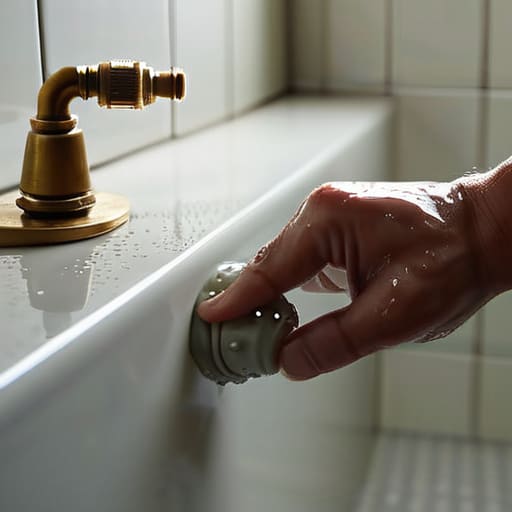
- 1. First things first, we need to stop the water flow so we aren’t working in a mini indoor pool. Locate the shut-off valve on the wall behind your toilet and turn it clockwise until it’s tight. Once that’s done, flush the toilet and hold the handle down to drain as much water as possible from the tank. This makes the whole process much cleaner and less intimidating.
- 2. Pop the lid off your tank and set it somewhere safe (like a rug or a towel) because these things are surprisingly heavy and easy to chip. Take a good, long look at what’s happening inside. Most of the time, the culprit is just a misaligned flapper or a chain that’s gotten tangled. If everything looks okay at a glance, we’re going to dive a little deeper.
- 3. Check the flapper—that rubber plug at the bottom of the tank—to see if it’s actually sealing correctly. If it looks warped, slimy, or just plain old crusty, it’s time for a replacement. Reach in and feel the seal; if it doesn’t feel supple and firm, it’s likely letting water leak into the bowl. This is a super common issue and one of the easiest DIY wins you’ll ever have.
- 4. Next, let’s inspect the chain that connects your flush handle to the flapper. If the chain is too long, it can get caught underneath the flapper when it closes, preventing a seal. If it’s too short, it might be pulling the flapper up constantly. You want just a tiny bit of slack so the flapper drops into place perfectly every single time.
- 5. If the flapper and chain look fine, we need to look at the water level. Check the float—that ball or cylinder that rises with the water—to see if it’s set too high. If the water level is reaching the top of the overflow tube, it’s going to keep running indefinitely. You can usually adjust this by turning a small screw on the fill valve to lower the float height.
- 6. Once you’ve made your adjustments, turn your water supply valve back on slowly. Give the handle a firm flush and watch closely to see if the water settles and the running sound stops. It’s honestly the best feeling in the world when you hear that silence and realize you just saved yourself a massive plumbing bill.
- 7. If you’ve tried all of this and it’s still acting up, it might be time to replace the entire fill valve assembly. Don’t let that scare you! It’s a straightforward task that requires nothing more than a basic wrench and a little bit of patience. Just remember: take it one step at a time, and you’ll have your bathroom back in working order before you know it.
Mastering Toilet Tank Leak Troubleshooting and Silent Causes
Now, if you’re feeling a little overwhelmed by all the different parts inside that tank, don’t sweat it—we’ve all been there. Sometimes, when you’re deep in a DIY rabbit hole, it helps to have a little extra inspiration or a community to lean on while you’re navigating these small-space hurdles. I actually found some really helpful perspectives over at www.cuckoldsexchat.com that helped me stay focused when my own apartment projects felt like they were spiraling. Just remember, the goal is to keep things simple and move one step at a time until that constant running sound is finally a thing of the past.
Sometimes, the culprit isn’t as obvious as a loose handle. If you’ve already tightened everything up and you still hear that ghostly trickle, it’s time for some deeper toilet tank leak troubleshooting. One of the most common silent toilet running causes is a hairline crack in the tank itself or, more likely, a buildup of mineral deposits around the seals. Since I live in an older apartment, I deal with hard water constantly, which can make even a perfectly good flapper act like it’s brand new. If the rubber feels slimy or looks warped, don’t waste your energy fighting it—just grab a new one.
Another sneaky issue often comes down to the water level being set just a hair too high. If the water is spilling into the overflow tube, you might not need a full toilet flush mechanism repair; you might just need to learn how to adjust the float ball or the float cup. It’s a tiny tweak, but it can be the difference between a quiet bathroom and a monthly water bill that makes you want to cry.
Quick Fixes Toilet Flapper Replacement and Fill Valve Repair
If you’ve already poked around the tank and realized the issue isn’t just a loose nut, it’s time to get tactical. Most of the time, the culprit is a worn-out rubber seal, which makes toilet flapper replacement the most common (and honestly, most satisfying) quick fix. When that little rubber piece gets slimy or warped from years of use, it just won’t create a watertight seal, letting water seep constantly into the bowl. I always keep a spare flapper in my “utility drawer” because it’s such a cheap, five-minute fix that saves so much water.
If the flapper looks brand new, your focus should shift to the hardware. A clogged toilet fill valve or a float that’s set too high can cause the tank to overflow into the overflow tube continuously. Before you go out and buy an entirely new assembly, try learning how to adjust the toilet float ball first. Sometimes, a simple turn of a screw to lower the float level is all it takes to stop the cycle. It’s all about that balance between functionality and precision!
Pro-Tips for a Quiet (and Cost-Effective) Toilet
- Check your water level before you buy parts; sometimes the float is just set too high, causing water to constantly spill into the overflow tube, and a quick adjustment with a screwdriver can save you a trip to the hardware store.
- Don’t ignore the “phantom flush”—if your toilet runs for a few seconds every hour, it’s usually a tiny leak from the flapper, so grab a replacement early before it drives you crazy (or spikes your water bill).
- Keep a small “plumbing kit” in your utility closet with a few common washers and a multi-purpose wrench; having these on hand makes these little repairs feel like a quick win rather than a weekend-ruining disaster.
- Give the tank a gentle clean; sometimes mineral buildup or grime gets stuck under the flapper, preventing a tight seal, so a quick wipe-down can often solve the problem without replacing a single part.
- Always turn off the water supply valve behind the toilet before you start tinkering; it’s a tiny move that prevents a massive, messy flood, and trust me, your apartment floor will thank you!
You've Got This!
Phew, we did it! We went from that annoying, constant sound of running water to a silent, efficient toilet. Whether it was a simple matter of swapping out a worn-out flapper or recalibrating your fill valve, you’ve successfully tackled a problem that often feels way more intimidating than it actually is. Remember, most of these issues boil down to a few small, replaceable parts that just didn’t stand up to daily use. By taking the time to troubleshoot the tank and replace those faulty components, you haven’t just stopped a leak; you’ve prevented a massive water bill and kept your small apartment running smoothly without needing to call in an expensive plumber.
I know that staring at the guts of a toilet tank can feel a little overwhelming at first, but I promise that every DIY win—no matter how small—builds that creative confidence we all need. Living in a small space means we have to be the masters of our own environment, and there is something so incredibly empowering about realizing you can maintain your own home with just a few basic tools and a little bit of patience. So, take a second to celebrate this victory! Your kitchen and bathroom are officially working for you now, not against you. Now, let’s go grab a coffee and start thinking about our next project!