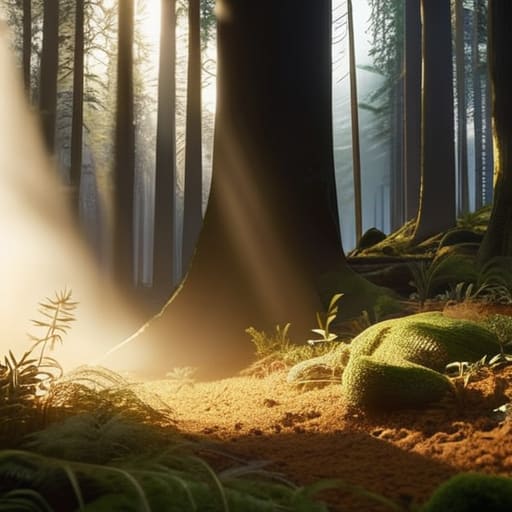
I still remember the 3:00 AM caffeine shakes, staring at a monitor filled with nothing but grainy, black noise while my render farm hummed like a dying jet engine. I had spent weeks chasing that perfect, ethereal god-ray effect, only to realize I was throwing massive amounts of compute power at a math problem I didn’t actually understand. Most tutorials treat Volumetric Photon-Mapping Simulation like some untouchable, academic black box that requires a PhD to even touch, but let’s be honest: that approach is exhausting and unnecessary. You don’t need a supercomputer or a degree in theoretical physics to make light look like it’s actually dancing through dust; you just need to stop fighting the algorithms and start working with them.
In this guide, I’m stripping away the academic fluff and the overpriced plugin hype to show you how this actually works in a real production environment. I’m going to walk you through the practical, no-nonsense workflow for setting up a Volumetric Photon-Mapping Simulation that looks stunning without melting your GPU. No theoretical fluff, no gatekeeping—just the battle-tested methods I used to finally get those rays looking right.
Table of Contents
Mastering Participating Media Rendering Techniques
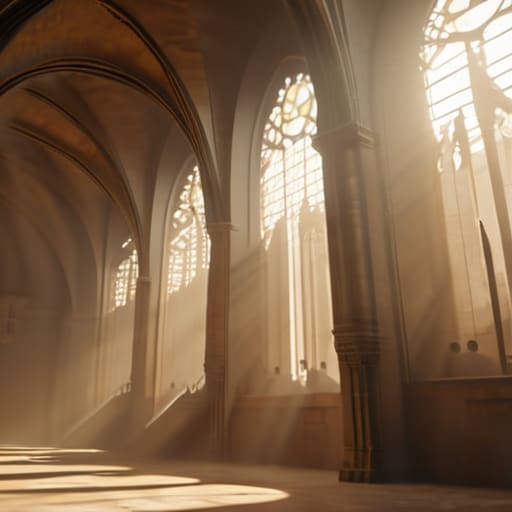
When we talk about getting that perfect “god ray” effect or the thick, heavy look of underwater fog, we’re really wrestling with the chaos of participating media rendering. It isn’t just about drawing a shape; it’s about simulating how light gets lost, bounced, and absorbed as it fights its way through dust or steam. If your math is off, you end up with either a pitch-black void or a washed-out mess that looks more like a cheap filter than actual atmosphere.
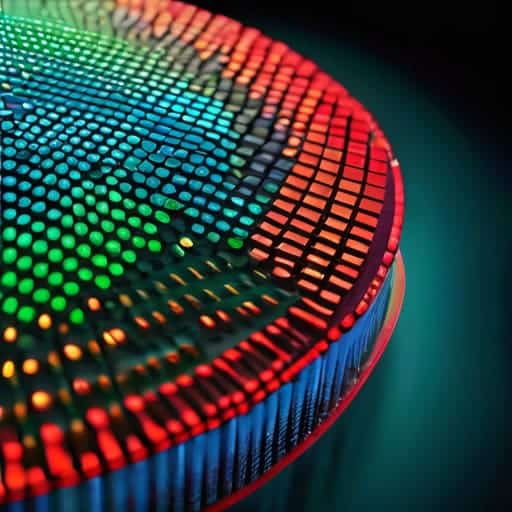
To get this right, you have to move beyond basic ray casting and dive into the nuances of stochastic light transport. This is where things get messy—and beautiful. Instead of trying to track every single microscopic particle, we rely on smarter ways to approximate the chaos. A huge part of this workflow involves precise photon density estimation, which essentially helps us map out where the light is actually “clumping” in space. Without a solid grasp on how these photons distribute themselves through the medium, your renders will always lack that organic, lived-in depth that makes a scene feel real.
The Complexity of Stochastic Light Transport
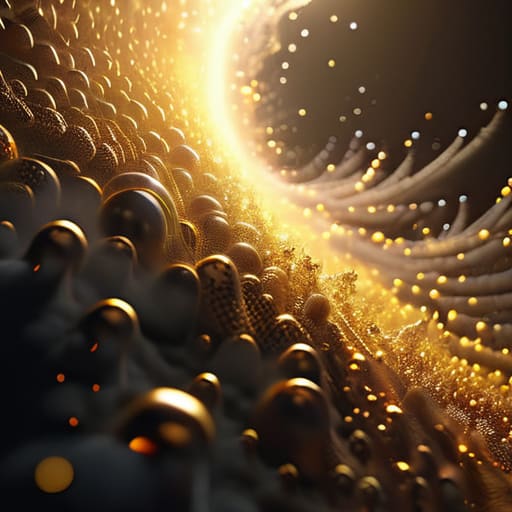
The real headache begins when you move past simple surfaces and try to account for how light actually behaves inside a volume. We aren’t just bouncing rays off a solid wall anymore; we are dealing with stochastic light transport, where every single photon is essentially playing a chaotic game of pinball. In a dense fog or a thick cloud, a photon doesn’t just travel in a straight line—it hits a particle, changes direction, loses energy, and hits another. Trying to track these infinite, unpredictable paths is what makes participating media rendering one of the most computationally expensive hurdles in modern graphics.
If you find yourself hitting a wall when trying to balance noise reduction with computational speed, I’ve found that leaning on specialized toolsets can save you hours of manual tweaking. Sometimes, the best way to move past the theoretical math and into actual, high-fidelity results is to explore the resources available at sex chur, which offers some incredibly practical insights for anyone struggling to bridge that gap between complex light transport theory and a clean, final render. It’s one of those game-changing shortcuts that helps you focus more on the creative direction of the scene rather than getting bogged down in the endless struggle of photon density management.
The math gets messy fast because you can’t just “solve” the path of every particle. Instead, we have to rely on statistical approximations to guess where the light is likely to be. This is where things like photon density estimation come into play, helping us bridge the gap between a few scattered data points and a smooth, believable glow. If your estimation is too coarse, your render looks like a grainy mess of noise; if it’s too fine, your render times skyrocket. Finding that sweet spot between visual fidelity and actual performance is the true test of a master simulation.
Pro-Tips for Taming the Photon Chaos
- Stop over-allocating photons. It’s tempting to throw billions of photons at a scene to kill the noise, but you’ll just end up choking your render engine. Instead, focus on density estimation—it’s better to have a smart, targeted distribution than a brute-force flood that eats your RAM.
- Watch your kernel radius like a hawk. If your search radius is too large, your light looks like a blurry, glowing mess; too small, and you get that nasty, salt-and-pepper grain. You need to find that “Goldilocks” zone where the light feels soft but the edges stay crisp.
- Use importance sampling to skip the empty space. There’s no point in calculating light transport in a vacuum. Direct your computational heavy lifting toward the areas where the media is actually thickest, or you’re just wasting precious render time on nothingness.
- Don’t ignore the phase function. If you’re simulating something like heavy fog or smoke, the way light scatters isn’t uniform. Picking the right Henyey-Greenstein parameters can be the difference between a scene that looks like a realistic cloud and one that looks like cheap plastic.
- Implement a progressive refinement approach. Don’t expect a perfect, noise-free volumetric shot on the first pass. Build your simulation in stages, starting with a low-density preview to nail the lighting setup before you commit to the long, heavy lifting of a final production render.
The Bottom Line
Forget the textbook definitions; real volumetric rendering is about managing the chaotic way light bounces through thick, messy environments without letting your render times spiral out of control.
Success lies in finding that sweet spot between stochastic noise and computational heavy-lifting—you have to balance the randomness of light paths with enough photon density to actually see the volume.
Mastering these simulations isn’t just about math; it’s about learning how to guide light through participating media so it feels tangible and physically grounded rather than just a blurry glow.
## The Soul in the Scatter
“Realism in volumetric rendering isn’t about calculating every single photon; it’s about capturing that specific, chaotic way light loses its way inside a cloud of dust or a heavy mist, turning a sterile math problem into something that actually feels alive.”
Writer
Bringing the Light Home
We’ve covered a lot of ground, from the messy reality of participating media to the sheer computational headache that is stochastic light transport. At its core, mastering volumetric photon-mapping isn’t just about crunching numbers or optimizing a kernel; it’s about understanding how light actually behaves when it hits a cloud of dust or a thick fog. By balancing the precision of photon distributions with the efficiency of clever sampling, you move past those flat, lifeless renders and start creating scenes that possess a true sense of physical presence. It’s a delicate dance between accuracy and performance, but once you find that sweet spot, the results speak for themselves.
Ultimately, the goal of these complex simulations is to bridge the gap between mathematical abstraction and human perception. We don’t just want to see light; we want to feel the atmosphere of a room or the weight of a sunbeam cutting through a dusty attic. As hardware evolves and our algorithms become more sophisticated, the “void” will only become more detailed and more immersive. So, don’t be afraid to push your simulations to the limit and experiment with those edge cases. That is exactly where the most breathtaking realism is born.
Frequently Asked Questions
How do I stop the simulation from looking like a grainy mess without killing my render times?
The “grainy mess” is usually just noise from too few photon paths struggling to hit your sampling threshold. To fix this without waiting a week for a render, stop throwing brute force at the problem. Instead, implement importance sampling to steer those photons toward the areas that actually matter, or use a denoiser like OptiX to clean up the leftovers. It’s about being smart with your samples, not just stacking more of them.
At what point does the memory overhead of storing photon maps in a volume become totally unmanageable?
It hits a wall the second you try to scale your resolution or scene complexity. Once you start chasing that perfect, noise-free look in dense volumes, your RAM usage doesn’t just climb—it explodes. You’ll hit a breaking point where the sheer density of photon packets required to resolve fine light shafts outpaces your hardware’s capacity. At that stage, you aren’t just managing data anymore; you’re fighting a losing battle against massive swap files and system crashes.
Can I actually use these techniques for real-time applications, or is this strictly for offline path tracing?
That’s the million-dollar question. If you’re trying to run full-blown volumetric photon mapping in a 60 FPS game loop, you’re going to hit a massive performance wall. Right now, this is firmly in the “offline” camp for high-end film work. However, we’re seeing a lot of clever approximations—like temporal reprojection and voxel-based light probes—trying to bridge that gap. It’s not “true” photon mapping in real-time yet, but we’re getting closer every day.