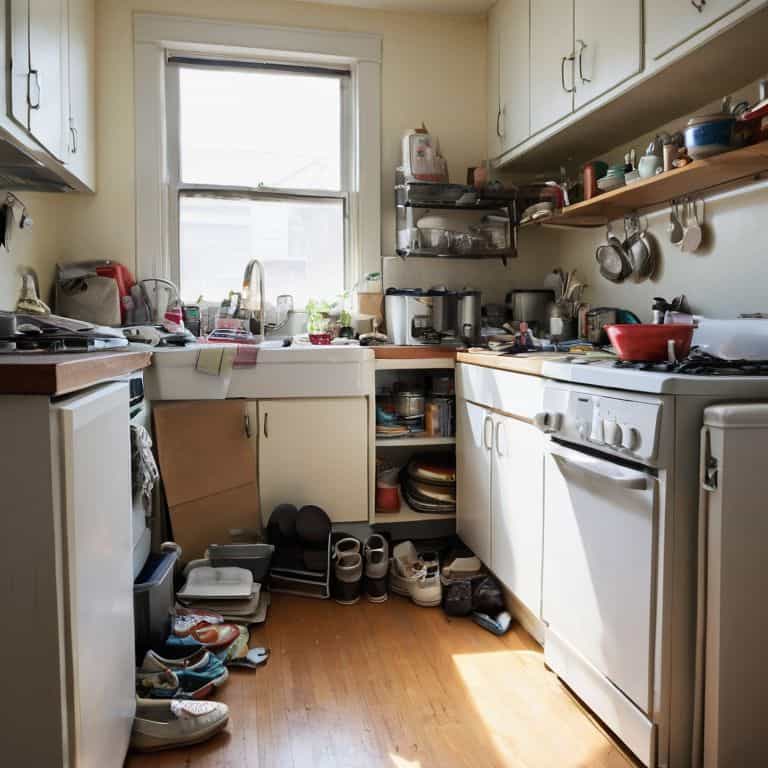
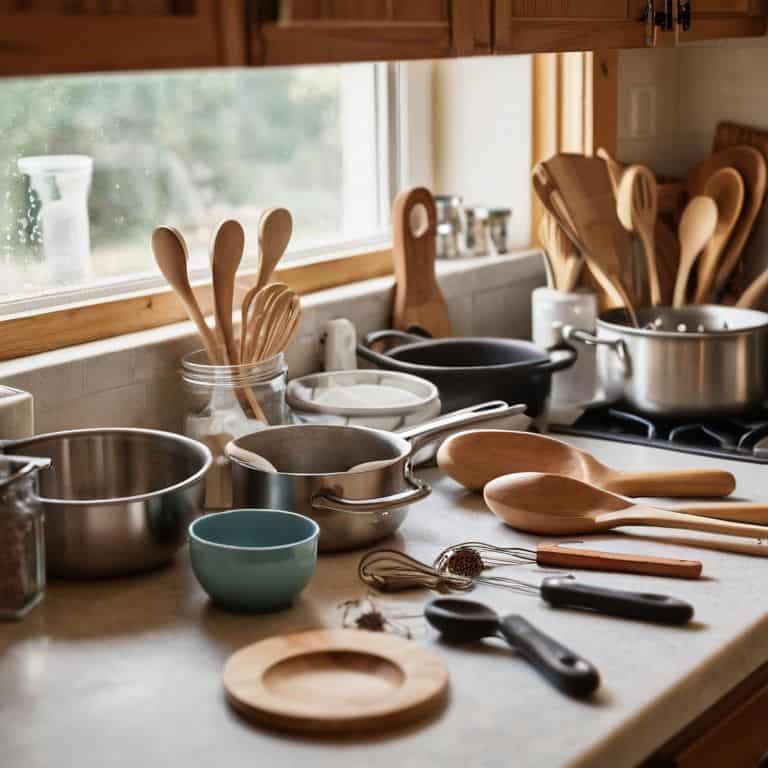
I still remember the chaos of my sailboat’s kitchen before I learned how to organize your cooking utensils. It was a tiny space, but the clutter made it feel even smaller. I’d spend more time searching for the right utensil than actually cooking. But after years of living on a sailboat, I discovered that a well-organized kitchen is not just about aesthetics; it’s about functionality and reducing stress. I’ve since applied those same principles to help others turn their cluttered kitchens into peaceful spaces.
In this article, I’ll share my personal, tried-and-true methods for taming the utensil chaos. You’ll learn simple yet effective storage solutions that will make your cooking experience more enjoyable. From utilizing vertical space to implementing a ‘one-in, one-out’ rule, I’ll guide you through the process of transforming your kitchen into a haven of efficiency. By the end of this guide, you’ll be equipped with the knowledge to create a kitchen that’s not just organized, but also calming and functional, allowing you to focus on what matters most – cooking and sharing meals with loved ones.
Table of Contents
Guide Overview: What You'll Need
Total Time: 1 hour 15 minutes
Estimated Cost: $15 – $30
Difficulty Level: Easy
Tools Required
- Measuring Tape (for measuring utensil drawer)
- Level (for ensuring straight installation)
- Drill (with screwdriver and drill bits)
- Pliers (for gripping small items)
- Screwdriver (for tightening screws)
Supplies & Materials
- Utensil Organizer Tray (various sizes available)
- Adhesive Hooks (for hanging items on the back of a door)
- Dividers (made of plastic or wood, 6 inches or 12 inches long)
- Small Baskets (for storing small items like spices or oil)
- Wood Screws (1 inch or 2 inches long)
Step-by-Step Instructions
- 1. First, let’s start by purging any unnecessary or duplicate cooking utensils from your collection. Take everything out of your drawers and lay it all out on a countertop or table. This will give you a good idea of what you have and help you decide what to keep and what to discard. I like to use this opportunity to get rid of any items that are broken or no longer serve a purpose, and to donate any gently used items to a local charity.
- 2. Next, sort your remaining utensils into categories, such as baking, cooking, and serving. This will make it easier to decide where to store each item and how to group similar items together. I find that using categories helps me to think more critically about how I use my utensils and where they should be stored for maximum convenience.
- 3. Now, let’s talk about storage solutions. You’ll want to choose a storage system that fits your needs and the layout of your kitchen. Some popular options include utensil drawers, wall-mounted hooks, and magnetic strips. I’m a big fan of using vertical space to maximize storage, and I often recommend installing a pegboard or a series of hooks on a wall or the side of a cabinet.
- 4. Once you’ve chosen your storage solution, it’s time to start assigning a home for each of your utensils. Start by placing your most frequently used items in easy-to-reach locations, and reserve higher or lower storage areas for less frequently used items. I like to use labels or signs to help me remember where everything is stored, and to make it easier for others to find what they need.
- 5. To keep your utensils organized and easy to find, consider implementing a “one-in, one-out” policy. This means that every time you bring a new utensil into your kitchen, you’ll need to remove an old one to make space for it. This will help prevent clutter from building up over time and keep your storage systems functioning at their best. I also recommend regularly cleaning and maintaining your storage systems to keep them in good working order.
- 6. Another key strategy for keeping your utensils organized is to use dividers or separators within your storage systems. This can help keep similar items grouped together and prevent them from getting jumbled or lost. I like to use adjustable dividers to customize the layout of my storage systems and make the most of the space available.
- 7. Finally, take some time to maintain your system and make sure everything is still working smoothly. Set aside a few minutes each week to tidy up your utensil storage and make sure everything is still in its assigned home. I also recommend reviewing your system periodically to see if there are any areas for improvement or if you need to make any adjustments to keep your utensils organized and easy to find.
Sailing to Utensil Bliss
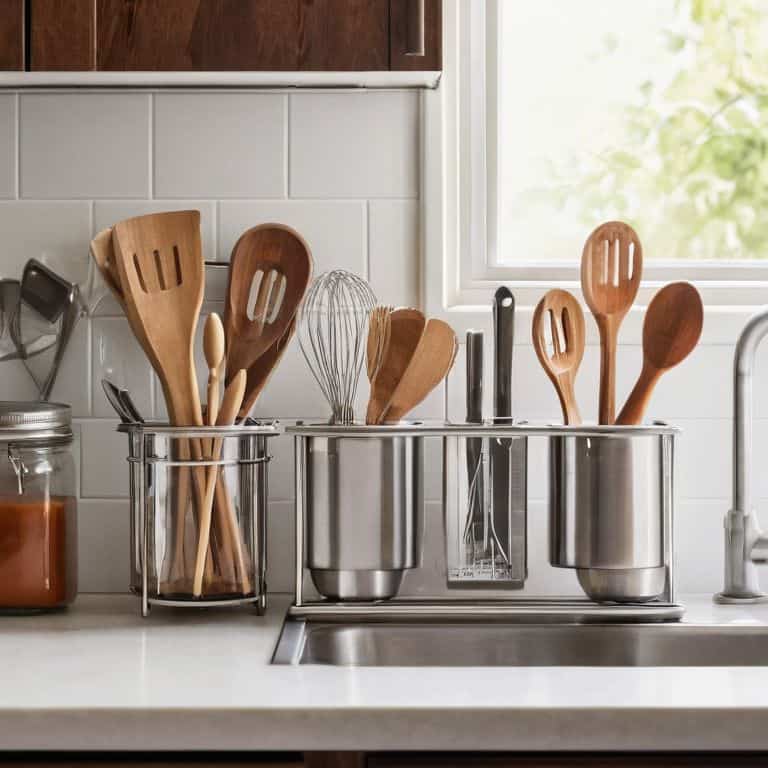
As I reflect on my sailboat days, I realize that maximizing drawer space was crucial to maintaining a clutter-free kitchen. One of my favorite hacks was using customizable utensil holders to keep my cooking tools in check. By assigning a specific spot for each utensil, I could quickly find what I needed, even in the most chaotic of moments.
To take your utensil organization to the next level, consider implementing efficient kitchen layout tips. This might involve rearranging your kitchen to create a more streamlined workflow or investing in a few clever storage solutions. For example, I love using kitchen utensil storage ideas like magnetic strips or adhesive hooks to keep frequently used items within easy reach.
By embracing these strategies, you’ll be well on your way to achieving utensil organization systems that bring a sense of calm to your kitchen. Remember, it’s all about creating a space that works for you, not against you. With a little creativity and some thoughtful planning, you can transform your kitchen into a haven of productivity and culinary joy.
Customizable Utensil Holders
As I explored various solutions for my sailboat kitchen, I discovered the beauty of customizable utensil holders. These clever devices allowed me to tailor my storage to the exact needs of my cooking essentials. By using adjustable dividers and modular components, I could create a unique system that kept my utensils organized and within reach. This approach not only saved space but also reduced clutter and made cooking a more enjoyable experience.
I’ve since applied this principle to many of my clients’ kitchens, and the results are always impressive. By designing or selecting utensil holders that can be adapted to their specific needs, we can create a seamless workflow and make the most of the available space. Whether it’s a pegboard with interchangeable hooks or a drawer insert with customizable compartments, the key is to find a system that can evolve with your cooking habits and preferences.
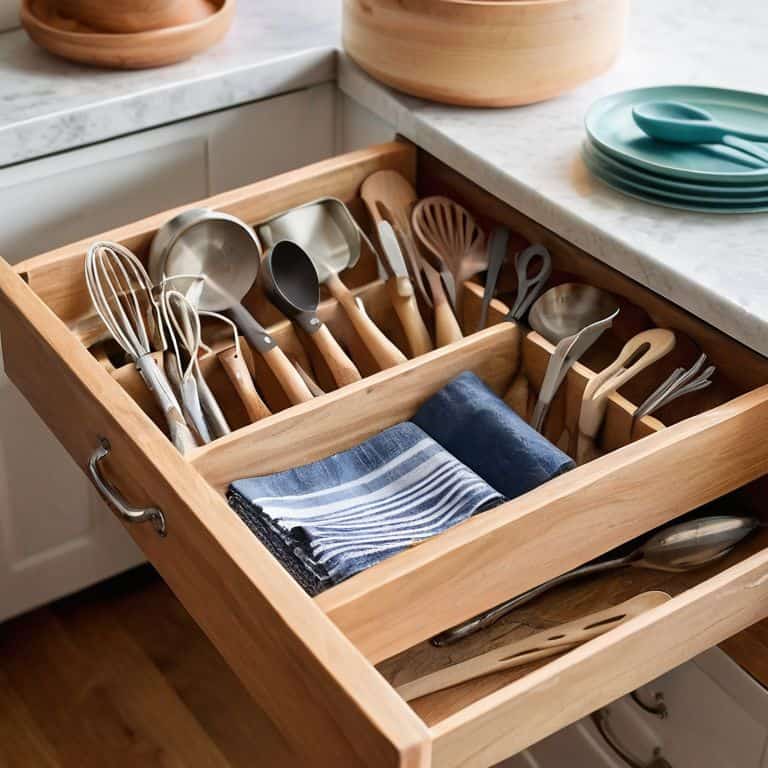
Maximizing Drawer Space
When it comes to maximizing drawer space, I always think back to my sailboat days. Every inch counted, and I had to get creative with storage. One of my favorite hacks is using dividers to separate utensils within the drawer. It’s amazing how much more you can fit when everything has its own designated spot. I also swear by adjustable drawer inserts – they’re a game-changer for making the most of uneven or oddly-shaped drawers.
By implementing these simple solutions, you can double or even triple your usable drawer space. It’s all about working with the space you have, rather than trying to fight it. With a little patience and some clever planning, you can turn even the most cluttered drawer into a tranquil oasis.
Charting a Course for Utensil Organization: 5 Key Tips
- Assign a Home Port: Designate a specific spot near your cooking station for frequently used utensils, like a magnetic strip or a hook for your go-to spatula
- Streamline Your Galley: Purge any duplicate or unnecessary utensils to reduce clutter and make the most of your storage space
- Utilize Vertical Anchors: Install a pegboard or a wall-mounted utensil organizer to keep items off the countertops and make the most of your kitchen’s vertical space
- Create a Utensil Docking Station: Use a tray or a small container near your cooking area to corral utensils like whisks, spatulas, and tongs, keeping them organized and within easy reach
- Implement the ‘One-In, One-Out’ Rule: For every new utensil you bring into your kitchen, get rid of an old one to maintain a balanced and clutter-free environment
3 Key Takeaways to a More Organized Kitchen
Implement a ‘one-in, one-out’ rule for your cooking utensils to prevent clutter from building up again
Utilize vertical space in your kitchen by installing hooks, magnets, or a pegboard to hang frequently used utensils
Invest in customizable utensil holders or dividers to maximize your drawer space and keep your cooking essentials organized and within reach
The Utensil Organization Mantra
A well-organized kitchen is not just about finding a home for every spoon and spatula, but about creating a sense of calm in the chaos, where every tool is a trusted companion on the culinary journey.
Miles Corbin
Setting Sail for a Clutter-Free Kitchen

As we’ve navigated the world of cooking utensil organization, we’ve covered some essential ground. From maximizing drawer space to utilizing customizable utensil holders, it’s clear that a little creativity can go a long way in taming the clutter. By implementing these strategies, you’ll be well on your way to creating a kitchen that’s not only functional but also a joy to be in. Remember, it’s all about finding a system that works for you and sticking to it – my ‘one-in, one-out’ rule has been a game-changer for maintaining a sense of calm in my own kitchen.
So as you set sail for your own clutter-free kitchen, keep in mind that it’s all about progress, not perfection. Don’t be too hard on yourself if things don’t stay tidy all the time – the goal is to create a space that inspires you to cook and connect with others. With a little patience and practice, you’ll be whipping up meals in a kitchen that feels like a tranquil oasis, and that’s a truly beautiful thing. Happy organizing, and I hope our paths cross again soon!
Frequently Asked Questions
How can I effectively categorize and group my cooking utensils to make them easier to find and use?
To categorize and group your cooking utensils, try dividing them into task-based categories like baking, cooking, or serving. Then, assign a home for each group, such as a specific drawer or container, and use hooks or magnets to keep frequently used items within easy reach.
What are some creative ways to utilize the back of a cabinet door or a wall in my kitchen for utensil storage?
I love leveraging vertical space. Consider installing hooks, a magnetic strip, or an over-the-door storage rack on the back of a cabinet door or wall to hang utensils, spices, or oven mitts, keeping them organized and within reach.
Can you recommend any adjustable or expandable utensil organizers that can adapt to different types and sizes of cooking utensils?
I swear by adjustable utensil organizers, like expandable trays or dividers. They’re a game-changer for accommodating different sizes and types of utensils. I’ve used them on my sailboat and in tiny kitchens, and they’re perfect for maximizing space while keeping everything within easy reach. Plus, they’re often budget-friendly and easy to install!