I still remember the day I decided to tackle my tiny kitchen’s storage woes by building my own DIY shelves. I was on a mission to find the best wood for diy kitchen shelves, but every article I read seemed to assume I had a massive budget and a workshop full of fancy tools. As I delved deeper into my research, I realized that choosing the right wood wasn’t just about aesthetics; it was about creating a functional and beautiful space that made cooking a joy. I learned that the key to a successful DIY project lies in selecting the right materials, and for kitchen shelves, the type of wood can make all the difference.
In this article, I’ll share my honest, no-hype advice on how to choose the perfect wood for your DIY kitchen shelves. I’ll walk you through the process of selecting the best wood for diy kitchen shelves, from considering the durability and moisture resistance of different types of wood to thinking about the overall style and ambiance you want to create in your kitchen. My goal is to empower you with the knowledge and confidence to take on your own DIY project, regardless of your budget or skill level. By the end of this guide, you’ll be equipped with the practical tips and tricks you need to build beautiful, functional shelves that will make your tiny kitchen feel more spacious and inviting.
Table of Contents
- Guide Overview: What You'll Need
- Step-by-Step Instructions
- Best Wood for Diy Kitchen Shelves
- Nailing It: 5 Essential Tips for Choosing the Best Wood for Your DIY Kitchen Shelves
- Key Takeaways for Your DIY Kitchen Shelves
- The Heart of the Matter
- Wrapping Up Your DIY Kitchen Shelf Project
- Frequently Asked Questions
Guide Overview: What You'll Need
Total Time: 4 hours 30 minutes
Estimated Cost: $50 – $100
Difficulty Level: Intermediate
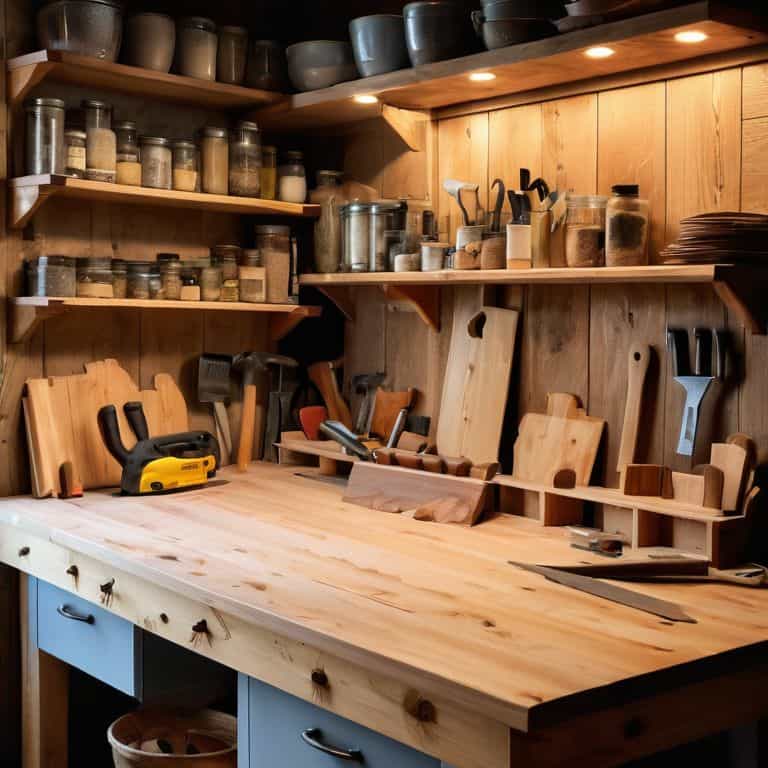
Tools Required
- Circular Saw (for cutting lumber to size)
- Drill Press (for precise drilling)
- Sander (for smoothing out wood surfaces)
- Level (for ensuring shelf straightness)
- Tape Measure (for accurate measurements)
- Clamps (for holding shelves in place during assembly)
Supplies & Materials
- 2-in x 4-in lumber (for shelf supports)
- 3/4-in plywood (for shelf boards)
- Wood Screws (for assembling shelves)
- Wood Glue (for reinforcing joints)
- Sandpaper (for finishing touches)
- Paint or Stain (for optional finishing)
Step-by-Step Instructions
- 1. First, let’s talk about assessing our space, which is crucial for determining the type of wood we’ll need for our DIY kitchen shelves. We need to consider the size of our kitchen, the style we’re aiming for, and the amount of weight our shelves will need to hold. For my own tiny kitchen, I had to get creative with the layout to maximize storage without making the space feel cluttered.
- 2. Next, we’ll need to choose the right type of wood for our shelves. I’m a big fan of using reclaimed or repurposed wood for its unique character and eco-friendly appeal. However, if you’re short on time or not feeling the DIY hunt, you can always opt for more conventional woods like pine, oak, or maple. Just remember, the type of wood you choose will affect the overall aesthetic and durability of your shelves.
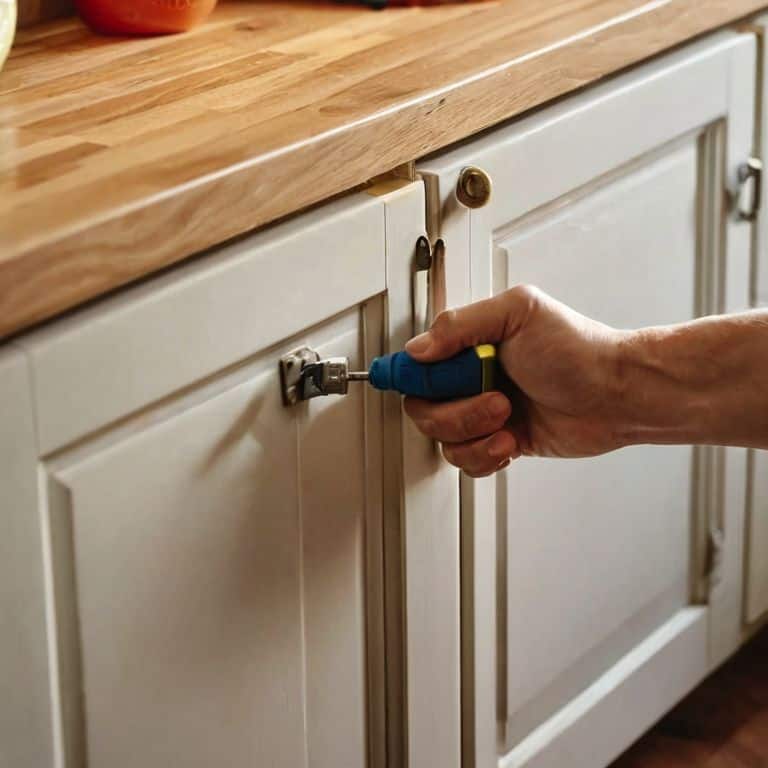
- 3. Now that we’ve selected our wood, it’s time to measure and cut our shelves to size. This is where my trusty drill comes in – I truly believe it’s the most empowering tool a person can own. When measuring, don’t forget to account for the thickness of your shelves and any additional supports you might need. For a seamless look, I recommend cutting your wood slightly larger than your measurements and then sanding it down to fit.
- 4. With our wood cut and ready, we can move on to assembling our shelves. This is the part where patience and precision come into play. I like to use a combination of screws and wood glue to ensure my shelves are both sturdy and visually appealing. Remember, it’s all about finding that perfect balance between form and function.
- 5. Once our shelves are assembled, it’s time to add the finishing touches. This could include sanding down any rough edges, applying a coat of paint or stain, and installing our shelves in the kitchen. For a renter-friendly option, consider using adhesive strips or 3M command strips to hang your shelves without damaging the walls.
- 6. Now, let’s talk about adding a personal touch to our shelves. This is where the real fun begins! You can add decorative trim, install lighting under your shelves for a cozy ambiance, or even incorporate plants to bring some greenery into your kitchen. The key is to make your space reflect your personality and lifestyle.
- 7. Finally, it’s time to install and enjoy our new shelves. This is the moment we’ve all been waiting for – stepping back to admire our handiwork and knowing that we’ve created something truly special. Whether you’re a DIY novice or a seasoned pro, the sense of accomplishment you’ll feel is unparalleled. So go ahead, fill those shelves with your favorite kitchen gadgets, and bask in the glory of your newfound kitchen storage.
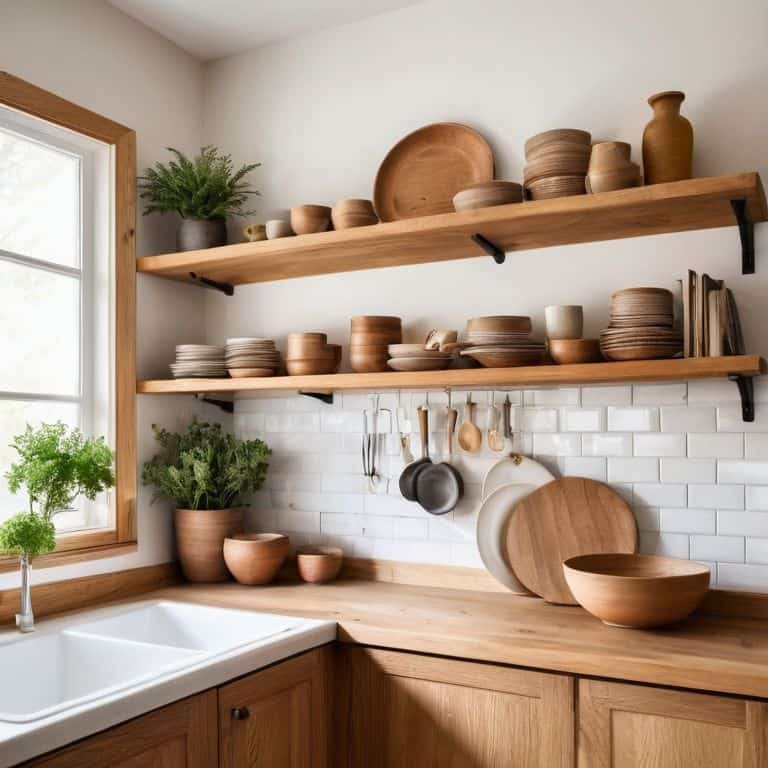
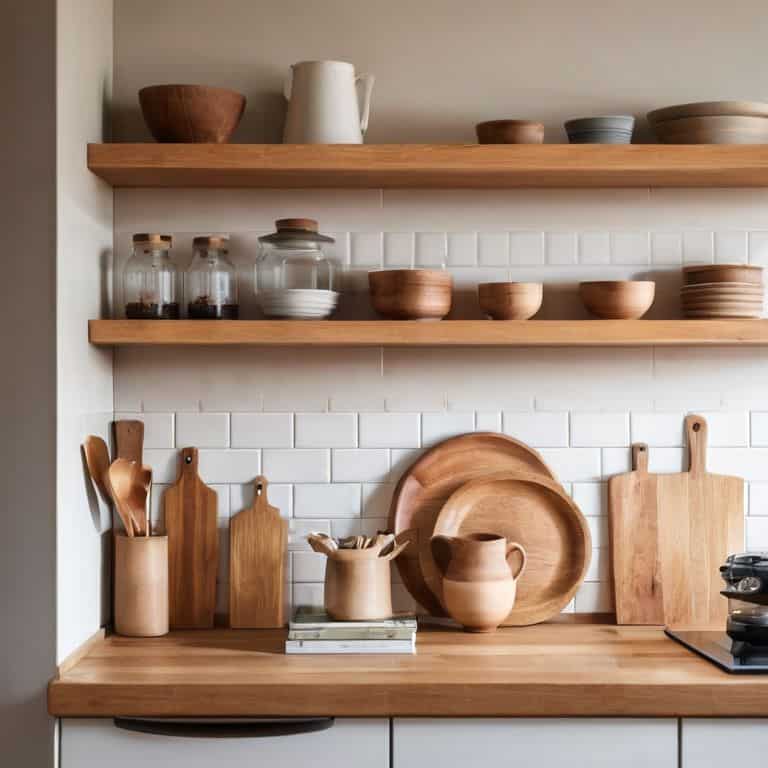
Best Wood for Diy Kitchen Shelves
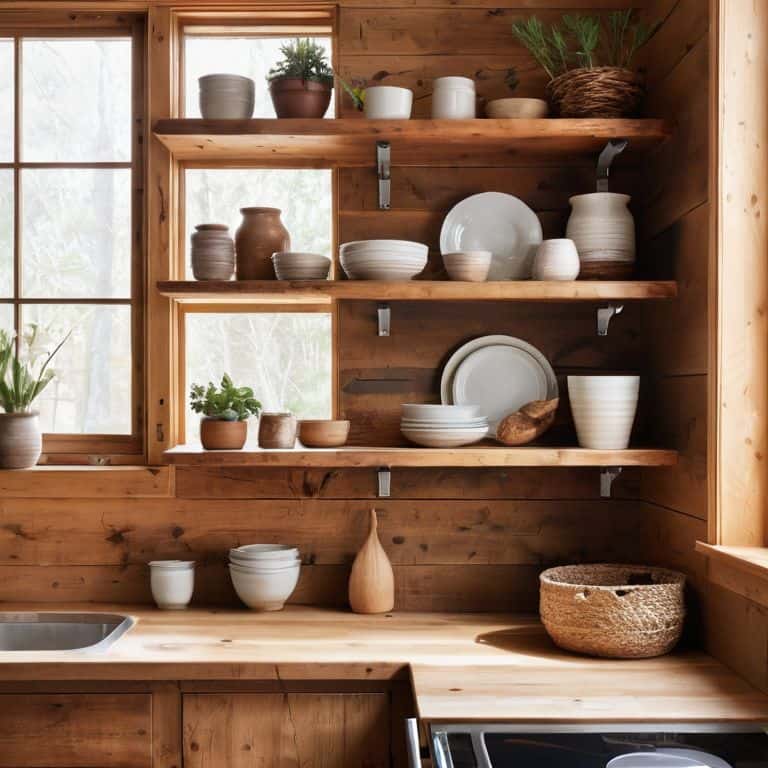
When it comes to choosing the perfect wood for your DIY kitchen shelves, it’s essential to consider the aesthetic you’re aiming for. Do you want a modern, sleek look or a more rustic, vintage feel? Budget-friendly options like pine or cedar can be great for achieving a cozy, country-inspired atmosphere. On the other hand, if you’re going for a more contemporary look, you might want to opt for a wood like birch or beech.
In addition to the visual appeal, it’s also important to think about the durability of the wood. If you’re planning to use your shelves to store heavy kitchen gadgets or appliances, you’ll want to choose a wood that can withstand the weight. Custom kitchen shelf materials like solid hardwoods or engineered wood can be great options for heavy-duty use. Plus, they can be stained or painted to match your kitchen’s unique style.
For a truly unique look, consider incorporating reclaimed wood into your DIY shelving units for kitchen. Not only is it an eco-friendly option, but it can also add a touch of character to your kitchen. You can find reclaimed wood at local salvage yards or online marketplaces, and it can be used to create one-of-a-kind kitchen shelf design ideas that reflect your personal style.
Shelf Life Diy Shelving Units
When it comes to DIY shelving units, I’m all about mixing and matching different materials to create a unique look. For my own tiny kitchen, I combined reclaimed wood with industrial pipes to create a one-of-a-kind shelving unit. The result is a beautiful, functional space that adds character to my kitchen. I’ve also experimented with upcycling old pallets and crates to create shelving units that are both eco-friendly and budget-conscious.
My favorite part about DIY shelving units is that they can be customized to fit any style or theme. Whether you’re going for a rustic, farmhouse look or a sleek, modern aesthetic, the possibilities are endless. With a little creativity and some basic DIY skills, you can create a shelving unit that not only solves your storage problems but also reflects your personal style.
Wood You Choose Budget Friendly Tips
When it comes to choosing the best wood for your DIY kitchen shelves, budget doesn’t have to be a barrier. I’ve found that flea market finds and reclaimed wood can add a unique touch to your shelves while being easy on the wallet. Consider repurposing old pallets or crates to create one-of-a-kind shelves that reflect your personal style. Not only will you be upcycling, but you’ll also be adding a touch of character to your tiny kitchen.
For a more traditional look, opt for budget-friendly wood options like pine or fir. These softwoods are often less expensive than hardwoods and can still provide a beautiful, rustic finish. With a little creativity and some DIY magic, you can create stunning kitchen shelves that won’t break the bank.
Nailing It: 5 Essential Tips for Choosing the Best Wood for Your DIY Kitchen Shelves
- Consider the kitchen’s style and vibe: think about the color and texture you want to achieve, from modern and sleek to rustic and cozy
- Assess your budget: factor in the cost of materials, and remember, reclaimed or repurposed wood can be a cost-effective and eco-friendly option
- Think about durability: will your shelves be holding heavy pots and pans, or just decorative items? Choose a wood that can withstand the weight and wear
- Don’t forget about maintenance: some woods require more upkeep than others, so consider how much time you’re willing to dedicate to keeping your shelves looking their best
- Get creative with wood combinations: mixing and matching different types of wood can add visual interest and create a unique, one-of-a-kind look for your kitchen shelves
Key Takeaways for Your DIY Kitchen Shelves
Choose the right wood for your DIY kitchen shelves by considering factors like durability, moisture resistance, and aesthetic appeal to turn your cramped kitchen into a cozy haven
Consider budget-friendly options like reclaimed or repurposed wood, and don’t be afraid to get creative with unique wood species or stains to add personality to your shelves
Remember, the best wood for your DIY kitchen shelves is one that balances functionality, beauty, and your personal style, so don’t be afraid to experiment and find the perfect fit for your tiny kitchen’s new best friend
The Heart of the Matter
The right wood for your DIY kitchen shelves isn’t just about functionality, it’s about telling the story of your space – one plank at a time, where every grain and groove speaks to the beauty of making something with your own hands.
Maya Torres
Wrapping Up Your DIY Kitchen Shelf Project
As we’ve explored the world of DIY kitchen shelves, it’s clear that choosing the right wood can make all the difference in turning your cramped kitchen into a cozy haven. From budget-friendly tips like shopping for reclaimed or repurposed wood, to considering the aesthetic you want to achieve with your shelves, every decision counts. By following the steps outlined in this guide and considering your own unique needs and style, you’ll be well on your way to creating a kitchen that’s not only functional but also reflects your personality.
So, go ahead and get creative with your DIY project! Remember, the beauty of DIY lies not just in the end result, but in the journey itself – the process of learning, experimenting, and bringing your vision to life. With your new shelves in place, you’ll be inspired to tackle even more projects, and before you know it, your tiny kitchen will be transformed into a vibrant, thriving space that’s truly yours.
Frequently Asked Questions
What are the most durable types of wood for DIY kitchen shelves that can withstand heavy dishes and cookware?
For heavy-duty kitchen shelves, I swear by hardwoods like oak, maple, or walnut – they’re rockstars at withstanding heavy dishes and cookware. If budget is a concern, consider durable softwoods like pine or fir, and add a waterproof sealant for extra protection.
How do I finish and seal my DIY kitchen shelves to protect the wood from moisture and spills?
To protect my DIY shelves from moisture and spills, I swear by a waterproof sealant like polyurethane or wax. Apply a thin coat, let it dry, and you’re good to go! For extra protection, I add a second coat. It’s a simple step that makes all the difference in keeping my shelves looking fresh and functional.
Can I use reclaimed or upcycled wood for my DIY kitchen shelves, and if so, what are some tips for preparing it for use?
Absolutely, I’m all about upcycling! Reclaimed wood can add so much character to your shelves. To prep it, just clean it thoroughly, sand it down to smooth out any rough edges, and apply a natural sealant to protect it from kitchen splatters.