I still remember the day I decided to tackle my tiny kitchen’s outdated look by learning how to replace cabinet hardware. It was a daunting task, but I was determined to give my space a facelift without breaking the bank. I’ve heard people say that replacing cabinet hardware is a tedious and expensive process, but I’m here to tell you that it’s easier than you think. With a few simple tools and some patience, you can transform your kitchen from dull to divine. My journey began with a trip to the local hardware store, where I discovered a world of stylish and affordable options for cabinet knobs and handles.
In this article, I’ll share my no-nonsense guide on how to replace cabinet hardware, covering everything from preparing your cabinets to installing the new hardware. You’ll get practical tips and step-by-step instructions to help you navigate the process with ease. Whether you’re a DIY novice or a seasoned pro, my goal is to empower you with the knowledge and confidence to give your kitchen the makeover it deserves. So, let’s get started and turn those outdated cabinets into a beautiful reflection of your personal style!
Table of Contents
Guide Overview: What You'll Need
Total Time: 1 hour 30 minutes
Estimated Cost: $10 – $30
Difficulty Level: Easy
Tools Required
- Screwdriver (flathead and Phillips)
- Drill (optional)
- Measuring Tape
- Level
Supplies & Materials
- New Cabinet Hardware (knobs or handles)
- Screws (if required for new hardware)
- Wood Filler (if filling old screw holes)
- Sandpaper (for light sanding)
Step-by-Step Instructions
- 1. First, let’s gather our tools and get ready to give our cabinets a fresh new look. We’ll need a screwdriver (preferably a drill with a screwdriver bit for ease), a measuring tape, a pencil, and of course, our new cabinet hardware. Make sure you have a clear workspace to lay out all your materials and tools to avoid any last-minute scrambles.
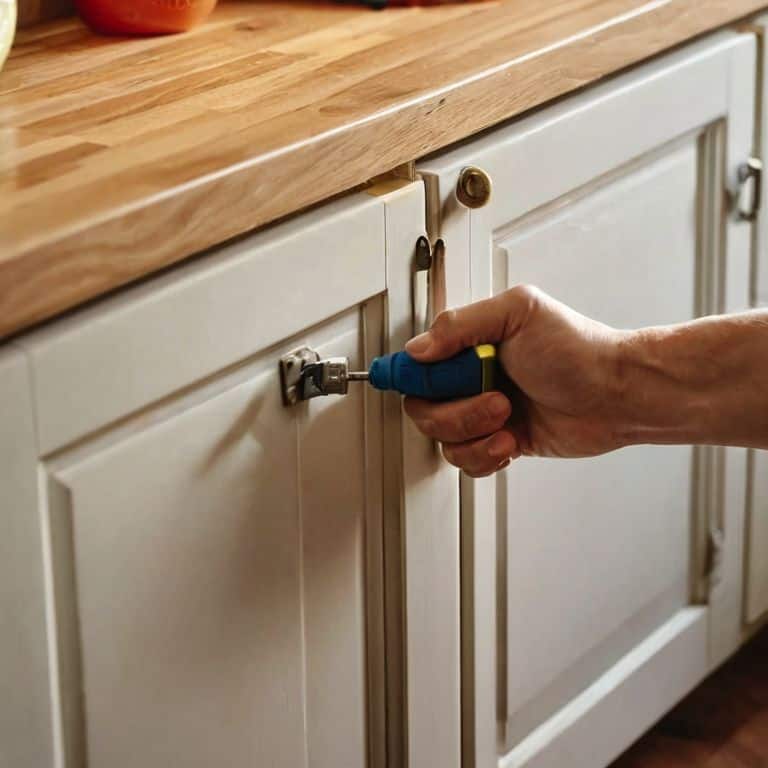
- 2. Next, we need to remove the old hardware. This is usually the easiest part, as it involves simply unscrewing the knobs or handles from the cabinets. Take note of the type of screw used (e.g., flathead or Phillips) so you can use the correct screwdriver bit. If the screws are stuck, don’t force them; instead, use a bit of oil or silicone spray to help loosen them.
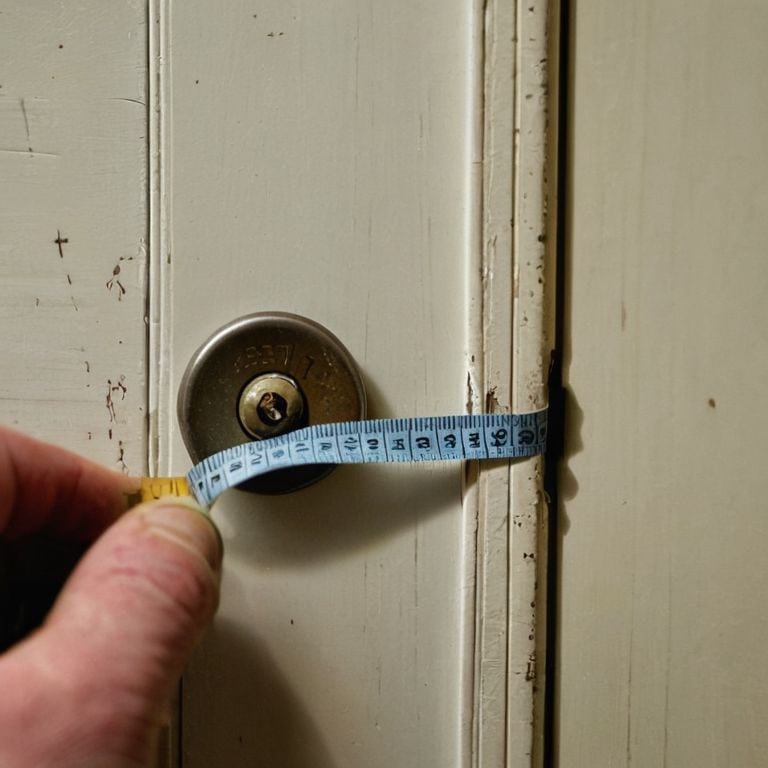
- 3. Now, it’s time to measure and mark the spot where our new hardware will go. If you’re replacing old hardware with something of a similar size, you can likely use the existing screw holes. However, if your new hardware requires different spacing, use your measuring tape to find the center point and mark it lightly with a pencil. Remember, precision is key here, so take your time.
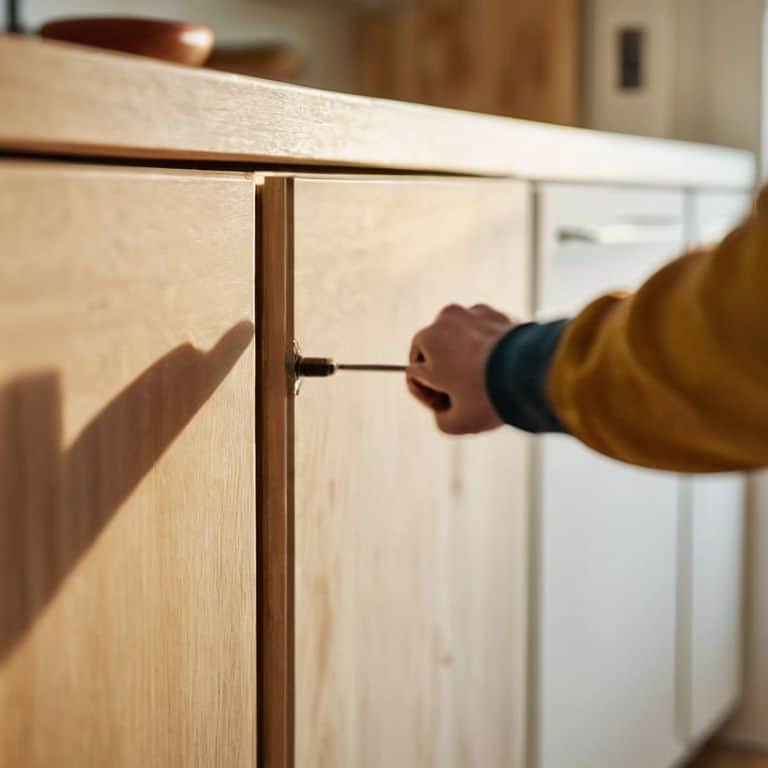
- 4. With our marks in place, we can start drilling new holes if necessary. Use a drill bit that’s slightly smaller than the screws that came with your new hardware to avoid splitting the wood. Apply gentle to moderate pressure, depending on the material of your cabinets. If you’re dealing with a particularly hard wood, consider using a pilot hole to make the process smoother.
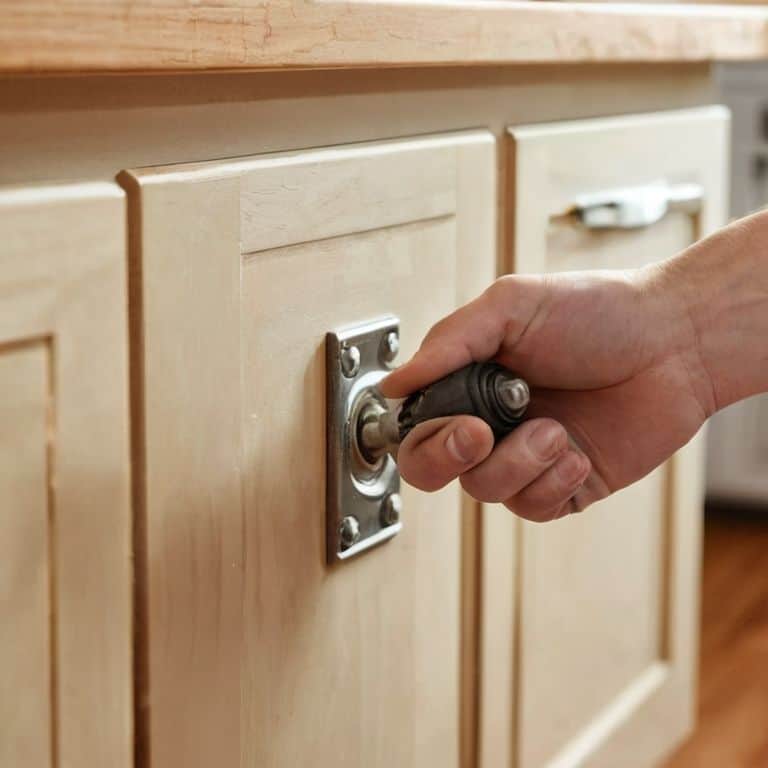
- 5. After drilling, it’s time to screw in the new hardware. Place the screw through the hardware and into the cabinet, making sure it’s aligned with your marks. Tighten the screw until it’s snug, but be careful not to overtighten, as this can damage the cabinet material. If your hardware came with screws of different lengths, ensure you’re using the correct one for each location to avoid any protrusions on the inside of the cabinet.
- 6. Once all the new hardware is securely in place, step back and admire your handiwork. Check that all the knobs or handles are evenly spaced and properly aligned. If you notice any discrepancies, now is the time to make adjustments. Remember, the goal is not just functionality but also aesthetics, so take pride in your DIY achievement.
- 7. Finally, test everything out. Open and close each cabinet to ensure the new hardware is working smoothly and not catching on anything. This is also a good time to tighten any screws that might have come loose during the testing process. With these final checks, you’ve successfully replaced your cabinet hardware and given your kitchen a fresh, updated look.
How to Replace Cabinet Hardware
When it comes to cabinet hardware installation tips, I’ve learned that measuring for new cabinet knobs is crucial to avoid any mistakes. Take your time to ensure you’re getting the right fit, and don’t be afraid to double-check your measurements. This will save you from having to redo the job or, worse, damaging your cabinets.
As you’re browsing through the various types of cabinet pulls and handles, remember to consider the style and theme of your kitchen. You want your new hardware to complement the overall aesthetic, not clash with it. I’ve found that choosing cabinet hardware finishes can be a fun and creative process, but it’s also important to think about the functionality and durability of the hardware.
To avoid any accidents, make sure you’re drilling into wood cabinets safely by using the right drill bits and taking your time. It’s also a good idea to invest in some basic safety gear, like gloves and protective eyewear. If you’re looking to give your kitchen a full makeover, consider cabinet refacing on a budget as a viable option. With a little creativity and some DIY magic, you can achieve a beautiful and functional kitchen without breaking the bank.
Choosing Hardware Finishes on Budget
When it comes to choosing hardware finishes, it can be overwhelming with all the options available. But, as someone who’s worked with a tight budget, I’ve learned that you don’t have to break the bank to get the look you want. I opt for simple, versatile finishes like brushed nickel or matte black that can instantly elevate the style of my cabinets. Plus, they’re often more affordable than trendy finishes, making them a great choice for a budget-friendly DIY project.
I also love scouring thrift stores and flea markets for unique, one-of-a-kind hardware pieces that can add a touch of personality to my kitchen. Not only is this approach budget-friendly, but it’s also a great way to reduce waste and give new life to old materials. With a little creativity, you can find the perfect hardware finish to match your style and budget, and give your kitchen a fresh new look.
Measuring for New Knobs Safely
Measuring for new knobs is where the magic happens, and I’m excited to share my top tips to get it just right. Before you start shopping for those gorgeous new knobs, take a moment to measure your cabinet doors and drawers. This is crucial to ensure a safe and secure fit. I like to use a digital caliper for precision, but a trusty tape measure will do the trick too. Measure the distance between the screw holes on your existing hardware, and don’t forget to note the type of screw or bolt used.
When measuring, consider the size and style of your new knobs. You want to make sure they’re proportional to your cabinet doors and don’t overwhelm the space. For tiny kitchens like mine, it’s all about balance and harmony. Take your time, and double-check those measurements – it’s better to be safe than sorry, especially when it comes to avoiding pesky returns or damaged cabinets.
5 Essential Tips for a Seamless Cabinet Hardware Swap
- Measure Twice, Drill Once: Double-check your cabinet measurements to ensure your new hardware fits perfectly, avoiding costly mistakes
- Choose Hardware That’s Both Pretty and Practical: Select finishes that complement your kitchen’s style, but also consider durability and ease of cleaning
- Test Your Drill Bits: Before drilling into your cabinets, test your bits on a scrap piece of wood to avoid damaging the surface
- Label and Organize: Keep track of the screws, knobs, and other hardware you remove by labeling and storing them in a safe place, making reassembly a breeze
- Add a Pop of Personality: Don’t be afraid to mix and match hardware finishes or add decorative elements to give your kitchen a unique touch and reflect your personal style
My Top 3 Takeaways for a Hardware Swap
Measure twice, drill once: taking the time to accurately measure your cabinet holes and choose the right drill bit will save you from costly mistakes and uneven hardware
Mix and match with intention: don’t be afraid to blend different hardware finishes – like brass and silver – to add visual interest to your kitchen, and remember to choose finishes that fit your budget and style
Start small, think big: swapping out cabinet hardware is a tiny change that can make a huge impact on the overall look and feel of your kitchen, so don’t underestimate the power of this simple DIY project
A Drill and a Dream
Swapping out cabinet hardware isn’t just about function, it’s about giving your space a personality transplant – and the best part? It’s one of the simplest, most empowering DIY projects you can tackle, even in the teeniest of kitchens!
Maya Torres
Bringing It All Together: A Beautifully Functional Kitchen
Replacing cabinet hardware is a simple yet powerful way to give your kitchen a fresh new look. As we’ve covered, it’s all about measuring carefully, choosing the right hardware finishes for your budget, and installing them with ease. By following these steps, you’ll not only enhance the aesthetic of your kitchen but also create a more functional space that reflects your personal style. Remember, it’s the small details that make a big difference, and with these tips, you’ll be well on your way to creating a kitchen that’s both beautiful and ruthlessly functional.
As you stand back to admire your handiwork, remember that empowerment is in the details. It’s the satisfaction of knowing you took matters into your own hands, got creative, and made your space truly yours. So, don’t be afraid to experiment, try new things, and push the boundaries of what’s possible in your tiny kitchen. With a drill in your hand and a vision in your mind, the possibilities are endless, and I’m excited to see what you create next. Happy DIY-ing, and let’s make our small spaces shine!
Frequently Asked Questions
What type of screwdriver do I need to remove the old cabinet hardware?
Hey, for removing old cabinet hardware, you’ll likely need a trusty screwdriver – I swear by my adjustable torque screwdriver for jobs like this. If your hardware has visible screws, a flathead or Phillips-head screwdriver will do the trick. Just make sure it’s the right size to fit snugly in the screw head, and you’re all set!
Can I mix and match different hardware finishes in my kitchen, or should I stick to one style?
I love mixing and matching hardware finishes – it adds character to my tiny kitchen. You can definitely combine different finishes, like brass and silver, to create a unique look. Just balance them thoughtfully, like pairing a bold finish with a more subdued one, to avoid visual overload.
How do I ensure the new hardware is properly aligned and spaced on my cabinet doors?
To ensure your new hardware is properly aligned and spaced, I swear by using a simple template or even just a piece of graph paper to map out the design before drilling any holes – it’s a total game-changer for avoiding wonky knobs and keeping your cabinets looking polished!