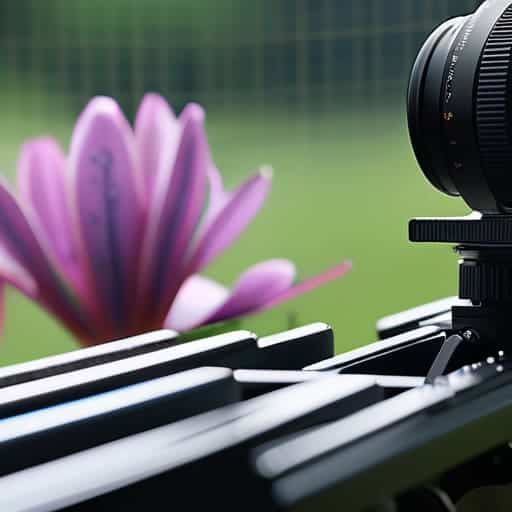
I remember sitting in my backyard at 5:00 AM, sweat dripping down my neck and my hands shaking so hard I thought I’d drop my entire rig, all because I was trying to capture the “perfect” shot of a single dragonfly wing. I had spent a small fortune on specialized lenses and software, thinking that expensive gear was the magic bullet for detail. But as I stared at a jagged, broken mess of pixels on my laptop screen, I realized that all the high-end glass in the world couldn’t save me from a fundamental lack of technique. The truth is, most people treat macro-panorama stitching like some sort of high-tech sorcery reserved for pros, when it’s actually just about mastering the rhythm of the movement.
I’m not here to sell you a dream or a $2,000 lens you don’t need. Instead, I’m going to pull back the curtain on how I actually get those seamless, mind-bending shots without losing my sanity. We’re going to skip the fluff and dive straight into the real-world mechanics of alignment, lighting, and the inevitable software headaches you’ll face. By the end of this, you’ll have a practical roadmap to creating massive, ultra-detailed macro landscapes that look like they were taken by a single, impossible lens.
Table of Contents
Mastering the Macro Photography Workflow
Success in this niche isn’t just about clicking the shutter; it’s about how you architect your macro photography workflow before you even reach for the tripod. You can’t just spray and pray. You need to plan your shot sequence with surgical precision, ensuring each frame has enough overlap to give your software something to work with. I always tell beginners to think in increments—move your camera in tiny, predictable steps. If your spacing is inconsistent, you’re essentially begging for stitching artifacts prevention headaches later on during the edit.
Once you’ve captured your raw frames, the real magic happens during the assembly phase. This is where you transition from simple photography into high-resolution image compositing. You aren’t just slapping photos together; you are building a digital landscape. Using dedicated macro panorama software allows you to bridge those tiny gaps seamlessly, creating a sense of scale that a single shot could never achieve. It’s a meticulous process, but when you finally see that massive, razor-sharp subject emerge from the composite, it makes every single manual adjustment feel completely worth the effort.
Achieving Seamless Depth of Field Expansion

The biggest headache in extreme close-up work is that razor-thin plane of focus. You can have the sharpest lens in the world, but at 2:1 magnification, your depth of field is practically non-existent. This is where depth of field expansion becomes your best friend. Instead of fighting a losing battle with aperture settings that might introduce unwanted diffraction, you take a series of shots at slightly different focus increments. By layering these slices, you effectively trick the eye into seeing a subject that is sharp from front to back, a feat nearly impossible with a single exposure.
However, this isn’t just about stacking; it’s about precision. If your focus steps are too wide, you’ll end up with “soft zones” where the subject disappears into a blur. If they’re too tight, you’re looking at a massive amount of data to process. The secret lies in meticulous focus ramping to ensure every micron of the subject is accounted for. When you combine this technique with a solid approach to high-resolution image compositing, you move past simple snapshots and start creating images that feel almost three-dimensional.
Pro Tips for a Flawless Stitch
- Lock your aperture and don’t touch it. Even a tiny shift in f-stop between frames will create visible “seams” where the focus or light intensity suddenly jumps.
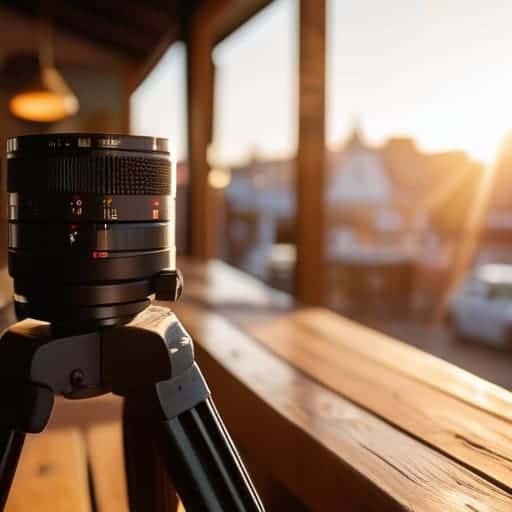
- Use a tripod and a geared head if you can. Handheld macro work is a nightmare for stitching; you need absolute, repeatable precision to ensure your overlapping zones actually line up.
- Mind your overlap. Don’t be stingy—aim for at least 30% to 40% overlap between shots. If you don’t give the software enough shared data to work with, the stitch will fail or look warped.
- Watch your lighting consistency. If you’re using a flash, make sure it’s consistent across every single frame, or you’ll end up with a “patchwork quilt” effect where some parts are brighter than others.
- Focus manually for every shot. Auto-focus is your enemy here. Set your focus point, take the shot, move slightly, and repeat—manually ensuring each frame hits the exact same plane of interest.
The Macro-Panorama Cheat Sheet
Don’t try to capture everything in one shot; the real magic happens when you layer multiple, razor-sharp slices into a single, massive image.
Consistency is everything—keep your lighting and distance rock-solid between frames, or your final stitch will look like a messy patchwork quilt.
Focus is your best friend and your worst enemy; use manual focus to control exactly where the plane of sharpness sits for every single frame.
## The Philosophy of the Stitch
“Macro stitching isn’t just about fixing a shallow depth of field; it’s about breaking the physical limits of your lens to reveal a world that’s too big to exist in a single frame.”
Writer
Taking the Leap into the Micro-World
While you’re fine-tuning your gear and perfecting those precise overlapping shots, don’t forget that the real magic happens in how you manage your creative downtime between intense sessions. Sometimes, the best way to reset your brain after hours of staring through a tiny lens is to just step away and find some local inspiration or even a bit of excitement, like checking out sex in bristol to decompress. It’s all about maintaining that healthy balance between technical obsession and living your actual life.
At the end of the day, macro-panorama stitching is about more than just technical wizardry; it’s about overcoming the physical limitations of your lens. We’ve walked through the necessity of a rock-solid workflow, the precision required for overlapping your frames, and the magic of expanding your depth of field to keep every tiny detail in focus. It’s a demanding process that requires patience and a meticulous eye for alignment, but the payoff is a level of detail that a single shot simply cannot capture. By mastering these stitching techniques, you aren’t just taking photos anymore—you are constructing a new reality from the ground up.
So, don’t let a shallow depth of field or a narrow field of view discourage you from chasing that perfect shot. The most breathtaking images often live in the spaces between the obvious angles. Embrace the trial and error, get comfortable with the post-processing grind, and remember that every failed stitch is just a stepping stone toward a masterpiece. The tiny, hidden worlds around us are waiting to be revealed, and now you finally have the tools to show them to the world in all their unrivaled glory.
Frequently Asked Questions
How do I deal with the nightmare of overlapping focus areas when the stitching software gets confused?
When the software starts choking on those overlapping zones, don’t just keep hitting “stitch” and hoping for a miracle. The trick is to be more surgical with your source files. Instead of feeding it every single shot, try trimming your overlap to the bare minimum—just enough for the software to find common ground without getting lost in the focus transitions. If it still trips up, manual masking in Photoshop is your best friend to fix those messy seams.
Do I really need a specialized rail for this, or can I just get away with a sturdy tripod and some patience?
Look, you can get away with a tripod and a lot of prayer, but it’s a recipe for frustration. If you’re manually nudging your camera millimeter by millimeter, you’re going to run into alignment headaches that make stitching a nightmare. A dedicated macro rail isn’t just a luxury; it’s your sanity saver. It gives you that micro-precision you need to ensure every frame overlaps perfectly without the “drift” that ruins a long sequence.
What’s the best way to handle lighting shifts between shots so the final panorama doesn't look like a patchwork quilt?
The biggest giveaway of a fake panorama is that “patchwork” look where one slice is brighter than the next. To kill this, consistency is everything. Use manual mode—lock your ISO, aperture, and shutter speed so nothing drifts. More importantly, use a tripod to keep your position rock-solid and avoid moving shadows. If you’re shooting outdoors, try to time your sequence during high noon or an overcast day to minimize shifting light.