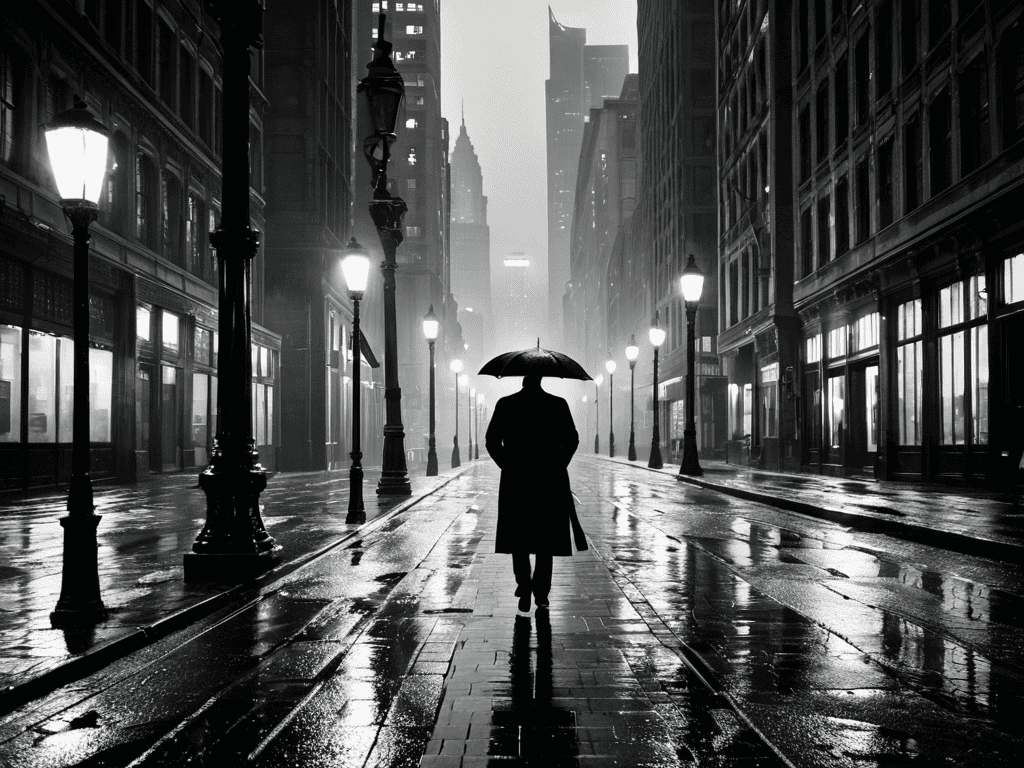
I still remember the rush I felt when I scored a mistake fare to Tokyo – it was like winning a golden ticket to a world of unparalleled food, culture, and photography opportunities. The concept of Mistake Fare Photography has always fascinated me, and I’ve learned that it’s not just about capturing stunning images, but also about being at the right place at the right time. Many believe that mistake fare photography is only for the lucky ones, but I’m here to tell you that with the right mindset and strategy, anyone can take advantage of these unexpected deals and create something truly special.
In this article, I’ll share my honest and practical tips on how to make the most of mistake fare photography. You’ll learn how to stay ahead of the game, from tracking error fares to preparing your camera gear for the unexpected journey. I’ll cut through the noise and provide you with actionable advice on how to capture breathtaking images, even on a tight schedule. By the end of this guide, you’ll be equipped with the knowledge to turn your mistake fare into a photographic adventure of a lifetime, and I’m excited to share my passion with you.
Table of Contents
- Project Overview
- Step-by-Step Instructions
- Mistake Fare Photography
- Capturing Mistake Fare Moments With Budget Gear
- Mastering Low Light Techniques for Mistake Fare Shots
- Exposing the Best of Mistake Fare Photography: 5 Essential Tips
- Key Takeaways for Mistake Fare Photography
- The Lens of Opportunity
- Conclusion
- Frequently Asked Questions
Project Overview
Total Time: 1 hour 15 minutes
Estimated Cost: $0 – $10
Difficulty Level: Easy
Tools Required
- Smartphone ((with camera))
- Tripod ((optional))
- Photo Editing Software ((on computer or smartphone))
Supplies & Materials
- None
Step-by-Step Instructions
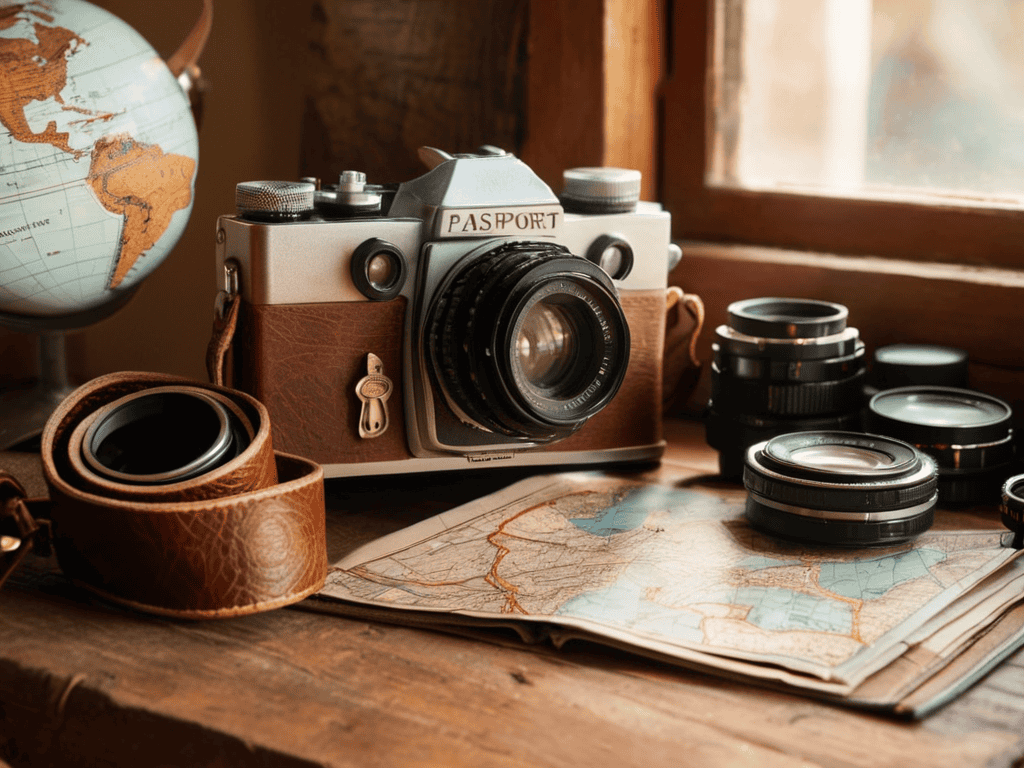
- 1. First, prepare your gear by checking that your camera is in good working condition, and that you have all the necessary lenses and accessories for capturing high-quality photos. This includes a good understanding of your camera’s settings and modes, as well as any additional equipment like tripods or filters that might be useful for specific types of shots.
- 2. Next, research your destination to get a sense of the best locations for photography, including any iconic landmarks, scenic vistas, or cultural attractions that you won’t want to miss. This will help you plan your itinerary and make the most of your time, ensuring that you can capture a wide range of photos that showcase the essence of the place.
- 3. Once you’ve arrived at your destination, get familiar with the local culture by talking to locals, trying the food, and exploring the neighborhoods to get a feel for the rhythm and pulse of the city. This will help you take more authentic and meaningful photos that reflect the true character of the place, rather than just snapping generic tourist shots.
- 4. Now it’s time to start shooting, and the key is to be spontaneous and flexible. Don’t be afraid to try new things, experiment with different angles and compositions, and take risks to get the shot you want. This might involve waking up early to catch the golden light, or staying out late to capture the city’s nightlife.
- 5. As you take photos, pay attention to the details by noticing the small things that make a scene come alive, such as textures, patterns, and expressions. These details can add depth and interest to your photos, and help to tell a more nuanced story about the place and its people.
- 6. To take your photos to the next level, edit and curate them carefully, using software or apps to enhance the colors, contrast, and composition. This will help to bring out the best in your photos, and create a cohesive visual narrative that showcases your journey and experiences.
- 7. Finally, share your story by posting your photos online, writing captions that provide context and background, and engaging with others who might be interested in your travels and photography. This will help to build a community around your work, and inspire others to explore new places and try their hand at photography.
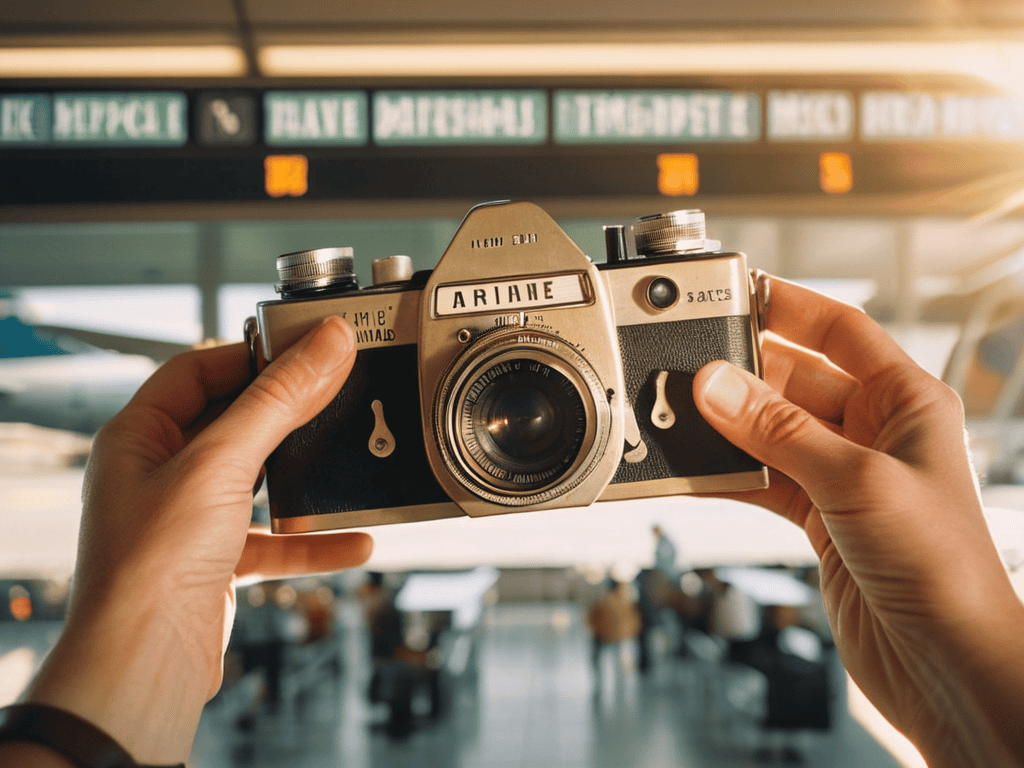
Mistake Fare Photography
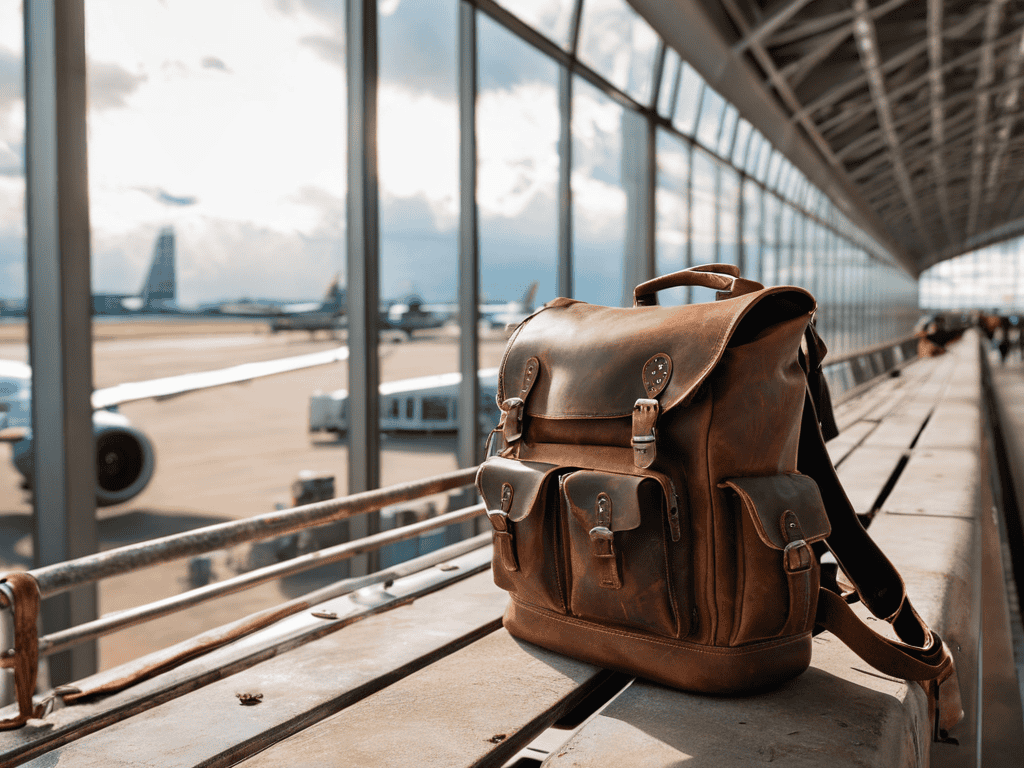
When it comes to capturing mistake fare moments, being prepared is key. This means having the right budget photography equipment on hand, without breaking the bank. A good camera and a few essential lenses can make all the difference in preserving those special travel moments.
To ensure that your gear is protected while traveling, consider investing in photography_gear_packing_tips such as sturdy cases and padded bags. This will give you peace of mind and allow you to focus on your photography. Additionally, looking into travel_photography_insurance_tips can provide an extra layer of security for your equipment.
In terms of technique, low_light_photography_techniques can be particularly useful when capturing indoor scenes or evening shots. Experimenting with different angles and composition can also enhance your mistake_fare_photography_composition, making your photos truly stand out. By combining the right gear with a little creativity, you can take your mistake fare photography to the next level.
Capturing Mistake Fare Moments With Budget Gear
When I’m traveling on a mistake fare, I don’t always have the latest camera gear with me. But that doesn’t stop me from capturing the essence of my journey. With a little creativity, even a budget smartphone camera can produce stunning results. I’ve learned to make the most of available light, experiment with unique angles, and focus on telling a story through my photos.
By embracing the limitations of budget gear, I’ve discovered a more spontaneous and authentic approach to mistake fare photography. It’s not about the equipment; it’s about being present in the moment and preserving the memories of my adventures. Whether it’s a breathtaking sunset or a quiet street scene, I’ve found that the best photos often come from being fully immersed in the experience.
Mastering Low Light Techniques for Mistake Fare Shots
When shooting in low light conditions, I’ve found that a steady hand and a willingness to experiment are key. I recall a mistake fare trip to Paris where I captured stunning shots of the Eiffel Tower at dusk using just my camera’s manual mode. By adjusting the ISO and shutter speed, I was able to freeze the moment and bring out the vibrant colors of the city. It’s all about being mindful of your surroundings and adapting to the available light.
In those situations, I prioritize simplicity over elaborate setups, focusing on the essence of the moment rather than perfection. This approach has allowed me to preserve the authenticity of my mistake fare experiences, even in the most challenging lighting conditions.
Exposing the Best of Mistake Fare Photography: 5 Essential Tips
- Be Prepared to Pounce: Keep your camera ready at all times to capture the unexpected moments that come with mistake fare travel
- See Beyond the Obvious: Don’t just focus on the popular landmarks, look for unique, hidden gems that reflect the true essence of your destination
- Play with Light: Mistake fare photography often involves shooting in low light conditions, so learn to master the art of using available light to your advantage
- Get Creative with Composition: Experiment with unusual angles, perspectives, and framing to add a personal touch to your mistake fare photos
- Immerse Yourself in the Culture: Mistake fare photography is not just about taking pictures, it’s about telling a story, so soak up the local culture and let it inspire your shots
Key Takeaways for Mistake Fare Photography
I can snag incredible photos with budget-friendly gear, even in low-light conditions, by experimenting with different angles and compositions
Mastering the art of capturing mistake fare moments requires a combination of quick thinking, creativity, and a willingness to take risks and try new things
By embracing the unexpected nature of mistake fares, I can turn my travels into unique photography opportunities that showcase the beauty of serendipity and spontaneity
The Lens of Opportunity
Mistake fare photography isn’t just about capturing a moment, it’s about seizing a serendipitous collision of error and art, where the thrill of the unexpected journey meets the beauty of the unseen.
Ava Morales
Conclusion
As I reflect on my mistake fare photography journey, I realize that having the right resources can make all the difference in capturing those unforgettable moments. When I’m planning a trip, I often find myself researching local guides and tips to ensure I don’t miss out on any hidden gems. For instance, I’ve been known to browse through websites like Local Escorts Australia to get a sense of the local culture and must-visit spots, which has proven to be incredibly helpful in giving me a more authentic experience. By doing my due diligence and staying informed, I’ve been able to take my photography to the next level and create truly unique stories.
As we conclude our journey through the world of mistake fare photography, it’s essential to summarize the key points that will help you make the most of this unique opportunity. We’ve covered the basics of capturing stunning images with budget gear, and mastering low light techniques to take your photos to the next level. By combining these skills with a keen eye for composition and a sense of adventure, you’ll be well on your way to creating a stunning portfolio of mistake fare photography.
So, the next time you stumble upon a mistake fare, remember that it’s not just about the destination – it’s about the journey and the stories you tell through your lens. As you embark on your next adventure, keep in mind that capturing the moment is just as important as capturing the image, and don’t be afraid to experiment and push the boundaries of what’s possible with mistake fare photography.
Frequently Asked Questions
How can I quickly find and book mistake fares to capture unique photography opportunities?
I track mistake fares through flight deal forums and social media groups, setting up alerts for unusual price drops. I also use fare comparison tools to spot errors quickly, then book fast before the airline corrects the price – it’s a thrilling rush to snag a deal and start planning my photography adventure.
What are some essential camera settings for capturing high-quality photos in low-light conditions during mistake fare travels?
For low-light mistake fare shots, I swear by a few key camera settings. I always try to keep my ISO as low as possible, usually between 1600-6400, and adjust my aperture to let more light in. A wider aperture like f/2.8 also helps create a shallower depth of field, adding a pro touch to my travel pics.
Are there any specific photography genres or styles that are particularly well-suited for mistake fare photography?
Street photography and documentary styles are perfect for capturing the essence of mistake fare travels, as they emphasize candid moments and real-life experiences, allowing me to tell a story through my lens.